|
|
Post by BikeTuna on Nov 15, 2016 14:17:02 GMT
That's awesome! Looks so good with the a-pillars in grey.
|
|
chef
Chats A Bit
 
Posts: 123 
|
Post by chef on Nov 15, 2016 15:05:39 GMT
That's awesome! Looks so good with the a-pillars in grey. Cheers, loving the way it's turned out. Will get pics of the hard top up this weekend after the cars had a clean |
|
|
|
Post by Meerkat on Nov 18, 2016 18:10:19 GMT
Wow, that's a great job! Loving the grey accents.
|
|
Rasc
Chats A Bit
  Nutz troll apparently
Posts: 130 
|
Post by Rasc on Nov 19, 2016 7:45:51 GMT
Very nice, arches are sublime.
|
|
chef
Chats A Bit
 
Posts: 123 
|
Post by chef on Nov 22, 2016 14:59:22 GMT
Wow, that's a great job! Loving the grey accents. Cheers Meerkat, have got the hardtop on now which is matching grey so will get some more pics up  |
|
chef
Chats A Bit
 
Posts: 123 
|
Post by chef on Nov 22, 2016 15:00:38 GMT
Very nice, arches are sublime. Cheers Rasc, really happy with how they turned out. |
|
chef
Chats A Bit
 
Posts: 123 
|
Post by chef on Nov 22, 2016 15:06:30 GMT
So my Torsen nearly went pop last week, have replaced it with a cheap welded open (Funds are tight) but am hoping to refurb the Torsen.
Picked up the diff along with sub frame, upper and lower arms, hubs and callipers (Basically the whole rear end minus the shocks) for a mere £60, bargain.
So this weekend I fitted the diff (love how easy these are to swap out), re-trimmed my door cards and gave the car a good clean.
Will get some fresh pics up.
|
|
|
|
Post by madaboutmx5s on Nov 23, 2016 7:54:50 GMT
Impressed by the work on doing you own blended metal arches. The results so far look good. Ive done the aerial delete on a few of mine. I prefer the look without.
|
|
chef
Chats A Bit
 
Posts: 123 
|
Post by chef on Nov 23, 2016 13:47:08 GMT
|
|
chef
Chats A Bit
 
Posts: 123 
|
Post by chef on Nov 23, 2016 13:58:12 GMT
Will be making a headliner for the hard top using the same print when I figure out the best way to attach it and I've fallen in love with the dash design in madaboutmx5s de-tombstoned mx5 (Can't remember which car it's in as he has so many!) so will be looking in to that as well. Aside from that and potentially a hardtop spoiler plans are pretty much on hold now as I have to be a good boy and pay for the pending wedding (Apparently my car isn't currently a priority?  ) |
|
|
|
Post by tgbshelby on Nov 23, 2016 13:59:55 GMT
I love this car! So nice to see such individual work, those door cars are beautiful! Good work pal
|
|
chef
Chats A Bit
 
Posts: 123 
|
Post by chef on Nov 23, 2016 14:12:19 GMT
I love this car! So nice to see such individual work, those door cars are beautiful! Good work pal Thanks  First time ever I've owned a car I love and love the fact it's getting positive feedback |
|
|
|
Post by Meerkat on Nov 23, 2016 14:37:09 GMT
Hardtop looks great!
|
|
chef
Chats A Bit
 
Posts: 123 
|
Post by chef on Dec 6, 2016 14:57:34 GMT
So I did an oops... Understeered on some ice and bounced up a kerb (Good one). Bit gutted but cosmetically the splitter took the impact which is an easy fix and scuffed a wheel but noticed it was pulling to the left really badly, so did my best to keep it in a straight line and headed to the workshop. That'll buff out... 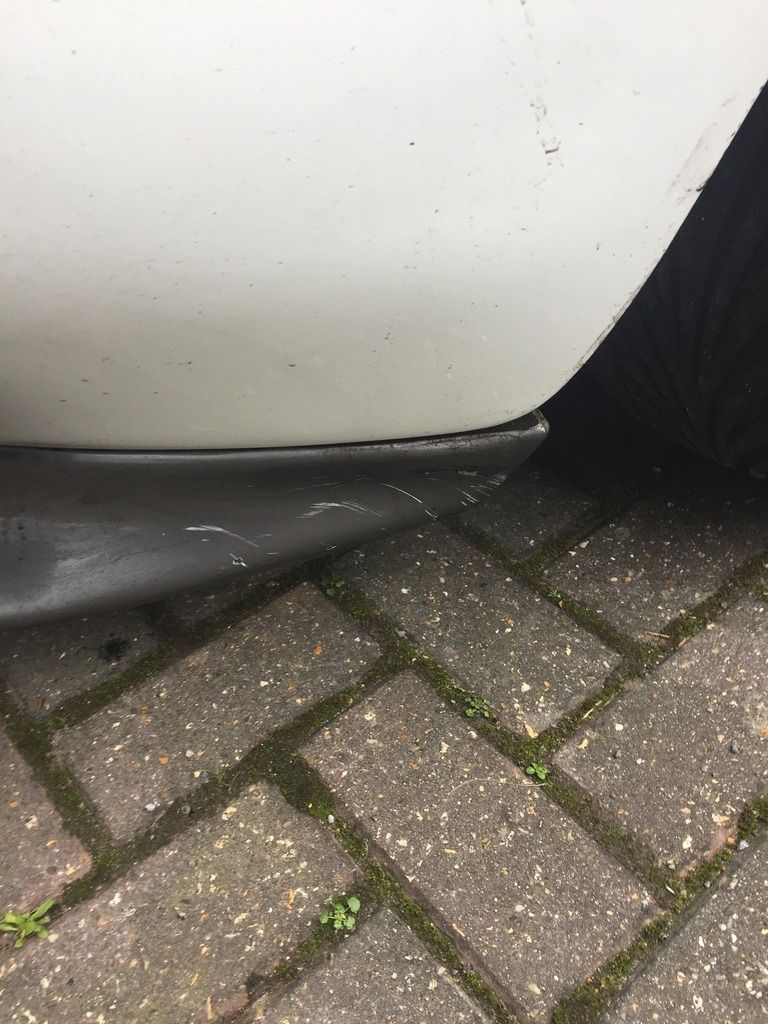 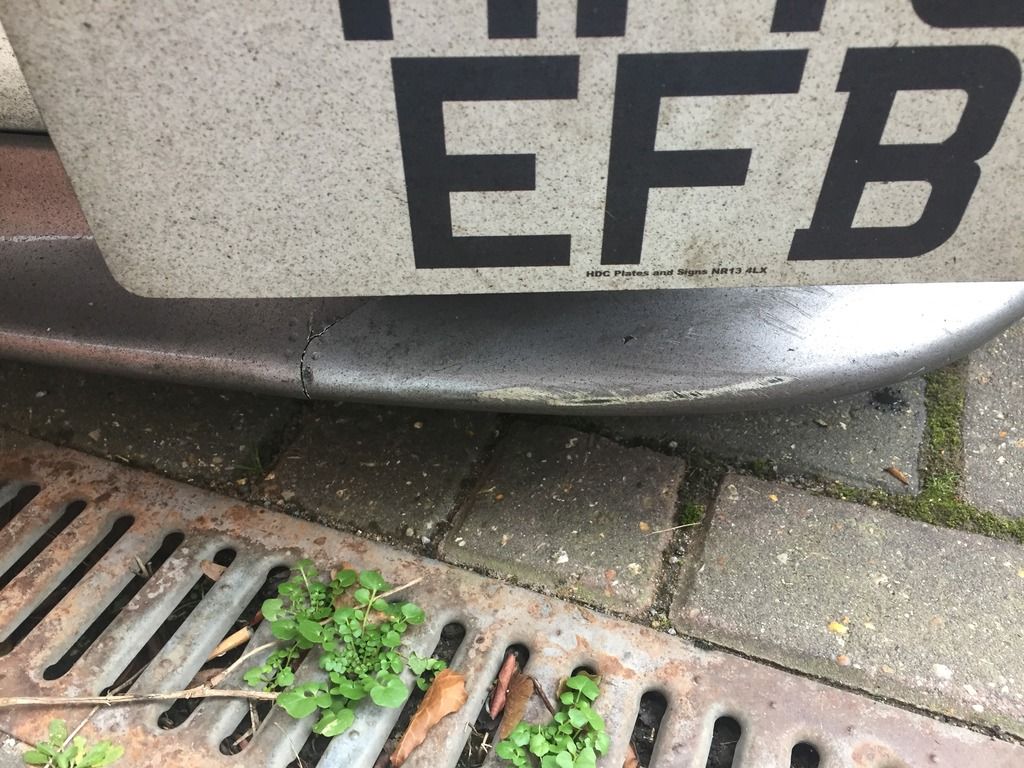 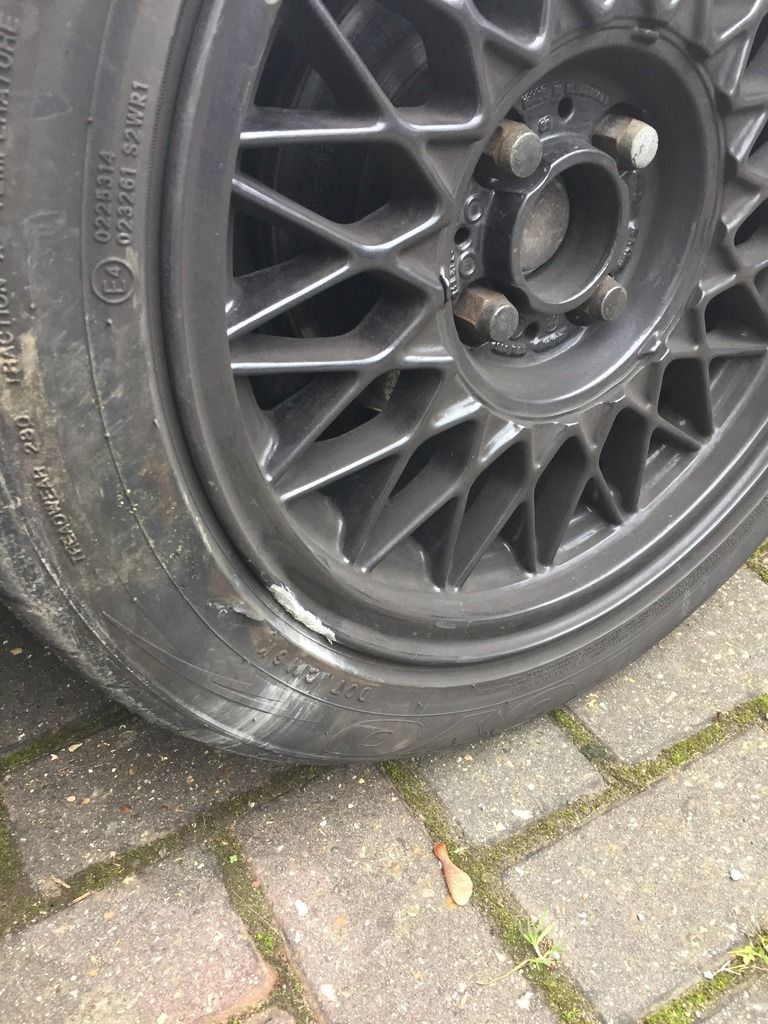 On closer inspection i'd twisted the lower control arm which made the wheel sit 5mm further back than it should, also distorted the camber and alignment so... 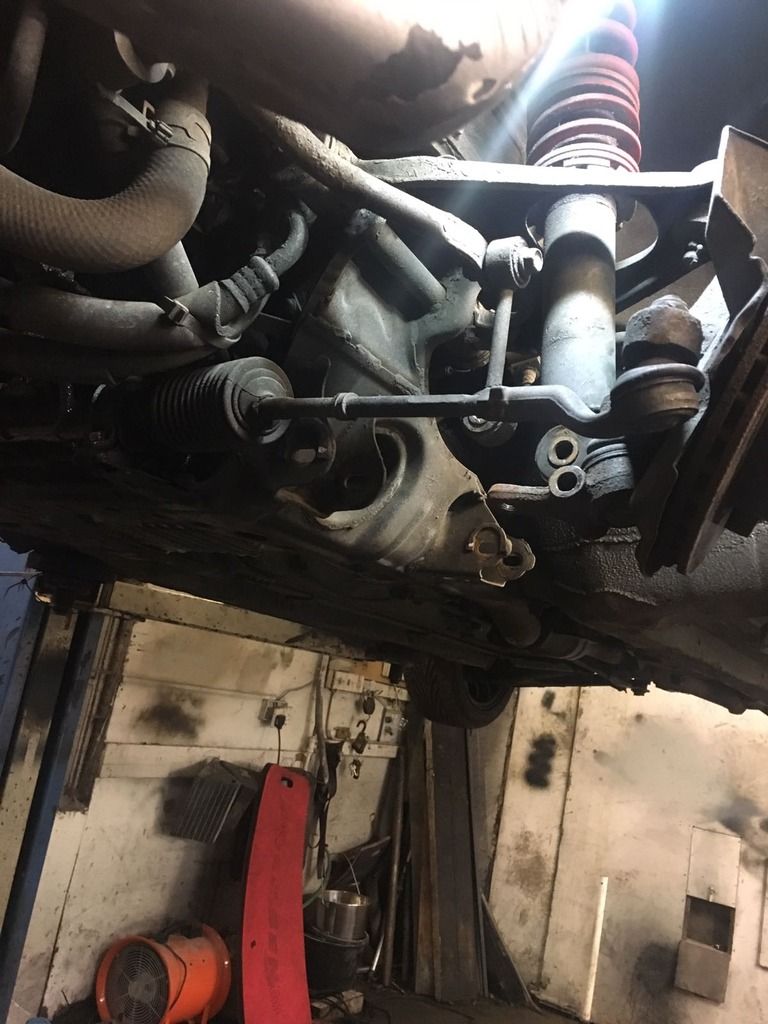 Control arm out and a game of spot the difference for you... 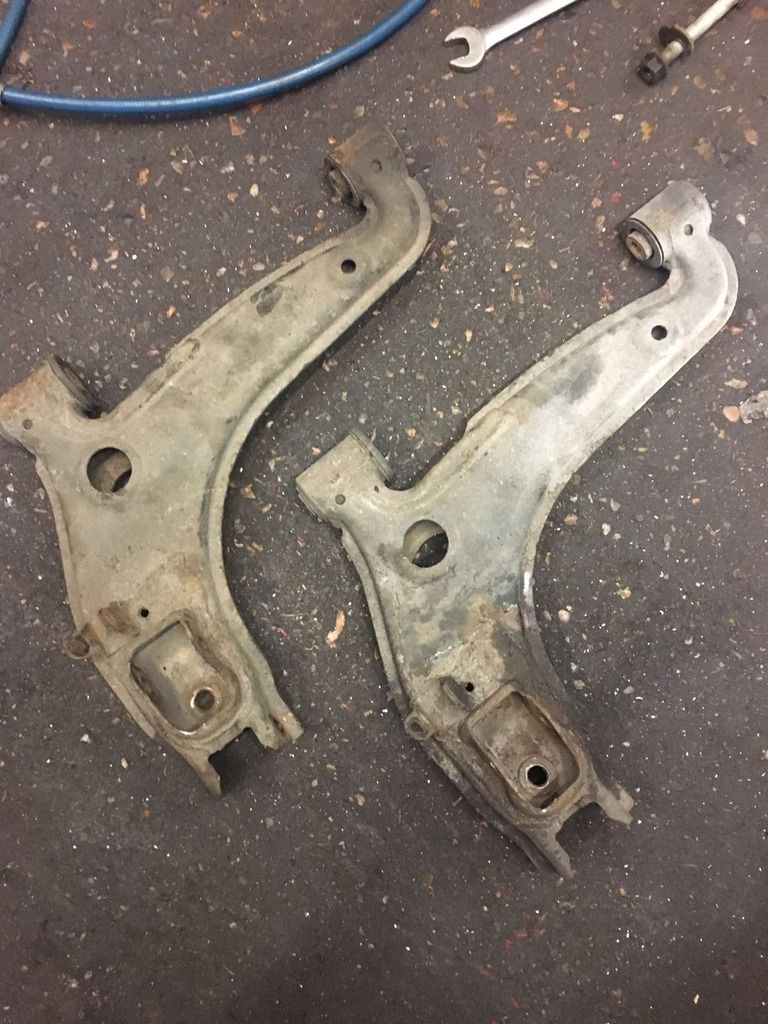 Still amazes me how easy these are to work on. New arm went in easy, got it back together and then Anton kindly did the alignment for me, now handles better than before  |
|
chef
Chats A Bit
 
Posts: 123 
|
Post by chef on Dec 7, 2016 9:59:25 GMT
So last night I set about doing the headliner on the hard top. For some reason the original had been removed by a previous owner and a saw this as an opportunity to make one that matched the door cards. I'll do a "How to" on this in the interior section so here's a snapshot of what's happened. Got the hardtop into the kitchen and placed it upside down (resting on scrim foam to protect the paint). 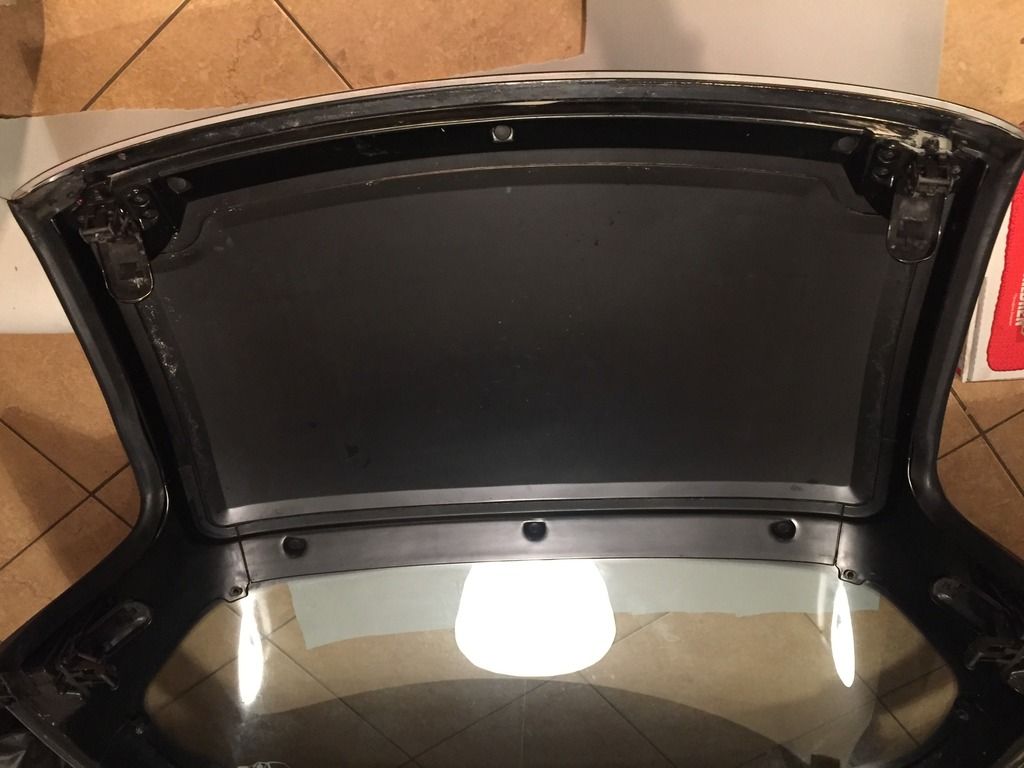 You can see the line for the original headliner so I laid the scrim foam over the area and used a pen to run around the groove that marks the edge of the headliner. 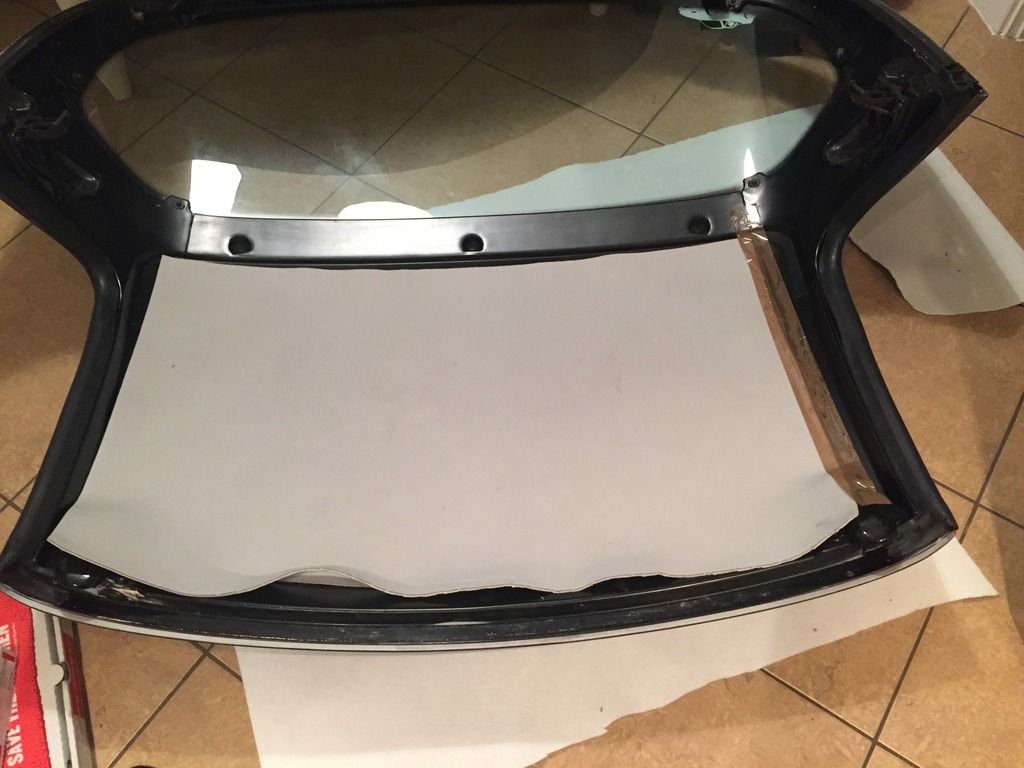 This give me the template to cut around which would then give me the shape I needed. 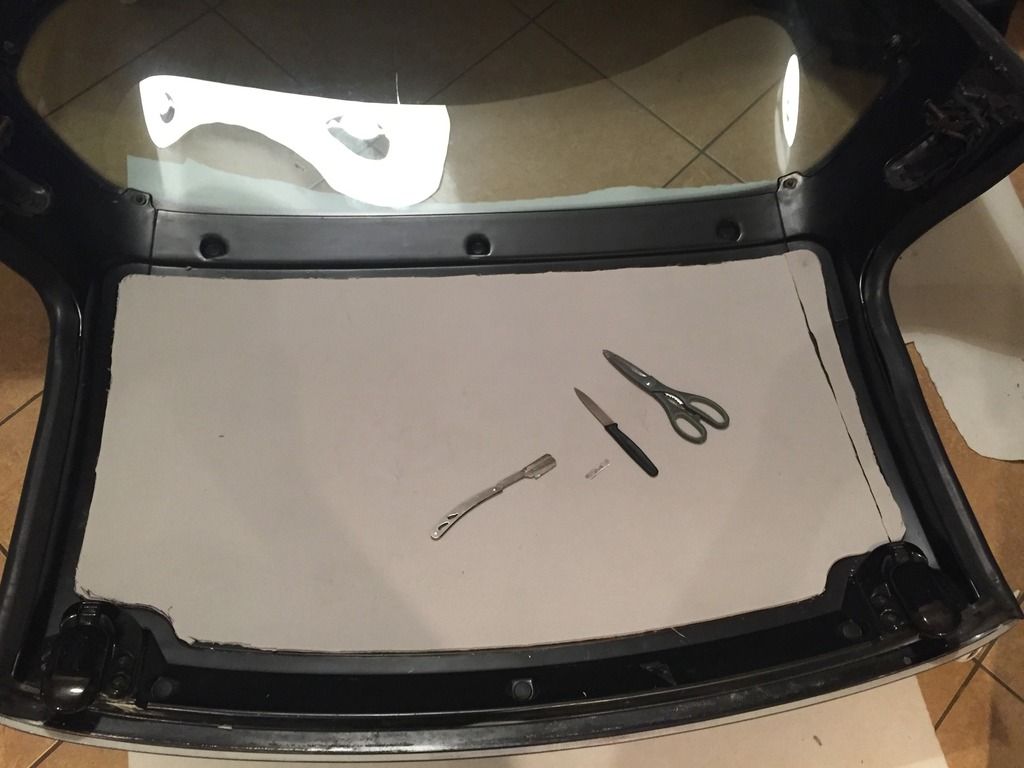 I then stuck the material down to the foam pad I'd made. 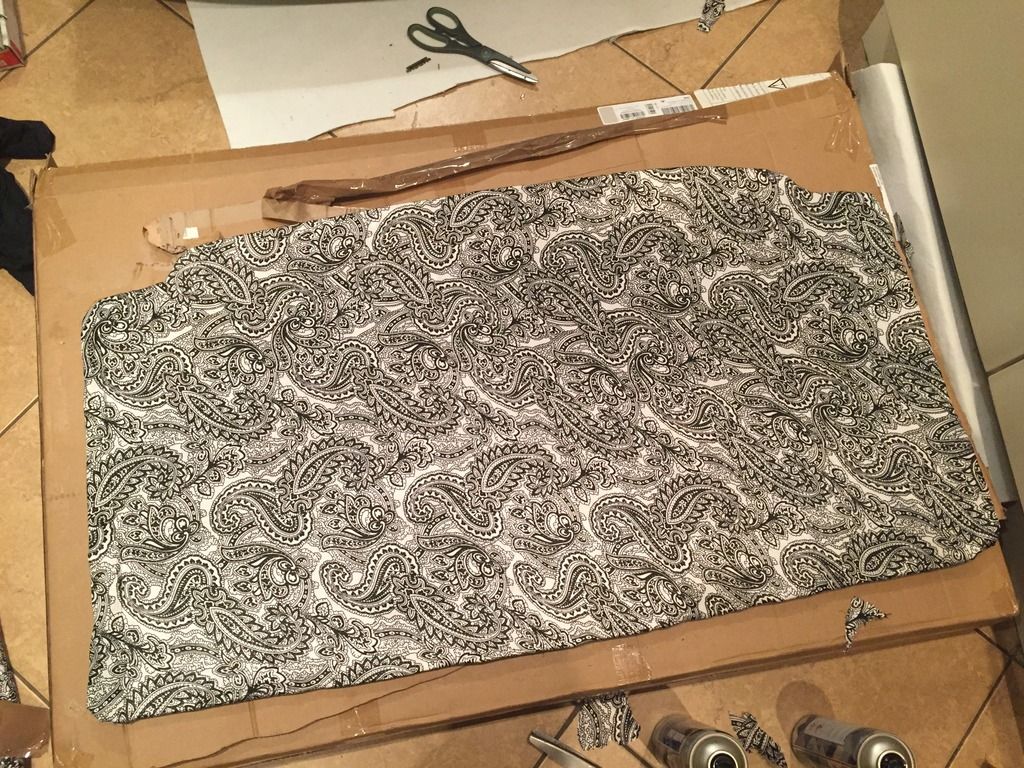 And then stuck it to the hard top 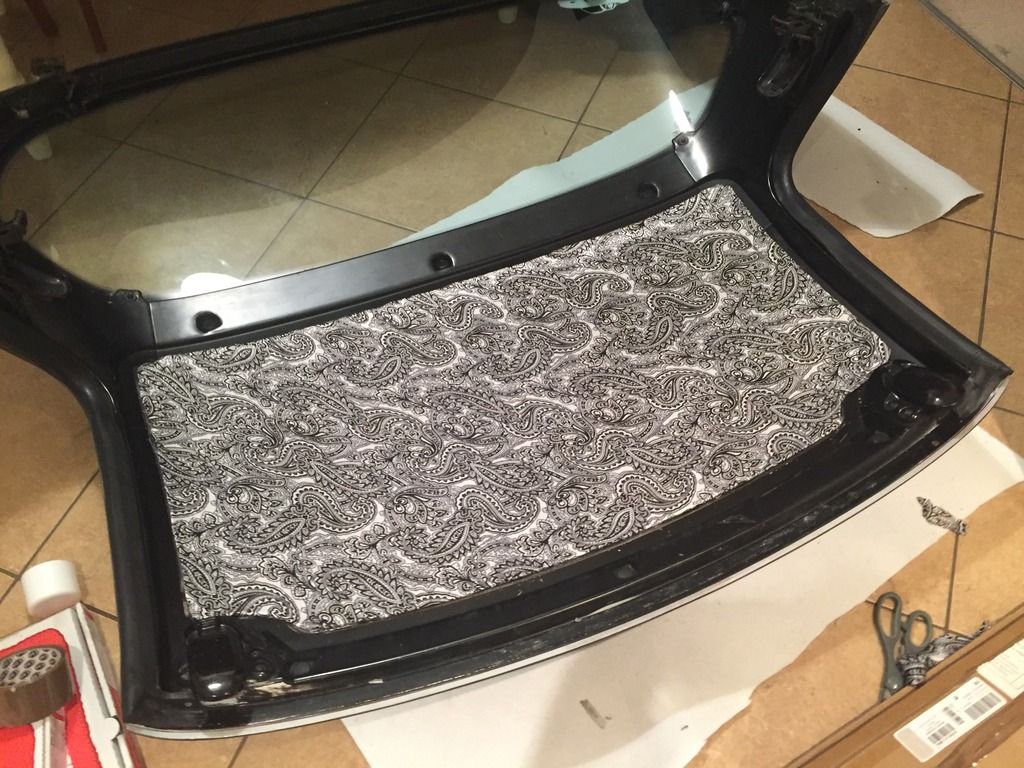 Ta Da! I'm trying to get some good photos of it on the car however it's harder than I thought, lol. |
|