|
|
Post by minty on Mar 23, 2017 11:12:07 GMT
My first MOT is due in May, no idea what to expect as not really had time to have a good look around my current one..
|
|
|
|
Post by Bilbo on Mar 23, 2017 11:33:30 GMT
From my 5's previous advisories and fails and other people's comments there seems to be quite a lot of "Dust cover not preventing the ingress of dirt", "anti-roll bar bushes have excess play", steering rack play, droplink bushes worn and general suspension deterioration really. Oh and rust, of course.
Luckily mine has had new ball joint dust covers, new rear droplinks and new ARB bushes all round so hopefully it's all good!
|
|
|
|
Post by Bilbo on Mar 27, 2017 20:26:43 GMT
It only went and bloody passed the MOT! No advisories either, very happy with that! Pics or it didn't happen: 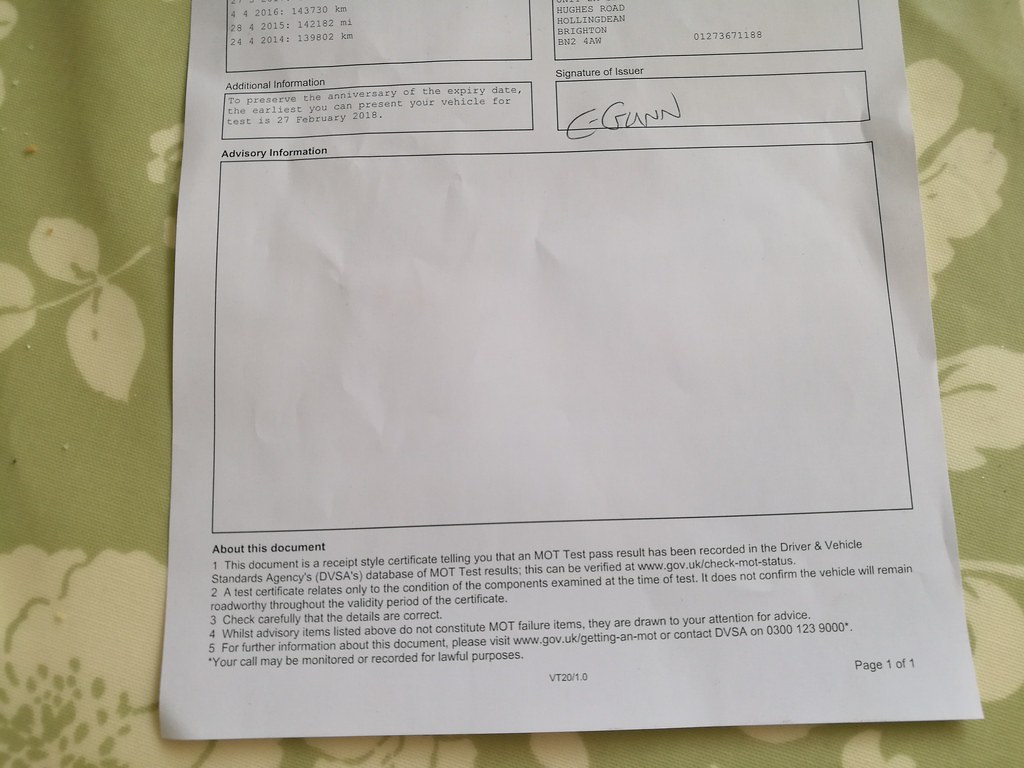 IMG_20170327_171523_zpspxcvjjos IMG_20170327_171523_zpspxcvjjos by Chris Oldham, on Flickr Big sigh of relief that there was nothing nasty and expensive lurking. Alternator belt is starting to squeal, which isn't ideal, but overall I'm impressed with the car now. Might just have been a great purchase  |
|
|
|
Post by Bilbo on Apr 1, 2017 20:58:52 GMT
Bought a new steering wheel to sharpen up the interior. The old Momo wasn't in bad condition, but it was a bit plain for me.  IMG_20170401_155148 IMG_20170401_155148 by Chris Oldham, on Flickr I know what you're thinking, cheap wheel, er mer gerd somebody think of the children etc. But I'm impressed with it for the price. Got it from McGill Motorsport on Ebay, it was cheap, but it isn't covered in OMP logos, it's not pretending to be something it's not. I gave it some grief before I installed it, really tried to bend it hard, but it wouldn't budge, it's pretty solid. The horn button takes a hard push to work so might use another one, or open it and adjust the contact plate. Other than that it's alright, looks decent to me. Need to get some quilted door cards, or maybe some dark crimson suede type material, not decided yet. Also on the seat front, I'm leaning towards some classic style bucket seats with headrests, go a bit more retro with the interior. |
|
|
|
Post by minty on Apr 1, 2017 21:14:44 GMT
Nice one Bilbo, good result!  |
|
|
|
Post by Bilbo on Apr 28, 2017 17:04:30 GMT
Thanks Minty! It's getting there, very pleased with it how it's going. So not a lot has happened lately due to my trip to Amsterdam, but as soon as I got back my mind turned back to the car. I ordered some Dinitrol 4941 underseal aerosols and some Bilt Hamber Hydrate 80. The plan is to get the front wings off and give it a good coating. The rear driver's side arch and sill need a closer inspection, and perhaps some rust work, so I'm putting off the underseal on the rear until I've had it up on axle stands and taken a proper look. I'm loving the MX5Parts exhaust system, but the cat is looking very sorry for itself next to the lovely shiny stainless midpipe:  IMG_20170504_233816_577_zps6gl10nxb IMG_20170504_233816_577_zps6gl10nxb by Chris Oldham, on Flickr So an upgrade was purchased. A lovely matching decat pipe, also from MX5Parts:  IMG_20170428_174546_zpsttqblkjw IMG_20170428_174546_zpsttqblkjw by Chris Oldham, on Flickr Such decibels, many bwarp:  IMG_20170428_174610_1_zpsoevxioun IMG_20170428_174610_1_zpsoevxioun by Chris Oldham, on Flickr Looking forward to hearing this bad boy on the car! Hopefully I'll get it done this bank holiday weekend. Some of the welds aren't exactly perfect, but it seems well built enough. |
|
|
|
Post by Bilbo on May 22, 2017 12:16:09 GMT
So the decat and a new downpipe have been fitted. Had to take it to the garage as the manifold-downpipe studs were just impossible to remove. All done and looking good:  IMG_20170512_171300 IMG_20170512_171300 by Chris Oldham, on Flickr Sounds bloody awesome now! Still not too much drone when cruising, but major bwarp action when giving it some throttle. Helped my Grandad move house on Saturday, and the driver's side electric window stopped working when it was half way down. Quality mate! Luckily it was sunny. Had to strip apart the door card and centre console to try and source the issue. Gave up and concluded it was the switch itself. When I put it back together it just started working again. Wound it up and I'm too scared to open it at all now! When the centre console was off I think I located the source of my dodgy second gear shift:  IMG_20170520_154354_zpsxotcxtuo IMG_20170520_154354_zpsxotcxtuo by Chris Oldham, on Flickr Lol, I've never seen one that bad. New parts coming soon! Also tightened the alternator belt. The top hose spring clips are a total bitch! Nearly ripped my finger nail off when one of them pinged off the top hose. Also noticed my coolant is a rather nice shade of rusty brown, so there's another thing to do! Living in central Brighton I'm very lucky to have a temporary place in a secure underground garage until my parking permit comes through. Nice to keep it tucked away from the elements and bellend road users!  IMG_20170521_021730 IMG_20170521_021730 by Chris Oldham, on Flickr Next jobs: Engine service, new shift boots, coolant change. |
|
|
|
Post by Bilbo on Jun 2, 2017 1:09:50 GMT
So I got over to the Sussex Brekkie meet for the first time in this car! Didn't take any photos because I'm an idiot, but there was a beautiful yellow Roadster with a blended GV rear panel, and so much other awesome stuff done to it, with the Corns sticker on the rear. Truly stunning. Anyway the car developed this click on my way there. When I started the car to leave, a small crowd gathered when they heard it. It became much louder, and varied in speed depending on RPM. Bottom end? Luckily no. The sound seemed to be coming from the right hand pulley area. Turns out it was the air con compressor giving up for good. Here's the noise in it's final form: Gnarly. So I decided to do the "aircon delete" everyone does. The last compressor bolt was rounding off, total pig. No chance, so drove home from my parent's driveway with no P/S belt as the shorter IL Motorsport one I bought fouled on the top of the air-con pulley. No power steering was interesting, never experienced it before. Parking with a power steering rack that isn't hooked up is a nightmare! The noise was gone though: That was something. No expensive engine work needed (touch wood haha). So I popped down to Screwfix (how have I just discovered how good this place is? B&Q can do one from now on) and bought some "bolt grip extractor" sockets. Worth a try for £12. Picked up a hacksaw for the aircon pipes too. Tools out, the grip sockets got the last compressor bolt off on the second try. So easy. Maybe the best tool purchase I've ever made. Came in handy for the rest of the aircon removal too.  IMG_20170601_183941 IMG_20170601_183941 by Chris Oldham, on Flickr A bit of pipe hacking, and some fiddling and twisting, and the compressor fell out, top stuff: 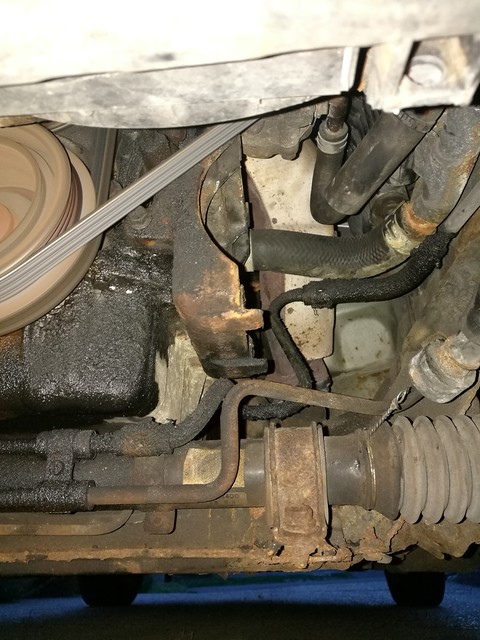 IMG_20170601_212437_zpsltydmlfn IMG_20170601_212437_zpsltydmlfn by Chris Oldham, on Flickr Dat oil leak! The bracket can stay for now, that's a job for another day. I've already sourced a shorter bolt for the front, which goes through the oil pump housing, don't want any leaks. Hacksawing the car is so therapeutic! Just hack the prarrie canoe out of it and all the pipes just come off. Still got a few bits of pipe to do, but the bulk is out:  IMG_20170601_213731 IMG_20170601_213731 by Chris Oldham, on Flickr The compressor weighs an absolute ton! The radiator was also so far beyond it's best haha, the fins were literally crumbling in my hands. Had a stubborn final bolt on the radiator, super awkward to get to, but luckily it just pulled itself off (giggidy) after the other three were done. New shorter P/S belt on and tightened, and it's all sorted. Steering feels a bit lighter than when the aircon shared the same belt, almost too light? Hmmm, maybe it's a mental effect of driving with the super heavy steering for the last day. Feels good to make some progress on the car! Hopefully I can give the engine a minor service this weekend, much overdue, had the parts and fluids for a while now. It's all boring stuff, but it's the little things that make the difference I guess. Coilovers are on the horizon when funds allow. No super lowz TA Technix THIS IS NOT SLAMBER! for me though, want to give it something proper like HSDs or MeisterRs. At the moment this is relatable:  IMG_20170522_012653_zpsxot1scpv IMG_20170522_012653_zpsxot1scpv by Chris Oldham, on Flickr Top stuff, onwards and upwards I guess! |
|
|
|
Post by Bilbo on Jun 21, 2017 22:45:53 GMT
|
|
|
|
Post by Bilbo on Jun 25, 2017 0:15:17 GMT
Gave it a wash this week, rare! Much like most Tinder photos it's all just good angles, but it's looking alright!  IMG_20170624_143737 IMG_20170624_143737 by Chris Oldham, on Flickr  IMG_20170624_143747 IMG_20170624_143747 by Chris Oldham, on Flickr  IMG_20170624_143803 IMG_20170624_143803 by Chris Oldham, on Flickr It's getting to a point now where I'm considering throwing some bigger money at the car to refurb and upgrade it. I know you can get a sorted one for not huge amounts, but "better the devil you know" and all that. I've become quite attached to it now, and I'm considering some HSD DualTechs this month, if I can bring myself to splash out on them! My dad's only been in the car for a short journey, and his first impression was "very bumpy, you need to sort that suspension out". He's definitely right, it's next on my list now. |
|
|
|
Post by Bilbo on Jul 3, 2017 17:14:39 GMT
Big delivery today:  IMG_20170703_143315 IMG_20170703_143315 by Chris Oldham
HSD DualTechs, and a cheeky pack of Haribo. Got them from G19 Engineering, Doug's a top guy. Excited to get these on, if the bolts all play ball this weekend. SO EXCITE. |
|
|
|
Post by Bilbo on Jul 9, 2017 22:06:58 GMT
Big update yo! Commandeered my parent's driveway this weekend to fit the HSDs. Started off quite well, axle stands on and everything PlusGassed to oblivion.  IMG_20170708_135710 IMG_20170708_135710 by Chris Oldham, on Flickr Most of the bolts came off easily on the first shock, but it didn't take long to realise the long bolt was stuck really bad, just wasn't moving at all. So I did something that isn't recommended, jacked the arm up and released the center upper shock bolt. Then lowered the arm down slowly and released the compression in the spring completely. Mum gave me a lift to B&Q for some angle grinder discs, and my dad ended up grinding the spring in half. Then just lifted the shock out easily with the top mount removed.  IMG_20170708_201857 IMG_20170708_201857 by Chris Oldham, on Flickr New shock in:  IMG_20170709_112913 IMG_20170709_112913 by Chris Oldham, on Flickr 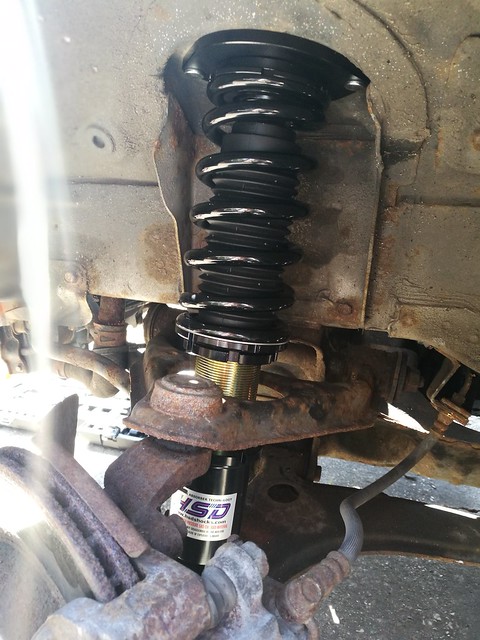 IMG_20170709_112919 IMG_20170709_112919 by Chris Oldham, on Flickr  IMG-20170709-WA0008 IMG-20170709-WA0008 by Chris Oldham, on Flickr That was basically day 1 over! Many hours and only 1 shock done, but still it was a start I guess! I haven't ached so much in years.  Snapchat-519519871 Snapchat-519519871 by Chris Oldham, on Flickr Day two! The other side was much the same, angle grinded the living sh*t out of it, after decompressing the spring of course:  IMG_20170709_112701 IMG_20170709_112701 by Chris Oldham, on Flickr Won't be reusing those then! Another trip to B&Q from my mum for bigger grip sockets as the last rear shock bolt was a total bitch. My dad and I drowned it in PlusGas, Shock n Unlock, and GT85. Snapped a brand new socket adapter trying to get it off. Finally gave way, both shocks and no issues with the captive nuts. MASSIVE sigh of relief! Had a dead phone all day, so no photos of the progress. Got everything torqued up, checked all the bolts, white lithium grease on the coilover threads, and copper slip on the bolts where needed. All done: 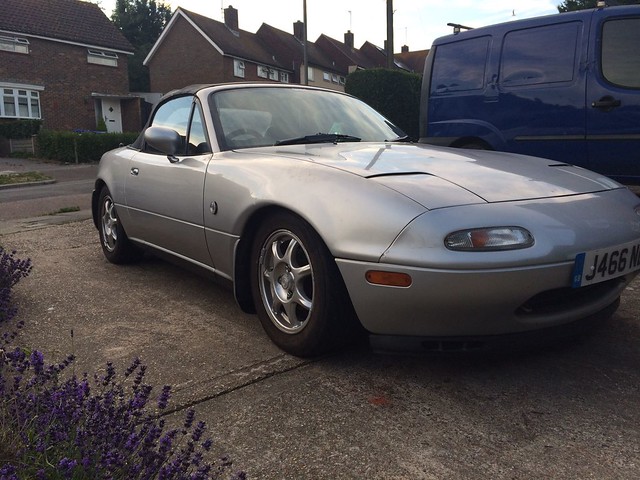 IMG-20170709-WA0000 IMG-20170709-WA0000 by Chris Oldham, on Flickr 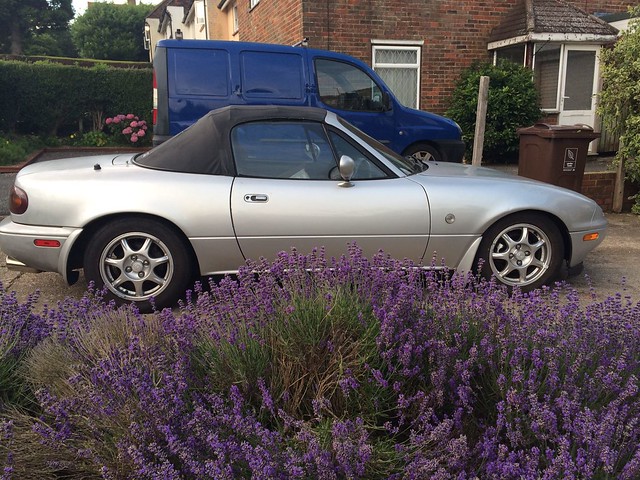 IMG-20170709-WA0001 IMG-20170709-WA0001 by Chris Oldham, on Flickr  IMG-20170709-WA0001 IMG-20170709-WA0001 by Chris Oldham, on Flickr  IMG-20170709-WA0004 IMG-20170709-WA0004 by Chris Oldham, on Flickr  IMG-20170709-WA0012 IMG-20170709-WA0012 by Chris Oldham, on Flickr Currently sitting 310mm front, and 320mm ish rear. Letting it settle for a few miles on full soft as advised in the manual, and will adjust and re-check the torque settings after a few more miles. Going to raise to 320mm front to match the rear, it is very low on the front, scraped heading into the garage this evening! They're still settling, and full soft isn't ideal, but it feels much better over bumps already. Medium hard setting will do just fine I think. Also it looks much more purposeful now, even with the massive tuck on the ET45 wheels! Anyone who reads this that hasn't done coilovers before, make sure you have grip sockets, spare shock bolts, and a few cans of PlusGas/Shock n Unlock/GT85. I didn't need the shock bolts, but they do get stuck and need destroying to get out sometimes, so well worth getting some spares. |
|
|
|
Post by Bilbo on Jul 9, 2017 22:14:19 GMT
Here's a before and after of the height: 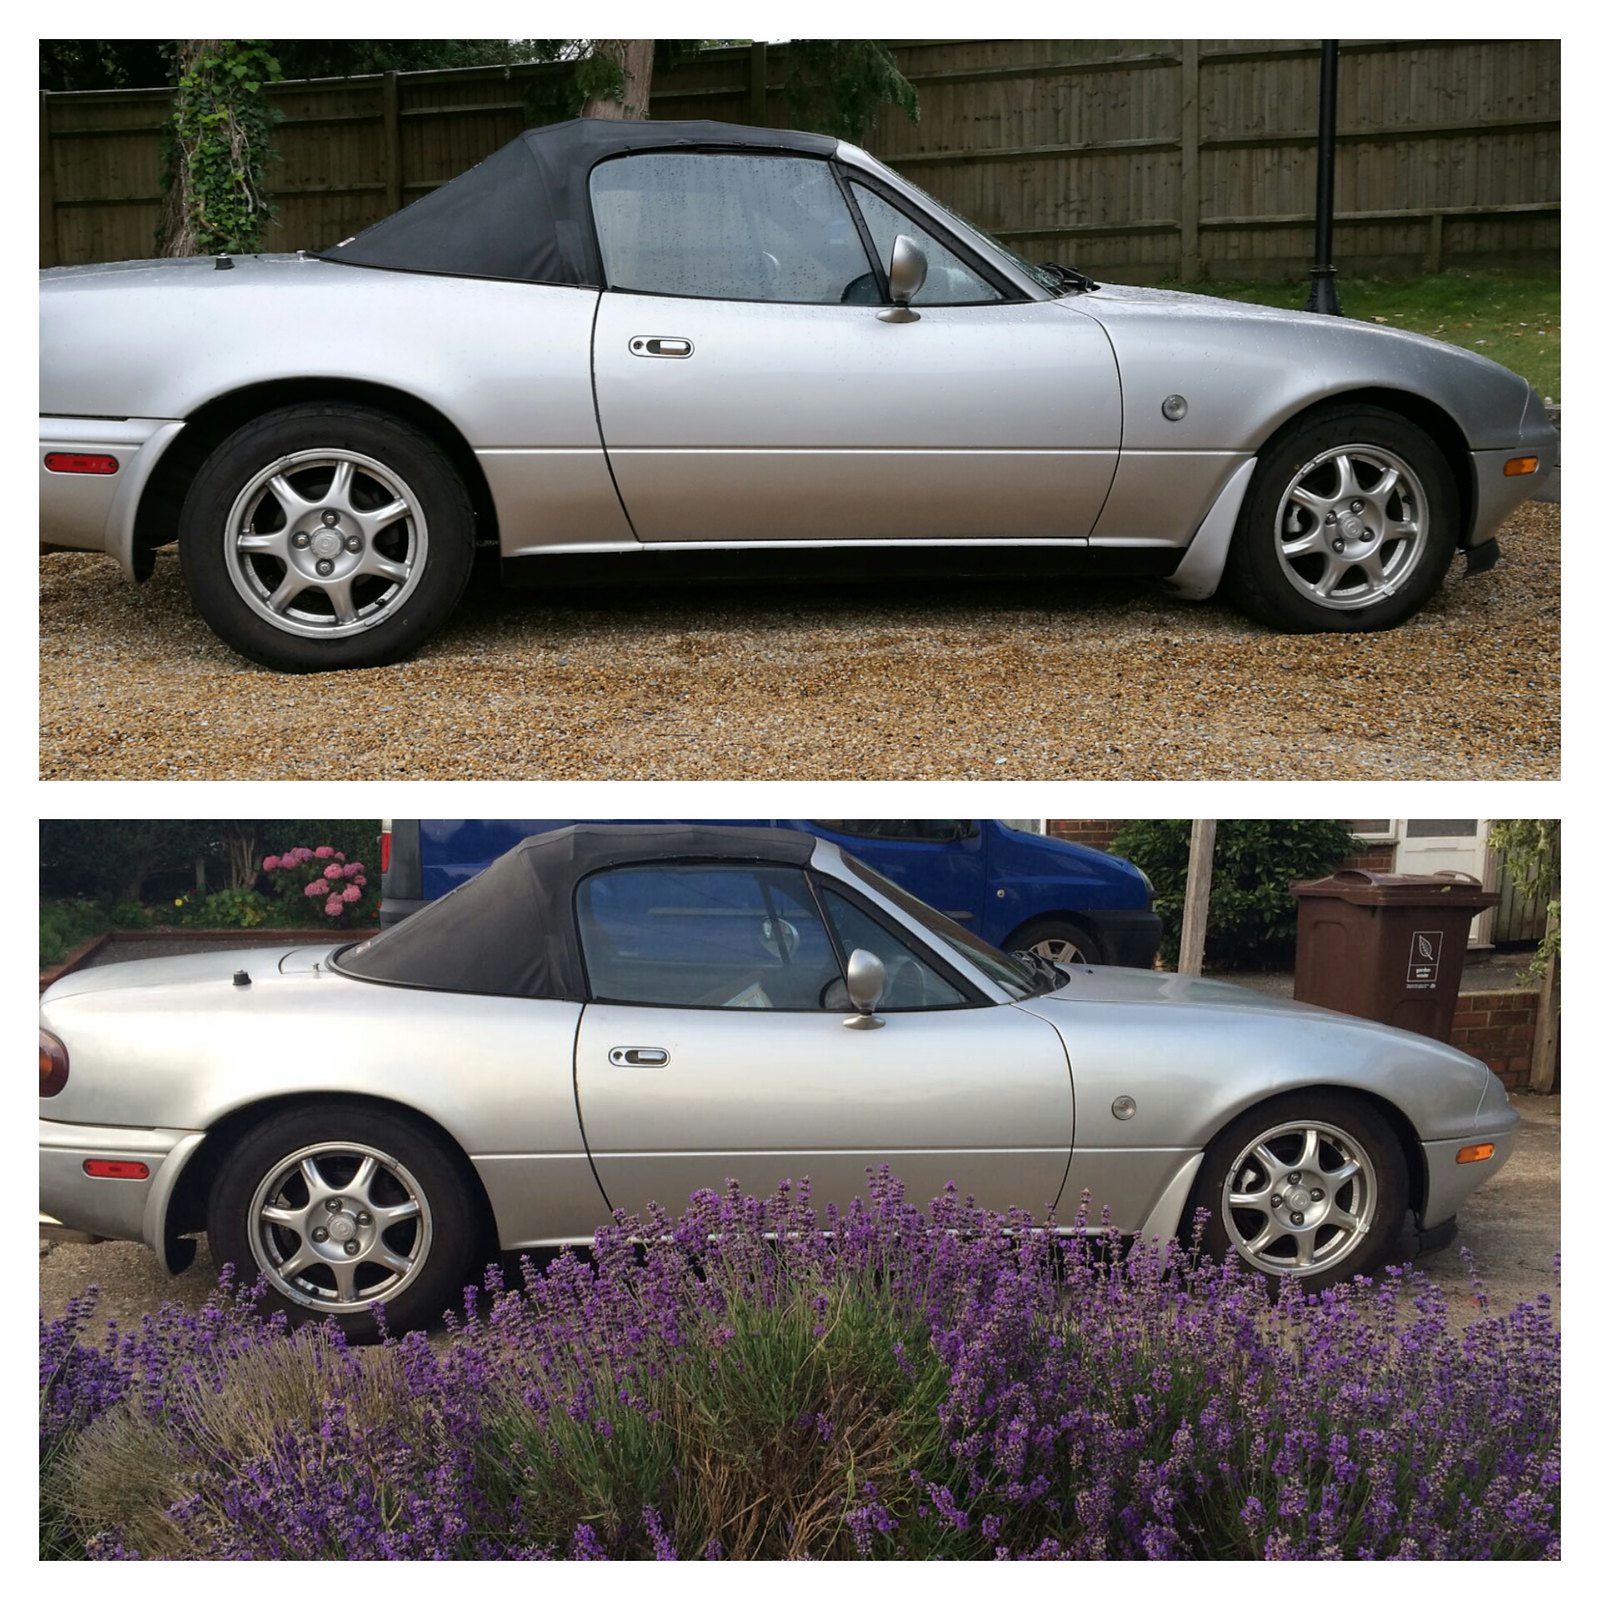 SI_20170709_221925 SI_20170709_221925 by Chris Oldham, on Flickr The rear actually seems to be sat a little lower than it looks here on proper even ground. |
|
|
|
Post by joeytalent on Jul 9, 2017 22:33:15 GMT
Surely a set of spring compressors would've helped massively?
Either way, good job on getting it done, looks ten times better.
|
|
|
|
Post by Bilbo on Jul 9, 2017 23:58:46 GMT
Surely a set of spring compressors would've helped massively? Either way, good job on getting it done, looks ten times better. Oh mate 100%, would have been so much easier, but I got annoyed as I hadn't bought any just in case. I'd recommend that over my method any day! Thanks, just needs wheels now as the tuck on the front especially is not good haha. Thinking gunmetal Minilite style maybe. |
|