|
|
Post by carl4x4 on Jan 1, 2019 20:44:17 GMT
Thought I'd re-post my build thread from Nutz seeing as it almost disappeared last year and seems pretty quite there now... Oct 2016: This is my third MX5 after a break of a few years whilst I restored an old Karmann Ghia. I've had a mk2 & a mk3 but always fancied a red mk1 :-) It’s a ’91 Eunos Roadster which I picked up as a project car for myself to tinker with this winter. I’m hoping there’s not too much major to address the sills and arches all look really solid, ironically this is the fifth car I viewed all of them a lot more expensive than this but all had signs of rot or bad previous repairs to the sills. The vendor was a nice chap but didn’t have much of a clue about the car so hadn’t advertised any of the extras that I found when I viewed it. 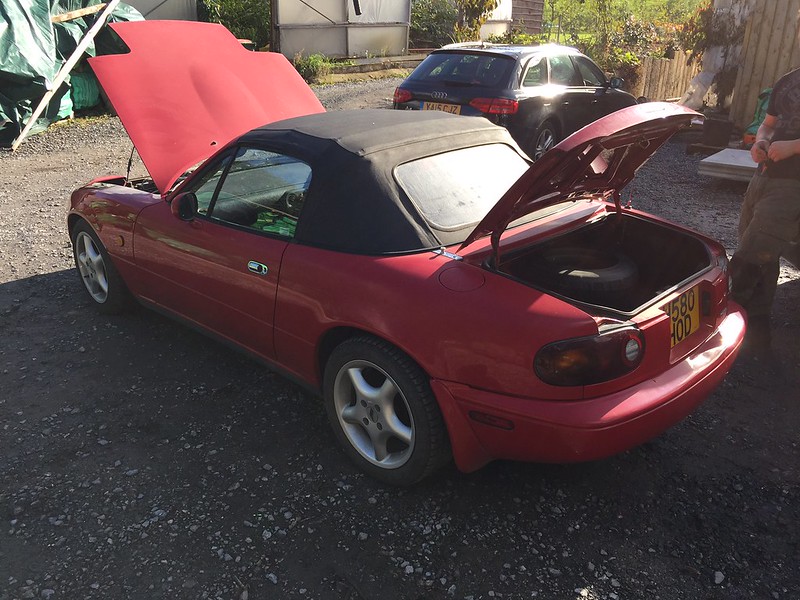 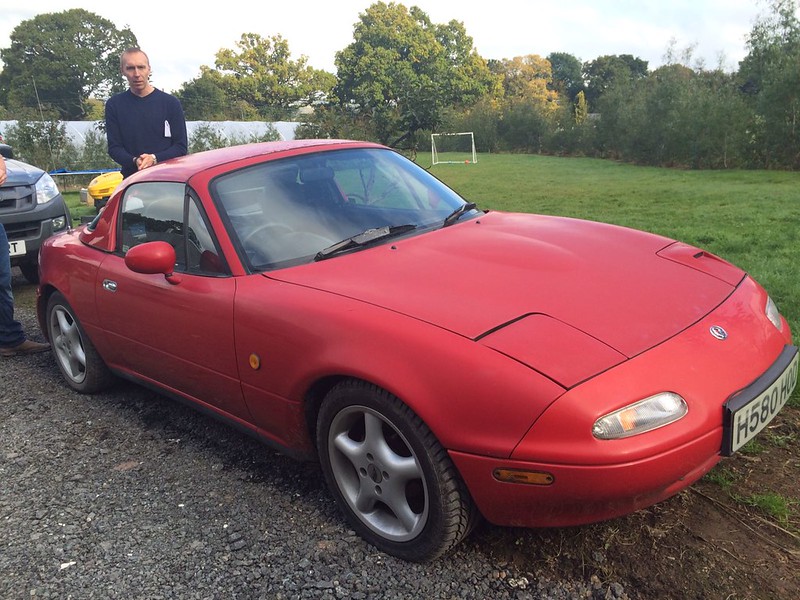 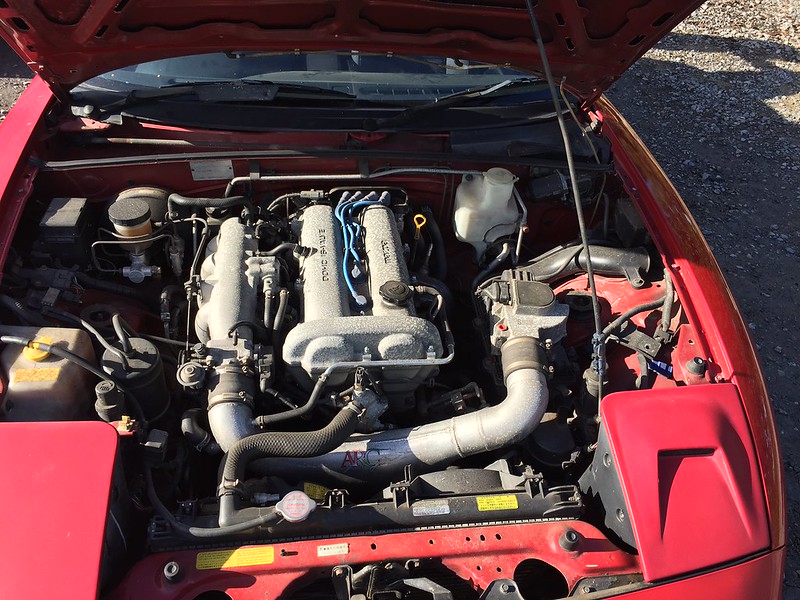 So far I’ve found it has an ARC chamber, stainless steel exhaust manifold and I believe the whole system (although it was a bit hard to tell in the mud!) a quickshift is fitted (which I hate), plus some sort of adjustable suspension (you can see dials on the bottom of the shocks) Aircon doesn't work, interior is a bit dirty but not ripped or torn, plus the vendor threw in the hardtop which is a little rough round the edges but a bonus. The car hasn’t had much use (or love) over the last year that the previous owner had it, but seems that owners prior to that have looked after it well. Initial tasks are: - A tappety engine turned out to be low oil which seems to have gone away by it topping up with oil and giving it an Italian tune once warm ;-) - A few of the belts seem to intermittently squeal – so will work my way through replacing those - General oil change, plugs, service etc. - Unknown age of cambelt – plan to change this along with water pump, various gaskets, camshaft & crank seals etc - There’s a suspension rattle (quite a lot) but the steering & suspension seems to be quite taut so I suspect it’s the ARB droplinks or similar – investigate &repair where needed - Replace quickshift with normal one - Paint – give the whole car a good mop to get rid of the classic red paint oxidisation - Hood – seems sound but the rear has a loose flap that needs attention – if it doesn’t leak I will leave it alone until the weather gets warmer then I will have a go at replacing if necessary - Drivers door has slightly sagged so needs adjustment, ordered some of the solid door bushings to go on at the same time - Front number plate plinth is cracked – may replace or even move to below the grill - Replace stereo with something that doesn’t have buttons the size of grains of sand and that I can actually read without having to pull over and squint at it. (honestly who designs aftermarket stereos these days? Makes me wonder if they have ever driven a car) - Replace the naff 15” wheels and ditchfinder tyres with a set of Panasport 8-spoke wheels I have squirrelled away in the garage - Fit front & rear lower chassis braces (need to check it doesn’t have them first) Nov 2016: This weekend replaced the quickshift with a standard lever (much nicer) will replace the boots when I get round to ordering them as it's only a 20 minute job, tried to track down the suspension rattle and discovered the GAB Super suspension looks like it's pretty ancient and may need replacing. All the droplinks look ok which was my initial thought on a quick fix! Adjusted the drivers door striker plate, Also replaced the headlamp vent with a standard headlamp, discovered why the hardtop was creaking - three of the four nuts holding the back mountings have fallen out :-) - fitted the new hardtop fixings - new front number plate - oil service & filter - air filter - plugs - replaced some missing bodywork fixings from the front bumper opening, found a broken wing support - replaced gearshift boots, changed the gearshift oil - fitted the new refurbished Panasport 14" wheels, it's the first time I've ever upgraded the wheels on a car by downsizing. What a difference they have made: Old 15" with worn tyres = 16.3kg each New 14" wheels & tyres = 11.6kg 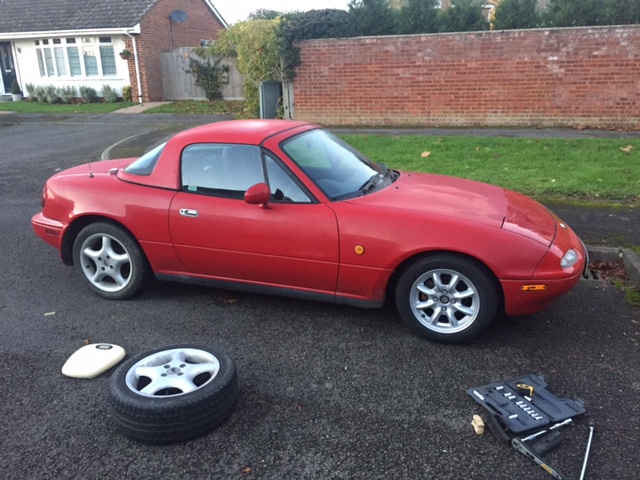 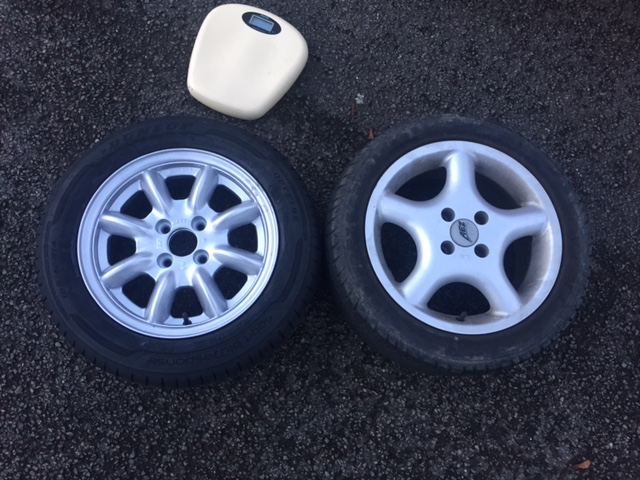 |
|
|
|
Post by carl4x4 on Jan 1, 2019 20:50:19 GMT
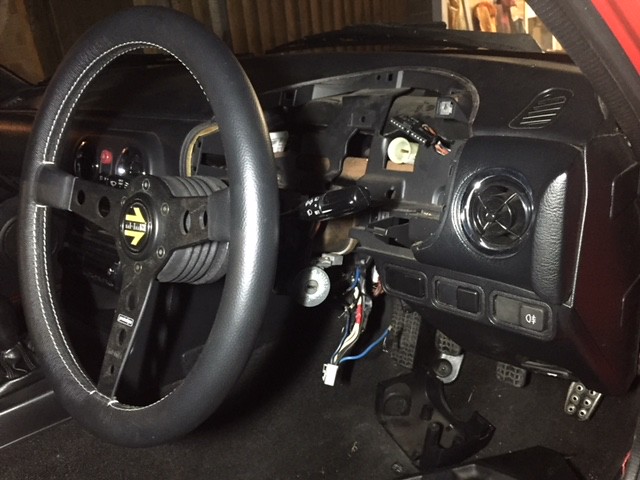
March 2017 - Cambelt + tensioners - water pump - Camshaft & crankshaft seals - all belts replaced - coolant flushed & new thermostat - Miester coilovers - all disks, pads, one new caliper (rear stuck on) - foamectomy on drivers seat - removed drivers arm rest on door - wheel replaced with Momo Prototipo - front radiator cowling replaced - brake fluid flush & change - plugs - oil & filter changed - alignment bolts un-siezed or replaced - new clutch slave cylinder, fluids flushed In the middle of replacing both top & bottom ball joints on front suspension, took the car to WIM Amersham for a geo and they weren't able to set it accurately as there was too much play in the balljoints - probably good they found that out! plus all the rear adjusters were seized :-( The foamectomy + smaller steering wheel + removing the door arm rest has given me lots more room to drive the car (I'm over 6') 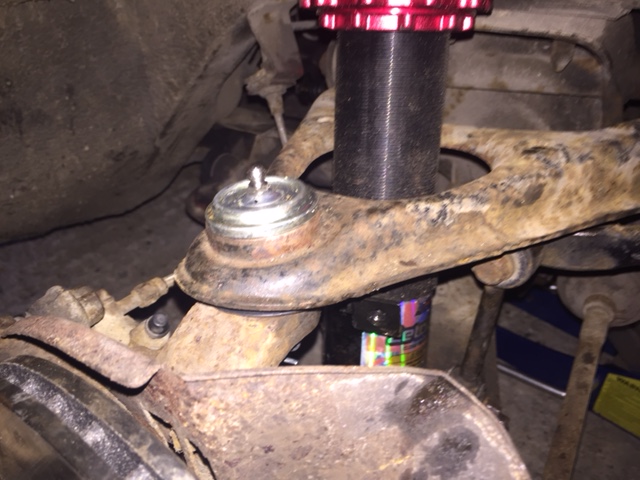 Gave the paintwork a good t-cut & polish a few weeks ago, amazing how well a red car can buff up from it's old faded red/pink paintwork ! 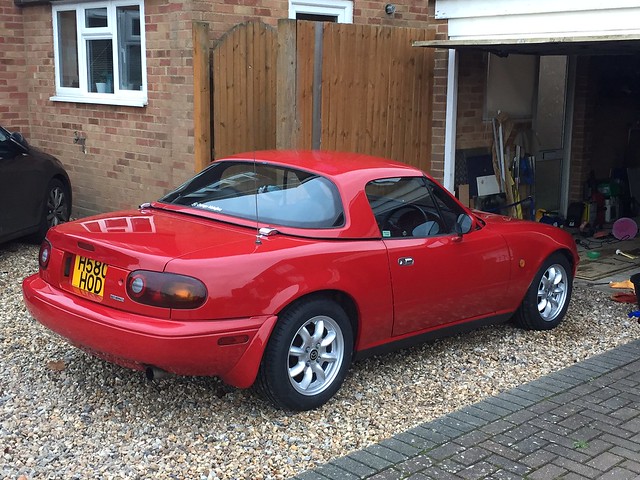 |
|
|
|
Post by carl4x4 on Jan 1, 2019 20:53:16 GMT
April 2017 Both sides ball joints now replaced, plus new anti-rattle kit for front brakes seems to have stopped most of the rattles from front of car :-) After a trip to Wheels in Motion where they couldn't complete the alignment, I've now freed off all eight alignment bolts so a return trip is due for them to hopefully complete the job. Two replacement bolts, (one I had to angle grind off to replace !) 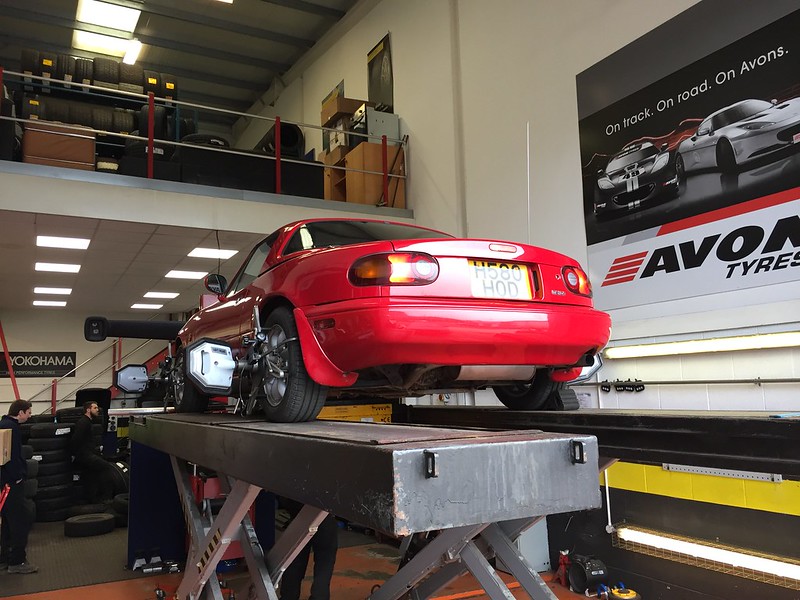 |
|
|
|
Post by carl4x4 on Jan 1, 2019 20:54:11 GMT
May 2017 Next job is to replace the heater hoses and do something about the one that runs just 5mm away from the RS*R manifold and has caused the rubber to expand and weep. Might try a combination of heat shield and routing the pipe slightly further away. After that I can fit the TDR exhaust blanket and make my home grown induction system I've been collecting bits for :-) TDR manifold blanket fitted this evening after some small small alterations due to the o2 sensor in the manifold. Also fitted a new rigid heater pipe & O ring as the old pipe was corroded, I took the opportunity to heat the pipe and bend it about 3/4" further away from the RS*R manifold as the original heater pipe was too close (new rubber hose fitted also). 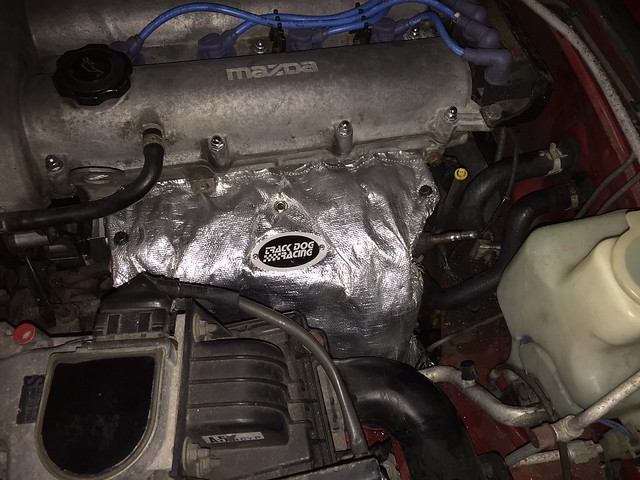 |
|
|
|
Post by carl4x4 on Jan 1, 2019 20:57:22 GMT
May 2017 Evenings this week have been taken up with fitting a home-grown K&N induction kit. I know there's a lot of these for sale out there but none that I could find that fitted my car's setup. The mk2 factory brace combined with ARC chamber & JDM RS*R manifold meant that I was better off making it myself. So I ordered a few bits & pieces: - Jass 3" AFM adapter - various bits of 3" alloy tubing & silicon - K&N 3" filter I removed the air box and mocked up some brackets with cardboard that would use the airbox mounting points, then transferred these over to 30 x 2mm steel strip (plus a bit of alloy bracket I had lying around ;-) ) 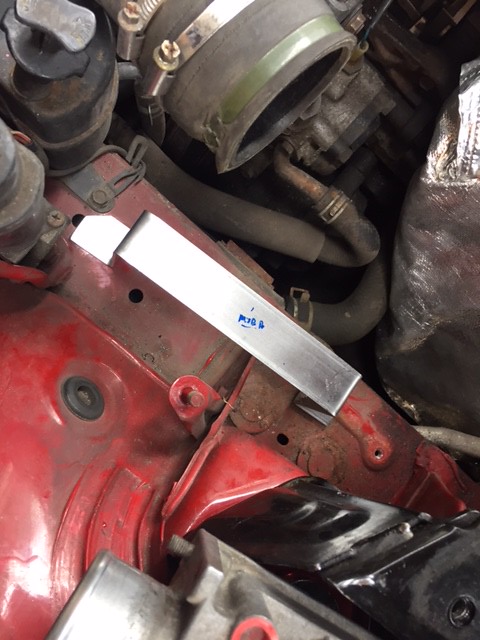 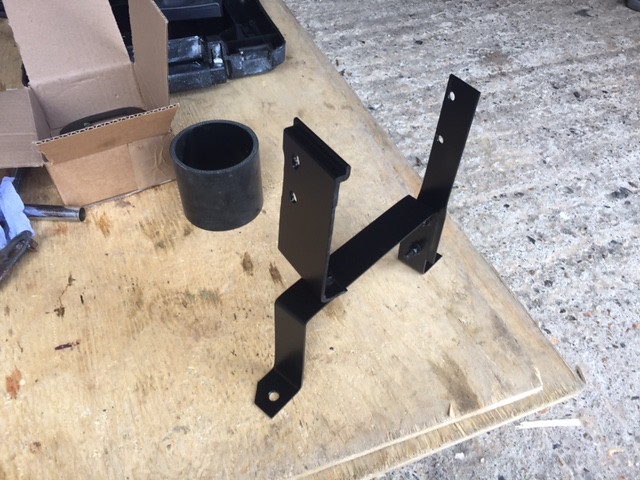 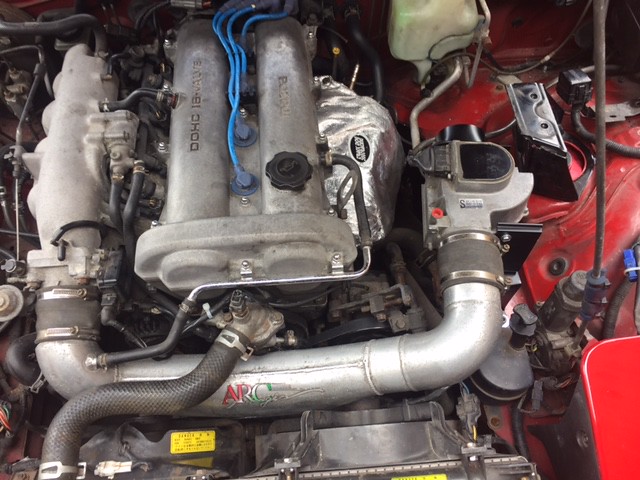 I'm pleased with how sturdy the bracket has turned out, I've seen a few home grown ones that seem to be quite flimsy and with the weight of the ARC chamber hanging off the AFM I was a bit concerned it might wobble about. Next job is to trim the 3" 90 degree pipe & fit the filter, The TDR blanket seems to be working nicely in deflecting manifold heat away from the engine bay, so I'm not too worried that the filter will suffer from heat, plan to site it round about the same place the OEM funnel used to be anyway. |
|
|
|
Post by carl4x4 on Jan 1, 2019 21:00:10 GMT
June 2017 Busy weekend fitting a TRlane roll bar, I'd forgotten how long these things can take, by the time everything was back together, carpet trimmed etc. it was a good 8-9 hour job. I shouldn't have been surprised as I seem to recall the Hard-Dog roll bar I fitted to my old mk2 took just as long :whistle: After watching the CarThrottle video of them fitting a similar roll bar to 'Phil' and screwing up the seatbelt bolt alignment, I took my time and made doubly sure that all was in line so the spacer worked and the bolt tightened correctly. There was also quite a gap either side of the feet brackets to the seatbelt towers (over 1/4" each side) but reading on the TRlane website it said this was normal due to shrinkage if you had a harness bar. The solution they said was to just fit it with even gaps and use the side bolts to pull the gap closed. I didn't fancy that much bending on my car so I made up some 3.5mm spacers out of scrap alloy so the bending would be minimal. It fitted nicely after that. I didn't drill any of the holes from above like some of the write-ups, instead I used a long punch & hammer to mark the holes from above, then used these as a guide to drill from below in the wheel arch. This seemed to work well. Very pleased with the way it looks, doesn't seem to restrict the seats and my head even fits below the line between windscreen frame & roll bar. 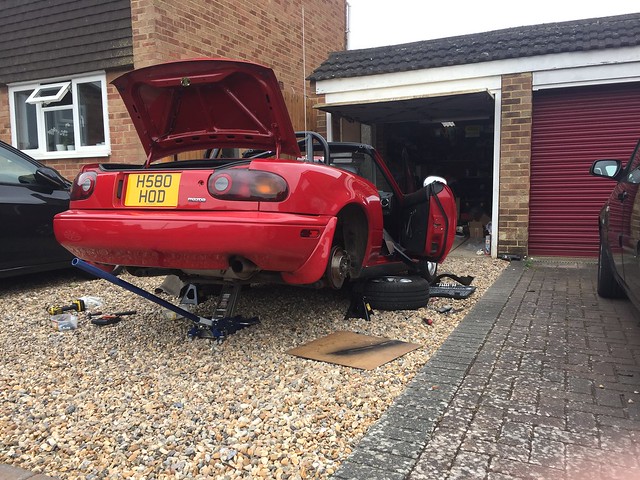 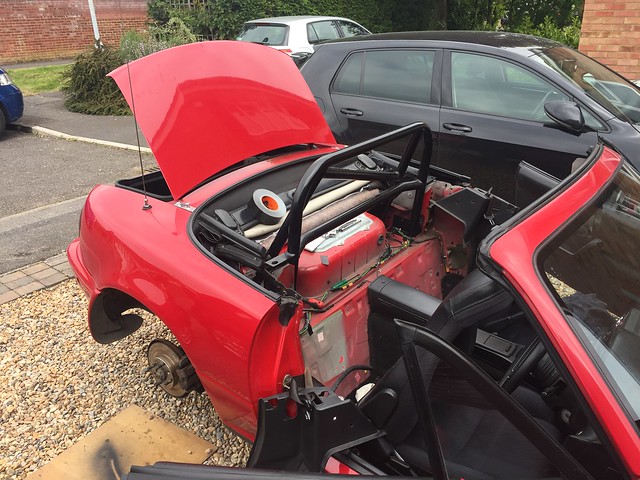 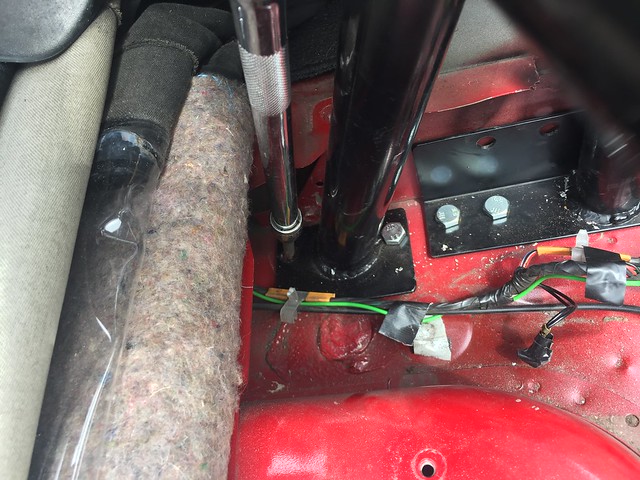 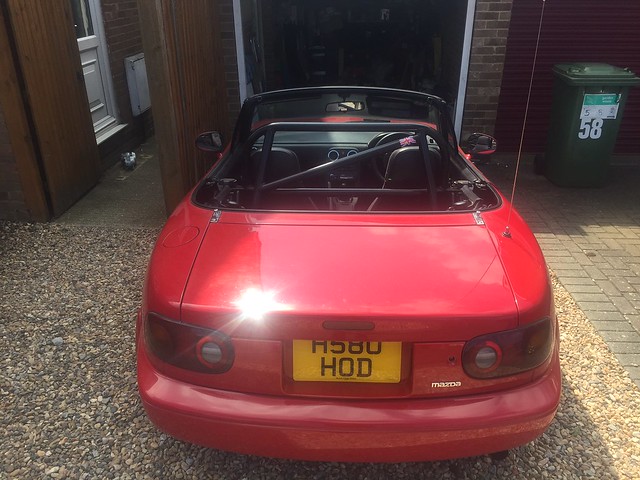 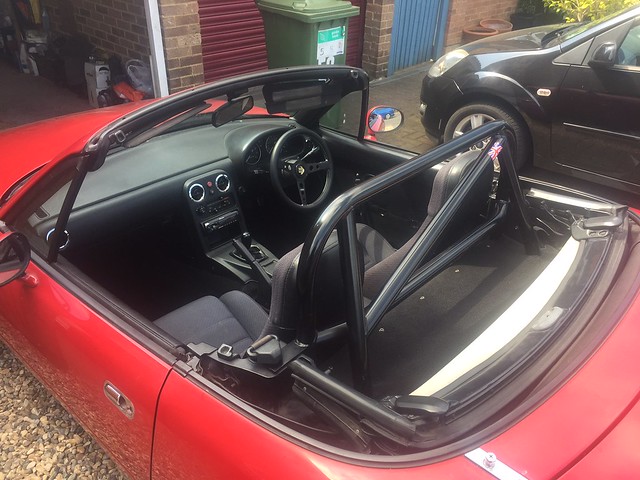 |
|
|
|
Post by carl4x4 on Jan 1, 2019 21:05:18 GMT
|
|
|
|
Post by carl4x4 on Jan 1, 2019 21:08:07 GMT
Jan 2018 Lots of bits & bobs being addressed over the winter, ended up changing the entire exhaust system for a new manifold (MX5parts) plus silenced decat & Cobalt exhaust. It's still bedding in so the noise keeps on changing. Definitely think the manifold is noisier than the RS*R one though. 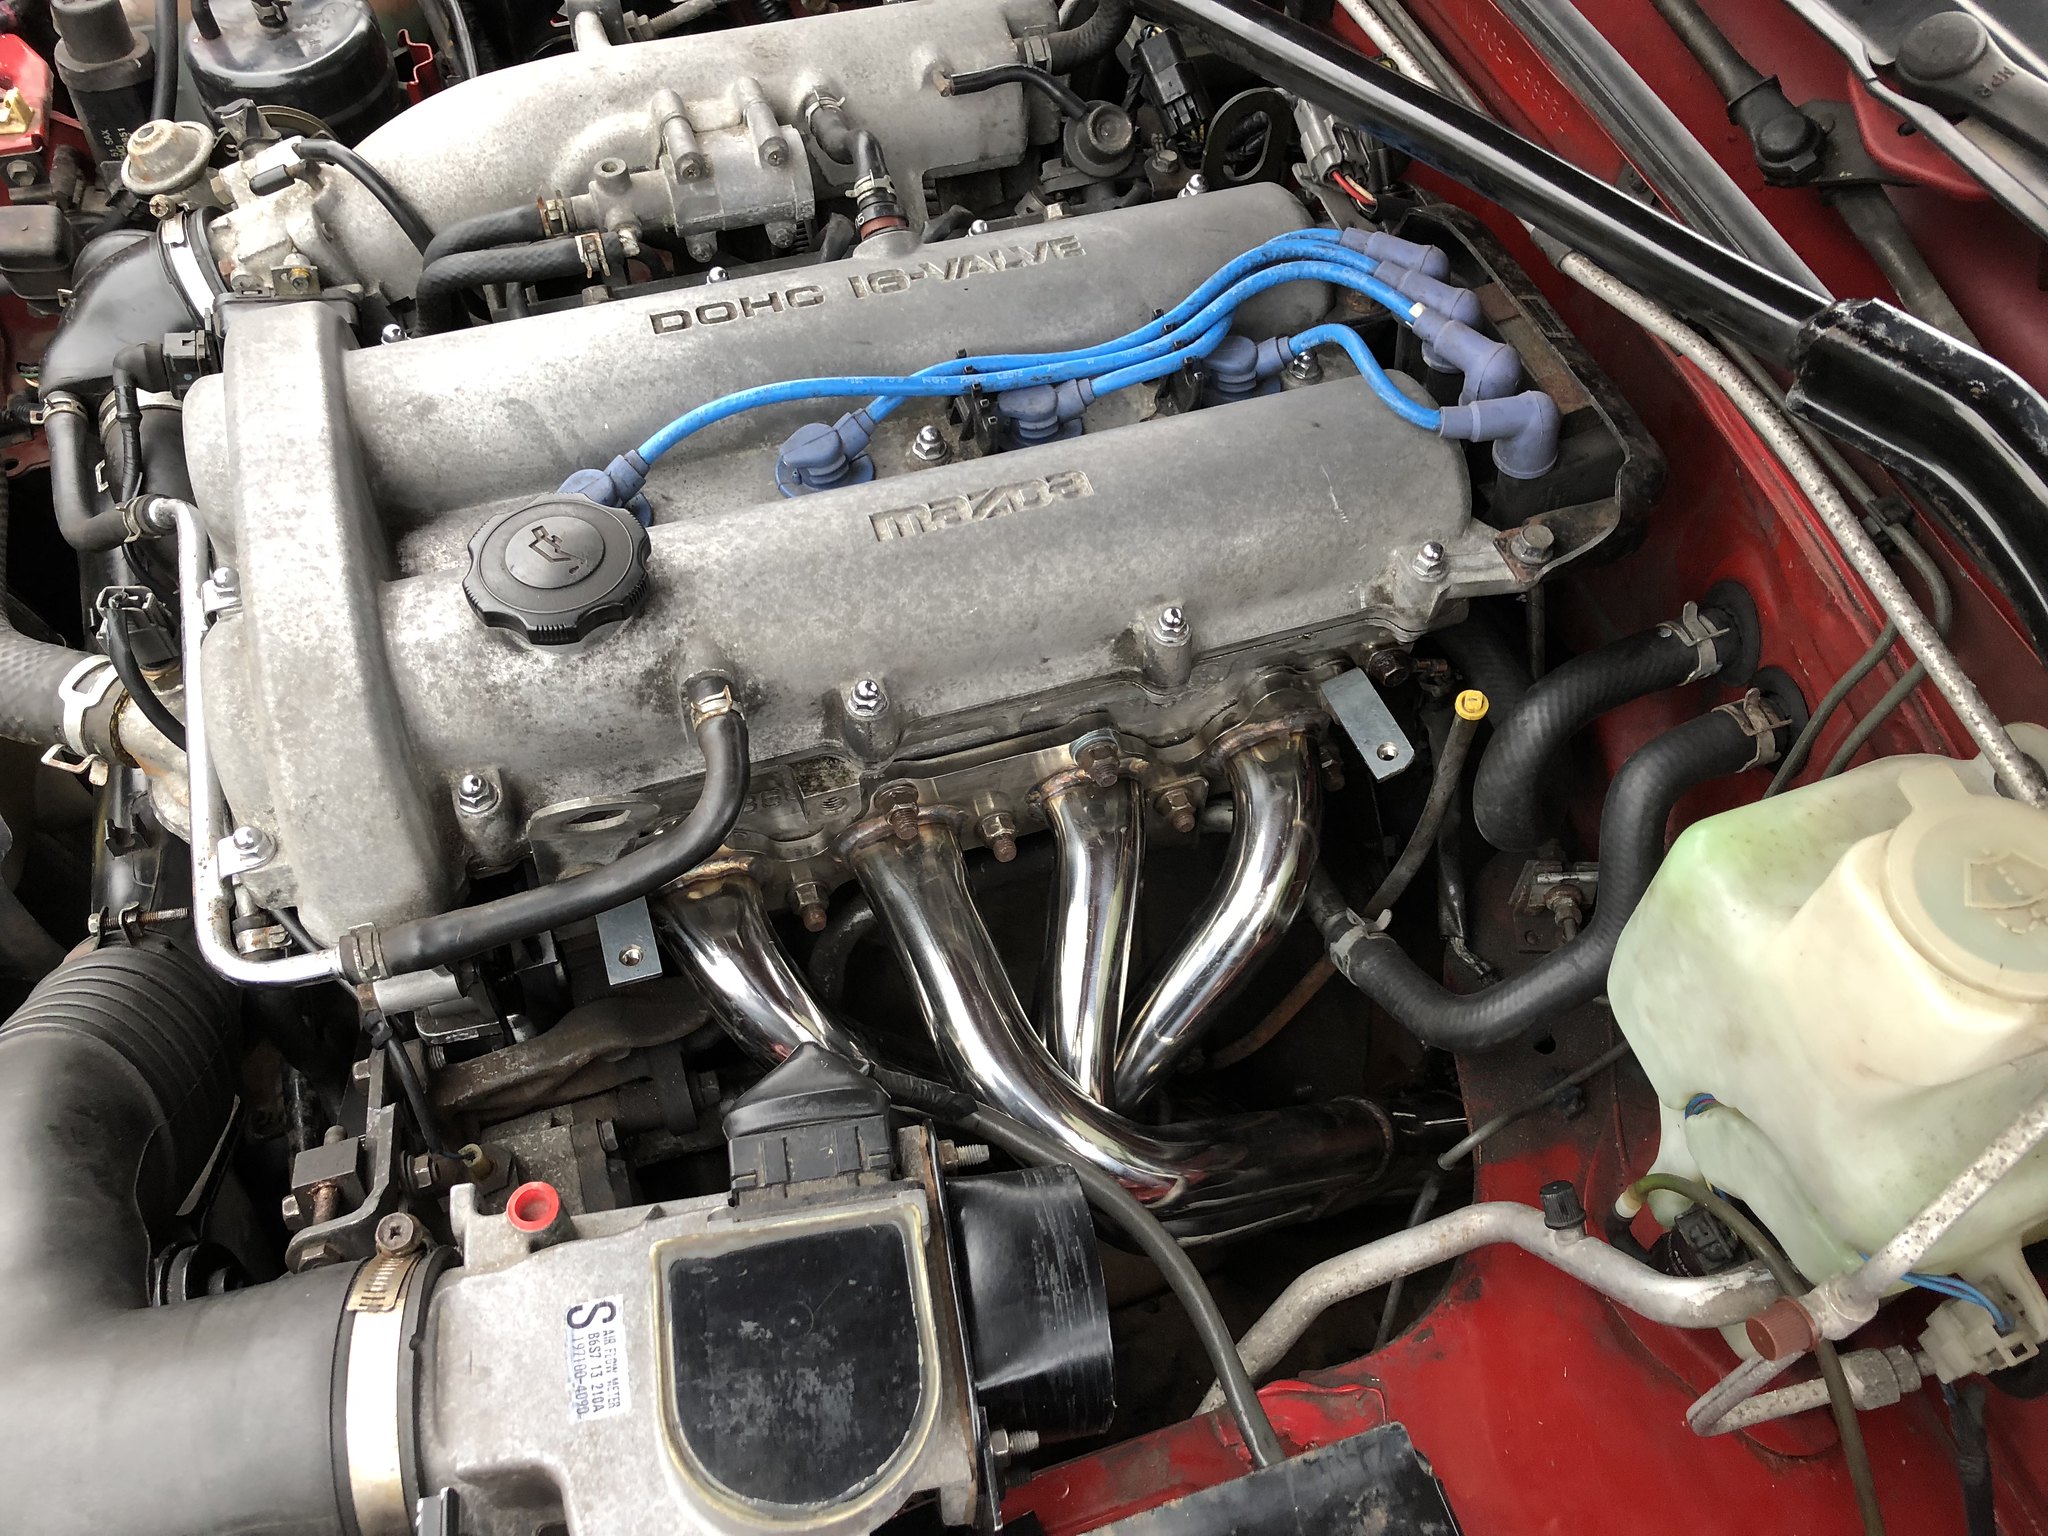 Next job is replacing the old radiator (pretty sure it's the original one judging by the stickers) and various hoses. Some of them had started to weep, the bottom rad hose was bulging alarmingly! and I had a leak from either the drivers side of the radiator or one of the hose underneath the manifold. 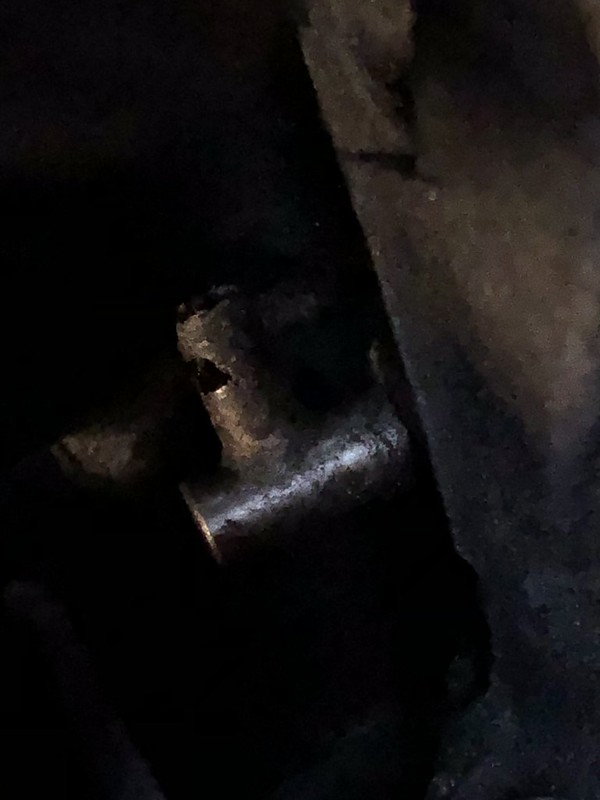 This seems to have been the culprit for the leak under the manifold. A previous owner had been running the engine without antifreeze so the rusty water had eaten away at some of the hose barbs. I cleaned this one up enough to put a new hose on it with a tighter jubilee clip than the previous OEM spring clip. Also took the chance to replace the thermostat housing gasket which had been weeping for a while (the cardboard was saturated when I removed it!) replaced with a new gasket coated with silicon gasket compound each side to try and prevent the same happening again. 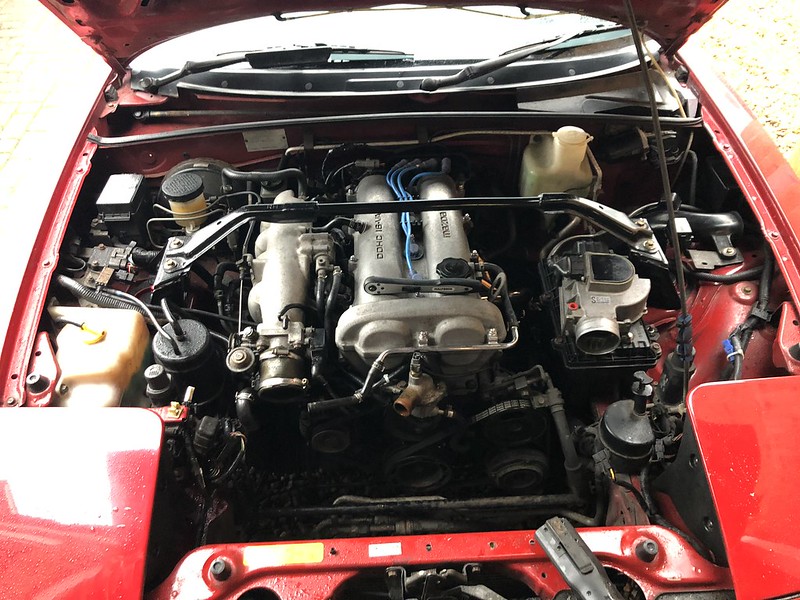 |
|
|
|
Post by carl4x4 on Jan 1, 2019 21:09:06 GMT
Feb 2018 Added a 25mm spacer for the steering wheel made from a solid alloy block. It's quite nice as it uses the same bolt holes (just longer) and is machined so that it accepts the Momo horn button without needing the flimsy metal insert the standard mx5 boss uses. I found it on line at a Ferrari specialist Very happy with the results as it's really helped the driving position because I can now get my knees under the wheel as opposed to each side of it 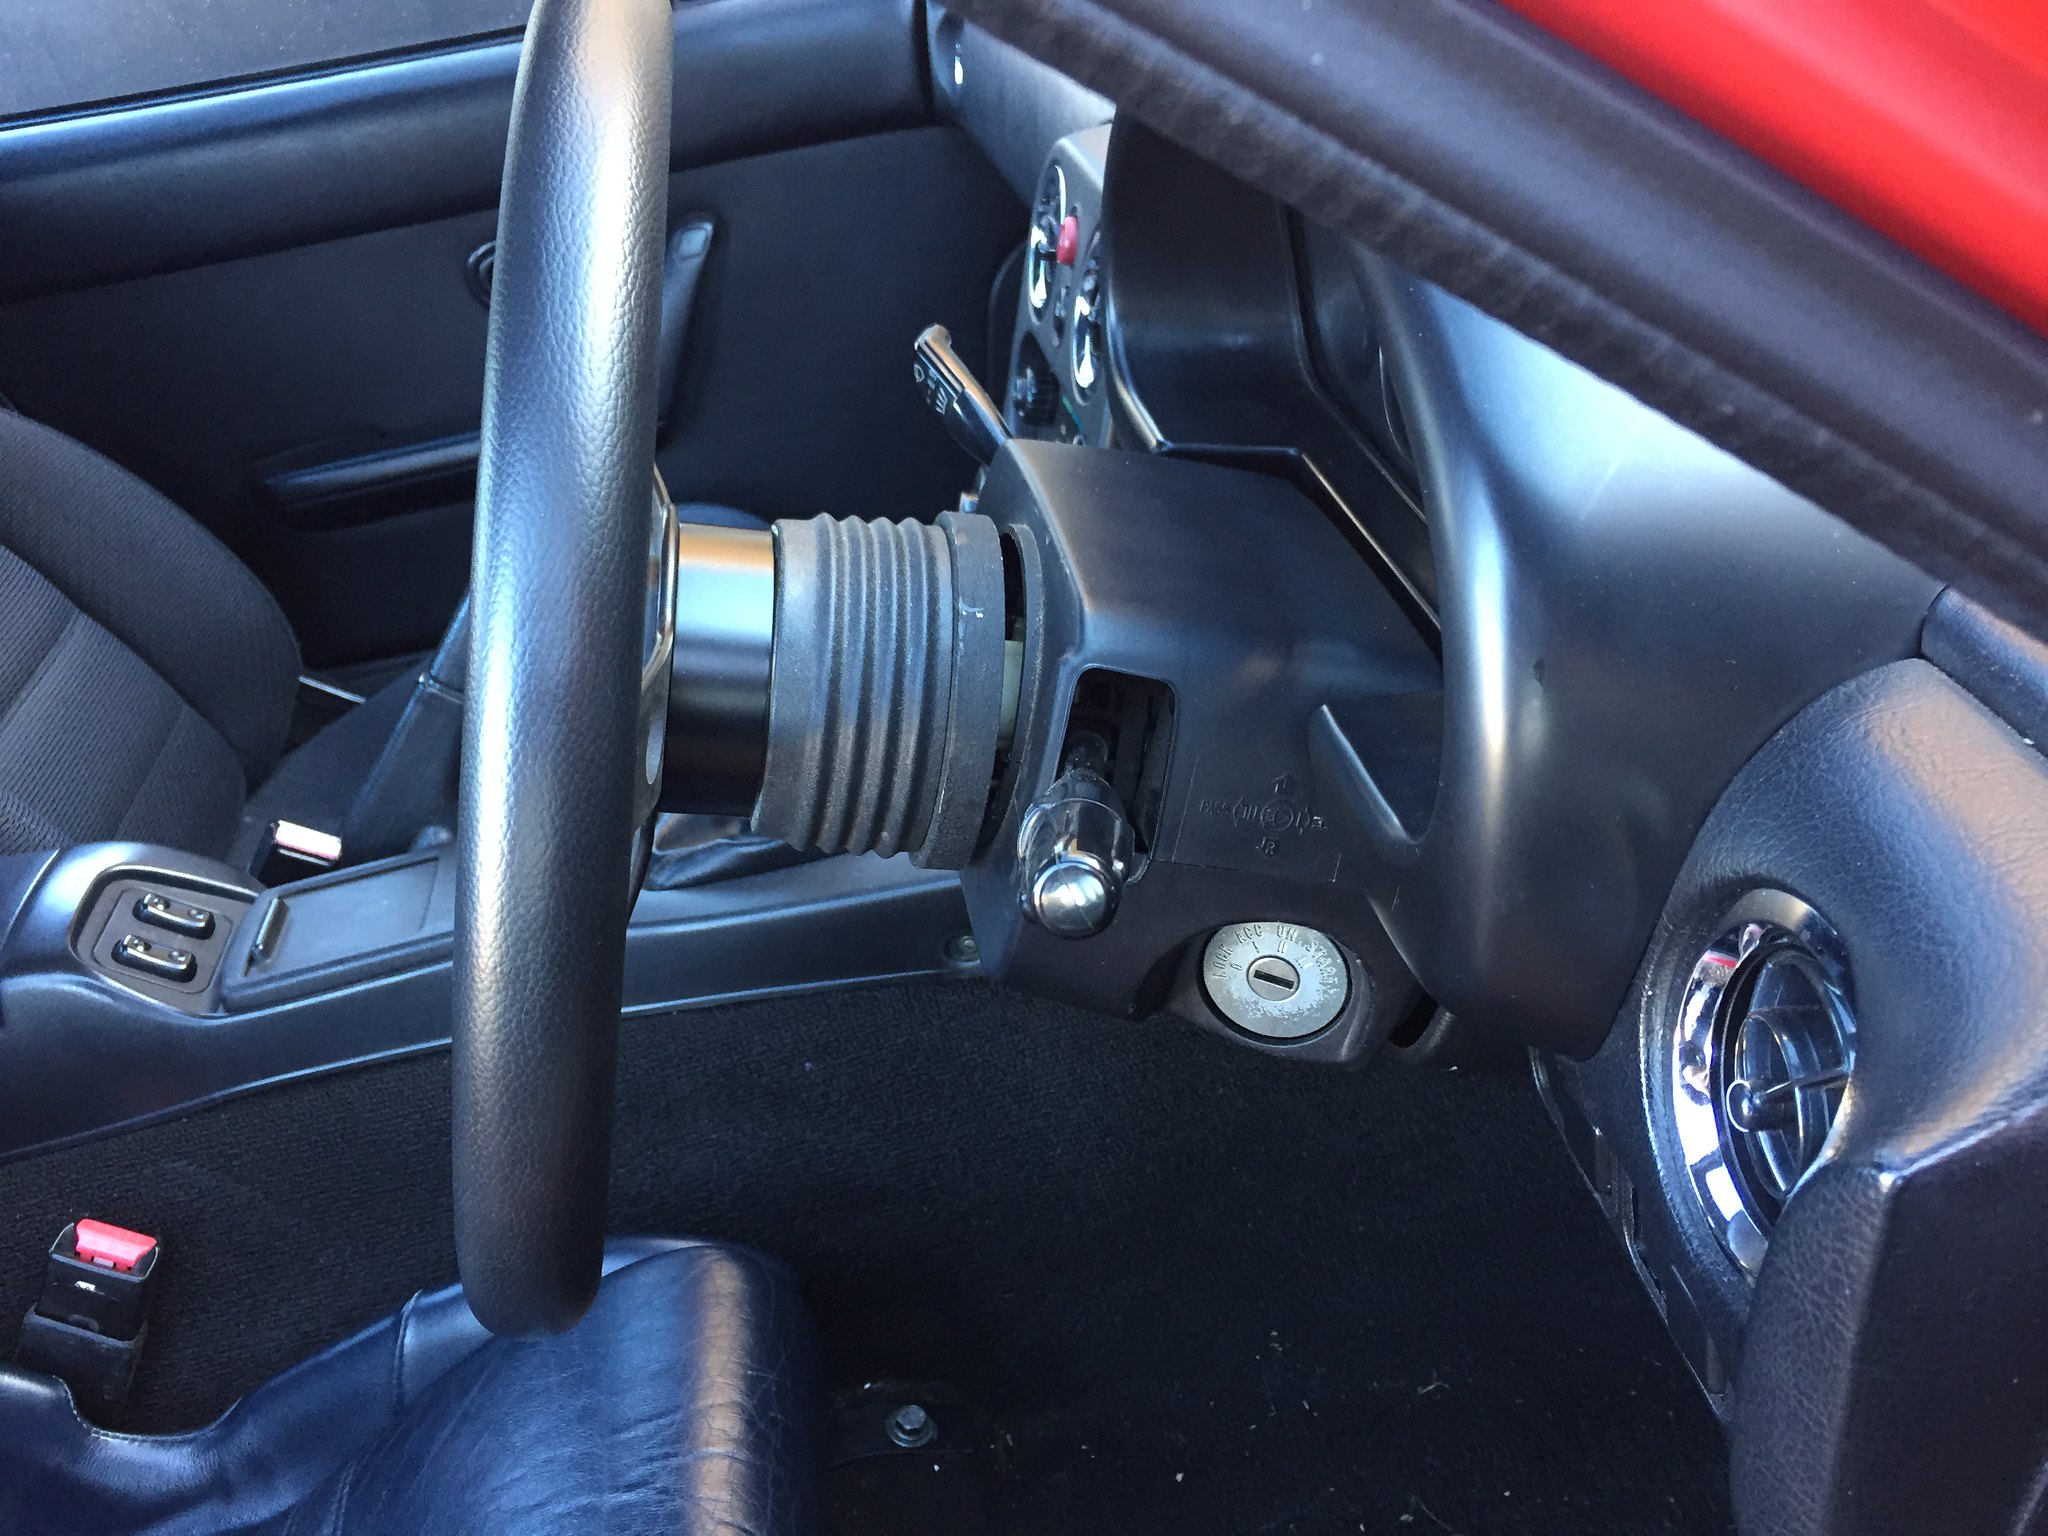  |
|
|
|
Post by carl4x4 on Jan 1, 2019 21:10:08 GMT
New rad & water pipes fitted, not sure about the thermostat to inlet manifold sensor pipe in silicon though as it's much thicker outside diameter and rubs on the ARC chamber. Will be swapping it for an OEM one I think. 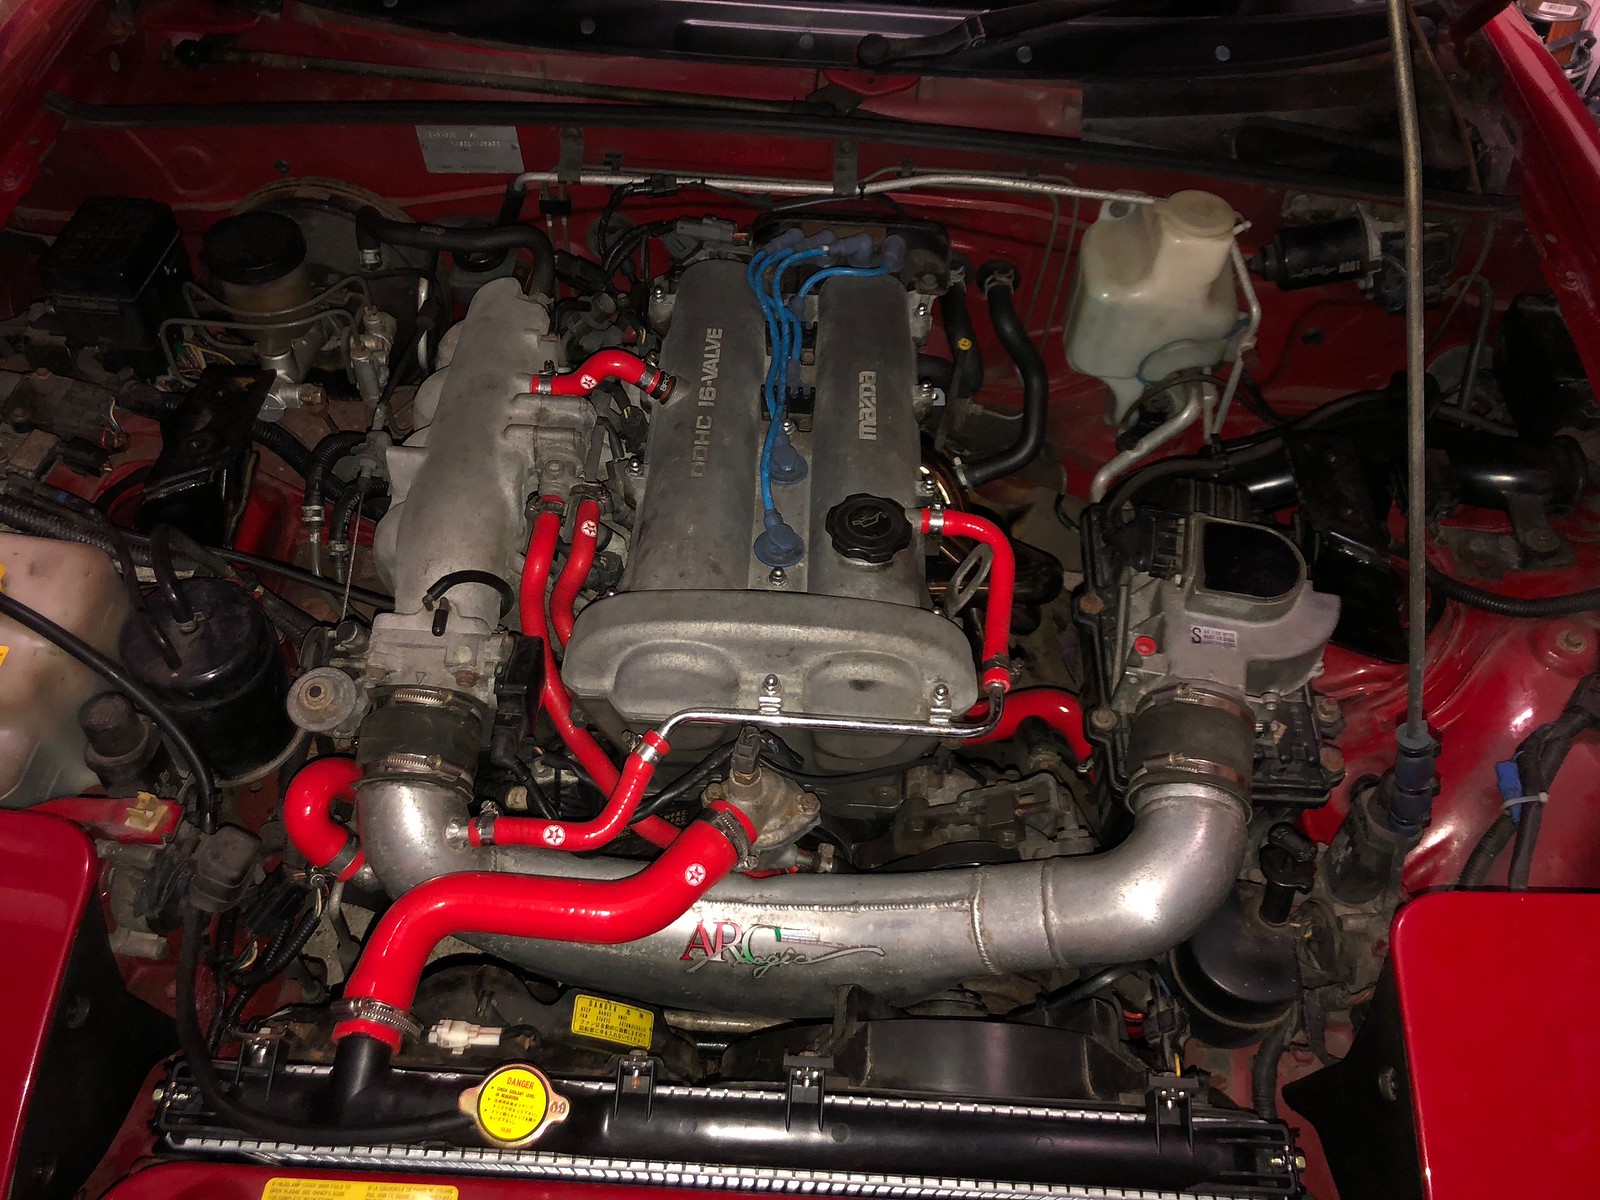 |
|
|
|
Post by carl4x4 on Jan 1, 2019 21:11:14 GMT
Exhausts... got a bit of conundrum at the moment and I don't know what to do...
I've recently changed all three main components on the exhaust system and it's now too loud for my liking (also has quite a drone at low speeds) Interestingly it seems to have got louder after bedding in and a few heat cycles.
I used to run: RS*R 4:1 JDM manifold with new flexi section + OEM Cat + standard exhaust (this ran well but was pretty quiet)
It now runs: MX5parts 4:2:1 manifold + silenced decat pipe + Cobalt catback exhaust (too loud)
The reason I changed was it was very quiet and I like a little bit of sportyness out of the exhaust, plus the new flexi section had been welded in slightly over to one side so the cat was rubbing on the frame. Interestingly if I had fitted a decat pipe this is a lot narrower so shouldn’t be an issue.
I still have all the parts, so I'm thinking of swapping a few around to see what difference it makes to the noise. The new manifold is definitely thinner than the RS*R and you can hear it has a slightly tinny sound in the engine bay when you rev the engine. If I fit the RS*R manifold back on will the flexi section make that much of a difference quietening the engine down over the current rigid 4:2:1 ?
My options I think are:
1) MX5parts 4:2:1 manifold + silenced decat pipe + Cobalt catback exhaust (current setup too loud & drones)
2) Just change the manifold to RS*R 4:1 manifold + silenced decat pipe + Cobalt catback exhaust
3) Add the old cat back on using: MX5parts 4:2:1 manifold + OEM cat + Cobalt catback exhaust
4) Use the RS*R manifold + decat pipe + with standard exhaust Unfortunately the RS*R has had the flexi section replaced in slightly the wrong angle which means it works with a narrow silenced decat but not a wider standard cat without rubbing on the powerplant frame.
Not sure what to try first but suspect I'll end up spending a lot of time on my back under the car :-(
|
|
|
|
Post by carl4x4 on Jan 1, 2019 21:12:37 GMT
I replaced the cat last night and drove to work today, the volume has definitely gone down. The sound is great with the roof down but still drones a bit with the roof up so I'm going to keep it for a while like this and see if it mellows or grows on me. If it doesn't then the RS*R, decat & standard exhaust will go back on. Good job I hadn't got round to selling any of the parts!
|
|
|
|
Post by carl4x4 on Jan 1, 2019 21:15:05 GMT
Feb 2018 Today was good weather (ish) so I tackled machine polishing the bonnet for a second time to get rid of the dull finish & scratches that were still there after the last attempt about a year ago. Seems to have done the trick this time  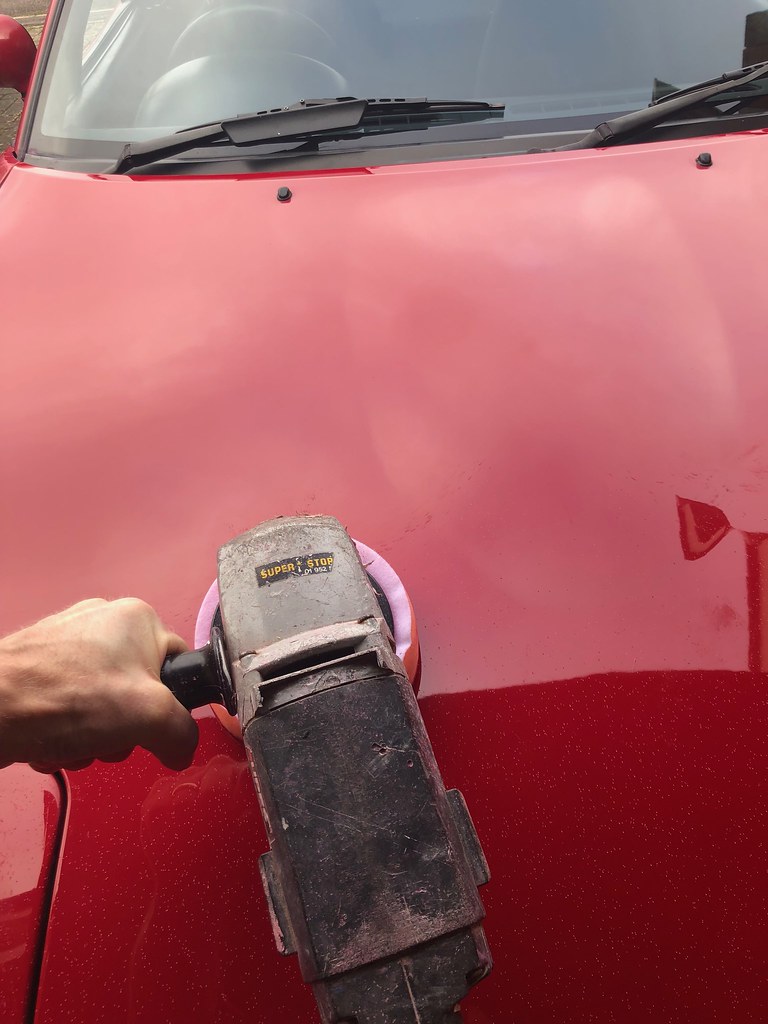 And after...  Then onto the wheels, I managed to source some more suitable centre caps than the modern ones I had fitted to the Panasports. Moss sell them for their mini wheels, they are about 1/2mm too big where they clip in but with a bit of fettling with a file they seem to fit nicely. Got the vintage Mazda stickers from eBay rather than the modern Mazda logos. 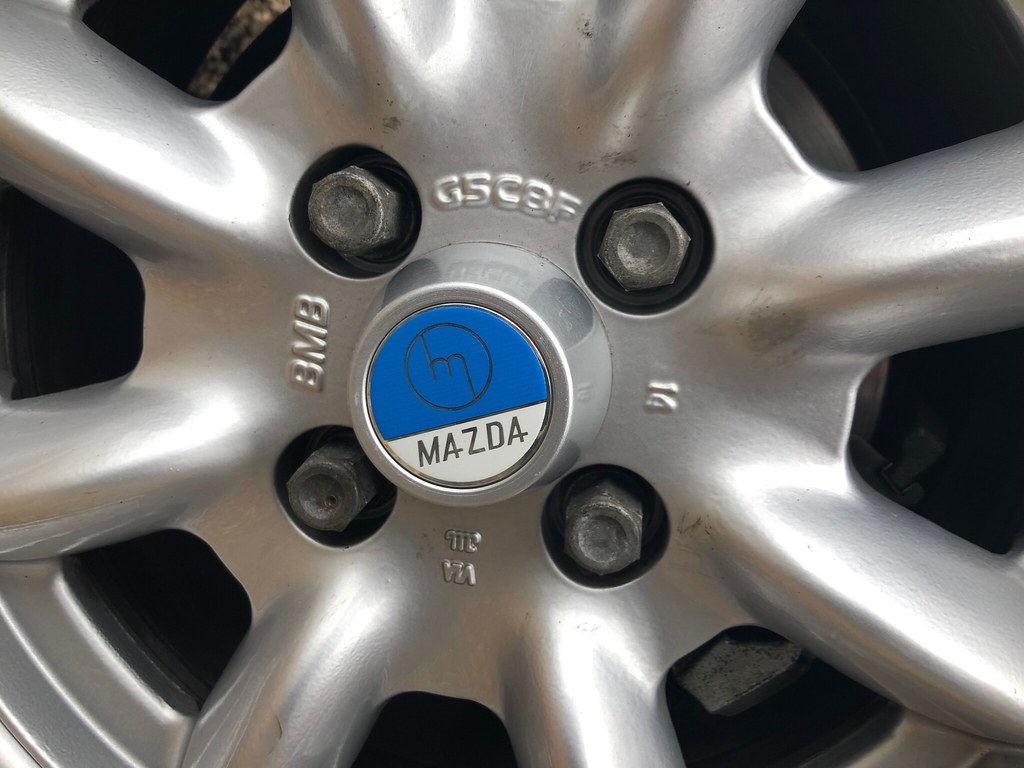 |
|
|
|
Post by carl4x4 on Jan 1, 2019 21:21:08 GMT
Continuing a weekend of cosmetic work, I replaced the old Mazda badge on the back of the car, it was quite loose as it came off by just prizing it with my fingernails revealing two holes behind where I presume the old Eunos badge went. It looks like a previous owner wanted to remove any traces of it being an import as I swapped the modern Mazda badge on the front of the car for an original Eunos round 'V' one a while ago. Anyway, I quite like the smooth look of the back of the car without badges on both sides so I decided to cover up the holes with a Roadster badge rather than a Eunos one (yes I know it should go on the left but there weren't any holes that needed covering on the left!) and I much prefer the script Roadster badge over the block writing 'EUNOS' one. 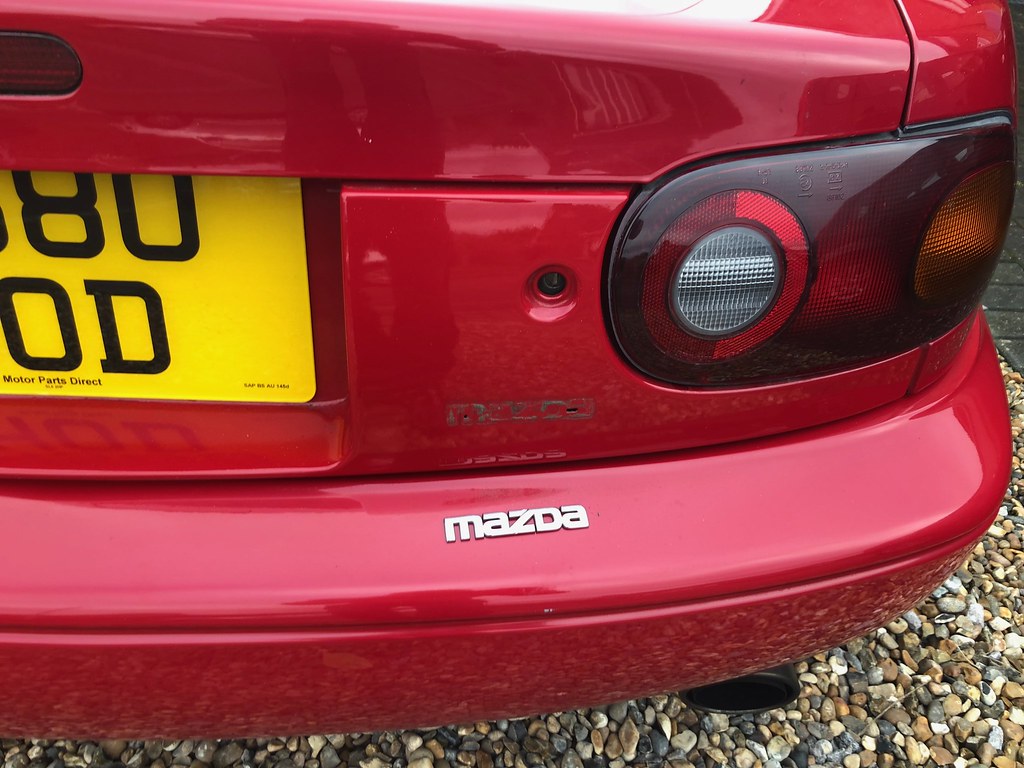 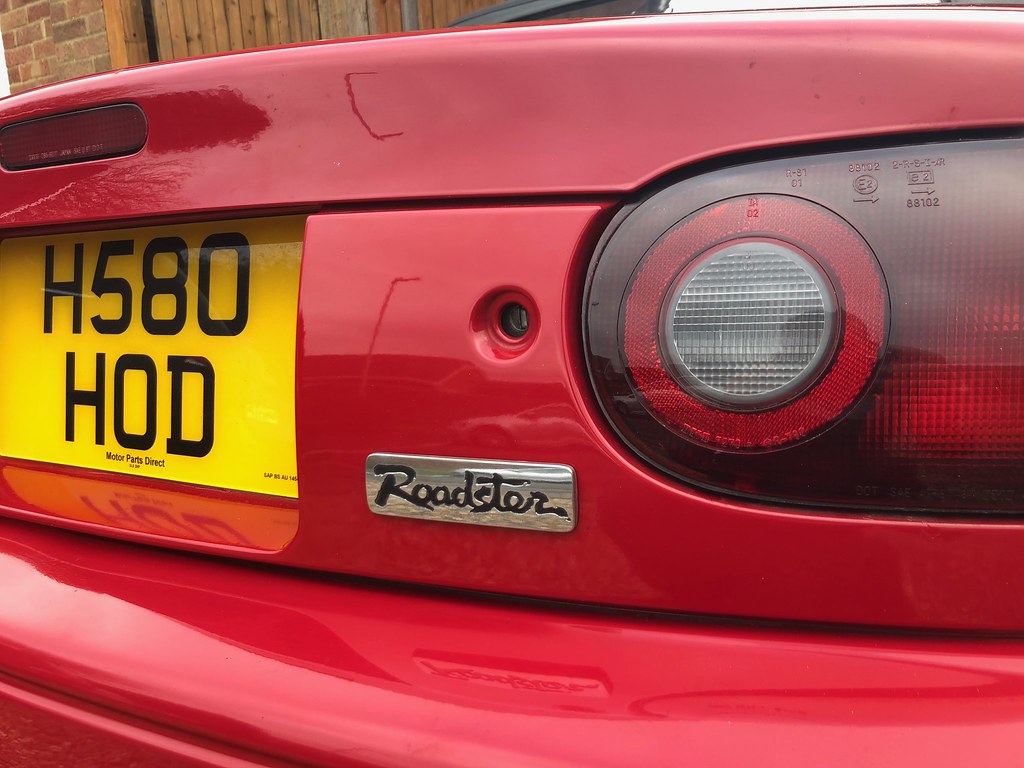 Continuing the cosmetic theme I dug out some JDM car mats (that were lurking in the boot when I bought the car) from the depths of the garage gave them a thorough cleaning and they've come out quite nicely. They're not perfect but quite acceptable and I love the patina on the metal 'Roadster' badges on the mats. 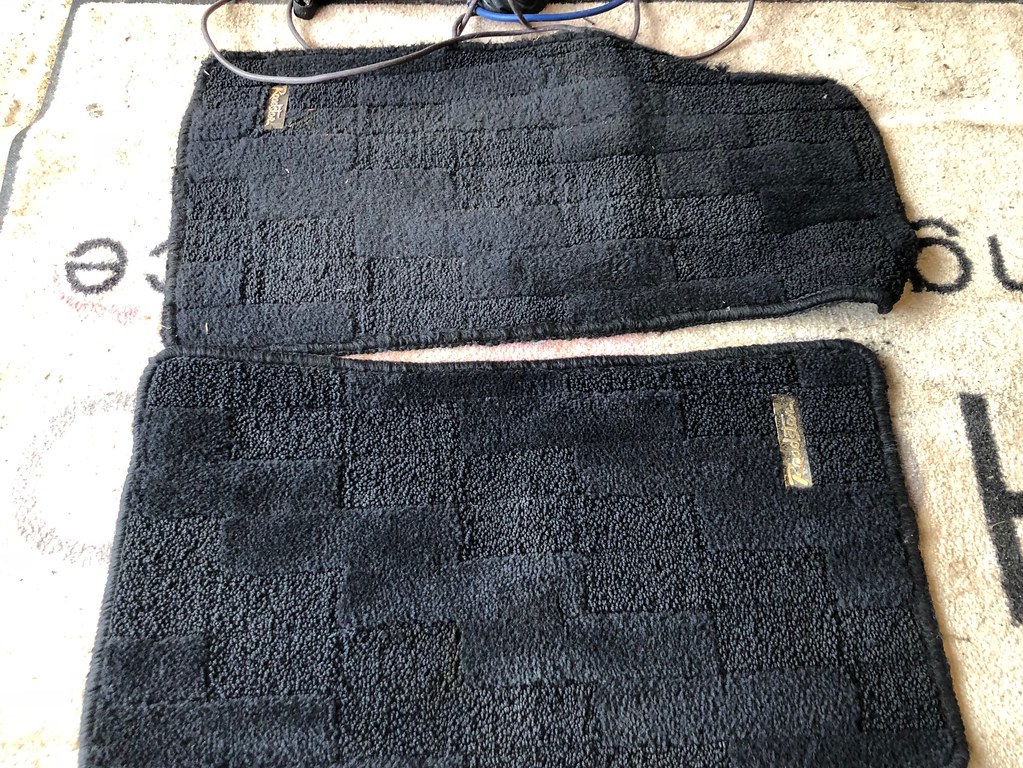 Bit of a before & after, top mat before cleaning, bottom one after cleaning! 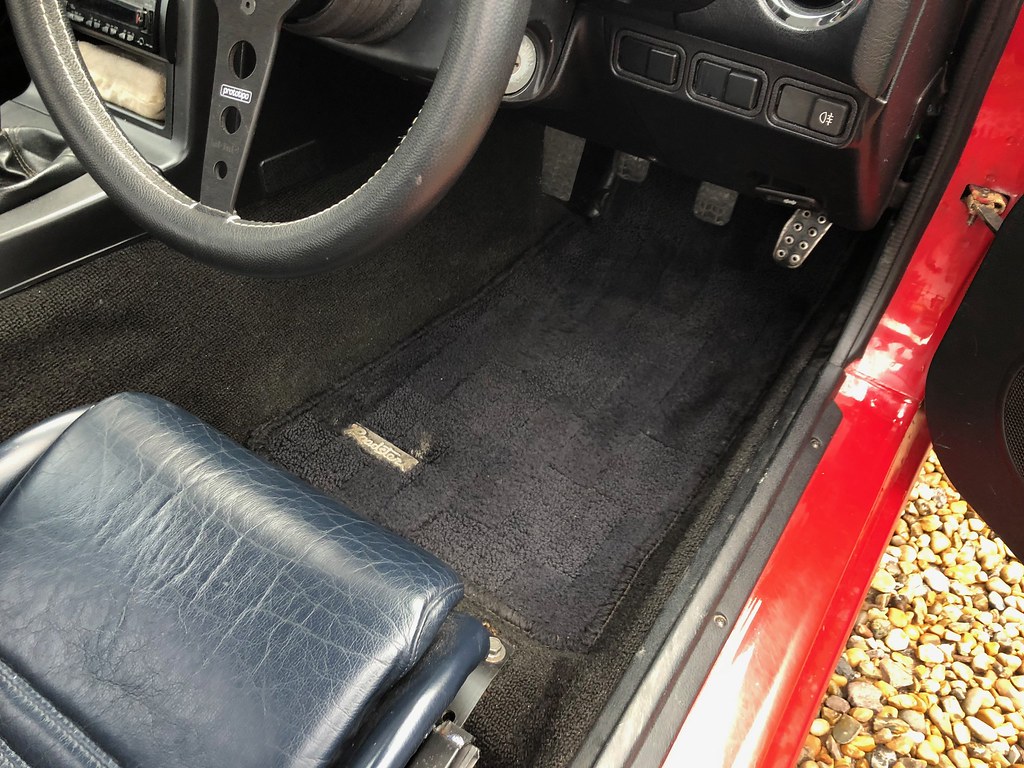 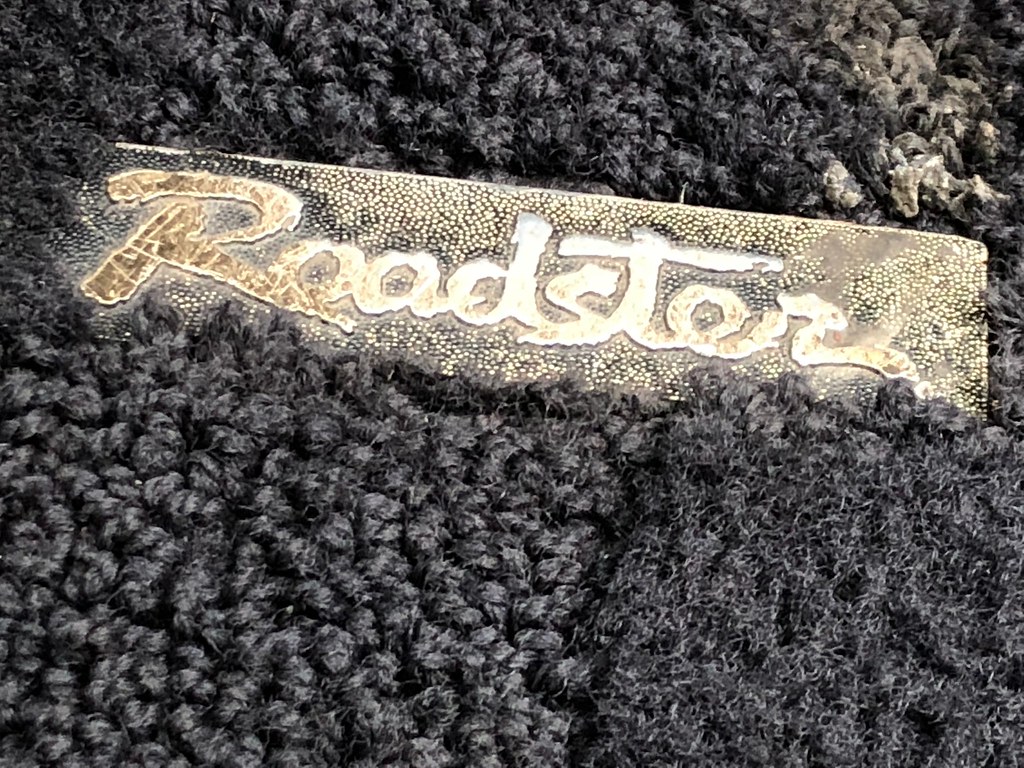 |
|
|
|
Post by carl4x4 on Jan 1, 2019 21:23:47 GMT
Feb 2018 it's the coldest month of the year so what else to do but to try and sort out the non-working aircon! Not quite as daft as it sounds, the undertray is still off from replacing the radiator and the aircon people are not exactly busy in February so were more than happy to do a home visit at short notice & hopefully reasonable cost. Fingers crossed it's just a re-gas or a minor leak rather than something major... EDIT: The report from the aircon specialist is that the system has a leak from the dryer unit, plus when the system was gassed and the aircon turned on there was a loud screech as the a/c clutch worked correctly and we found out the compressor has seized  So I've ordered a non- seized compressor from Autolink, I will then need some new seals & O'rings, but I'm really struggling to find anywhere that sells replacement dryers Found the dryer on Rockauto.com plus a complete seal kit, also bought some Ester synthetic oil for the compressor which is specifically designed for systems that are being converted from R12 to R134. Also bought highside and lowside adaptors for R12 to R134a. 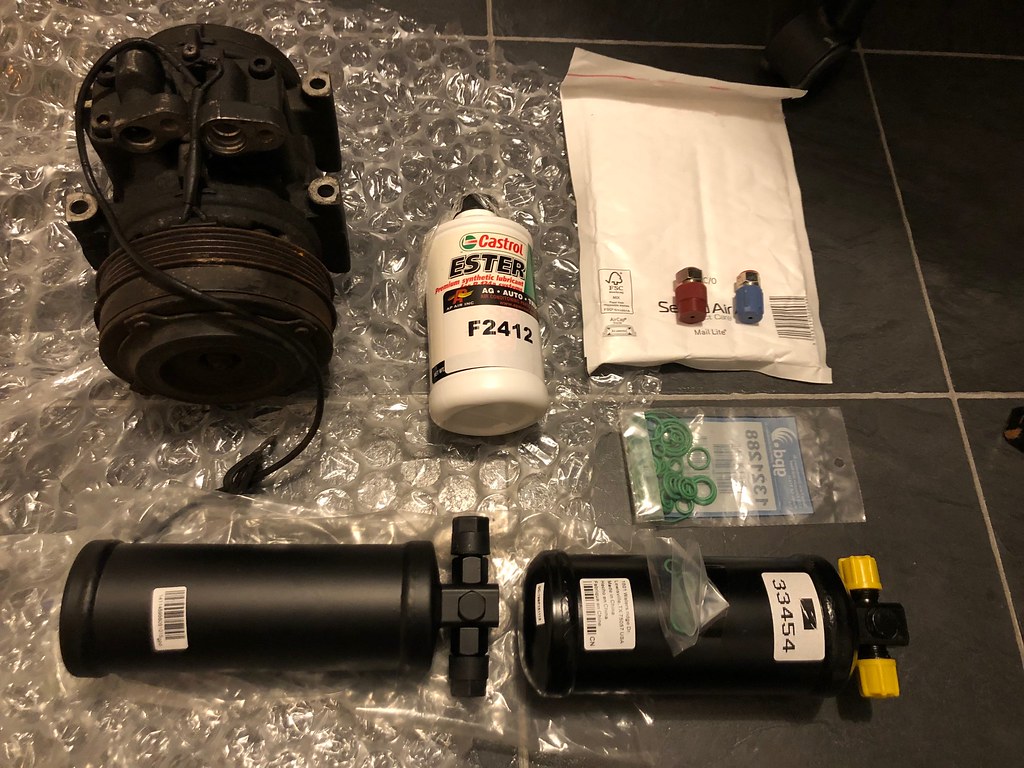 I bought one of each type that was fitted to RHD cars between 90-93 as they are only $8 in the US - as opposed to the £70 they are for other years in the UK! It's not as straight forward as you'd think... right & left hand drive setups are are different as far as I can tell in a few ways; - The LHD condenser (aircon rad) has the same bottom connector, but a different top one, at a different angle. however all replacements are LHD! - The LHD dryers have screw-in conventional fittings, the RHD ones use a triangular bracket with the pipes pre-fitted - Hence RHD and LHD dryers are different units, the LHD ones are still available, the RHD ones aren't, but it looks like a '93 Shogun dryer will fit (although I can't confirm this) - The pipe routing goes to opposite sides of the car to the evaporator under the dash - Evaporators are different shapes/pipe exits for LHD/RHD - The expansion valve in the evaporator looks the same, but on LHD it has an additional small bypass tube, and on the RHD cars this is missing (and of course you can no longer buy RHD evaporators) As my condensor has most of the vanes falling out and you can't buy a RHD condensor anymore, I've taken the decision to buy a US condensor rad and match that up with a US dryer, then have a new pipe made to link that to the UK outlet at the bottom of the rad. It's only about 10" long and is I think a better bet than trying to hack a US condenser around to make it fit a discontinued RHD dryer that may/may not be shared with a Shogun. |
|


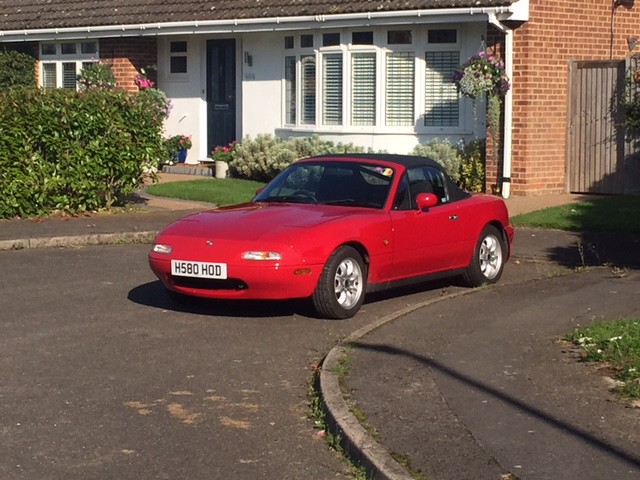
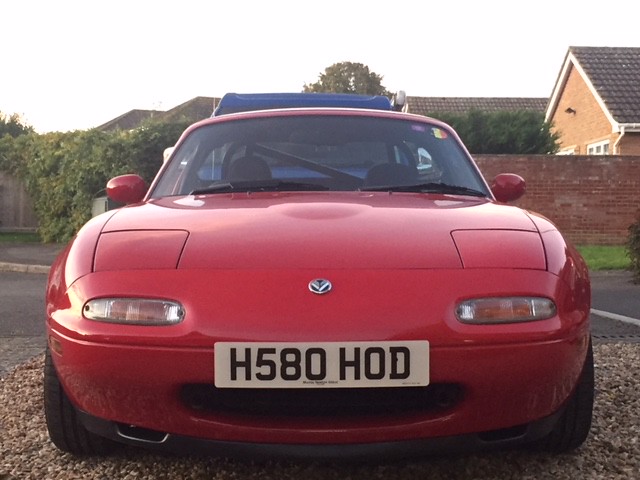
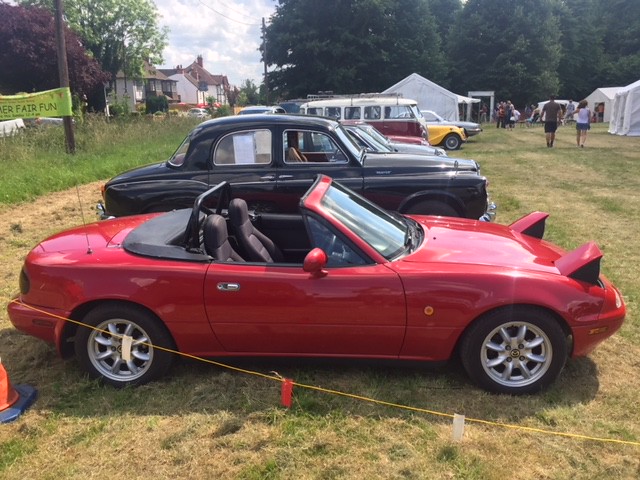
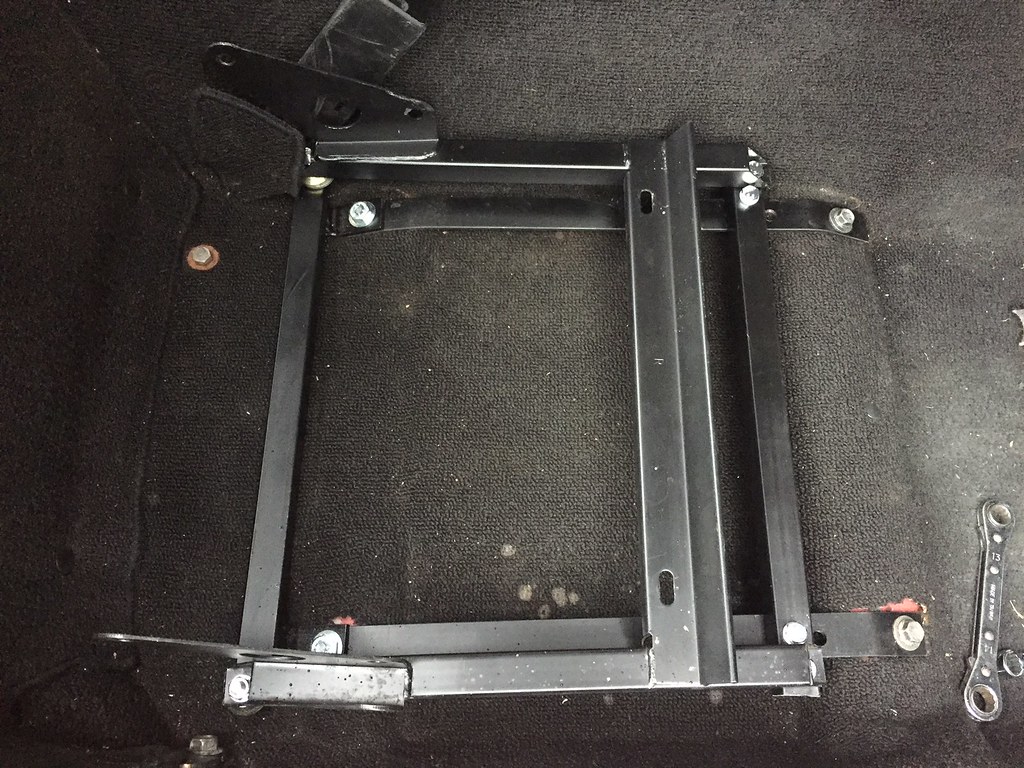
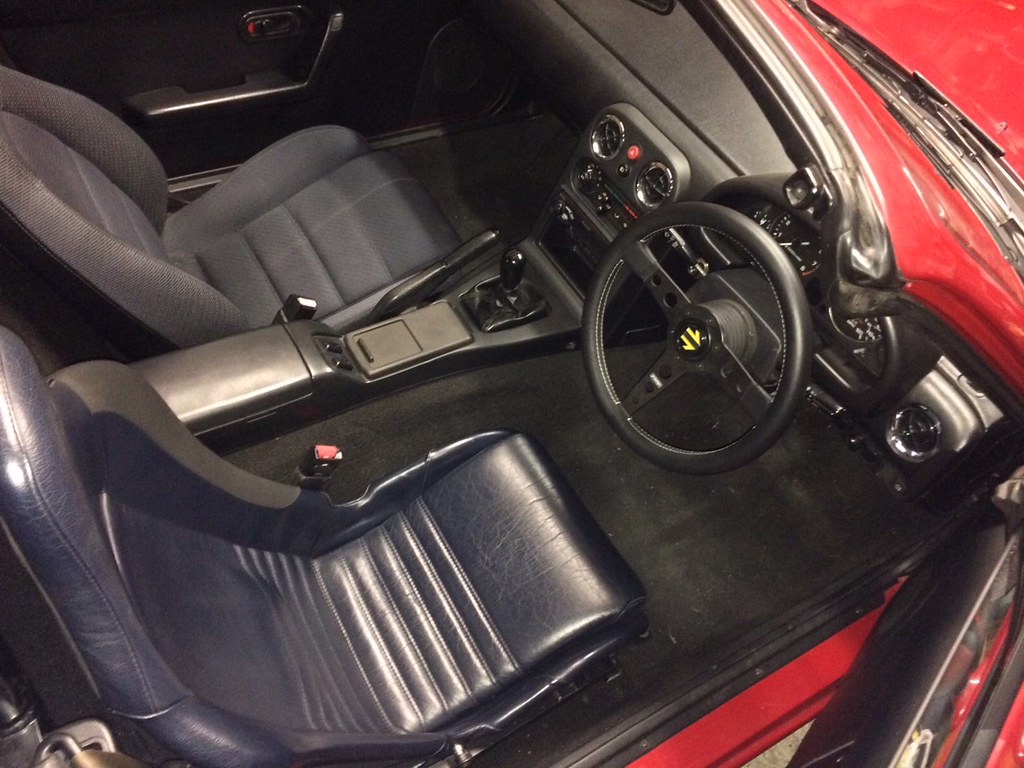

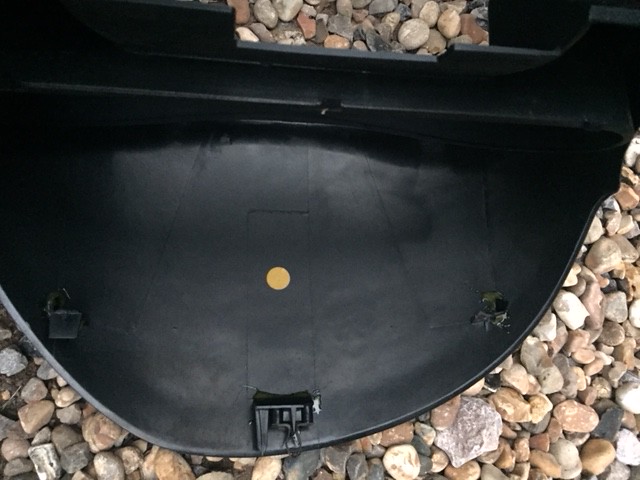
 I looked on Mx5parts and nearly fell off my chair when I realised they wanted £99 for a replacement bit of plastic! So out came the Araldite and glued it back on without fuss.