|
|
Post by Bilbo on Nov 30, 2020 10:21:14 GMT
This looks really smart and the gauges look great and easy to read etc. I'm loving the fact the tablet cost 20 quid!! Thing is, if you can get away with using an old one, why spend a fortune on a brand new tablet!? Thanks mate, I think it's gone quite well, it's pretty much the perfect size for sure! Well it is an old tablet now, so I think if some people wanted to use the tablet for Spotify as well, or any other type of media you may find it start slowing down. As I am keeping my radio completely separate I have stripped it down to the bare minimum and disabled all the apps and stuff that I don't need to run. I think if you do that then there is no real need to use anything newer/more expensive tbh! |
|
|
|
Post by scottydugg on Nov 30, 2020 10:22:33 GMT
Looks really good, will you be able to change map settings on it as well or just the gauges?
|
|
|
|
Post by Bilbo on Nov 30, 2020 10:26:19 GMT
Looks really good, will you be able to change map settings on it as well or just the gauges? To be honest I haven't really looked into the possibilities on ShadowDash, if that is an option then I will use it, but I will also be keeping my USB cable in the ECU for easy access with the laptop, tbh I think the laptop will also be able to connect to it with bluetooth actually thinking about it. Either way the plan really is to use it just for display, it makes sense rather than running a load of extra gauges, plus I can customise and swap gauges out as and when I want, rather than having physically installed ones. |
|
|
|
Post by scottydugg on Nov 30, 2020 10:45:41 GMT
Looks really good, will you be able to change map settings on it as well or just the gauges? To be honest I haven't really looked into the possibilities on ShadowDash, if that is an option then I will use it, but I will also be keeping my USB cable in the ECU for easy access with the laptop, tbh I think the laptop will also be able to connect to it with bluetooth actually thinking about it. Either way the plan really is to use it just for display, it makes sense rather than running a load of extra gauges, plus I can customise and swap gauges out as and when I want, rather than having physically installed ones. Reason I ask is CarPassionChannel adjusted his map on his tablet in one of his video, so I'm guessing it's feasible. |
|
|
|
Post by Zed. on Nov 30, 2020 12:32:21 GMT
Reason I ask is CarPassionChannel adjusted his map on his tablet in one of his video, so I'm guessing it's feasible. ^^ this does open up the ease of setup, caution though as if it's easily altered then all hell could break loose  interesting & interested in the outcome though  Rich. |
|
|
|
Post by Bilbo on Nov 30, 2020 19:10:31 GMT
To be honest I haven't really looked into the possibilities on ShadowDash, if that is an option then I will use it, but I will also be keeping my USB cable in the ECU for easy access with the laptop, tbh I think the laptop will also be able to connect to it with bluetooth actually thinking about it. Either way the plan really is to use it just for display, it makes sense rather than running a load of extra gauges, plus I can customise and swap gauges out as and when I want, rather than having physically installed ones. Reason I ask is CarPassionChannel adjusted his map on his tablet in one of his video, so I'm guessing it's feasible. Ah I've not seen that one, I'll take a look and see what app he was using. Reason I ask is CarPassionChannel adjusted his map on his tablet in one of his video, so I'm guessing it's feasible. ^^ this does open up the ease of setup, caution though as if it's easily altered then all hell could break loose  interesting & interested in the outcome though  Rich. Yeah just fat finger a setting and send one of my pistons to the moooooon haha. |
|
|
|
Post by Bilbo on Dec 22, 2020 12:45:39 GMT
A mate bought a new mk1 and the previous owner had fitted the power steering unit so poorly it had bent the bracket and the pulley was really badly pissed to the crank pulley. So I let him have my power steering unit. This basically gave me a reason to bother to de-power my rack, which I have been planning for ages but just not got around to. I drained the fluid and took the rack out and fully disassembled it:  I cannot describe how much power steering fluid I got on my clothes, and the floor, and my tools, and soaked through my gloves. Disgusting. Anyway yeah so I disassembled it and cleaned it all up, then a mate cut this off for me (he's more accurate with a grinder than I am haha): 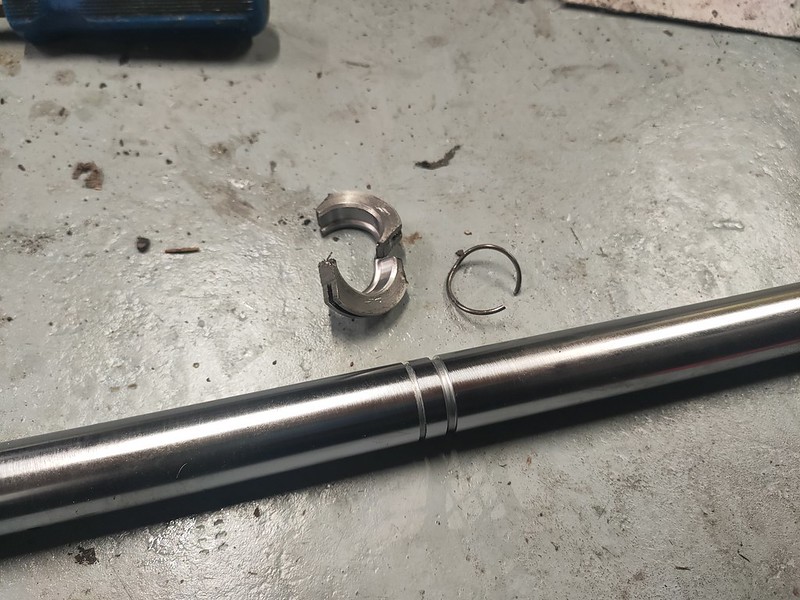 This is a seal of some sort that sits roughly half way on the inner rack, and keeps the fluid in essentially 2 separate chambers. Leaving it in can build pressure or resistance apparently and make the steering heavier. I did away completely with the rotary valve that slides over the pinion, and had my mate weld the pinion up as per most guides online. I then JB Welded the fluid line holes up, some wouldn't come undone so I just cut them off at the unions and JB'd those up instead haha: 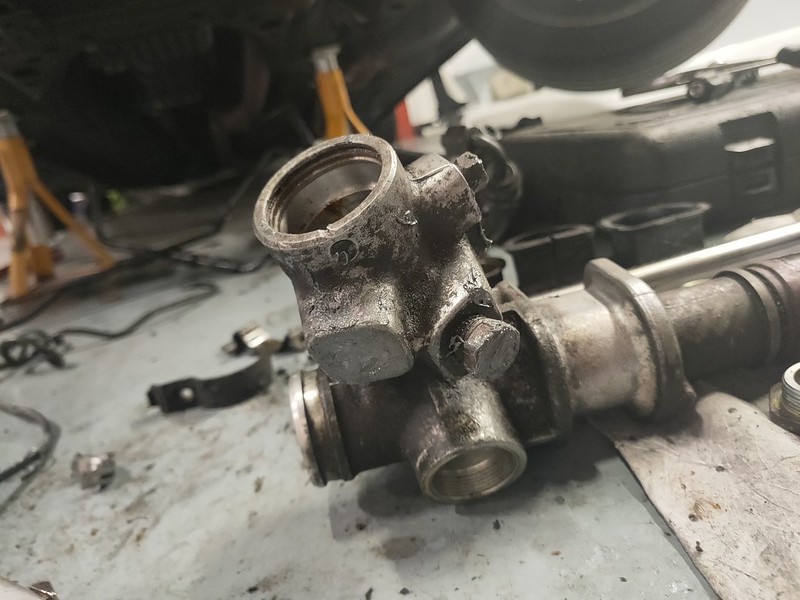 Gave it a final clean, greased up the inner rack, pinion, pre-load spring, and everything else that looked like it would need grease, set the pre-load to the roughly 4.8nm setting and backed off 1/16th of a turn as per CarPassionChannel video guide, and reinstalled the rack: 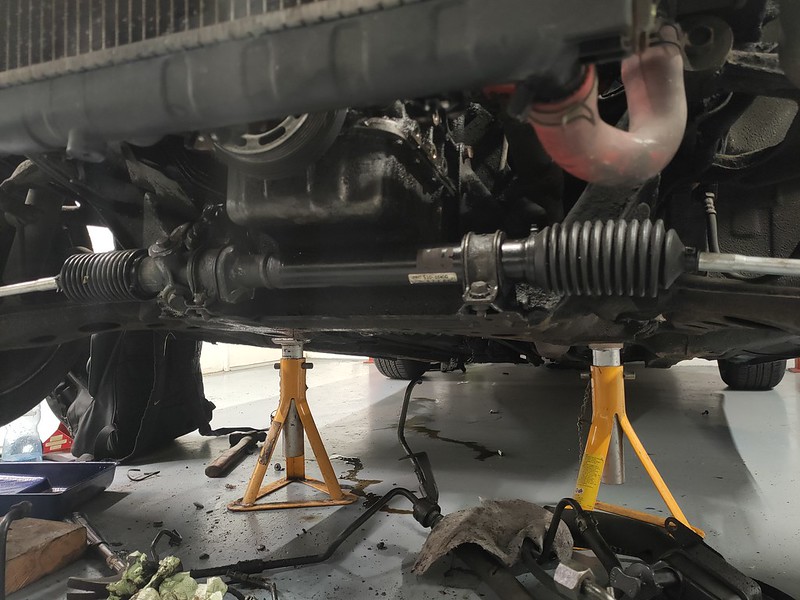 I then found one of the possible causes for my absolutely woeful handling, the passenger side track rod end was dead, I mean like it just flopped around with zero resistance in the joint, fully fubar. So that's all replaced, rack is re-fitted, and happy days. I haven't driven it yet as the car is in bits, but I have dry steered it in the unit and it isn't shockingly heavy, can do it with one hand. I mean it's not exactly light, but it is easier than I thought it would be. My parents also got me some corner racking for Christmas, and made me go pick it up early as there's no room at their house haha, so that's assembled now and my area is starting to look a bit more legit:  Buying paint stuff this week and the sanding prep can properly begin! Want the respray done in January. |
|
|
|
Post by wannabe on Dec 22, 2020 14:18:13 GMT
Nice work!
Will you be welding the bit that still has some movement in it?
|
|
|
|
Post by Bilbo on Dec 22, 2020 15:01:20 GMT
Nice work! Will you be welding the bit that still has some movement in it? Yeah I got my mate to do that, so it's all done and welded before I reassembled. Engine bay is proper empty now! |
|
|
|
Post by wannabe on Dec 22, 2020 15:14:27 GMT
Cool, will be interested to hear your thoughts on it when you've had a chance to drive it! I like the dePAS rack but it is a bit of a biatch to park with an undersize steering wheel  lol |
|
|
|
Post by Bilbo on Jan 3, 2021 22:46:02 GMT
I've bought loads of stuff for the 5: a D1 Spec quick release, full polybush kit, HEL braided front brake lines, Mintex M1144 pads, primer and hardener for the respray, and upper and lower shift boots. Will sort it all out soon. After the PS and AC removal there is so much room in the engine bay, I also painted my front lower cambelt cover black to match the cam cover and cleaned the right side of the bay and block with a load of brake cleaner and a rag:  I mentioned before that I bought some 90mm trumpets, I still need to buy the rings to fit them to the throttle bodies, but I got the bias valve relocation work and fuel line relocation work out of the way. I removed the original master to bias valve hard lines, cut the unions off to reuse, and then cut and flared some copper lines I bought to suit the new hard line path. The bias valve itself I gently bent down, and it went fine, lines haven't kinked at all which was great. 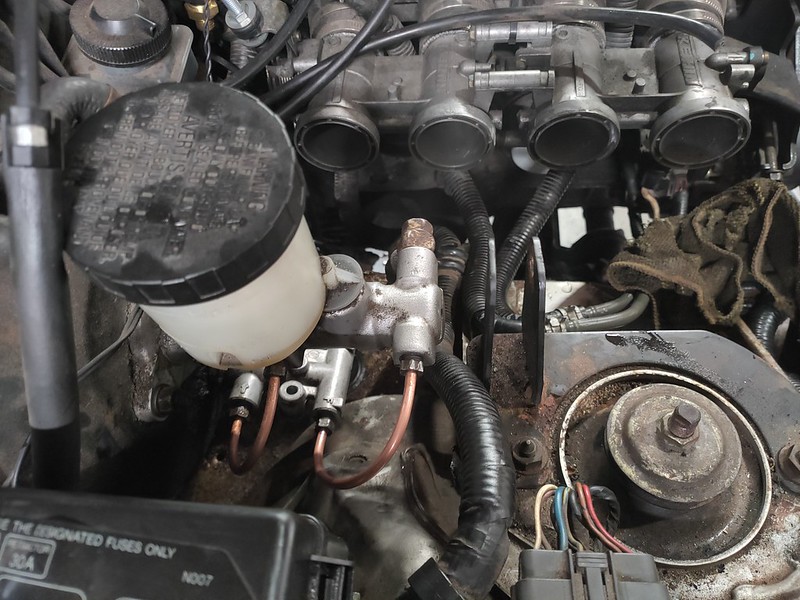 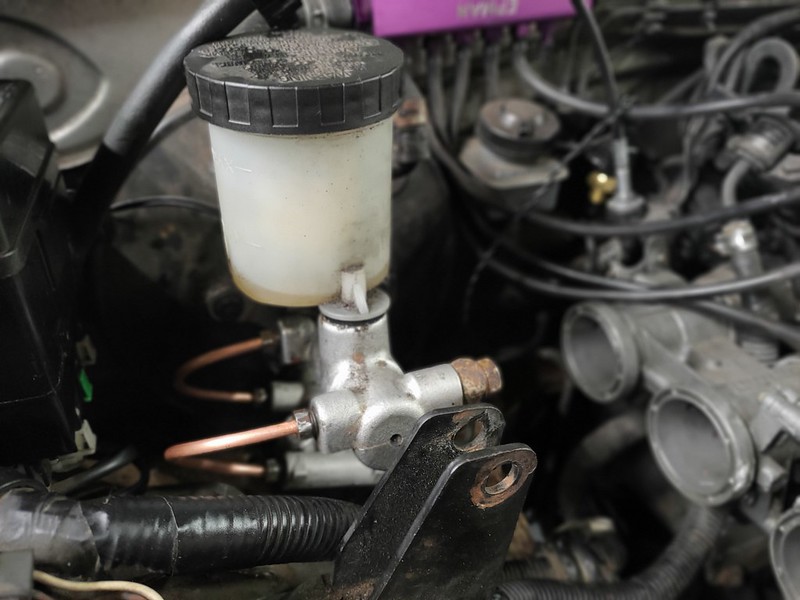 As for the fuel lines, I was going to cut them down and reattach the hoses, but I thought I may as well try bending them, then if they kink I was planning to cut them anyway so it's no bother. Well they also bent to the new orientation with ease, no kinking at all, mint! Bloody loads of room for the trumpets! 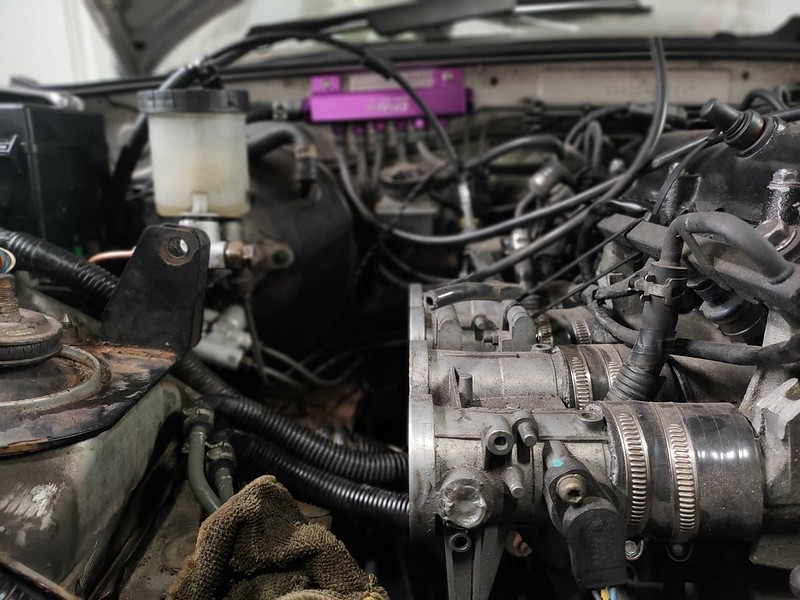 Now there is room I had to do a test fit, and these are going to look awesome! 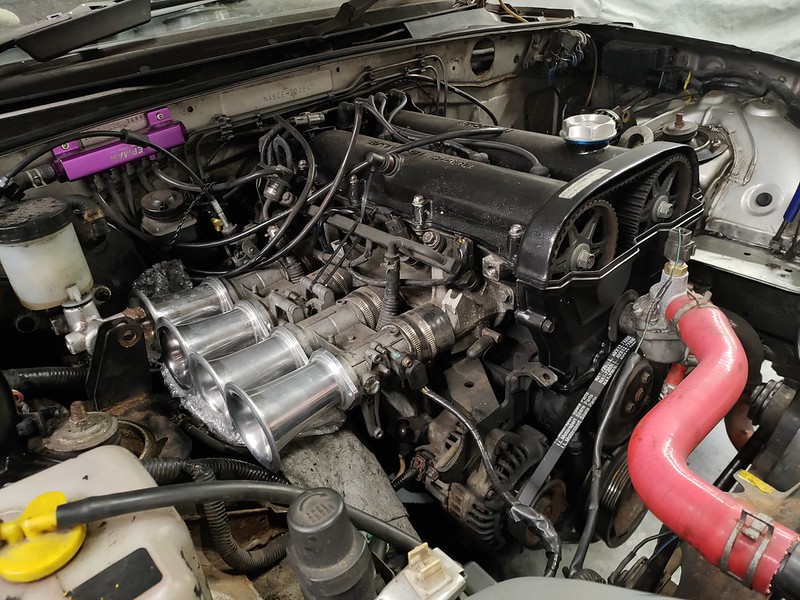 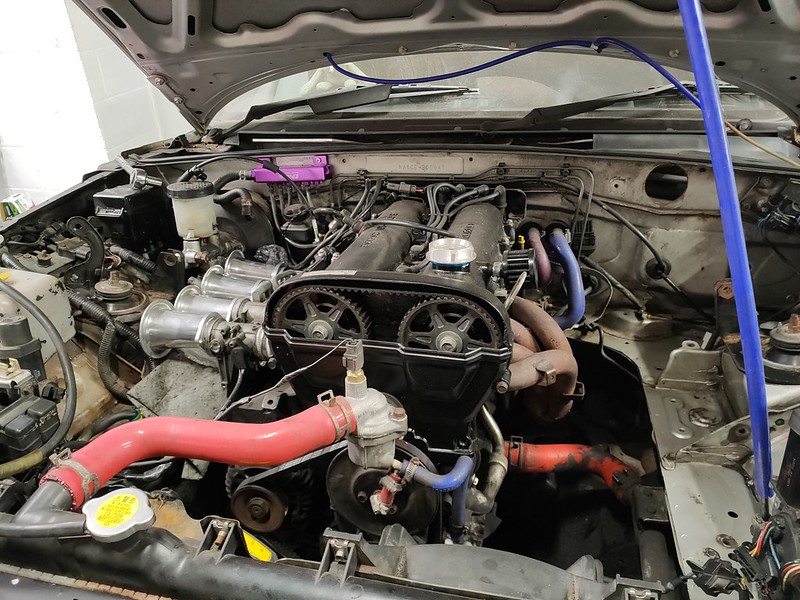 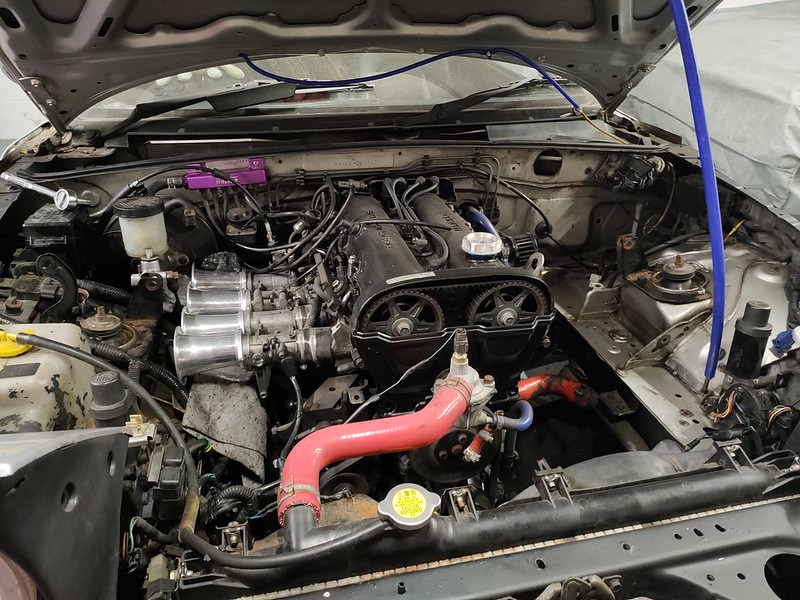 Like I said I don't have the rings to fit them on yet, I'll be getting the DanST ones for that, but today I duct taped them on loosely to test fire the car, and they sound awesome! The weird partial throttle whistle noise I got with the incorrect diameter ones is pretty much gone which is good, and even just sat parked up doing small revs the AFRs appear to be going a bit leaner than they did before, which is fantastic as it means these are allowing more air in than the janky setup I made before did! I also paid some attention to the RSR manifold. While it is stainless it was looking a little sorry for itself. It was old and used anyway, and about 6 months sat in my mate's garden hadn't done it any favours haha. I saw online a while back that some motorbike guys rated Harpic Power Plus for getting general tarnishing off of stainless, so I bought a bottle and gave it a go. I did 2 lots, with a bit of agitating mid way with some wire wool. Jetwashed it off and then gave it a little Autosol. It's not exactly shiny, but it at least looks alright again. Might give a wire brush cup on a grinder a go, see if I can get it to a more polished finish again: 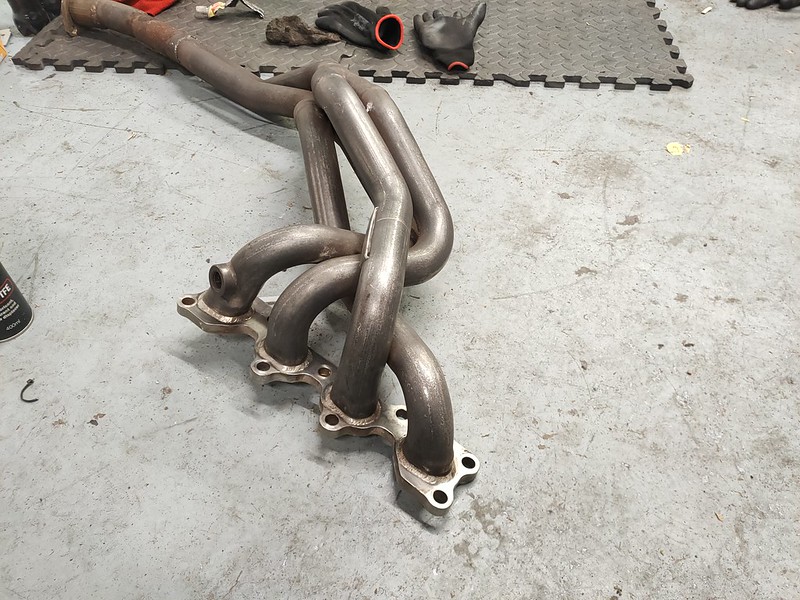 I also marked where the new o2 bung needs to go, as the one it comes with is just on cylinder 4, which is a crappy design to be honest, it really needs to be after the collector so it gives a proper reading of all cylinders. Also started sanding it down, mainly with a DA. So far done the 2 new front wings and some of the bonnet, should be able to get most of the car done in the next 2 days, then it's paint time this month hopefully! |
|
|
|
Post by josho on Jan 4, 2021 9:30:51 GMT
Woohoo moar na tuna 😁
2021 year of itb friends at the brekkie meet
|
|
|
|
Post by Bilbo on Mar 19, 2021 1:09:32 GMT
Woohoo moar na tuna 😁 2021 year of itb friends at the brekkie meet Hell yeaaaaaa, not long now. |
|
|
|
Post by Bilbo on Mar 19, 2021 1:31:45 GMT
So long time no update again, but I've been pretty busy on the 5, quite flat out the last 2 weeks or so, been doing a bit every day after work and at the weekends. A while ago I took the bronzey centered steering wheel and thought I'd paint it. I literally just went into Wickes with a photo of the colour code the car is going on my phone, and chose the closest thing they had. Keyed the center up, bit of etch primer, some Plasticote gloss paint, and then some Plasticote Super Gloss lacquer. It's regular paint, not that plastic rubber type spray. Came out pretty good, not perfect, but pretty good!  So anyway car is now up in the air:  Basically everything is off, removed all seals, roof rear trim, number plate panel, overfenders, lights, bumpers, windscreen rubber seal, wing mirrors, everything is off. 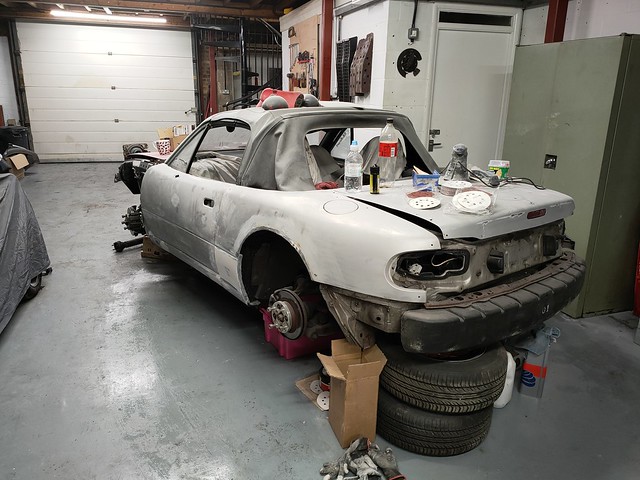 The sills are of course repaired inside and out, cavity waxed, the lot, but obviously a few welds were visible and I wanted to get it nice and smooth as paint will just make it stand out a mile. So gave it a light skim of filler and spent some time getting it smoothed down really nice ready for paint:  Couple of other bits of filler on the sill area have been done as well, nothing much, just a few skims here and there. Real dusty crap, don't like it at all to sand haha. The damage from my mate drifting at Santa Pod caused by a tyre had gradually caused a bigger issue and turned into rust, which turned into a hole in the front arch going into the bay. For a while this was a perfect spot to route neons through, but decided to get it fixed properly and it has been welded up, seam sealed, and sprayed with Dinitrol 4941 to finish:  Managed to source a rear bumper without foglight hole from MX5Restorer, and I've got that sanded down and all the chips sanded out and roughly smoothed:  Bit of a weird one but I created this hole in the passenger door shut after poking at a bit of rust that wouldn't lift with sanding, so that will be welded up this weekend or next week some time. It appears localised to just this spot, presumably it has had the paint damaged and some water has sat there and just killed it over time: 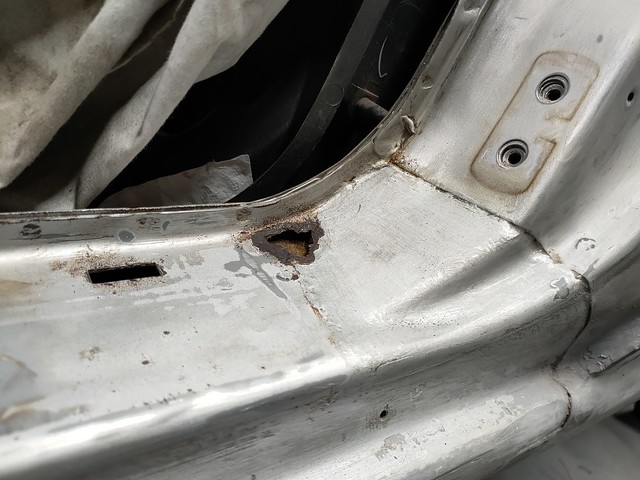 Got the new front wings on. Bit of Dremel work to bore out the bolt holes a bit, nothing crazy, little bit of bracket bending and whatnot and they've gone on ok: 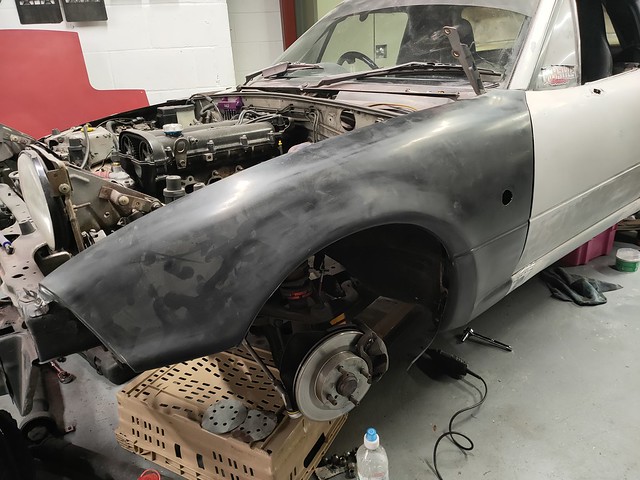 Panel gap could do with a little bit more work but this photo actually makes it look worse than it is tbh: 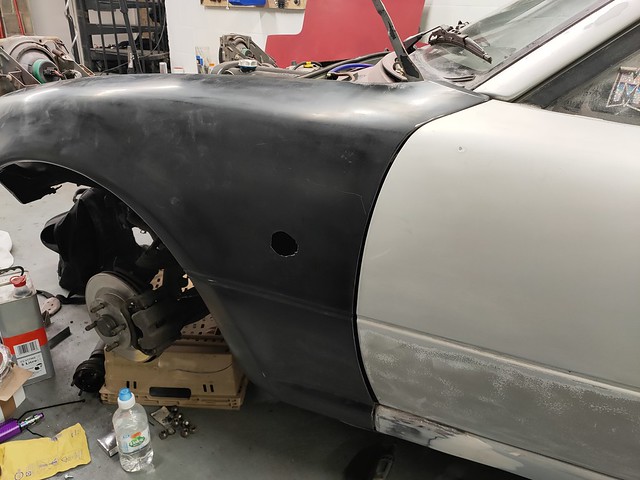 It is what it is, I didn't buy OE wings so you get what you get, but they're not too bad other than a little bit of shoddy fitting. The lower sill bolt holes on the wings are pretty out though, I had to Dremel out the passenger side ones, and completely re-drill the driver's side ones, but it was light work and all bolted up now for arch rolling. Did a roll, bought a pizza: 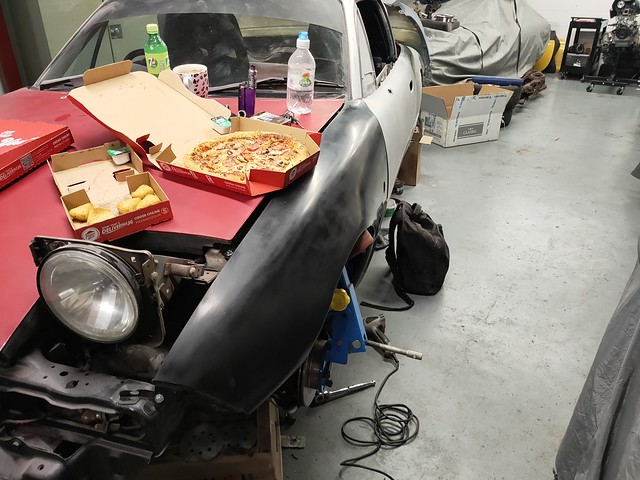 With some help from a heat gun and slowly rolling more and more they've actually come out pretty nicely! Only done passenger side so far, but it's rolled flat and flared out a bit, I think it will be enough for my wheels to fit nicely. It's great working with new metal, it rolled pretty well, though very thin so lots of leaning on the wing while rolling was required, as they flex so much haha.  Overall just need to pick up a front bumper and prep that, all other bits are done basically, overfenders, mirrors, rear mud guards, headlight covers, it's all sanded and ready to go. Planning to get it painted, have it back in the unit for wet sanding and finishing of the new paint, get gearbox, clutch and flywheel done, get bushes done and refurb the arms and replace the upper ball joints, put it all back together, and it'll be on the road! |
|
|
|
Post by howardb66 on Mar 19, 2021 9:52:08 GMT
That’s really good👍🏻
It’ll be unrecognizable compared to when you first bought it.
|
|