|
|
Post by atlex on Dec 17, 2019 19:38:24 GMT
I applaud your selection of wheels. Class.
|
|
|
|
Post by Bilbo on Dec 18, 2019 13:31:00 GMT
Yeah that was a lie. It hits the floor constantly  |
|
|
|
Post by Bilbo on Dec 18, 2019 13:32:01 GMT
I applaud your selection of wheels. Class. Cheers man, I'm very happy with them. I knew when I got the car that I wanted a particular type of wheel, and I'm glad I managed to get hold of the ones I did. Something a bit different from the usual choices. |
|
|
|
Post by josho on Jan 9, 2020 11:13:28 GMT
Phwoar, she's looking a lot better than when I last saw it at a brekkie meet dude  also #oddcolourreararchgang |
|
|
|
Post by Bilbo on Feb 26, 2020 12:54:39 GMT
Phwoar, she's looking a lot better than when I last saw it at a brekkie meet dude  also #oddcolourreararchgang Cheers man! Well hopefully won't be mismatched for much longer ( ͡° ͜ʖ ͡°) |
|
|
|
Post by Bilbo on Feb 26, 2020 12:59:34 GMT
Haven't done much to the car lately, got a house move coming up so needed to save for all the associated costs of that. I did however fit some red and purple LEDs, along with my interior LED footwell lights they look pretty spicy:  There are plans afoot to get sills welded by a mate, and use another mate's dad's lock-up to respray with a compressor and gun. We shall see! |
|
|
|
Post by wannabe on Feb 26, 2020 15:31:01 GMT
Nice! Aren't they blindingly bright at night? lol
I want to learn to spray so I can do mine and know it's done properly, rather than paying someone local four-figures and it going rusty again in a year...
|
|
|
|
Post by Bilbo on Feb 26, 2020 19:12:41 GMT
Nice! Aren't they blindingly bright at night? lol I want to learn to spray so I can do mine and know it's done properly, rather than paying someone local four-figures and it going rusty again in a year... I thought the same thing before fitting them, but no they're actually the perfect brightness. However one issue is that they're cheap, and one of the purple ones is flickering already haha. Yeah I have no idea about spraying, but I'll watch some videos and give it my best shot with my mate. His dad has a vintage lorry that he's owned for years and restored a little while back, so he knows his fair share about paint, so hopefully I can learn a little from him. |
|
|
|
Post by FFS Corders on Feb 26, 2020 19:36:45 GMT
Prep prep prep and prep some more
|
|
|
|
Post by Zed. on Feb 26, 2020 19:50:44 GMT
spraying is easy compared to the prep work  especially with darker colours  Rich. |
|
|
|
Post by Bilbo on Feb 27, 2020 13:03:40 GMT
Yeah will be trying to prep it well, guess we'll see. I've never done any before tbh other than filling and spraying number plate holes a few years back.
Going a light colour so hoping we can get it looking decent without too much trouble.
|
|
|
|
Post by Bilbo on Apr 12, 2020 20:55:45 GMT
Not a huge amount had been happening on the car for a while. A house move took priority and I lost motivation for a while. Since then the world has gone a bit mad as I'm sure you're all aware! I hope everyone is staying safe. So, the week after my house move, and the evening of my Birthday, lockdown time began! To stay sane and busy I have absolutely smashed the Amazon order button no less than about 10 times since, acquiring bits for the car. So I started with wheels. Been putting this off for too long. These wheels deserve better than this: 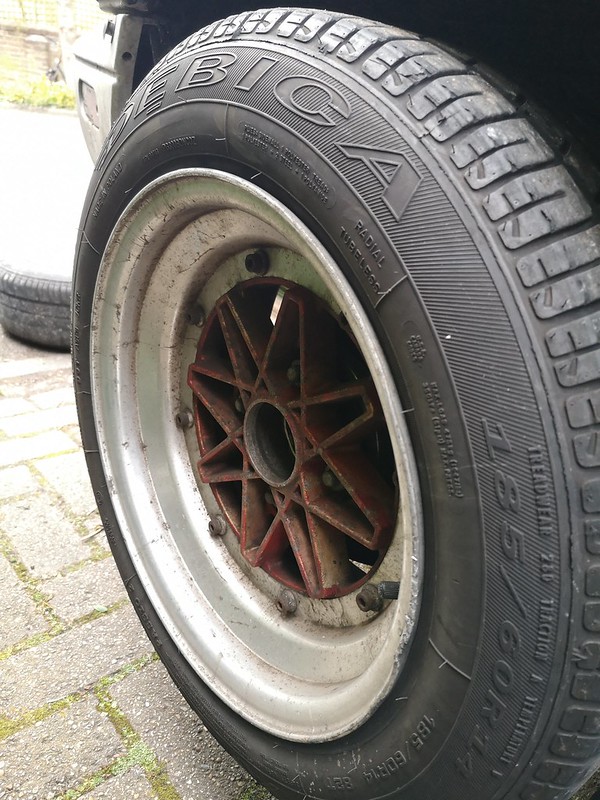 So, I got some etch primer and red spray paint for my birthday (thanks mum and dad), and acquired a few bits for my Dremel, loads of sand paper, some wire wool, some Mothers Mag polish, a ton of microfibers, some gloss lacquer, and so it began! First up, the Work Equips. I didn't split them, simply removed one bolt at a time, polished under that area, replaced, and went onto the next one. Here's some progress and final photos:    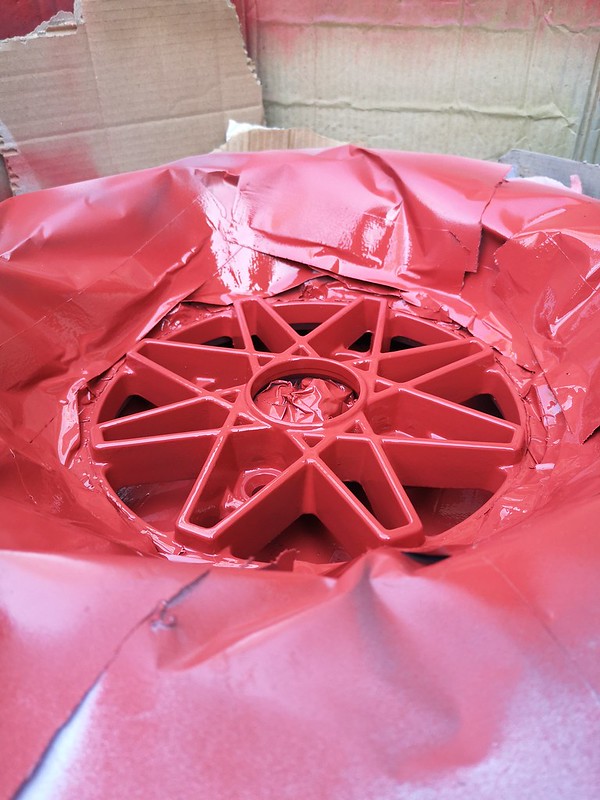  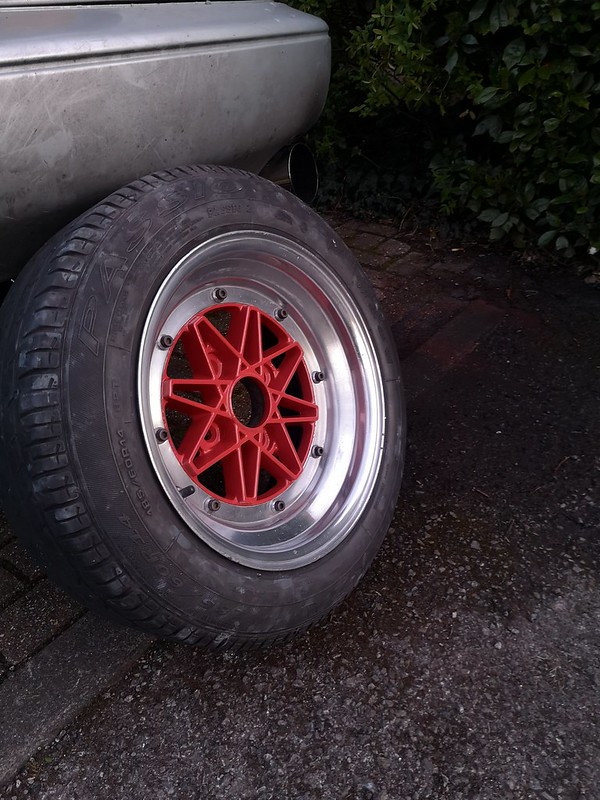 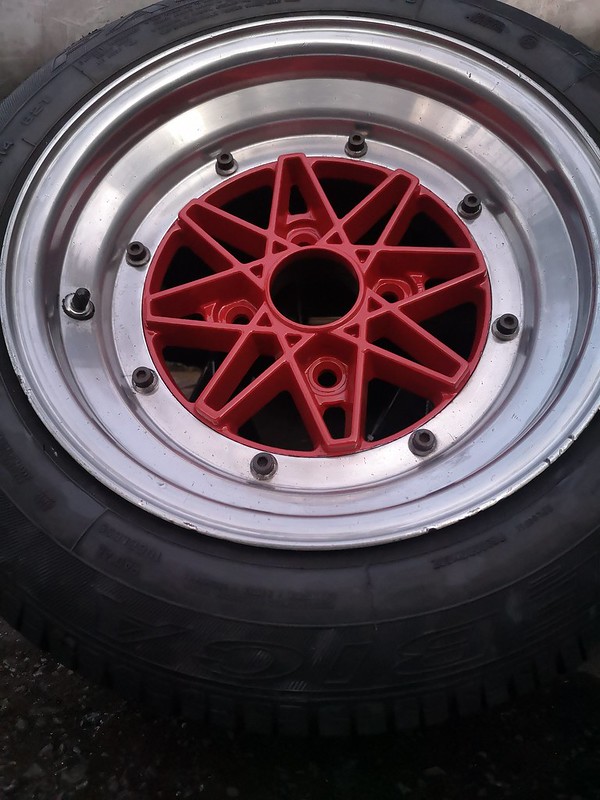 They came out great I think. Not perfect, but I'm not a wheel restorer, never restored a wheel, never really done any painting that involved primer, colour, and lacquer either. So I'm pleased. These will be sealed with Poorboys Wheel Sealant. Now for the Volk Rays Mesh. Same deal, except these have 16 bolts per wheel instead of 8. So I took 3 out at a time (one bolt on first wheel I rounded the head, bit gutted but had to leave it). The second wheel however, all going to plan, same deal. Undid another bolt, and pop went the sealant, letting the tyre down. Absolutely gutted, meant I needed to split the wheel, and I wanted it done quickly. I have not tyre removal tools. So I tried to debead it with a C clamp, this punctured the sidewall (luckily these tyres are junk and will be changed anyway). So I got my trusty Dremel, and I cut the tyre open, and very carefully cut into the bead of the tyre. This took aaaaaages, and I wouldn't recommend it. After a lot of time, I finally got the tyre to debead by just cutting through the entire bead on both sides, with no damage to the lips themselves. So one wheel is split down, other is all good. Just finished colour stage tonight, lacquer tomorrow morning. Some progress photos:  Purple Rain fallout remover is very good, and I love purple. It even stained the drive for a little while, would love the whole drive to be purple lol.  Before and after lip polishing. 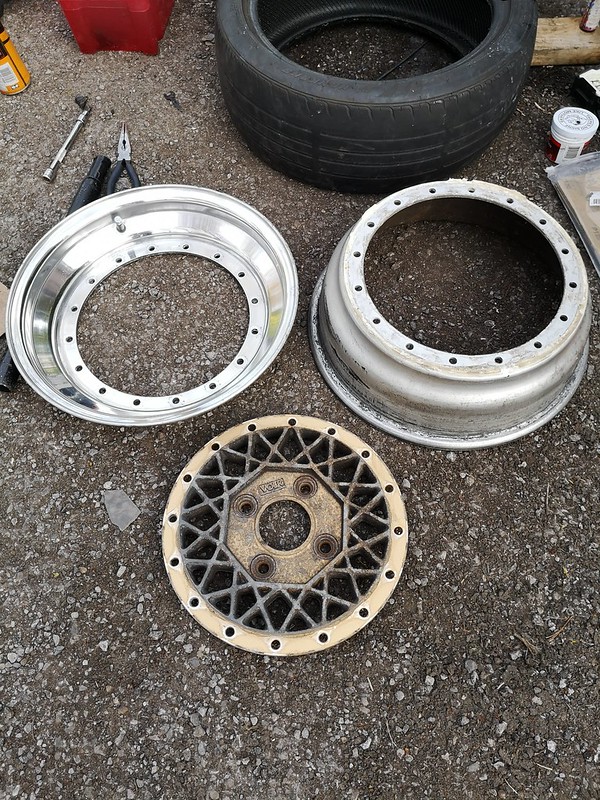   As I've taken my time and done them slowly, trying different processes along the way, as well as a lot of hand sanding, I'd estimate the 4 wheels have taken approximately 40 hours all in! Well that's it for now really. Painting the car itself is on hold until lockdown is over and I can get a mate to weld my sills, and then I can use my mate's dad's lockup and compressor. All in all a very productive self isolation so far, more bits planned when these are done too! |
|
|
|
Post by FFS Corders on Apr 12, 2020 21:03:17 GMT
Mad painting efforts, they look great!
|
|
|
|
Post by Bilbo on Apr 12, 2020 22:22:10 GMT
Mad painting efforts, they look great! Thanks mate, not quite mint as the lips had some nasty pitting in places, but overall I'm happy with them! |
|
|
|
Post by wannabe on Apr 12, 2020 23:37:58 GMT
Awesome work  Those lips came up great! Guess it's good to keep busy rather than go insane!  lol |
|