|
|
Post by teamawesome on Apr 11, 2017 11:00:42 GMT
Firstly, for those who've never seen my car before I would like to send you in this direction www.mx5nutz.com/forum/index.php?showtopic=20293I have owned the Mazda for 8 years now and there's far too much drama to cover on one post! I'll start with where I decided to build the Westfield. The Mazda was needing welding jobs every year for the MOT and my Dad has been building Westfields for years. We spoke with the factory and they offered a discount too good to pass up. With that the Mazda was set to die, but live on in a way. I hope you enjoy the thread..... |
|
|
|
Post by teamawesome on Apr 11, 2017 11:01:28 GMT
What a long day! The M6 has been closed both ways so we had to take the A and B roads in a slow AF Luton van. It should've taken about an hour each way but it took about 2 and a half instead. Never mind, the plan was to pick it up and nothing more today. Mission accomplished 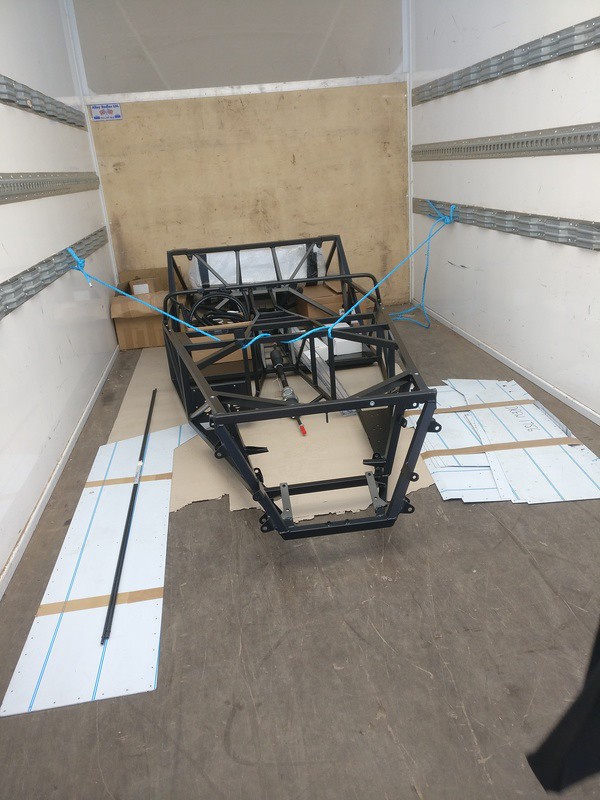 That's it. The starter kit has arrived along with a few further pieces for later in the build. We start in the morning, firstly setting up the garage and them starting with the panels. I can't wait to make a start on it! |
|
|
|
Post by teamawesome on Apr 11, 2017 11:02:28 GMT
We made a start with this today as you would expect. First job was to make space for the chassis, get it on some stands and make space around it for working. That took all of about 10 mins and we were right into the build. Task 1 - Fitting the panels We started off with the wrong panels. I'm working with an "expert" who insisted that the floor panels were first. Wrong, they are supposed to be last. Never mind, we ended up with this after an hour or so. 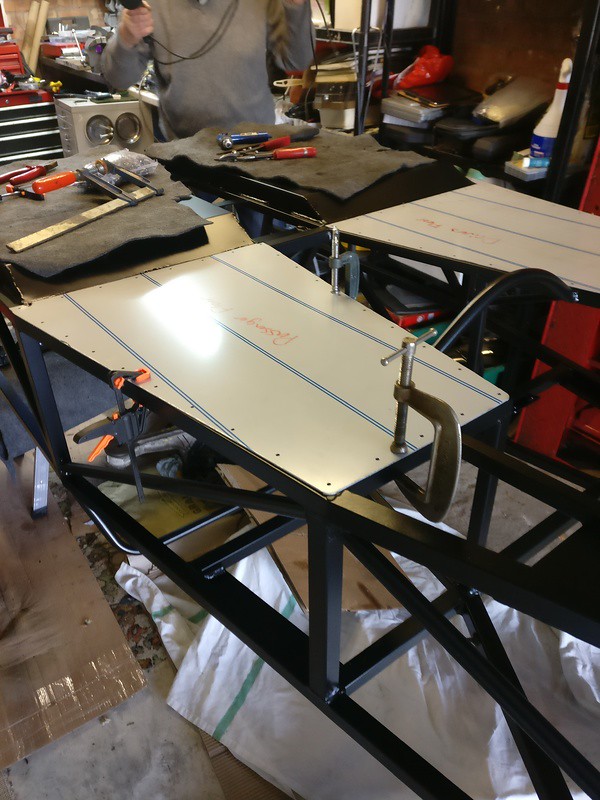  So much drilling and riveting. We have a drill powered rivet tool but it keeps breaking. I've used the hand one all day which was.... fun. We carried on until we suddenly became too weak to squeeze any more handles. Between the rivet guns and the sikaflex guns, I've got to point where my hand was cramped up closed! I think we've done well for the first day of the build. We've fitted the floor panels, the transmission tunnel panels, the back panel and a couple at the end of the footwell. Roll on tomorrow when the goal is to finish the panelling so we can move onto brake and fuel lines next time. 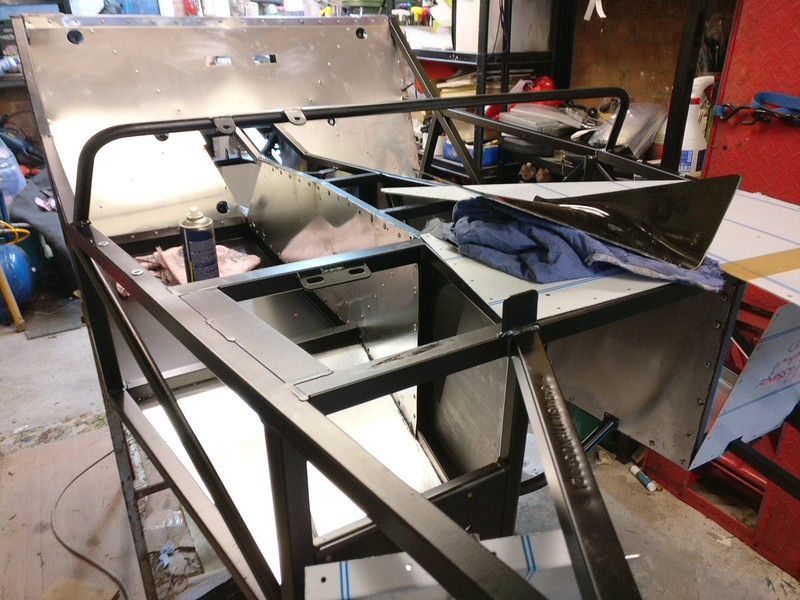 Oh, and who could resist a seat in the race car? 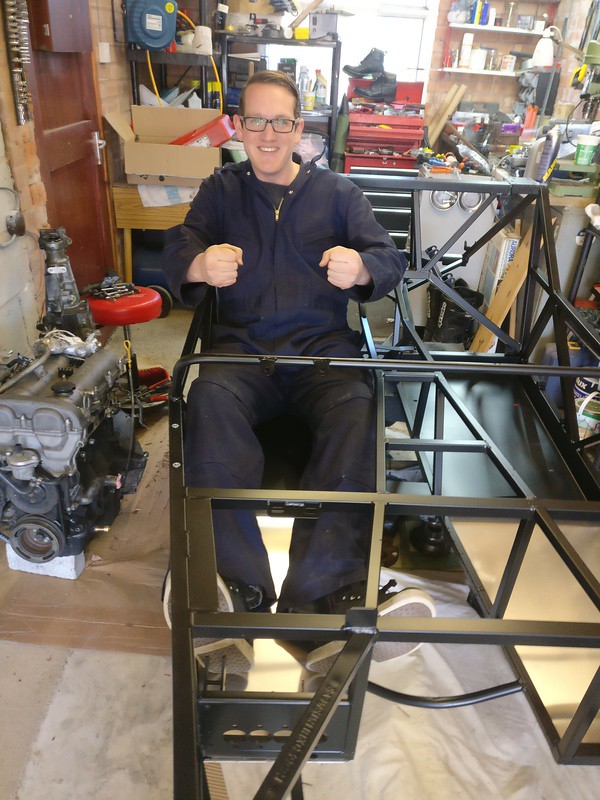 |
|
|
|
Post by teamawesome on Apr 11, 2017 11:17:48 GMT
26th March 2017 Another day on the build. It's being built at my parents house so the plan is to do one weekend a month and get some full days on it when I'm here. Today we carried on with the panels and we're actually nearly done with them already. I have to leave no so we've downed tools but of the panels that are supposed to be fitted first we've only got the passenger side exterior panel and a fibreglass diff cover. We have also jumped ahead slightly and fitted the pedals. These are supposed to be fitted after all the panels but I did it while we still had good access. No point making life hard for ourselves! That's it for this weekend, I'll hopefully be back in 2 weeks where we'll finish the panels. Just a flying visit for that though. Here's where we left off. 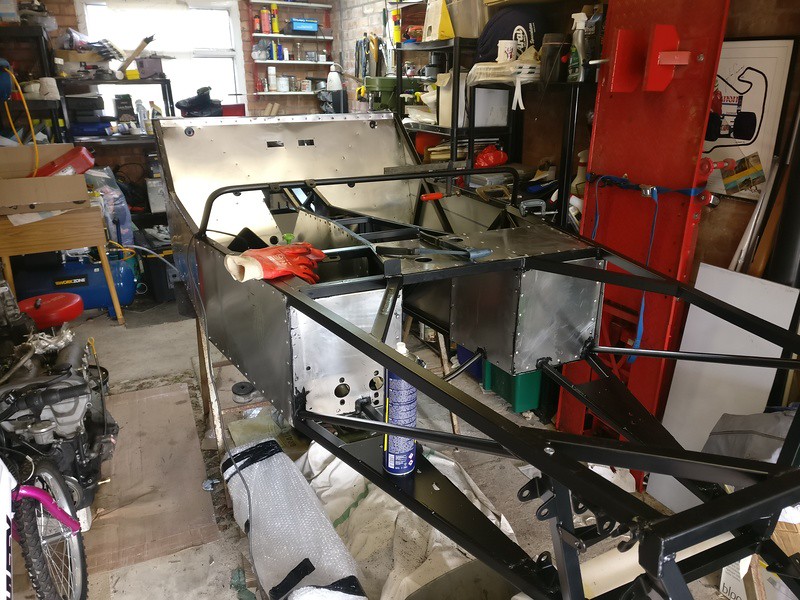 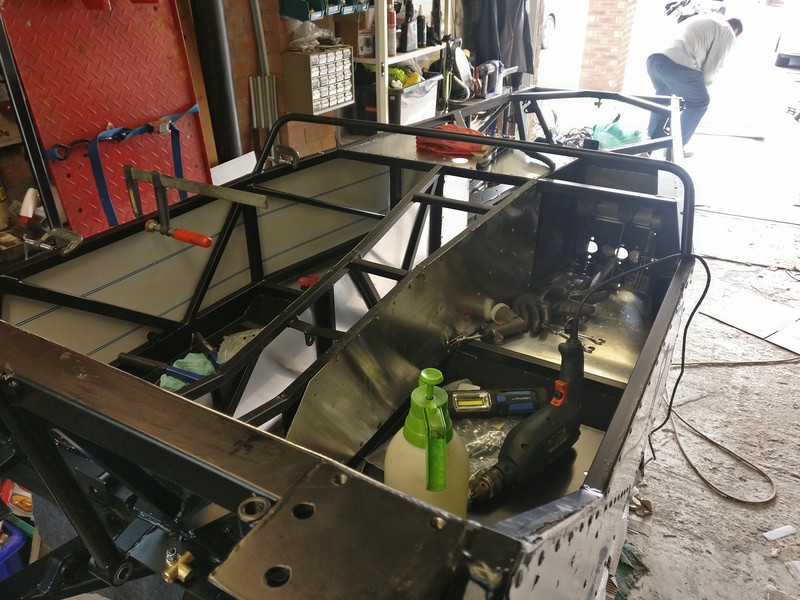 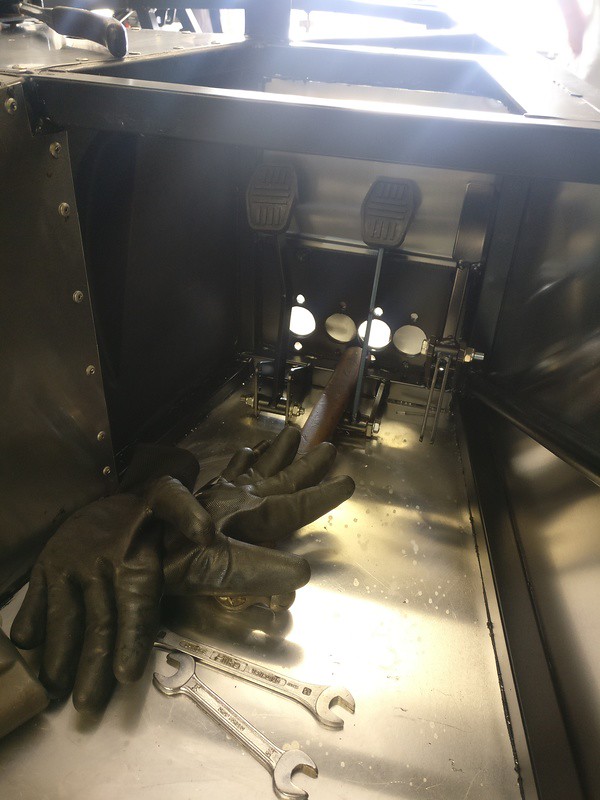 |
|
|
|
Post by teamawesome on Apr 11, 2017 11:19:24 GMT
10th April 2017 On Friday I had the pleasure of travelling up to Manchester to look at a car with a friend. This coupled with an engagement party in Stoke meant I could have a day with the car. On Friday evening we wasted no time and had the panels finished off. The passenger side was easy but the GRP panel was a pain given that the holes in the aluminium below it don't match up with the frame and there's no holes in the GRP at all. In the end we just clamped it on and started drilling. All sorted. This is what we ended up with. 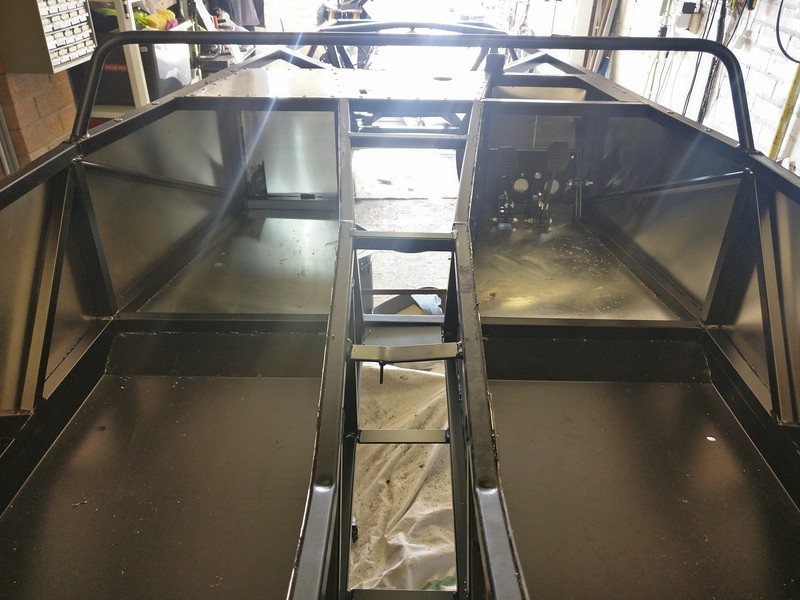 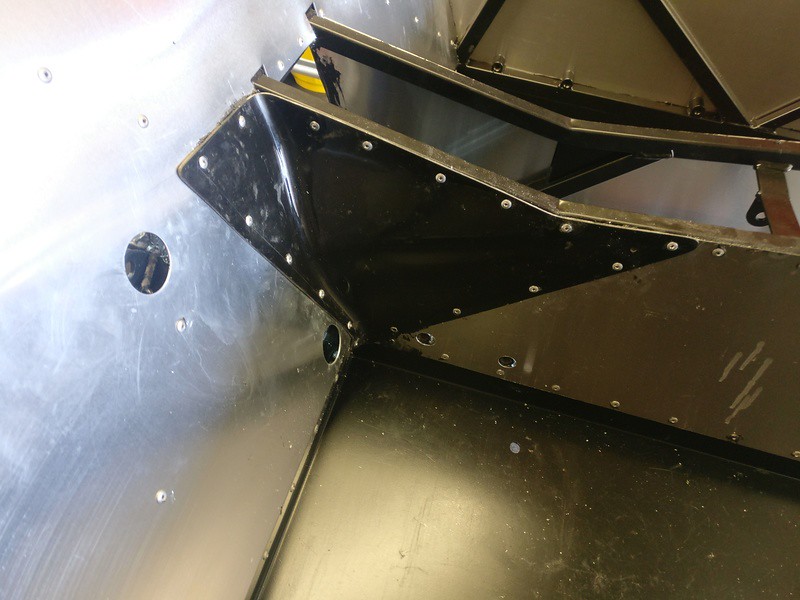 Not a bad start to the weekend considering I wasn't even planning on working on the car. My main problem was that Westfield don't provide enough rivets. I think we lost one from the whole bag and we were still short. Screwfix to the rescue! The next day came the daunting task of fitting the first mechanical parts to the car. Nothing major, just the brake and clutch master cylinders. This was obviously very simple and satisfying, but this wasn'tthe daunting part. That came with the bending of brake and fuel lines. I think we started with the hardest line, the one that goes from the brake master cylinder to the brake light switch (it's a line pressure switch rather than a pedal switch). This pipe is about 20cm long and has to have 3 bends in it, if you've used a line bender before you'll know how hard that can be. In the end we had to use our hands and a pipe, luckily the line didn't crimp. The rest of the lines were pretty straightforward and, being steel, they are quite hardy. The fuel lines take some force! This is where we left it 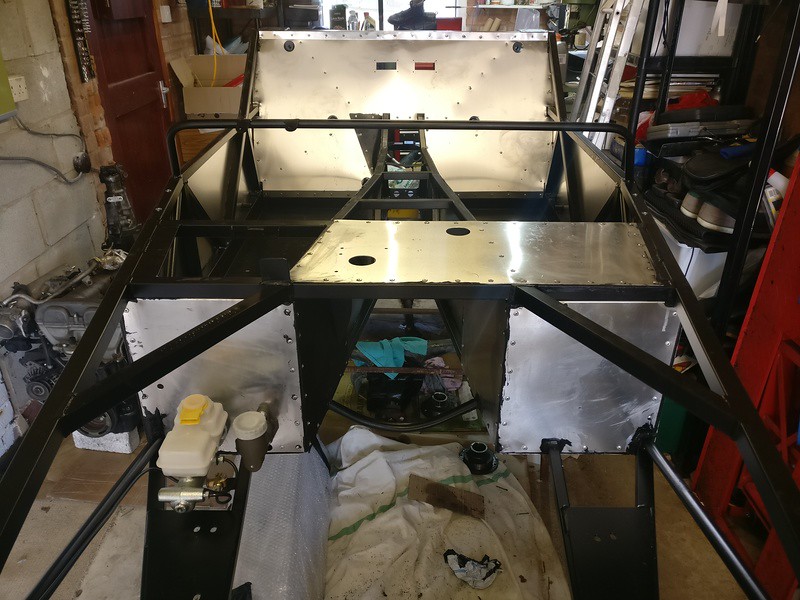 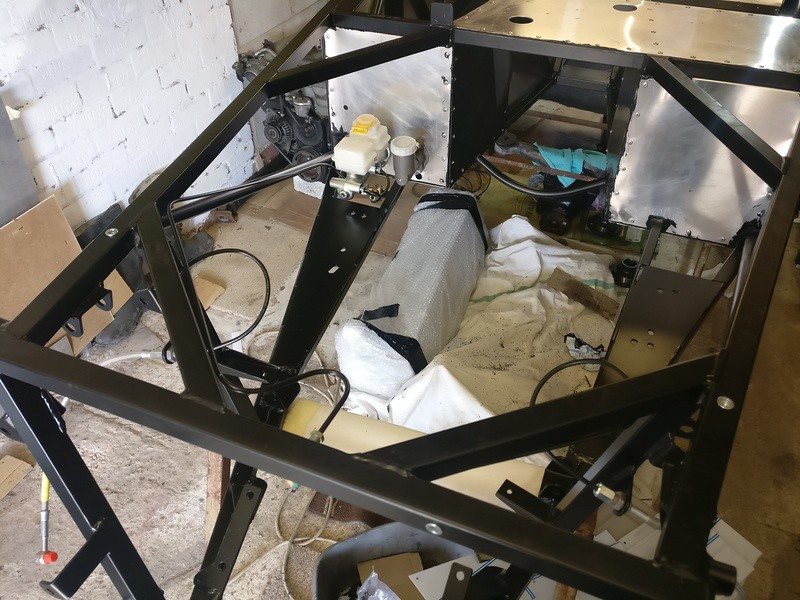 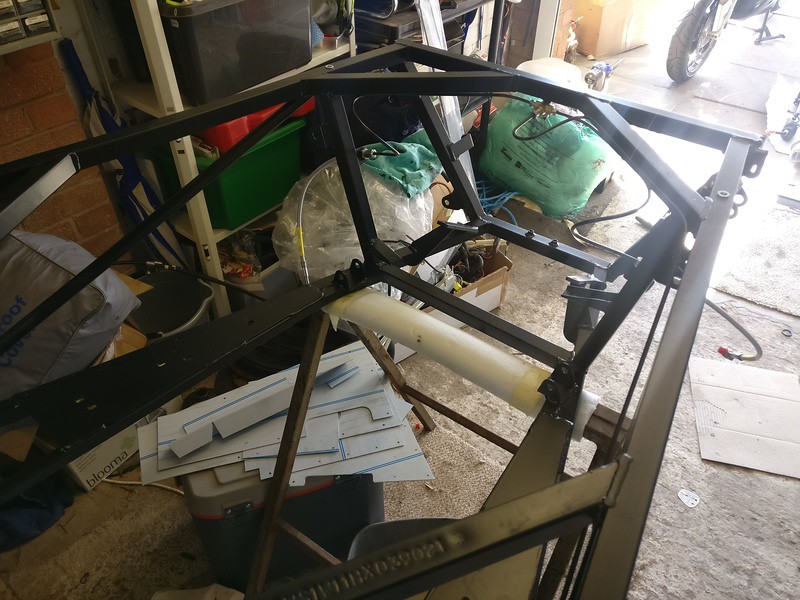 They're not clipped in yet but that'll happen this weekend. From there it should be quite productive and we should see it take shape quick quickly. |
|
|
|
Post by NurseHolliday on Apr 11, 2017 18:22:01 GMT
Awesome! My dad is currently re-modelling (to use an American term), and once it's finished he should have a garage big enough to build a Westy or Caterham, which he's been promising we'd do together for about 20 years, so I can't wait for that.
|
|
|
|
Post by Horney on Apr 11, 2017 19:07:19 GMT
Glad you've brought this thread over here.
|
|
|
|
Post by tropical on Apr 12, 2017 9:42:27 GMT
Love to have the time, space and money to do this, one day.
Following.
|
|
|
|
Post by browno on Apr 12, 2017 9:57:30 GMT
Excellent stuff - will be following with interest, as I am working on turning my mk1 into an exocet - so will be interesting to compare our builds and the challenges along the way!
|
|
|
|
Post by teamawesome on Apr 12, 2017 10:09:25 GMT
I'm really enjoying the build so far. It's interesting to see what is and isn't in the kit. Things like brake line clips aren't in there, but every build would need them. The engine mounts are included in the starter kit, but the rubber bushings for them are in the completion kit.
I get to have a full 4 days on it over the weekend so that should be good. The aim is to get the brake and fuel lines completed and hopefully get to the point where the rear end is almost done. Looks like it should be doable.
|
|
|
|
Post by teamawesome on Apr 14, 2017 17:21:15 GMT
Started the long weekend with the car. We carried on with the brake and fuel lines now i have clips for them. They really are a pain in the rear canoe! A lot of fettling to get them IVA compliant and in a position where I'm happy with their aesthetics. I'm not entirely happy and I'm sure there will be slightly more bending to be done but here is where we are now. 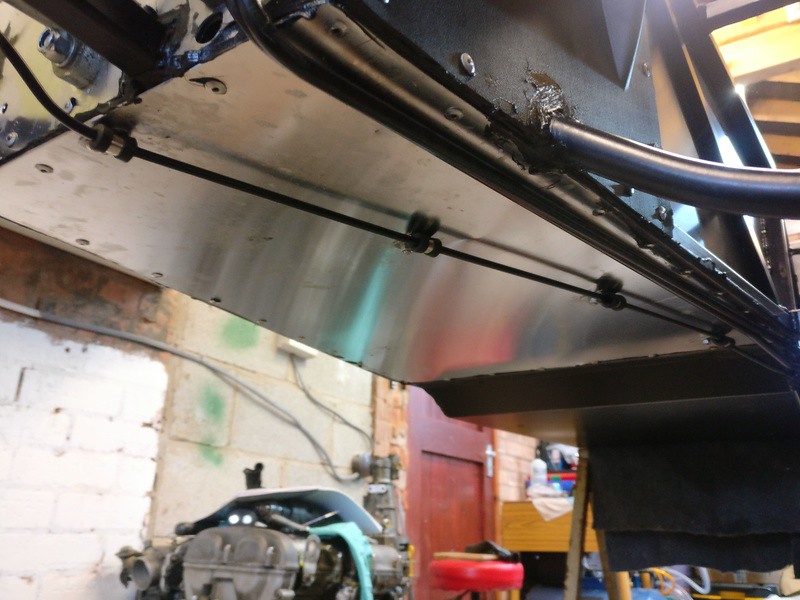  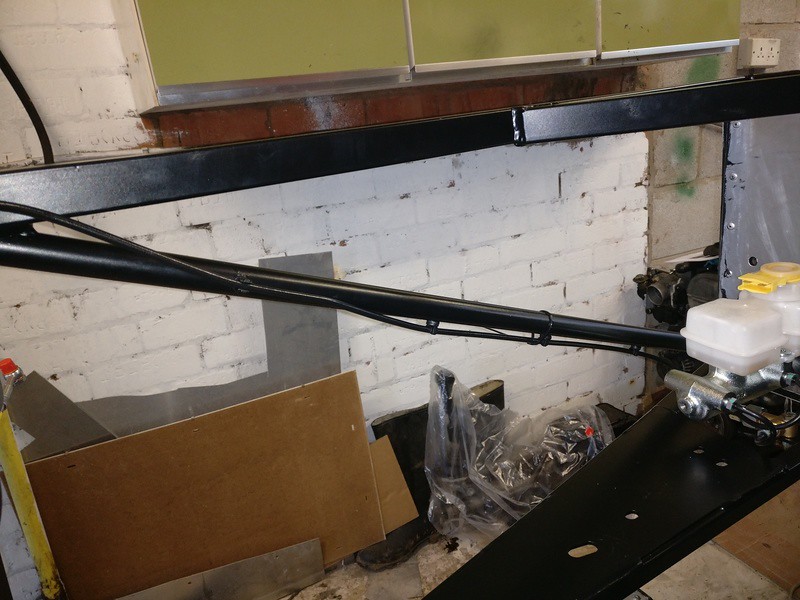 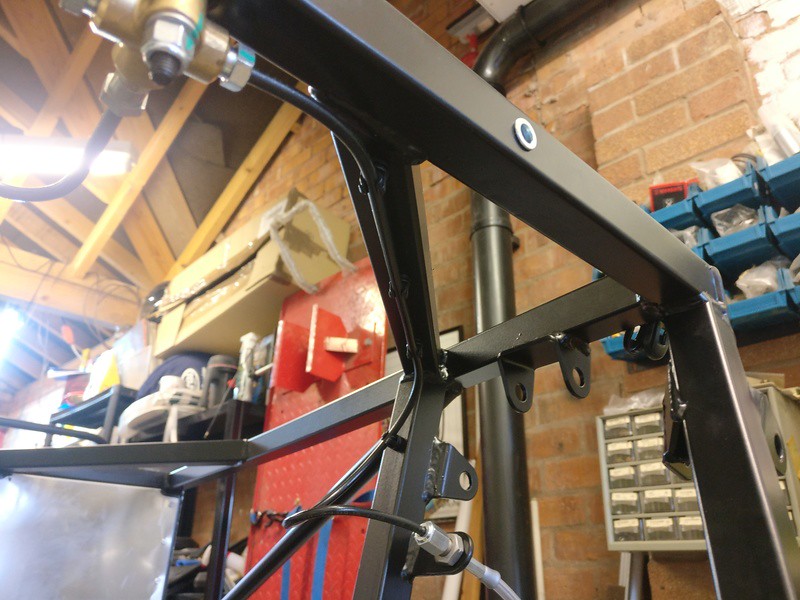 The brake line under the floor takes that particular route because Westfield don't really give enough brake line to follow the contours of the chassis. We have 2 more to do in the morning, but they should be fairly easy. Then we have a little bit of wiring before the diff and suspension does in! I'm looking forward to that. Aim for the weekend..... Have the car on it's wheels. |
|
|
|
Post by teamawesome on Apr 15, 2017 17:47:34 GMT
Day 2 of the long weekend end, 50% of the time gone! Well.... I think we've done quite well with the car considering I'm trying to do things to a decent standard. Throwing the car together is not an option! This morning we finished off the last 2 brake lines and realised that another was right in front of the lower suspension arm mounting point. Rookie mistake! We've fixed that and that's all the lines completed, assuming we find no issue later in the build. After the brake lines we're tasked with modifying and fitting the rear wiring harness. As some will know, the Mazda harness is spilt into 3 sections and at this point it is good to install the back end. The Westfield only needs the lights and fuel pump so around 50% of the loom is actually removed. It's taken us around 6 hours to identify the wires we don't need and remove them, lay the harness in the car to sort out the wiring lengths, add in extra wiring for a fog light and change earthing locations. After that we had to remove it all to apply harness tape and put it back in. It's taken a long time but I think it looks decent. Just a shame 8 hours doesn't like like much in the photos. 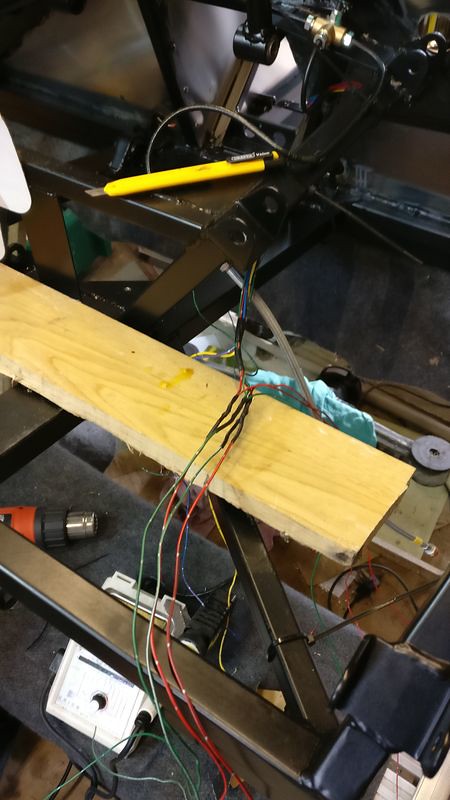  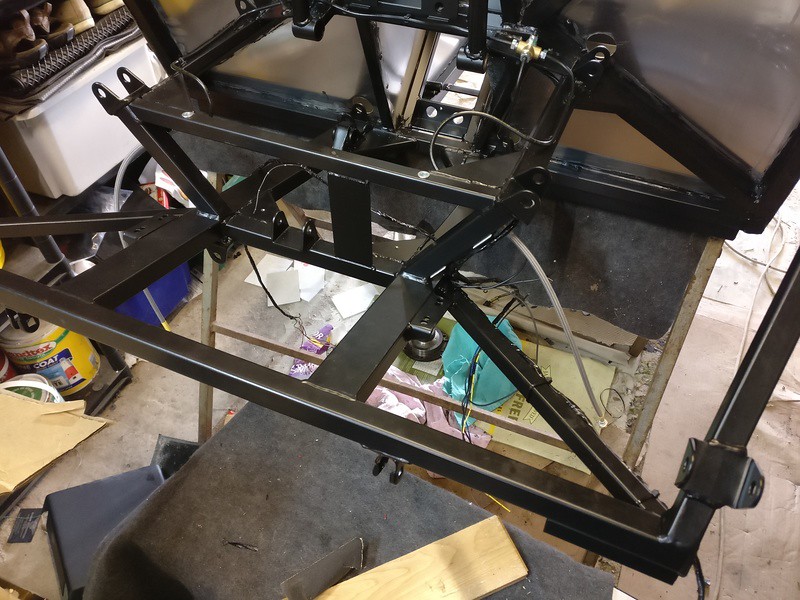 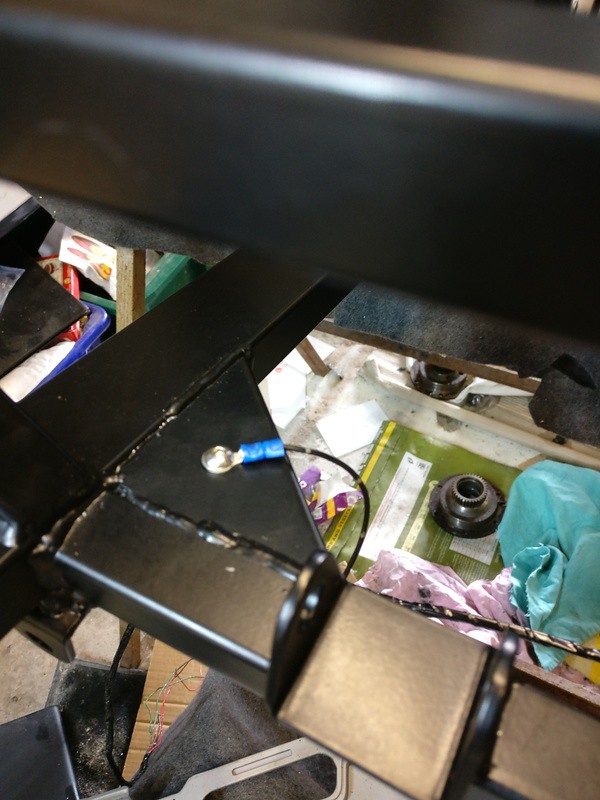 |
|
|
|
Post by teamawesome on Apr 17, 2017 10:47:44 GMT
Day 3 of the long weekend has been a mixed bag. I'm pretty happy with how much progress we've made but not as happy as I could be! We started off yesterday with putting the diff mounts on the diff itself. There is a reduction bush that needs to be fitted to the front bolt hole this went into the freezer for an hour and just needed a few light taps to get it into place. Success! Then we moved onto the actual diff install. On paper this looks easy. The first part is to line the car with cardboard to protect the frame from scratches. We also put in a plank of wood to take the weight while we were moving the diff into place. 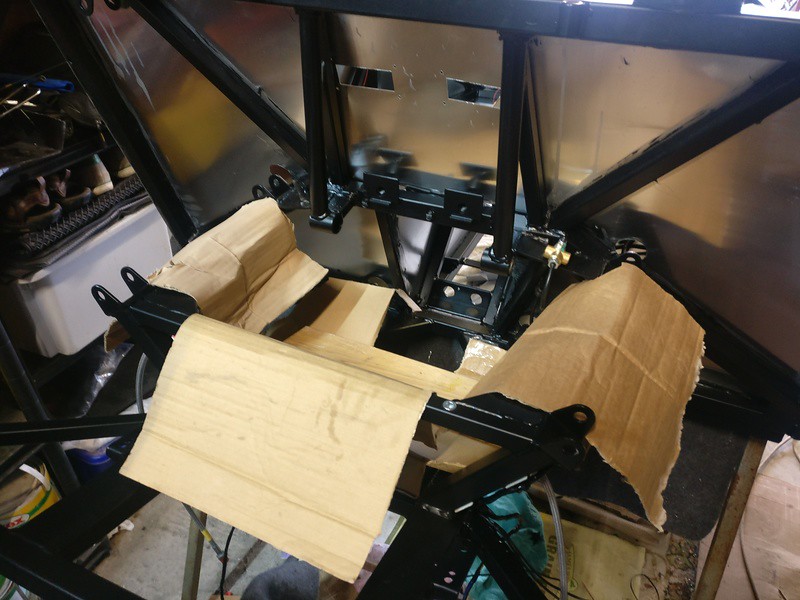 There are 2 bushes that the diff bracket mounts to, these went in easy, although we realised that we needed to remove the brake lines that we'd already put in. Not too bad, 5 mins job. The bigger issue is that we discovered that the A-Frames that take the rotational forces out of the diff are not exactly precision engineered and we had to make some spacers to make them fit. That also meant that the bolts provided by Westfield aren't long enough. The bolts to the front of the bracket are fine (I say fine, we thought these were missing but at the end of the day we found them in another bolt bag and one bracket mount is 1/4 inch thicker then the other side, even though they're supposed to be symmetrical) but we couldn't finish the rear end because we now need to wait for bolts. We can't go any further because it would mean removing parts to put these bolts in. The back end looks like this. 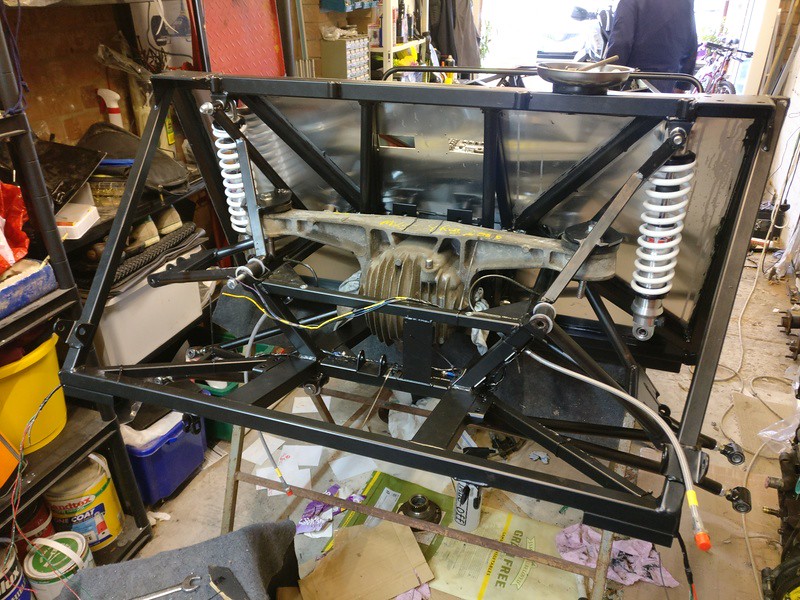 I also decided to have the rear wheel bearing changed while it's all off the car. No wheels at the back yet. Mission failed. We then move on the front of the car. The story isn't much better here unfortunately. The lock nuts for the front upper ball joints are the wrong thread so we can't fit the front uprights. No wheels, mission failed on a second count. The suspension looks nice though!  We wanted to fit the steering rack too, but the mounts don't fit the rack. It's not even close. All in all, I guess it's not too bad. We're around an hour away from completing what we wanted to do do this weekend but it's slightly annoying that we were stopped by missing/wrong parts and the bank holiday means we can't get them from anywhere. I next go to work on the car in 3 weeks. We should have all the parts by then and can finish what we began. There is also a very exciting next step in the manual....... Engine and gearbox installation! |
|
|
|
Post by teamawesome on May 8, 2017 15:11:45 GMT
We've managed to have a fully productive weekend working on the car! I went to work on the car on Friday and instead of going to the pub I decided to take the opportunity to fit a few parts that had to be replaced. The differential mounts were wrong on the passenger side but Westfield sent replacements very quickly. I took the old ones off and offered up the new ones. Success! I then tried to put the bolt back in the bottom mount but it wouldn't go in. I assumed it was snagged on the bush, like some others have been, so hit it with a hammer. It only went half way and was stuck fast. Turns out I'd picked up the wrong bolt and it was slightly too large! It was stuck in the bush and getting it back out took 2 hours as the steel insert wanted to come out and the friction was stronger that the chassis mount. The mount was bending! So 2 hours of grinding, drilling and sawing ended up with a win. The bolt eventually came out. It was late and I was knackered. Not as knackered as the bolt though. Saturday began much better. The idea was to finish the snagging list and then fit the engine. 10 hours later and we had completed the following: -Differential mounts fitted -Brake lines secured -Fuel lines secured -All wishbones removed and regreased with Energy Suspension hyperlube (this stuff is evil if it gets on your hands!) -All dampers fitted -Uprights fitted -Steering rack fitted. In the end we had to file the mounts but that wasn't good enough and there was a little play due to this 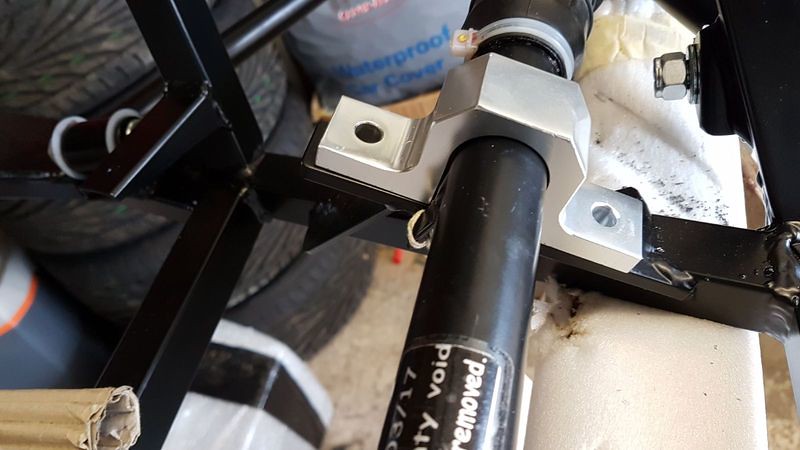 Not so happy with that so we wanted to pack it out. We ended up with this 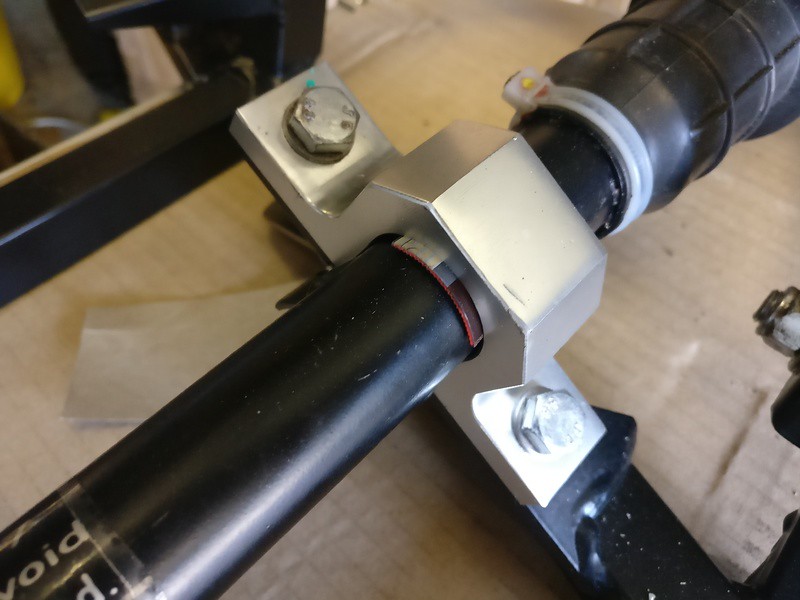 Yep, Nationwide to the rescue with an expired card. This rack is like the Mazda item, the passenger side mount only stops up and down movement and the driver side stops lateral movement. This shouldn't wear from lateral movement and I could literally pick up the front end using the rack with no play. We also wanted to replace the CV boots so I order these for a Sunday collection. The day ended with the car like this. 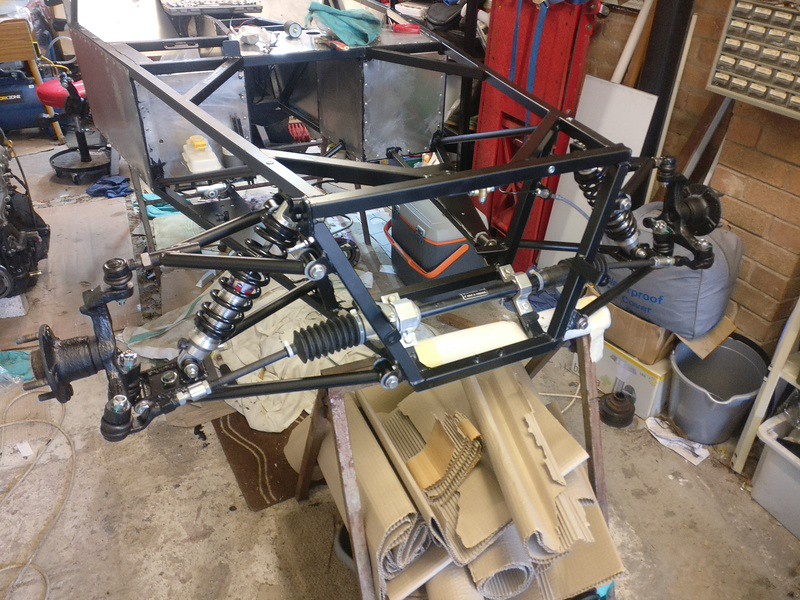 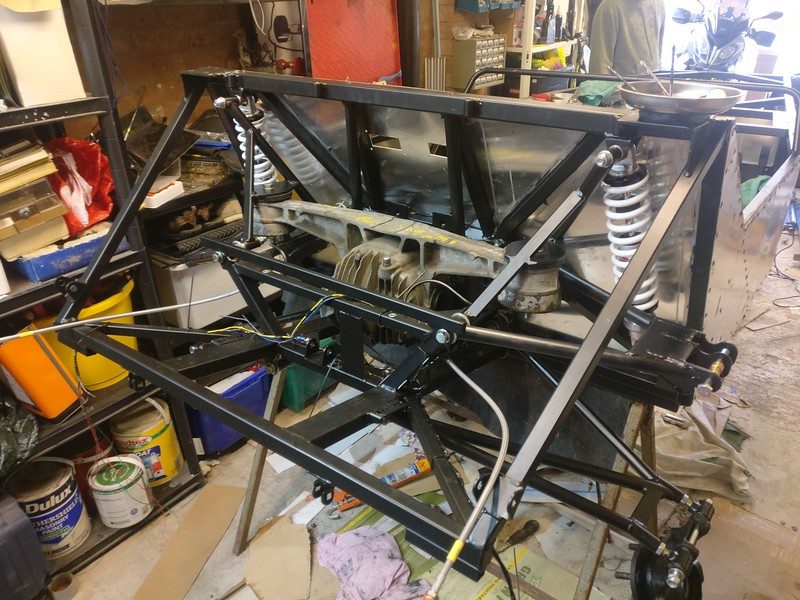 We prepared the engine and gearbox before the end of the day, the flywheel needed a new spigot bearing as it was bone dry and was clearly not turning with the input shaft. The release bearing was replaced too as it was noisy. And off to the pub....... Engine remaining unfitted. On Sunday I woke up hangover free and ready to work on the car. While we had the engine and box on the crane we decided it was a good time to remove the sump. These are very low on the Westfield so it's advisable to have it modified. Doug at G19 Engineering is currently building mine but it's not ready just yet. There's no subframe to get it the way so nothing stopping us fitting it later. Currently it's sat in there bleeding ever so slightly 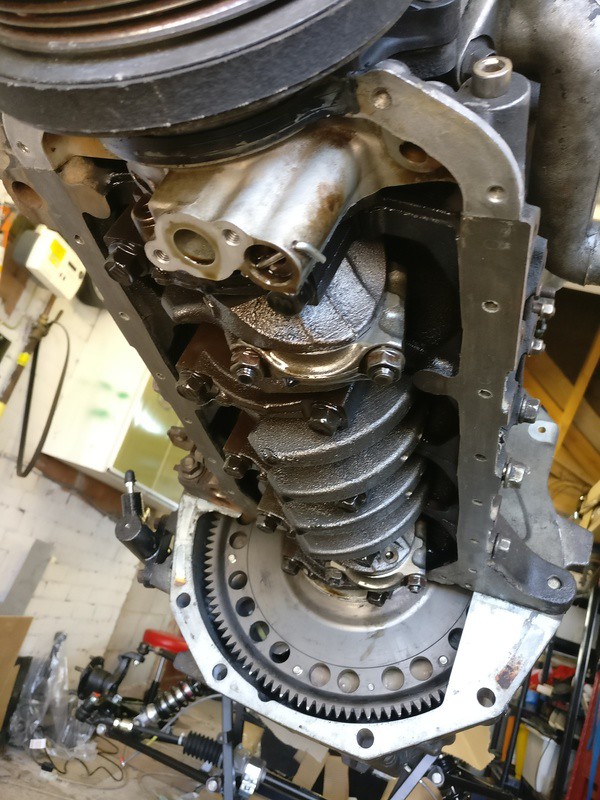 I had the block cleaned of all sealant and we started to fit the engine. It was so easy, literally 20 mins to get it in and lined up. 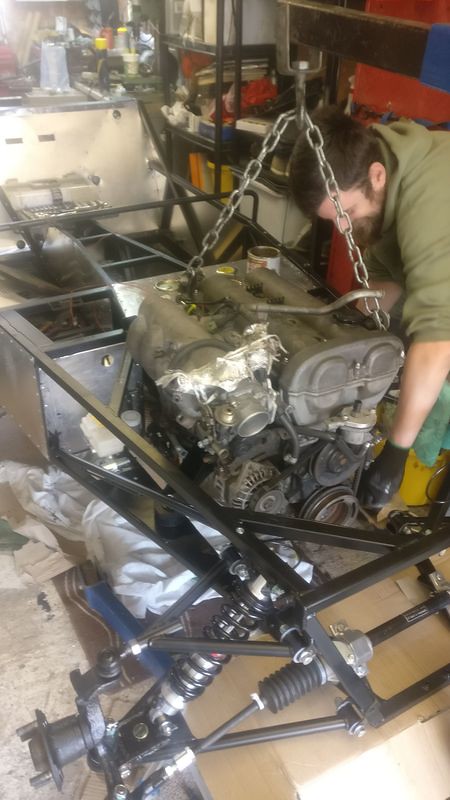 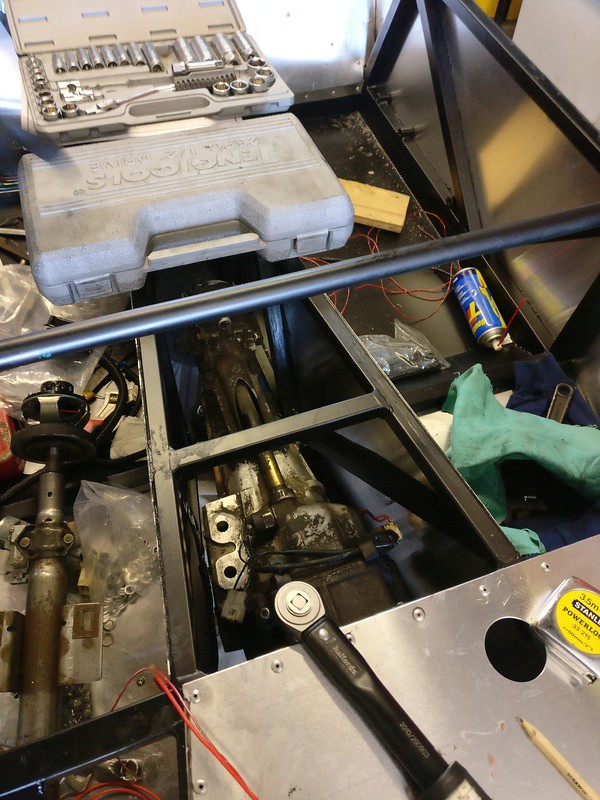 From there we needed to mark the chassis and drill a few holes for the gearbox mounts and passenger engine mount. The chassis is pre-drilled for the engine mounts but only the drivers side is correct! It's a well known issue that Westfield are yet to fix. No big issue. So with that I have something that is much more like car. Here it is as it sits now. 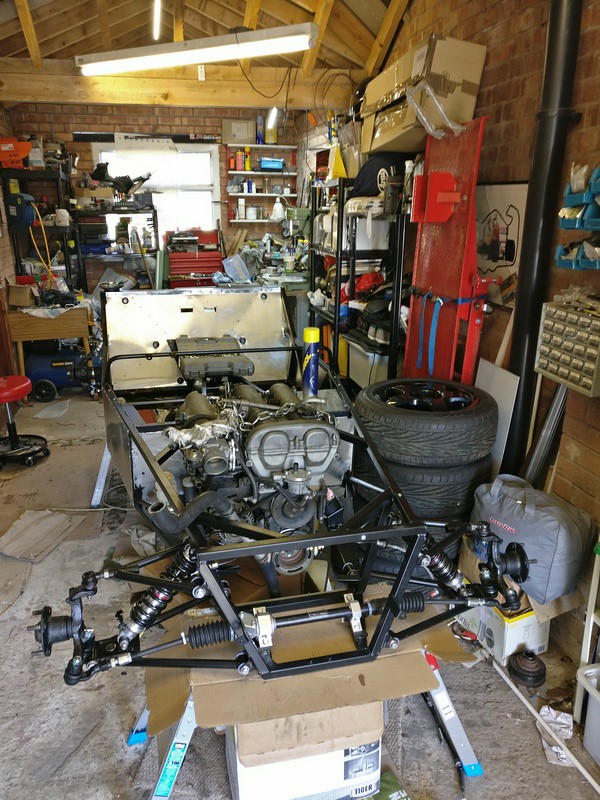 Rear end finally finished just after the engine went in, using a mix of Westfield and Mazda parts.  |
|
|
|
Post by Horney on May 8, 2017 18:02:57 GMT
Nice progress. Couple more weekends and you'll be SVA ready!
|
|