|
|
Post by teamawesome on Feb 11, 2019 12:49:22 GMT
With a bit more motivation to spend cold days in the garage with the IVA booked I've had a full day on the car to get a few things finished off. I started with the carpets and cut them to fit under the seats. A nice easy job with satisfying results as it really give much more finished look. Next on the list was the rear view mirror. My aim has always been to use the Longacre mirror that attaches to the cage but I'd read that the brackets are not too IVA friendly. With this in mind I decided to try toake some vinyl covers after taking inspiration from the seat belt mounting covers. They're not the prettiest things but hopefully they'll do the job. They're just made from a sheet of vinyl with pop fasteners attached. 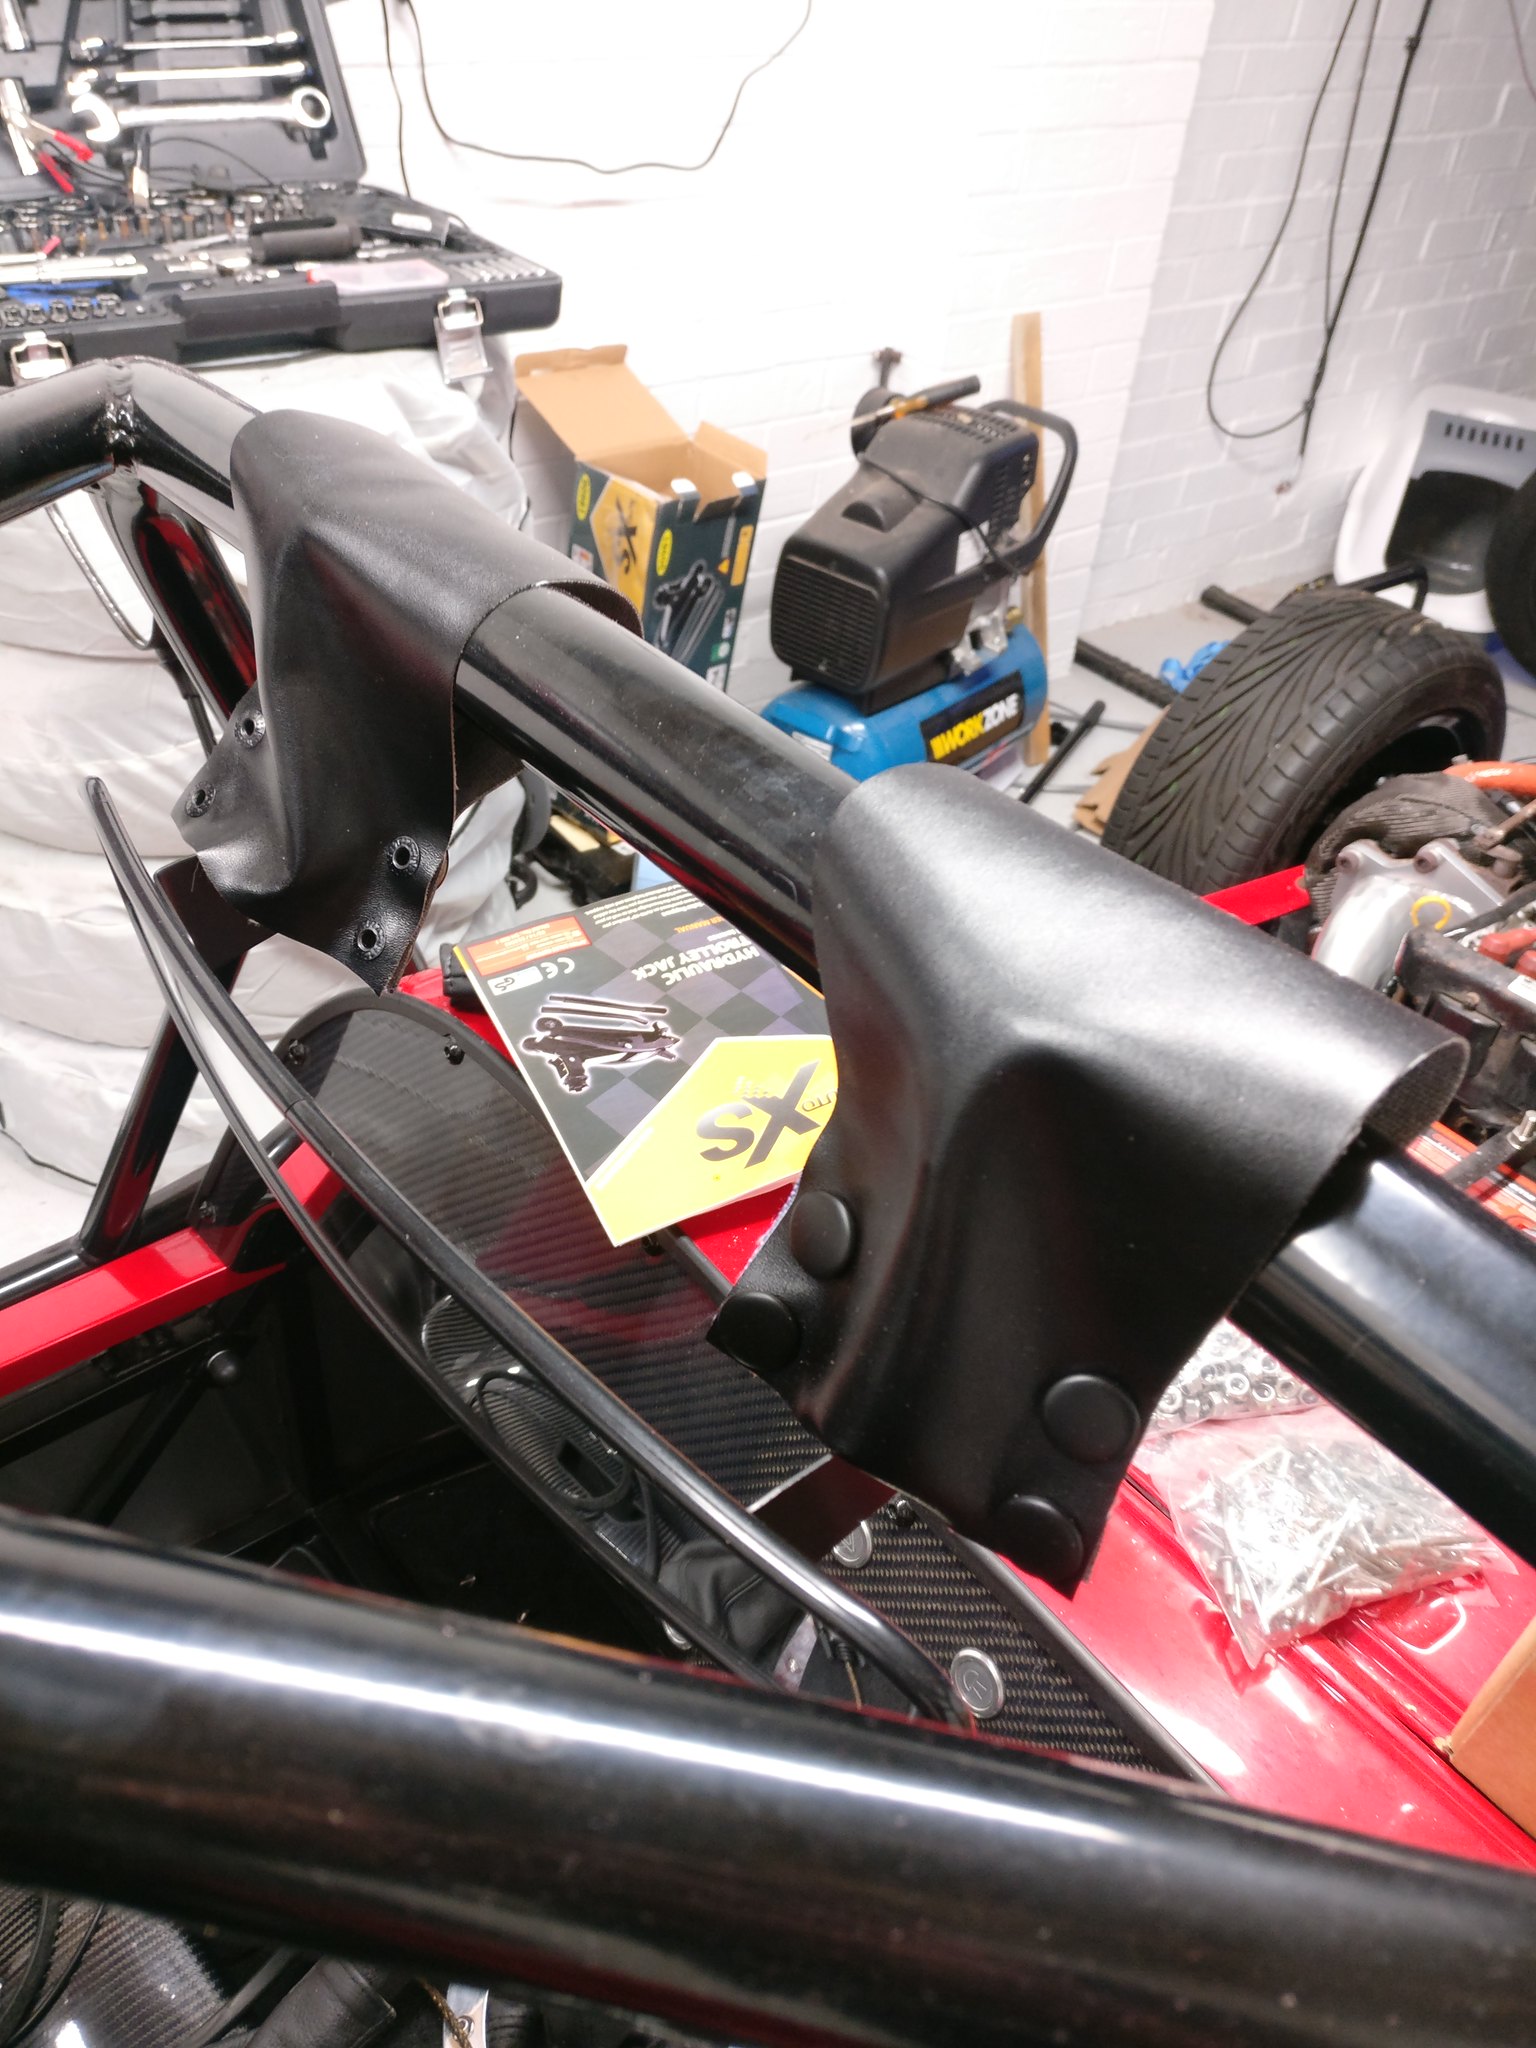 Next we to try and set up the suspension a little bit. Not to be perfect but to be a little closer. I mainly wanted to remove the positive camber that was clearly visible. I borrowed a camber gauge from the race team at work and found that I had 1.8 degrees on both sides. The problem came when I tried to adjust the passenger side and found that I'm at 0 degrees when the joint is full wound in. Not sure where I go from here, any ideas? 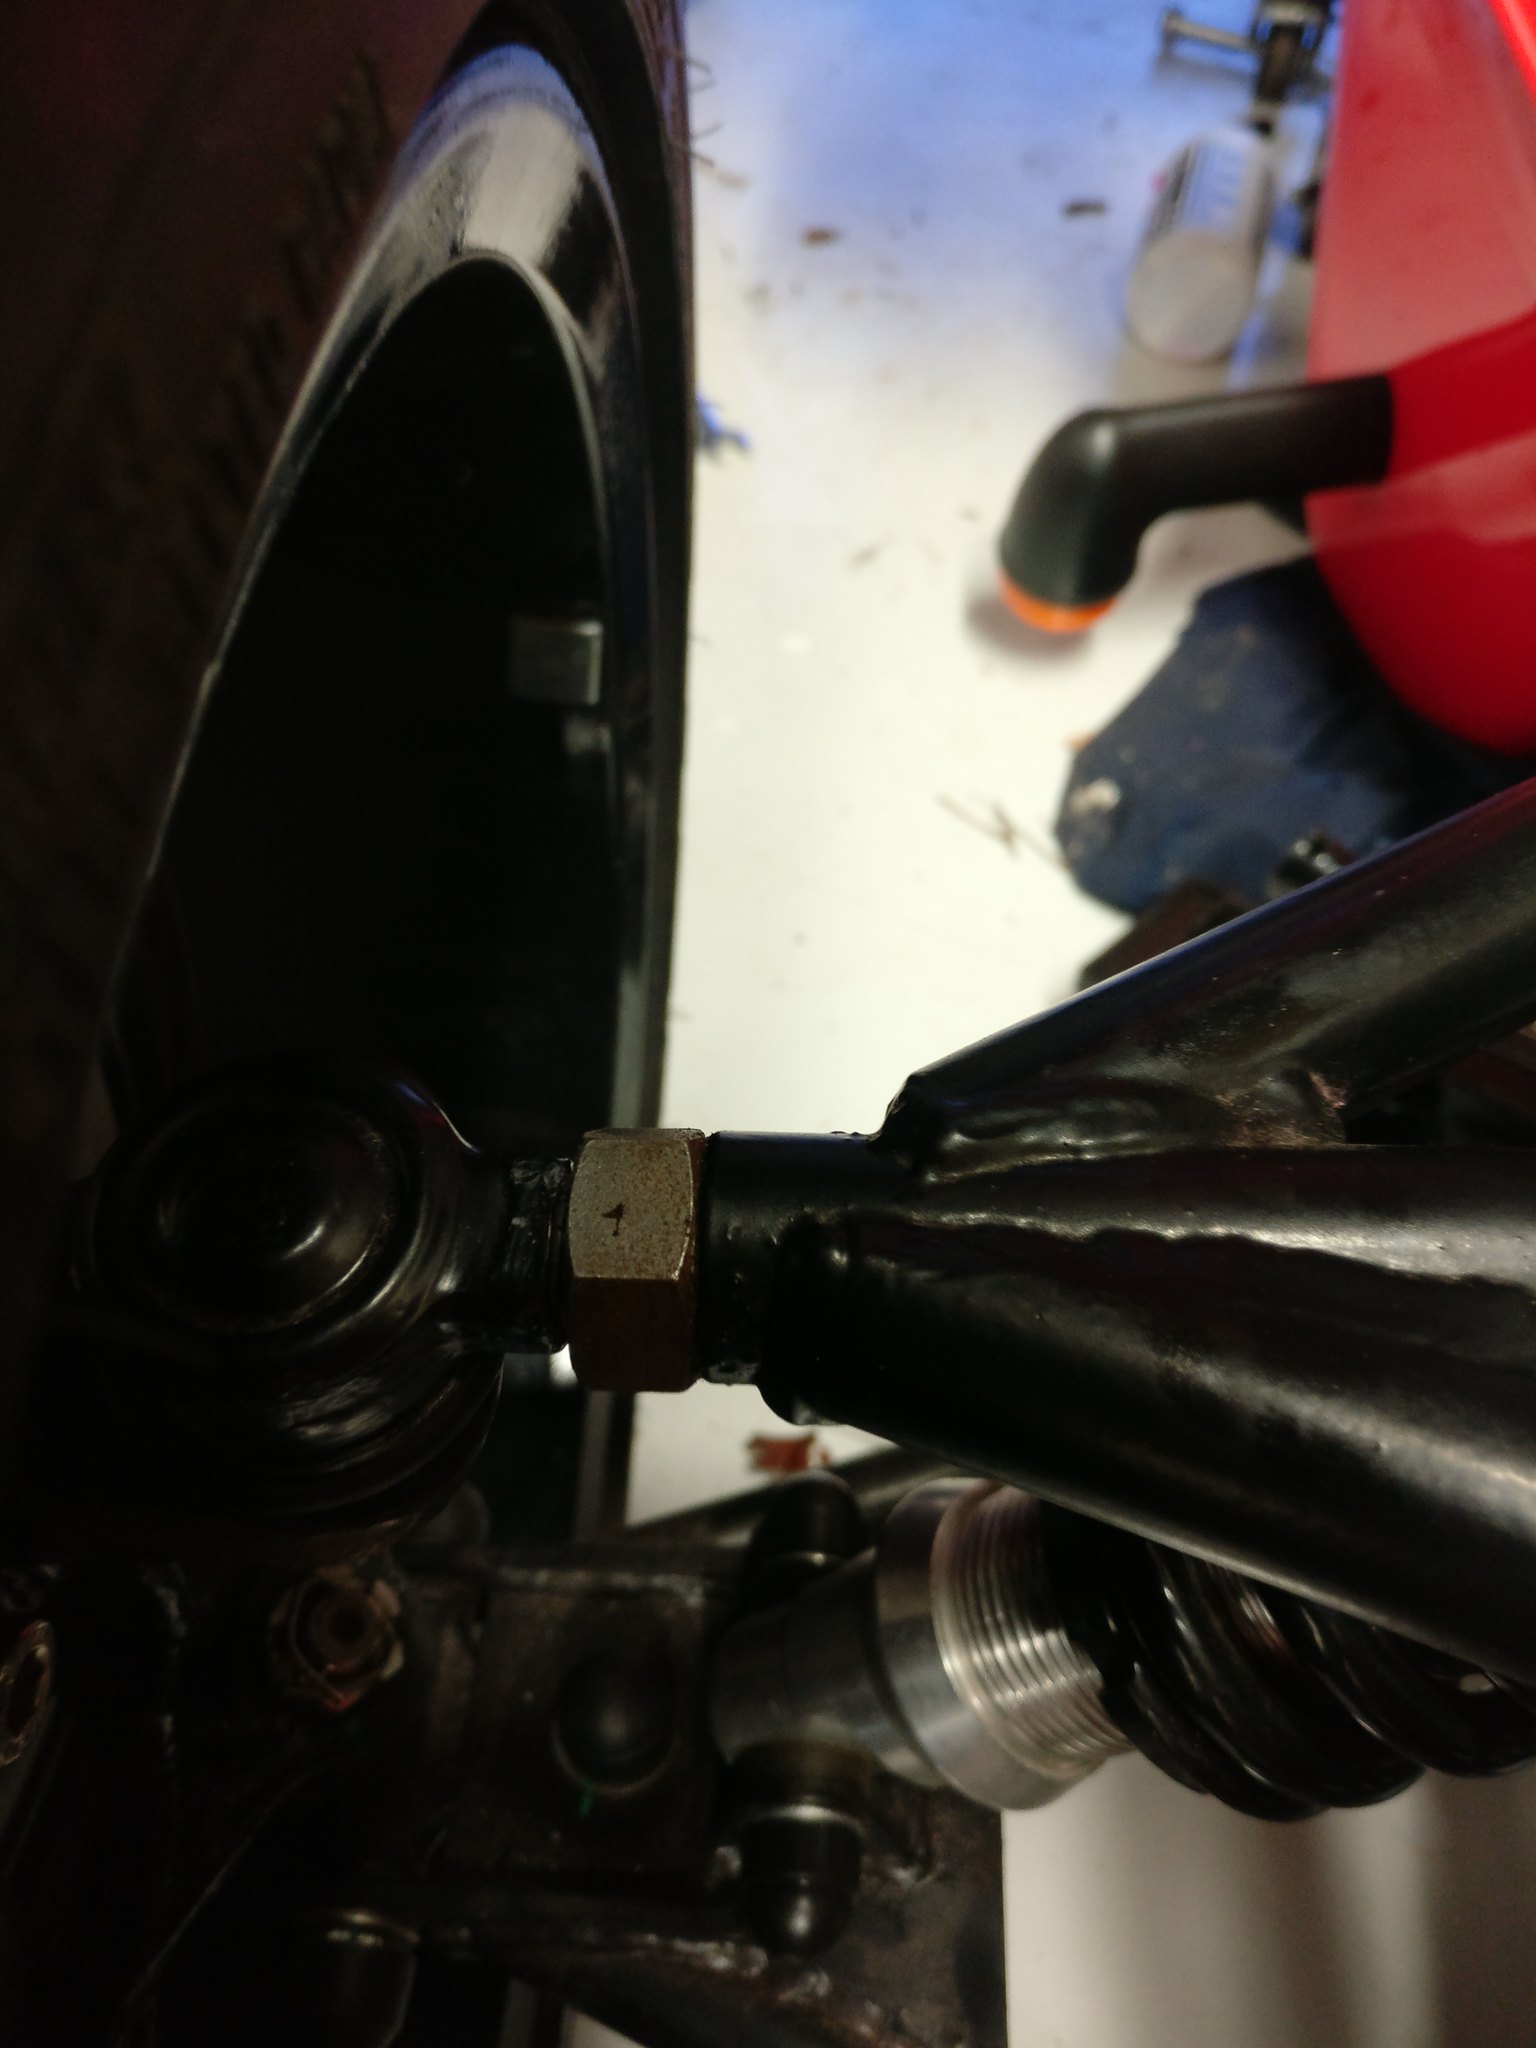 After that was set up into the "ok, I'll deal with that after the IVA" position I turned the dampers round so the adjuter was facing inwards and started to change the brake lines. These were bought before I had the longer front suspension and after that was fitted I found that the line was at full length when the suspension was at full travel and full lock as applied. It wasn't especially tight but thought it may not be acceptable so just changed them for a set a few inches longer. Now they are tied to the upper wishbone and have enough length for anything I can throw it it. They also clear all bodywork and suspension. 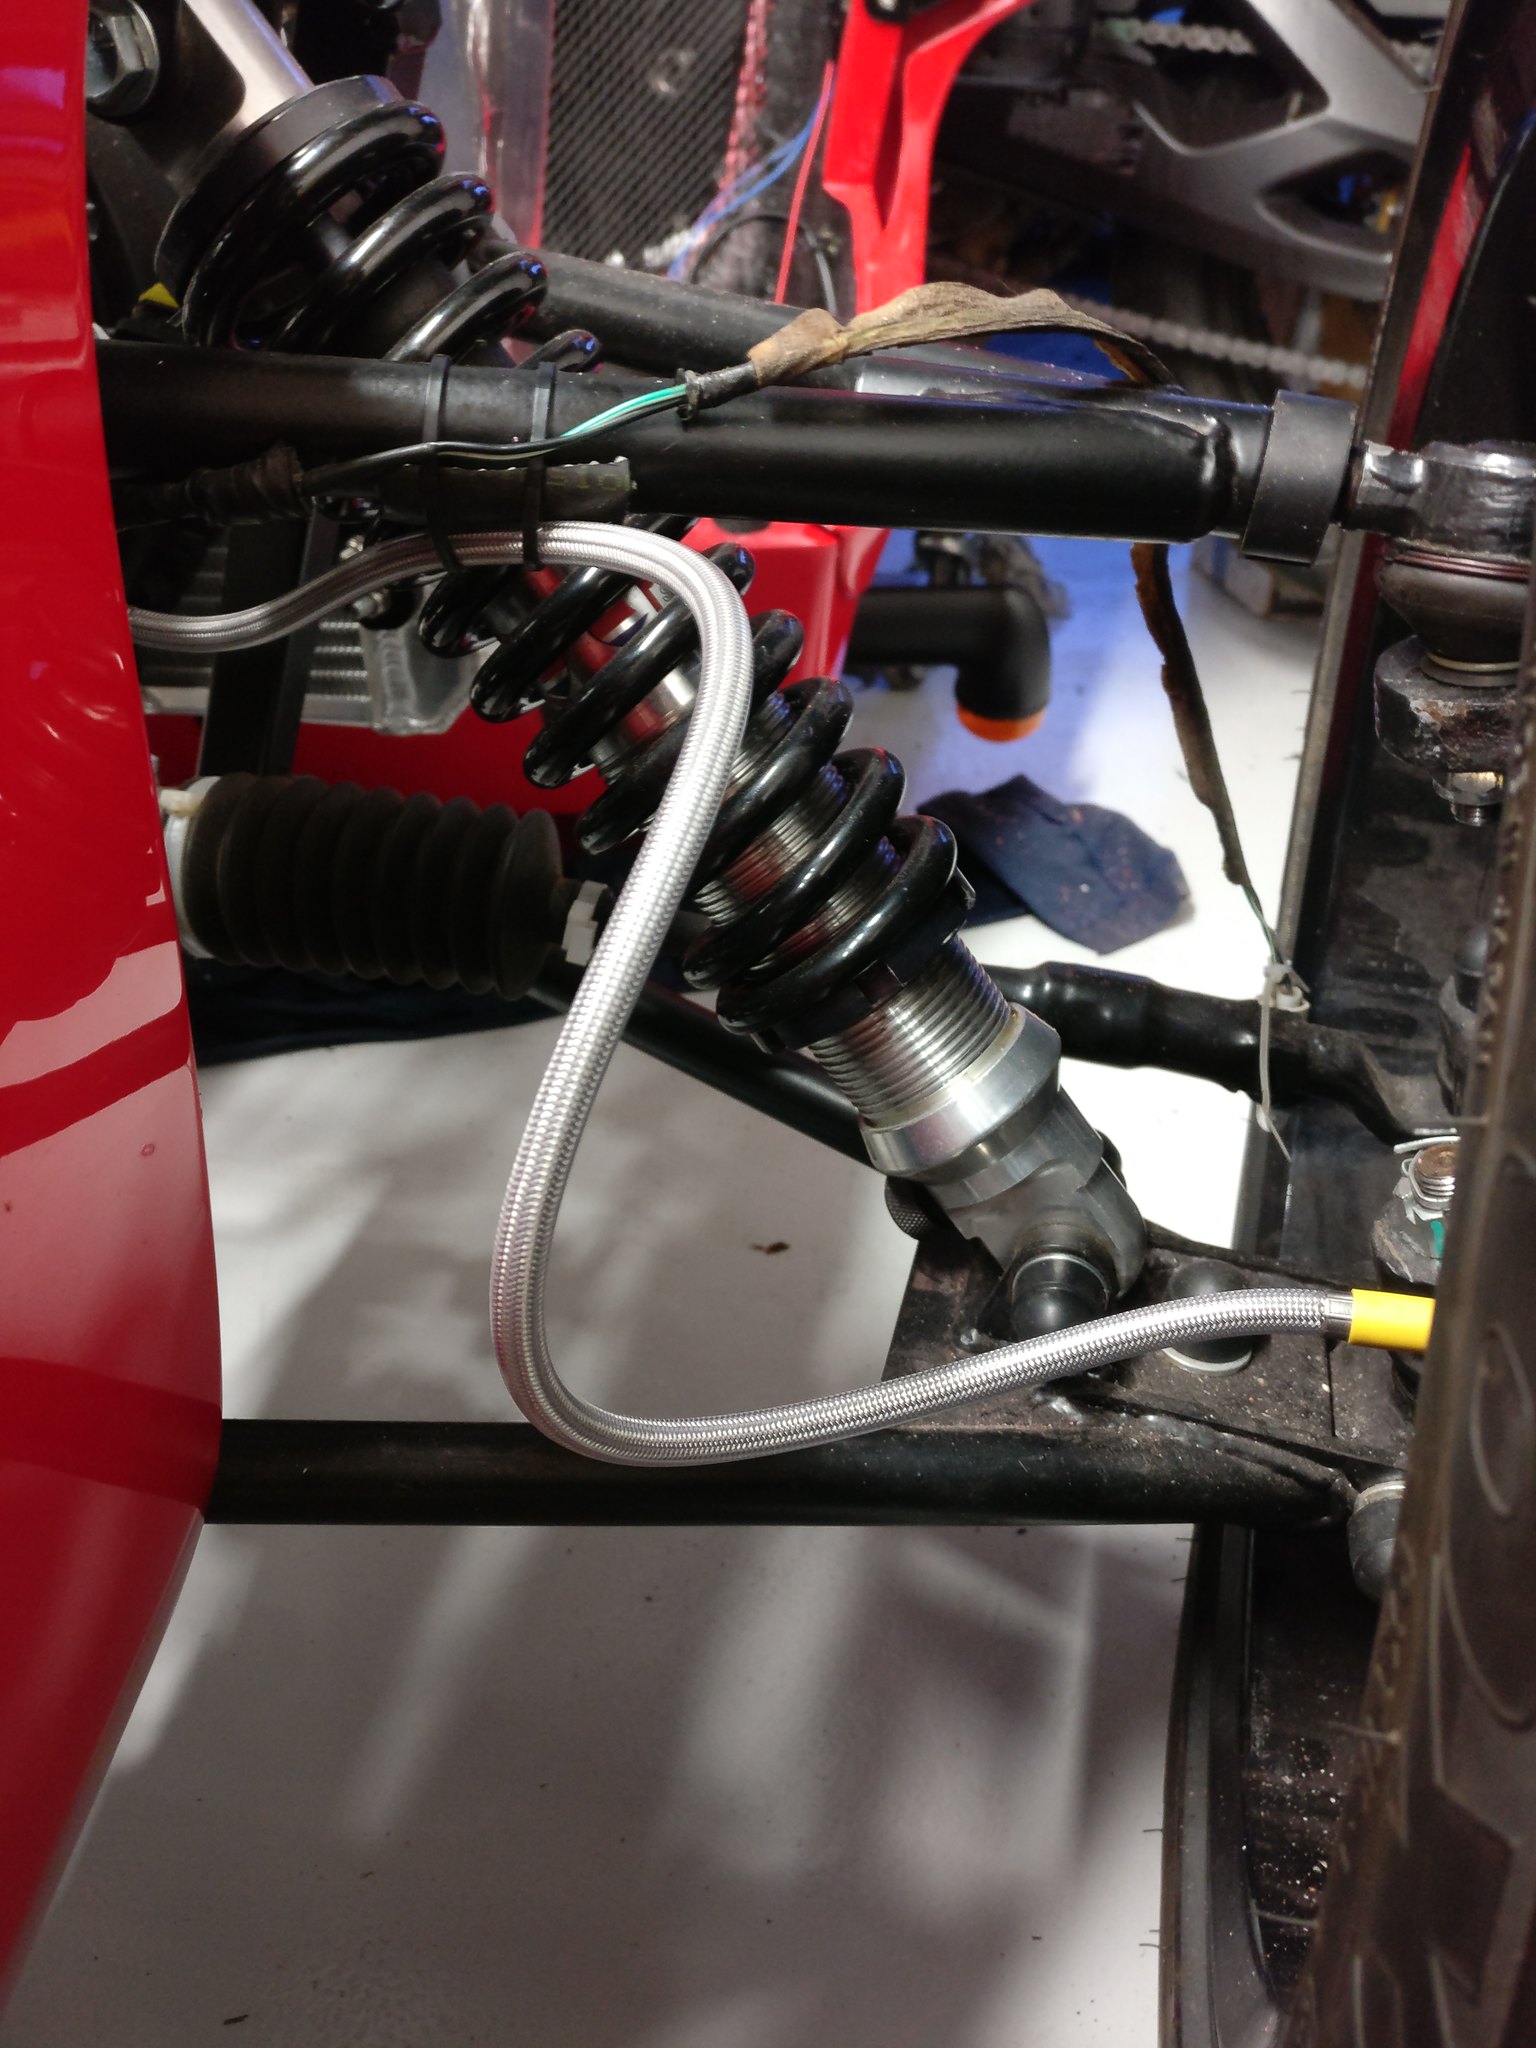 I will put another rubber hose around the brake line just as extra insurance. Next on the job I wish I never started. Aerocatches. I've seen loads of people with them and they definitely look better than standard Westfield items. I've spent a few hours on the first side and have a decent fit apart from the bonnet is twice as thick as it needs to be. Do people just grind away at it until it's the same thickness as the aerocatch or am I missing something?! Here's where I left it in order to do more research. 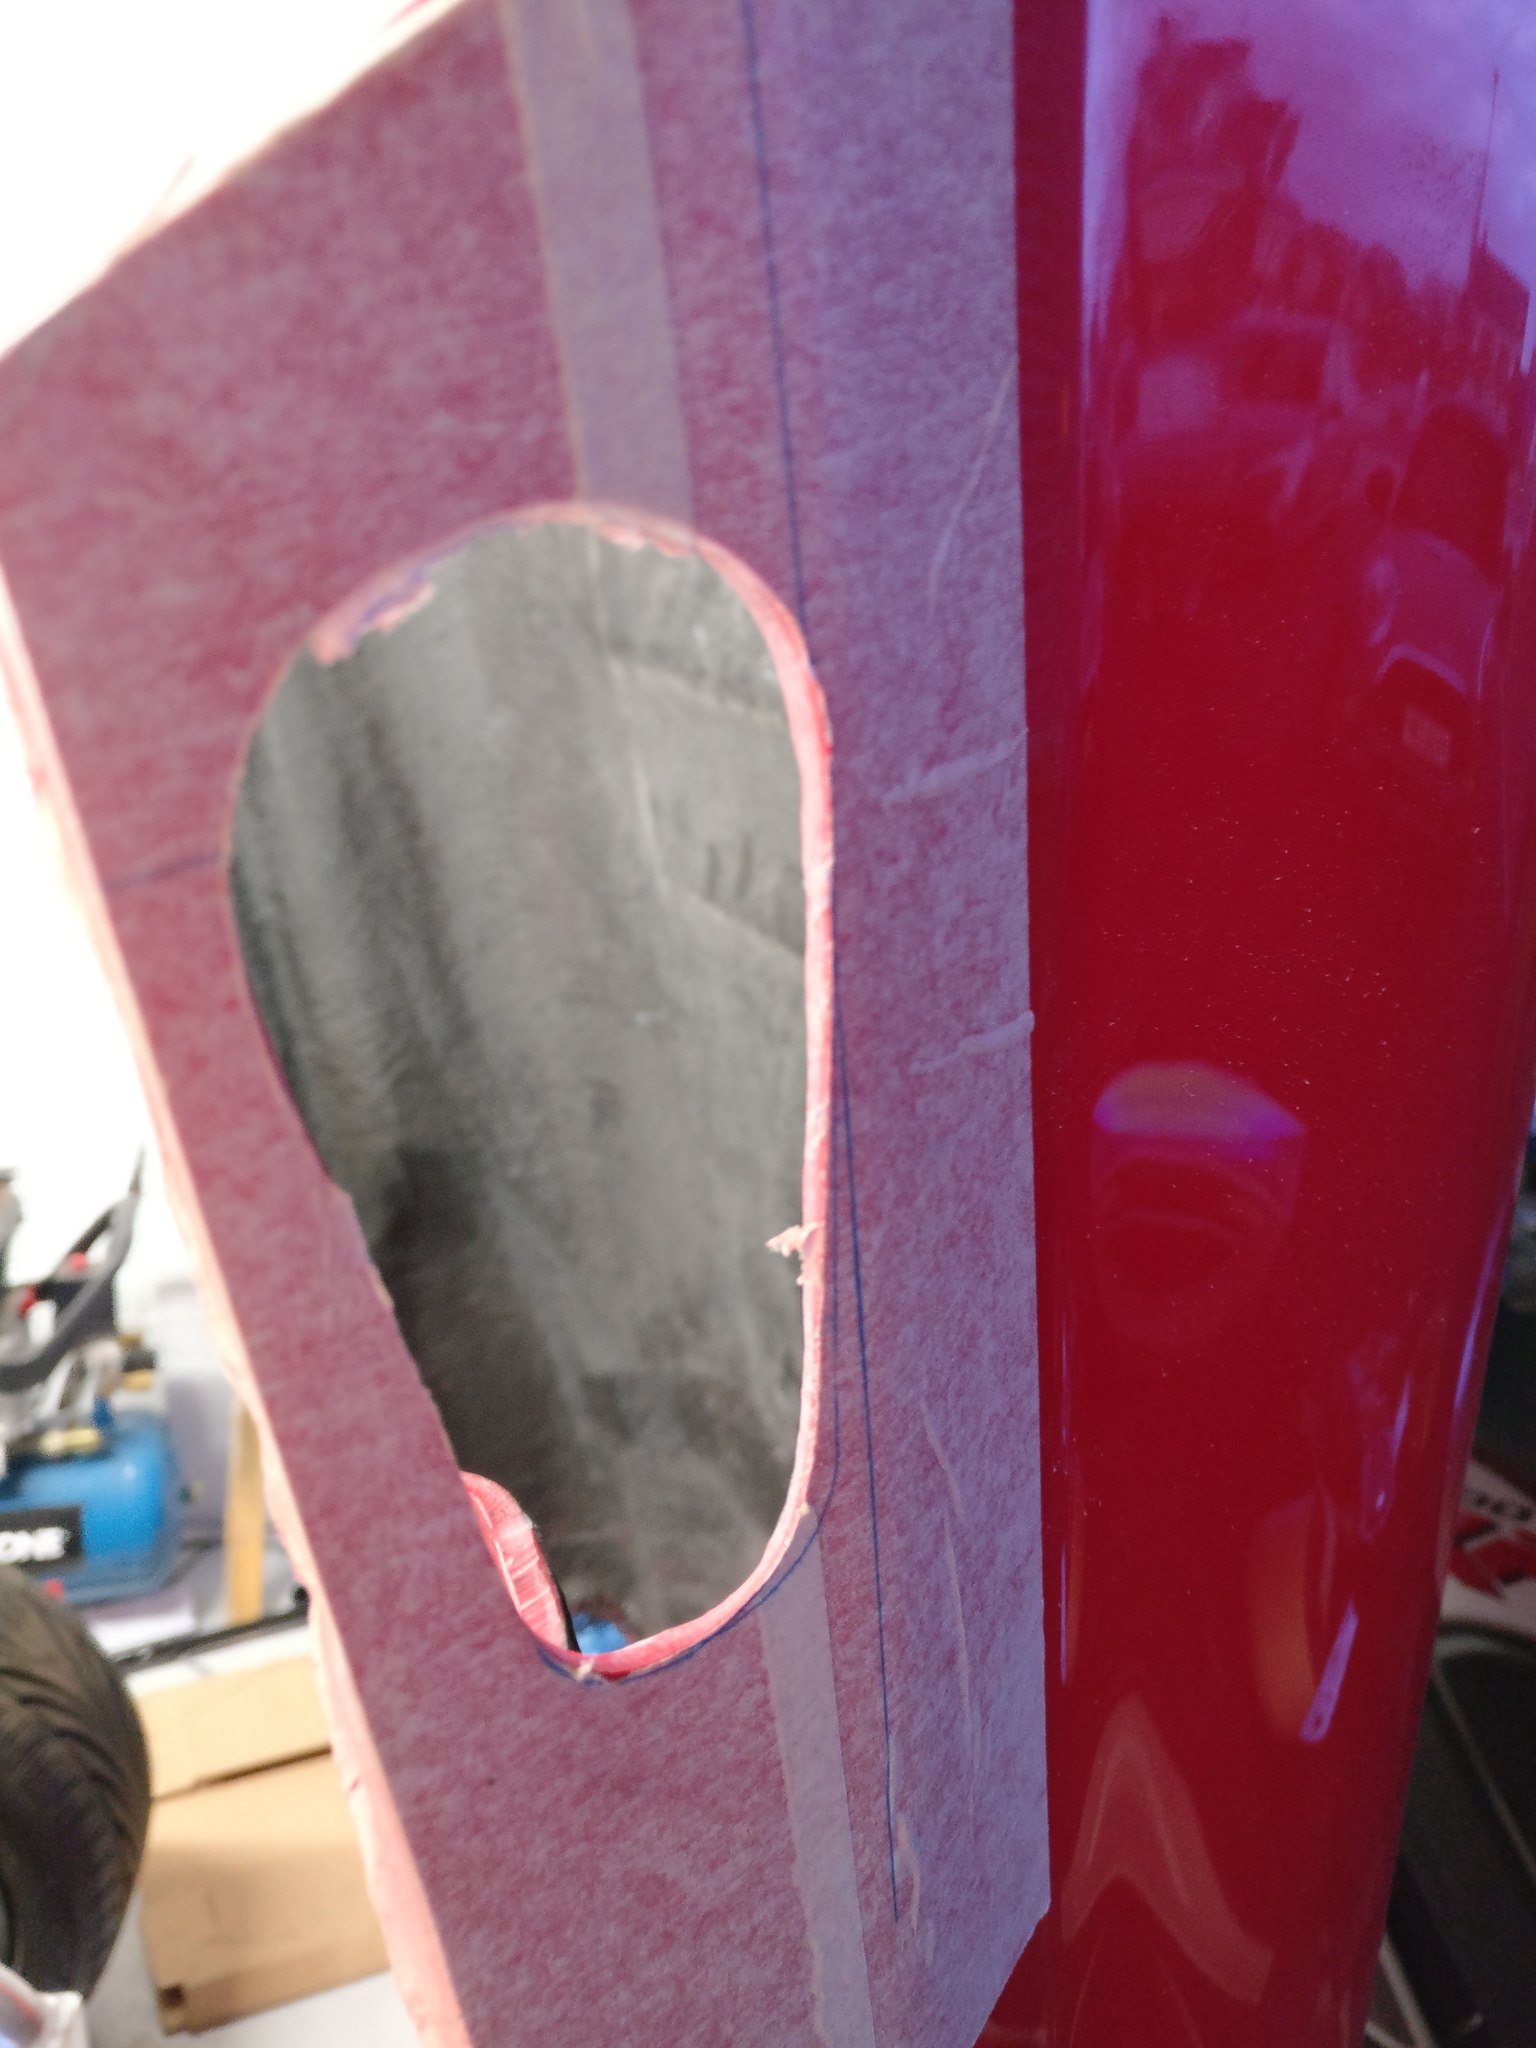  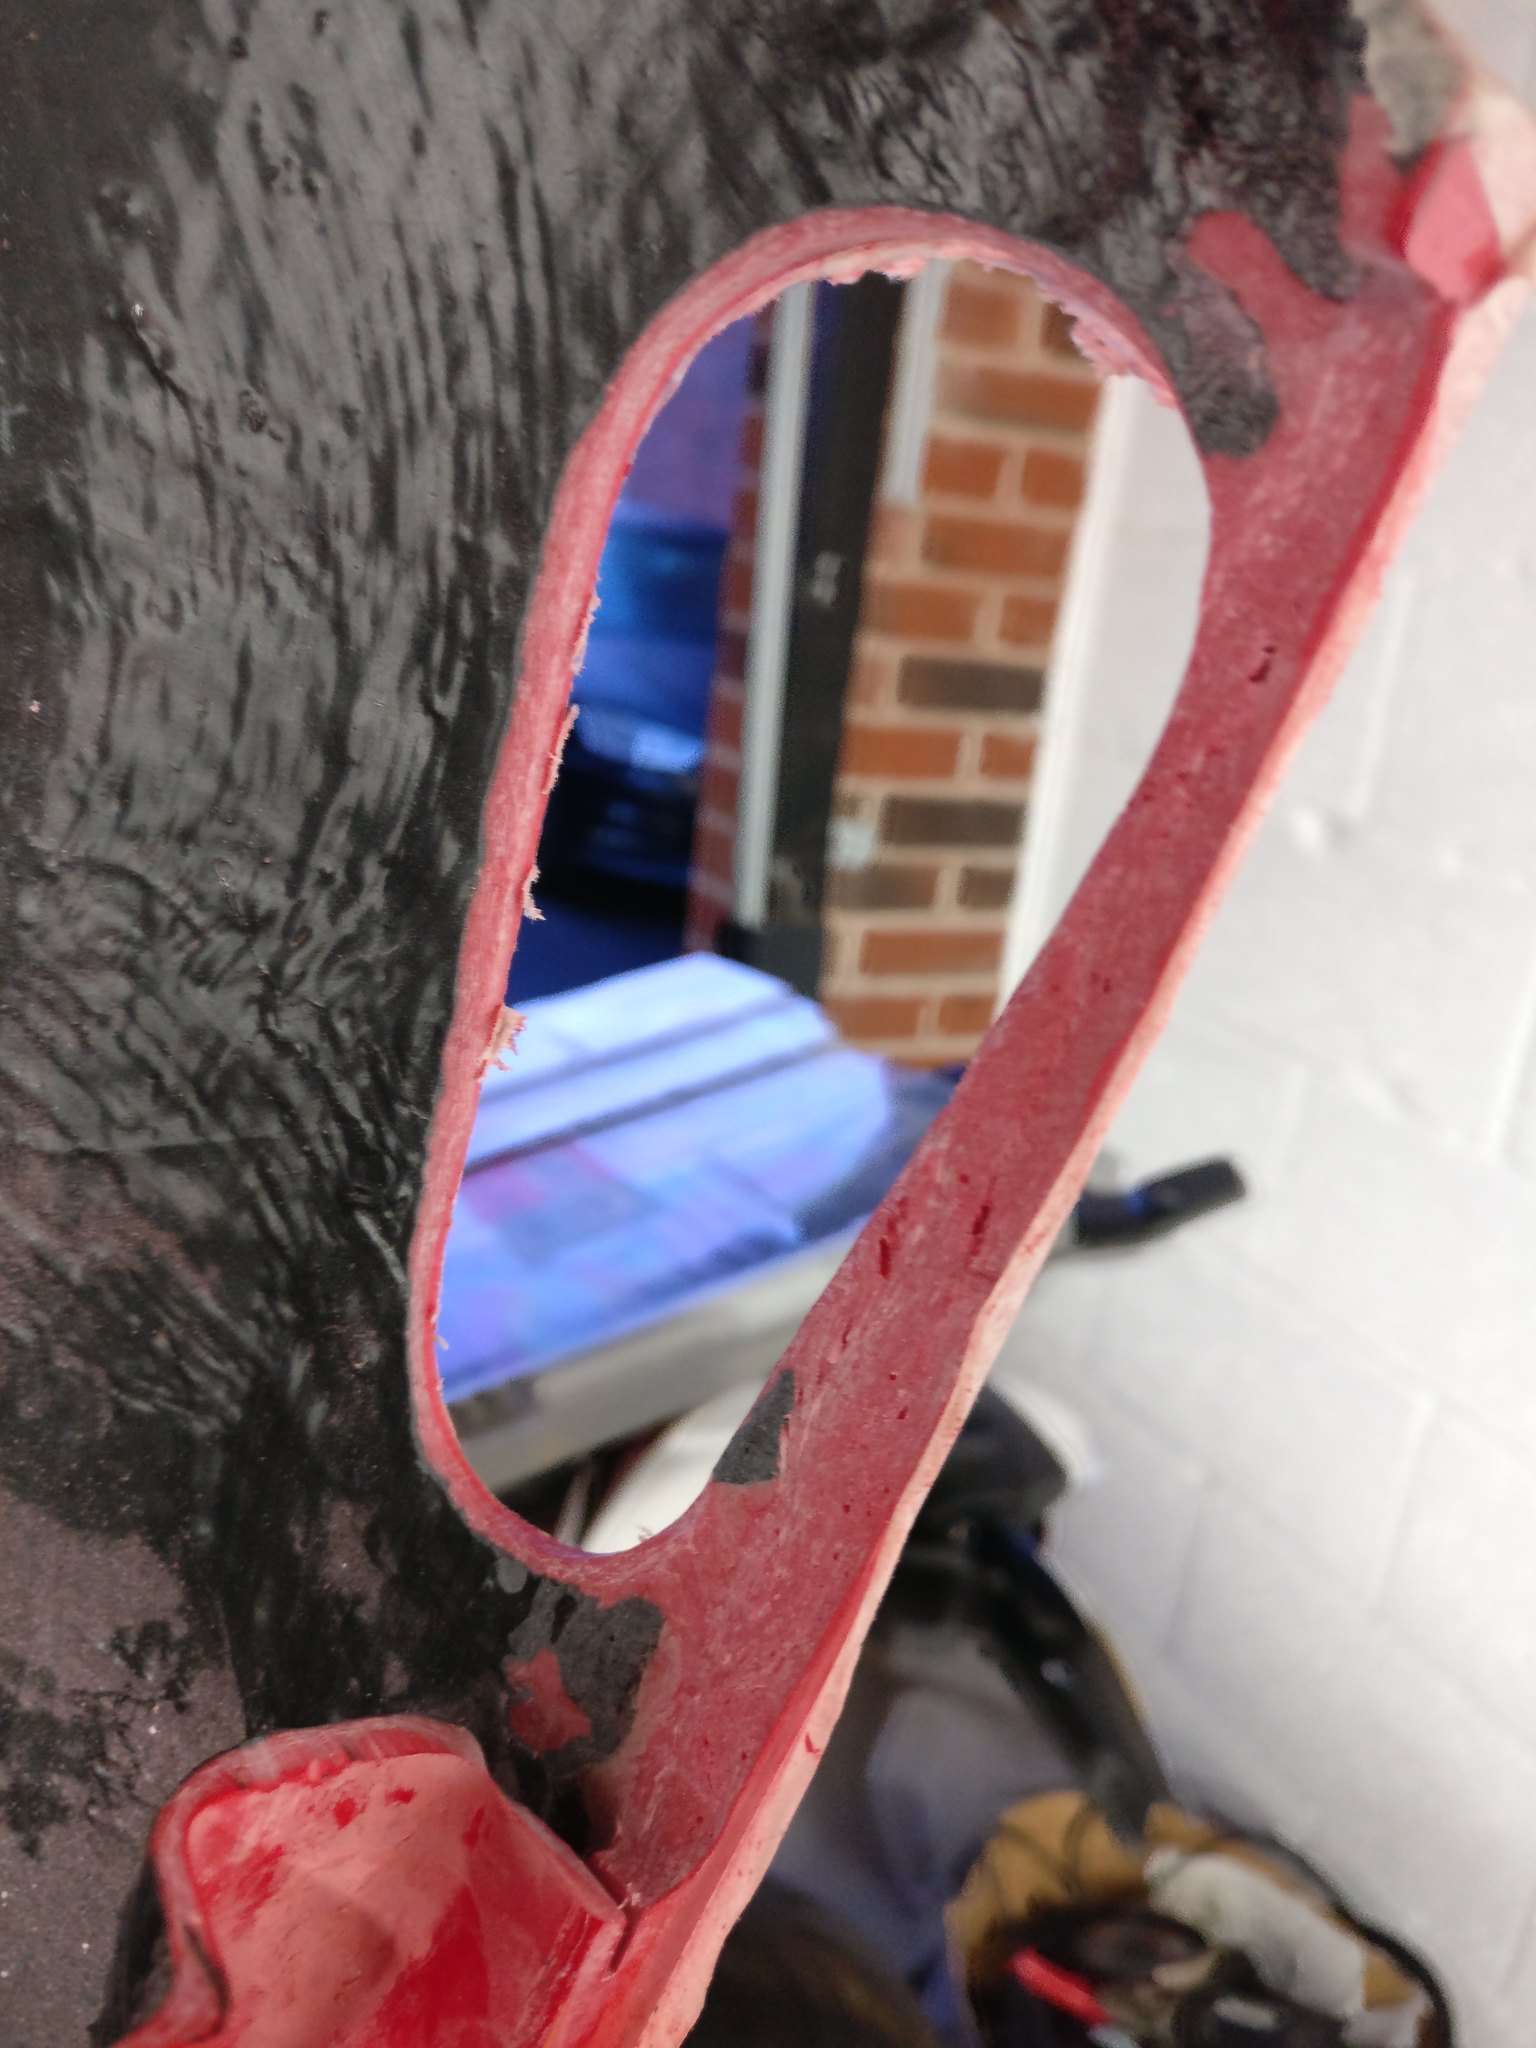 Absolute pain in the backside. I hope they're worth it! |
|
|
|
Post by teamawesome on Feb 11, 2019 19:00:27 GMT
I've gone back this evening and started again. Definitely could do better but lessons learned for the passenger side..... The hole itself could be neater although it's not terrible and the flange will be cut on both sides more as you see how close I came to going through the gel coat, the light is shining through! Once finished I'll put some more fibreglass over that bit. 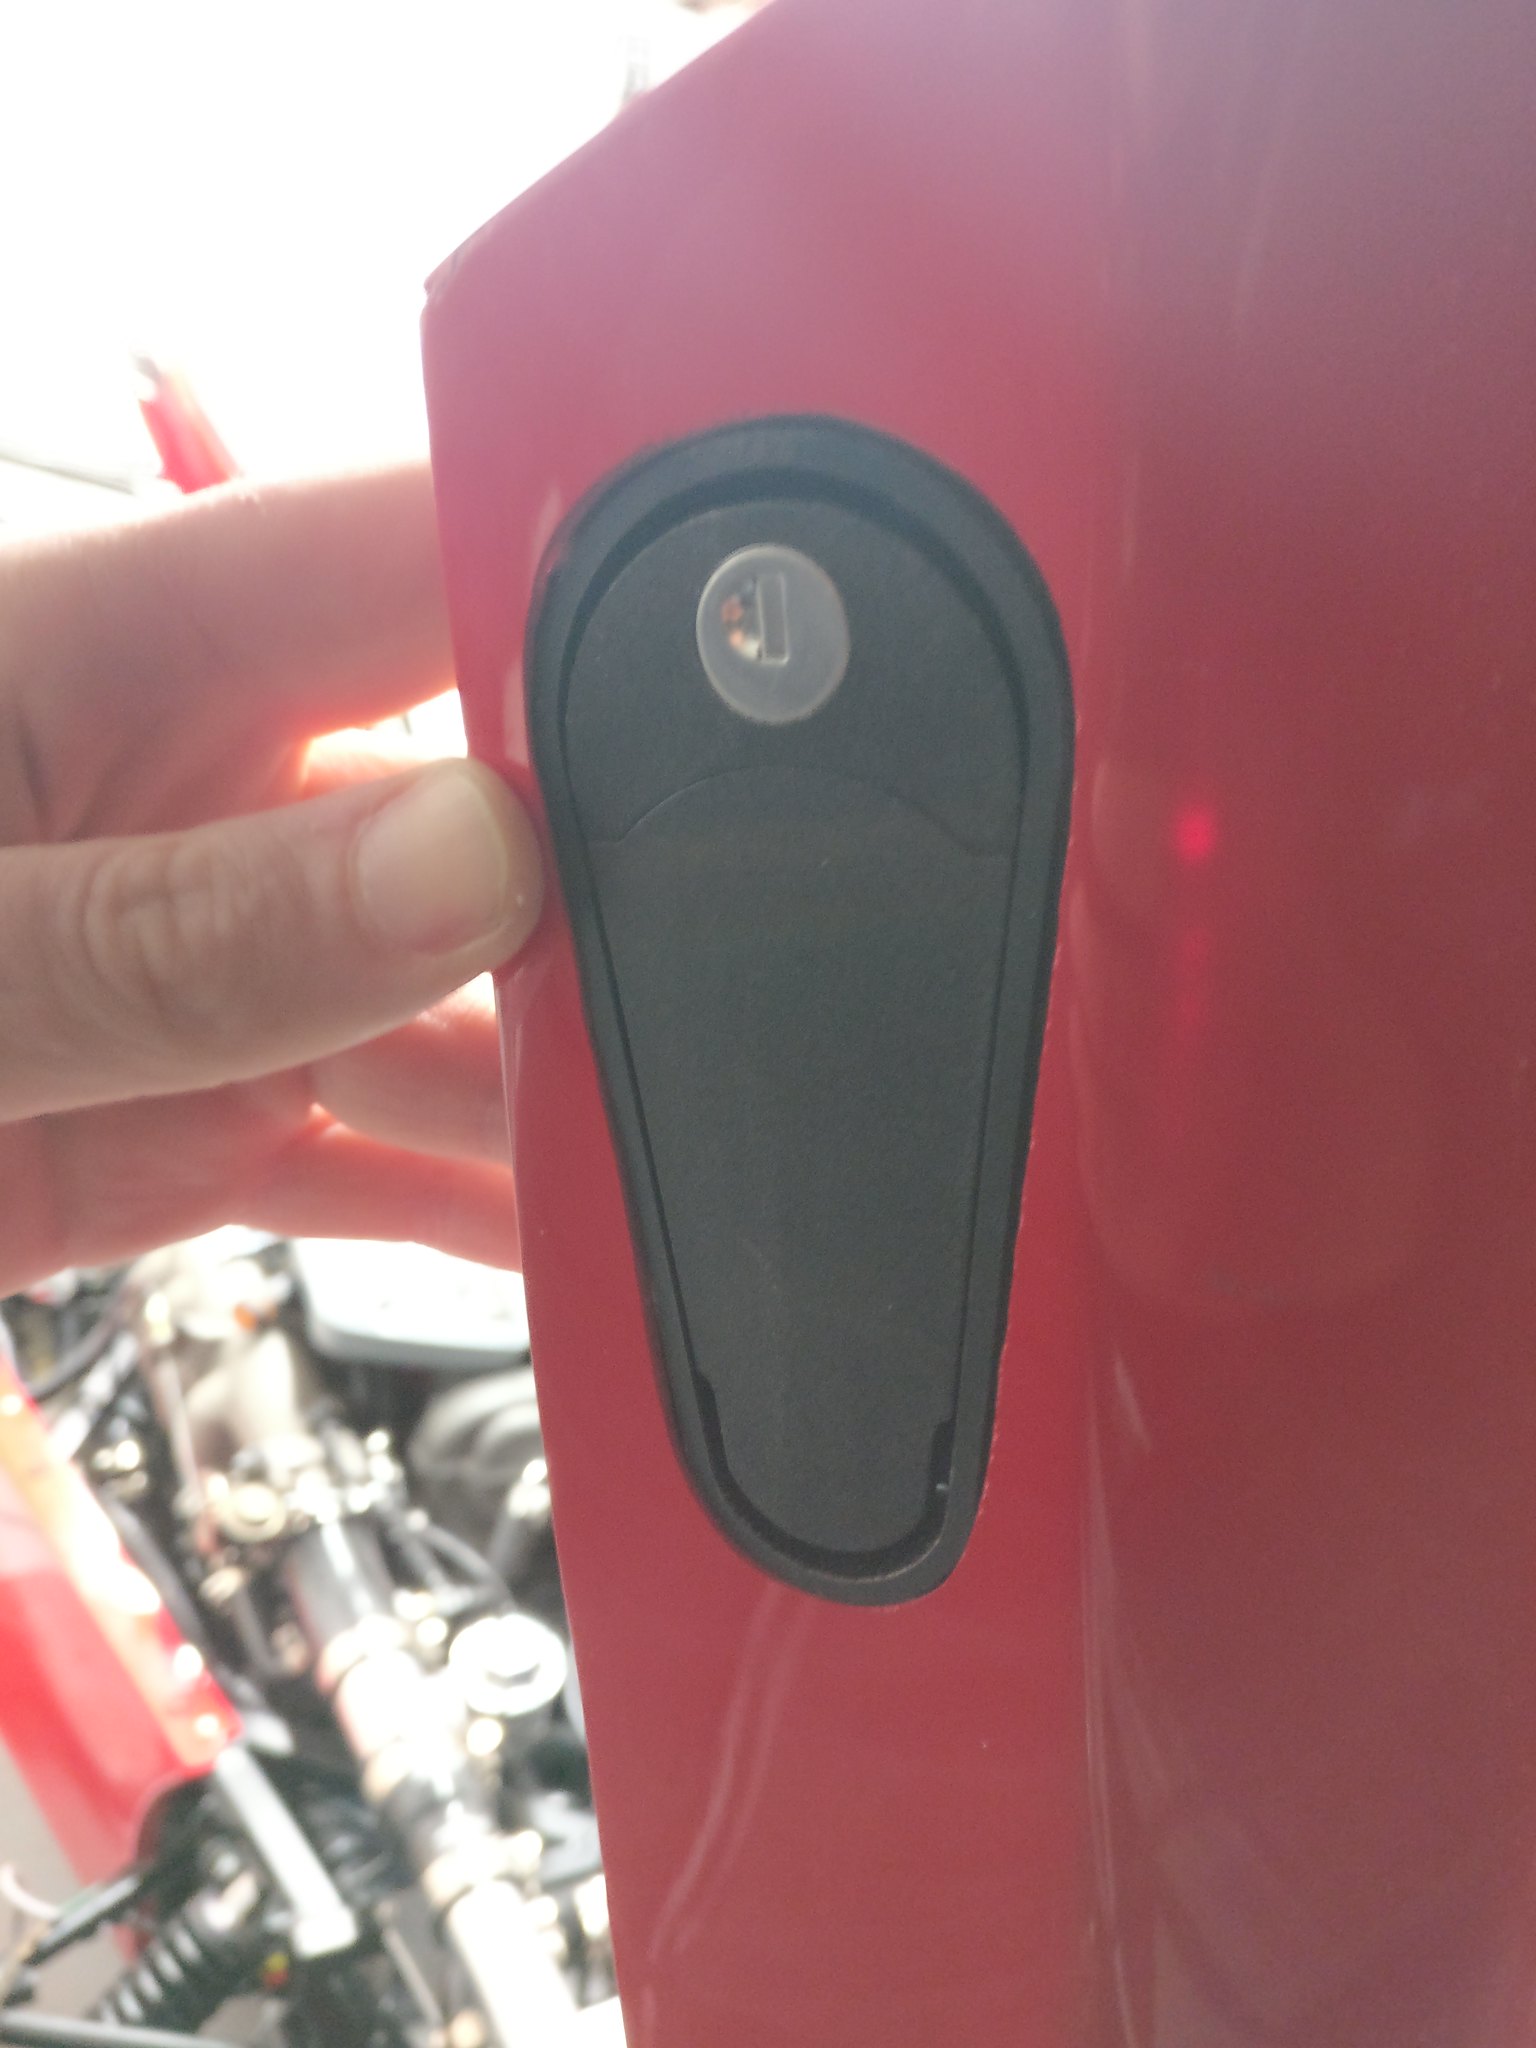 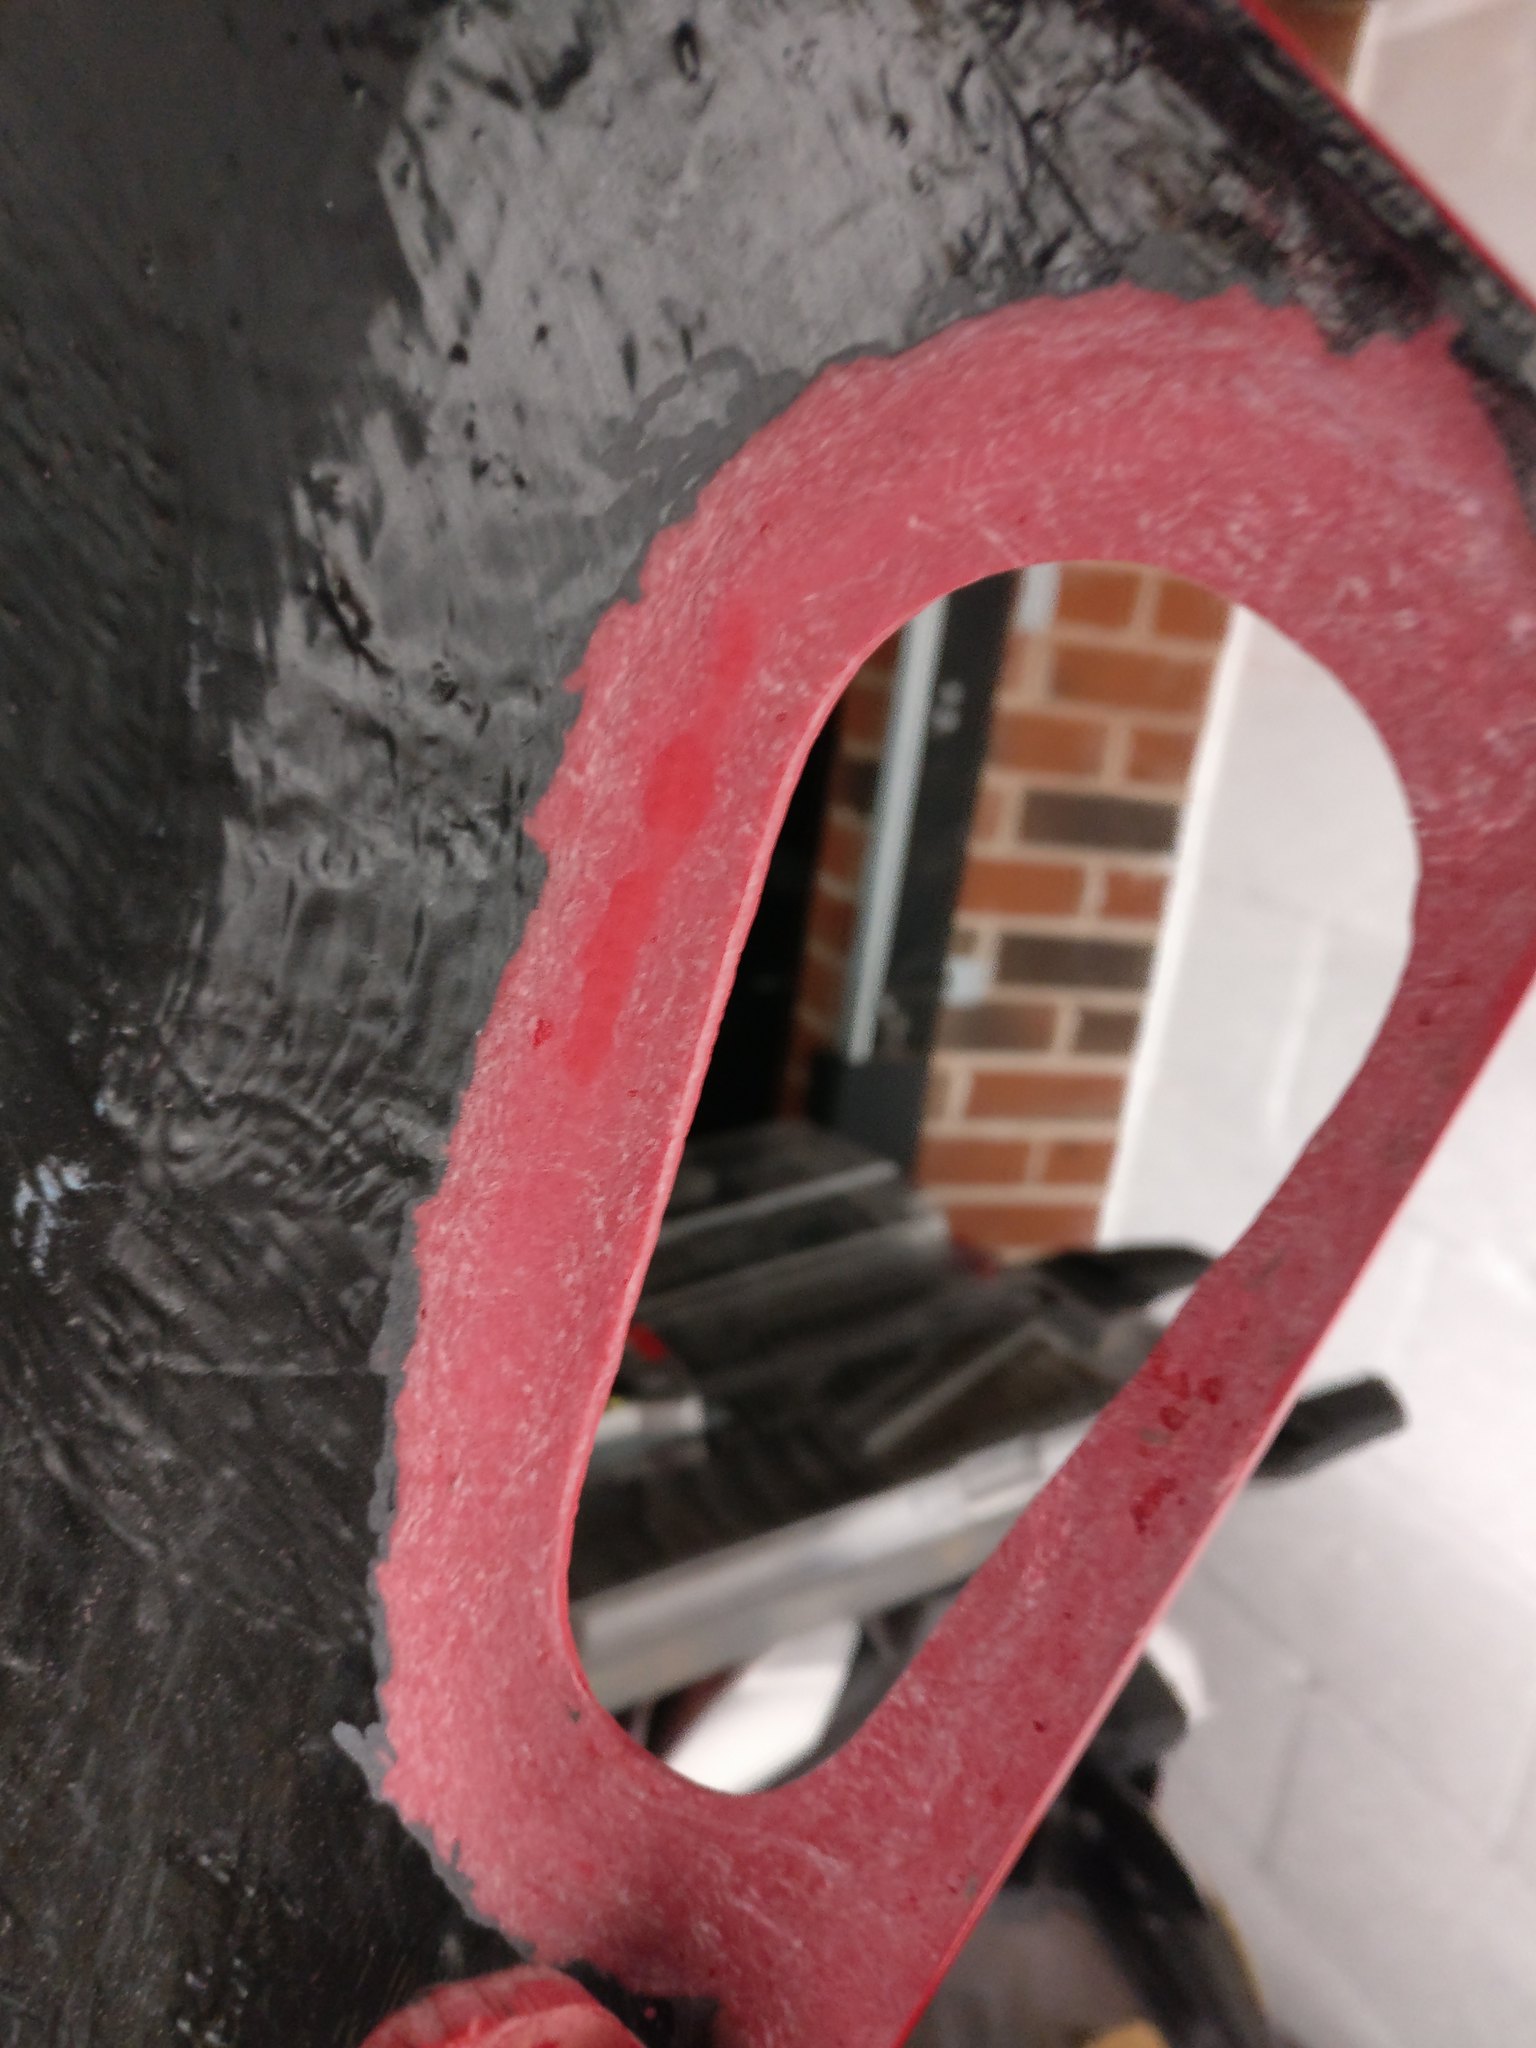 |
|
|
|
Post by teamawesome on Feb 13, 2019 19:33:07 GMT
I double checked the aerocatch fit today and had to spend 20 more mins on the fitment of those. I think I can do something decent with those. I moved onto the cycle wings after that. Working at a place that builds 1000 cars a day it wasn't difficult to find a friendly car painter to sort out the brackets that had cracked when being massaging into a nice fitment. I was going to attach them using fixing blocks as a spacer but these proved to be too big so I just used 2 nuts to hold the nut in position like so 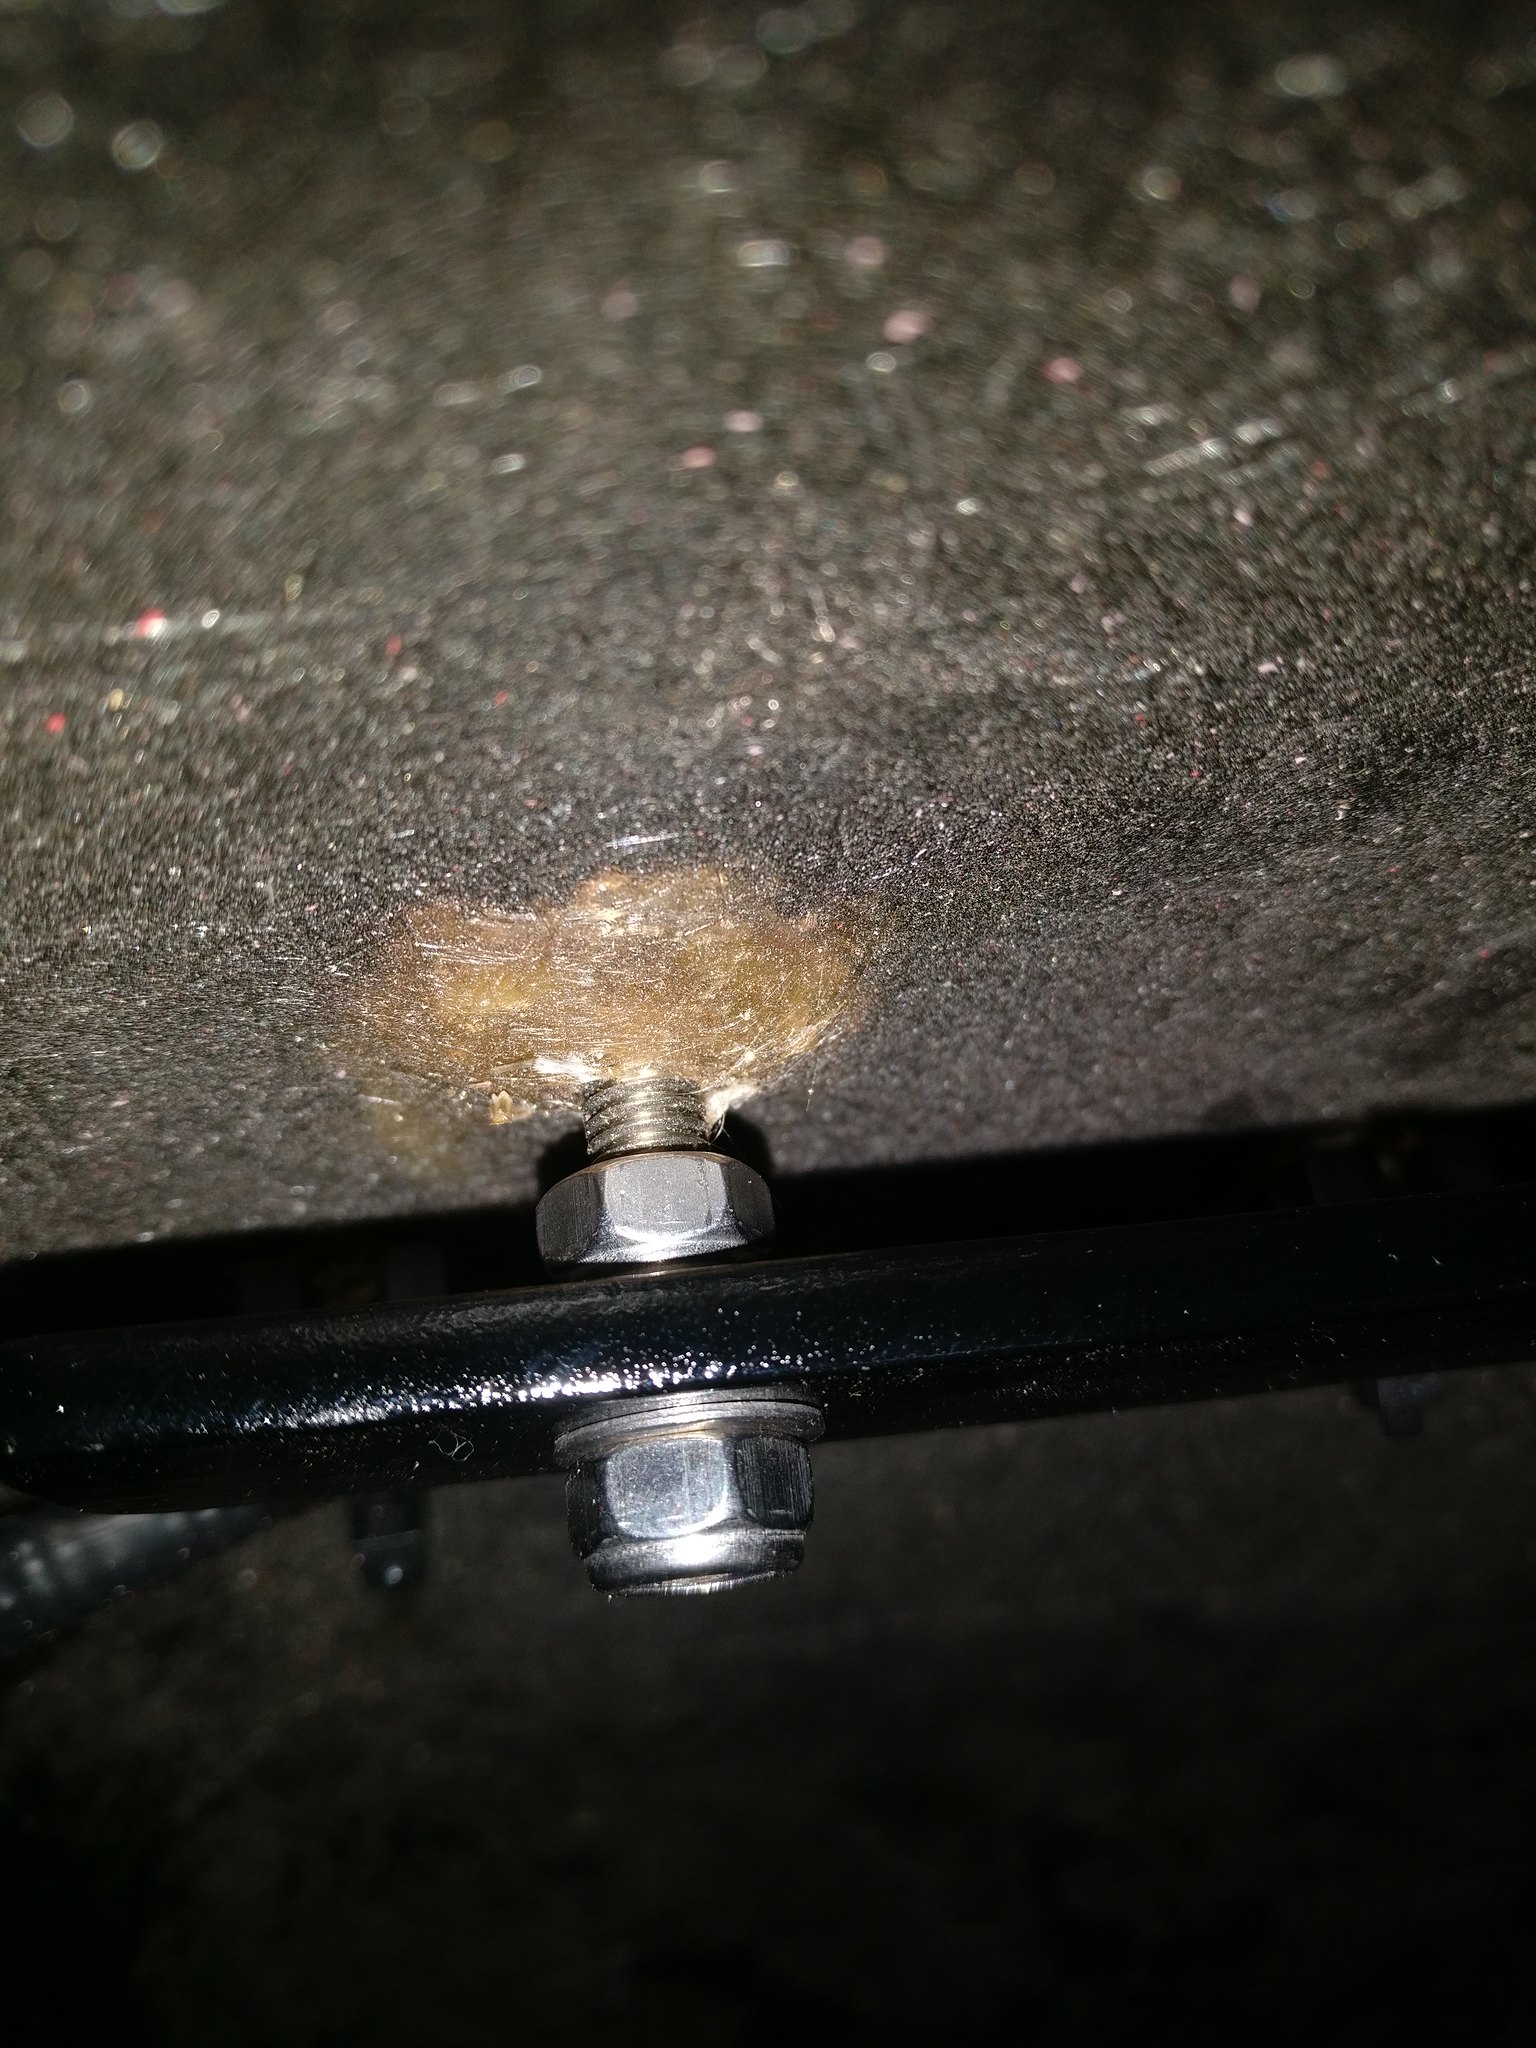 They ended up fitting quite well. 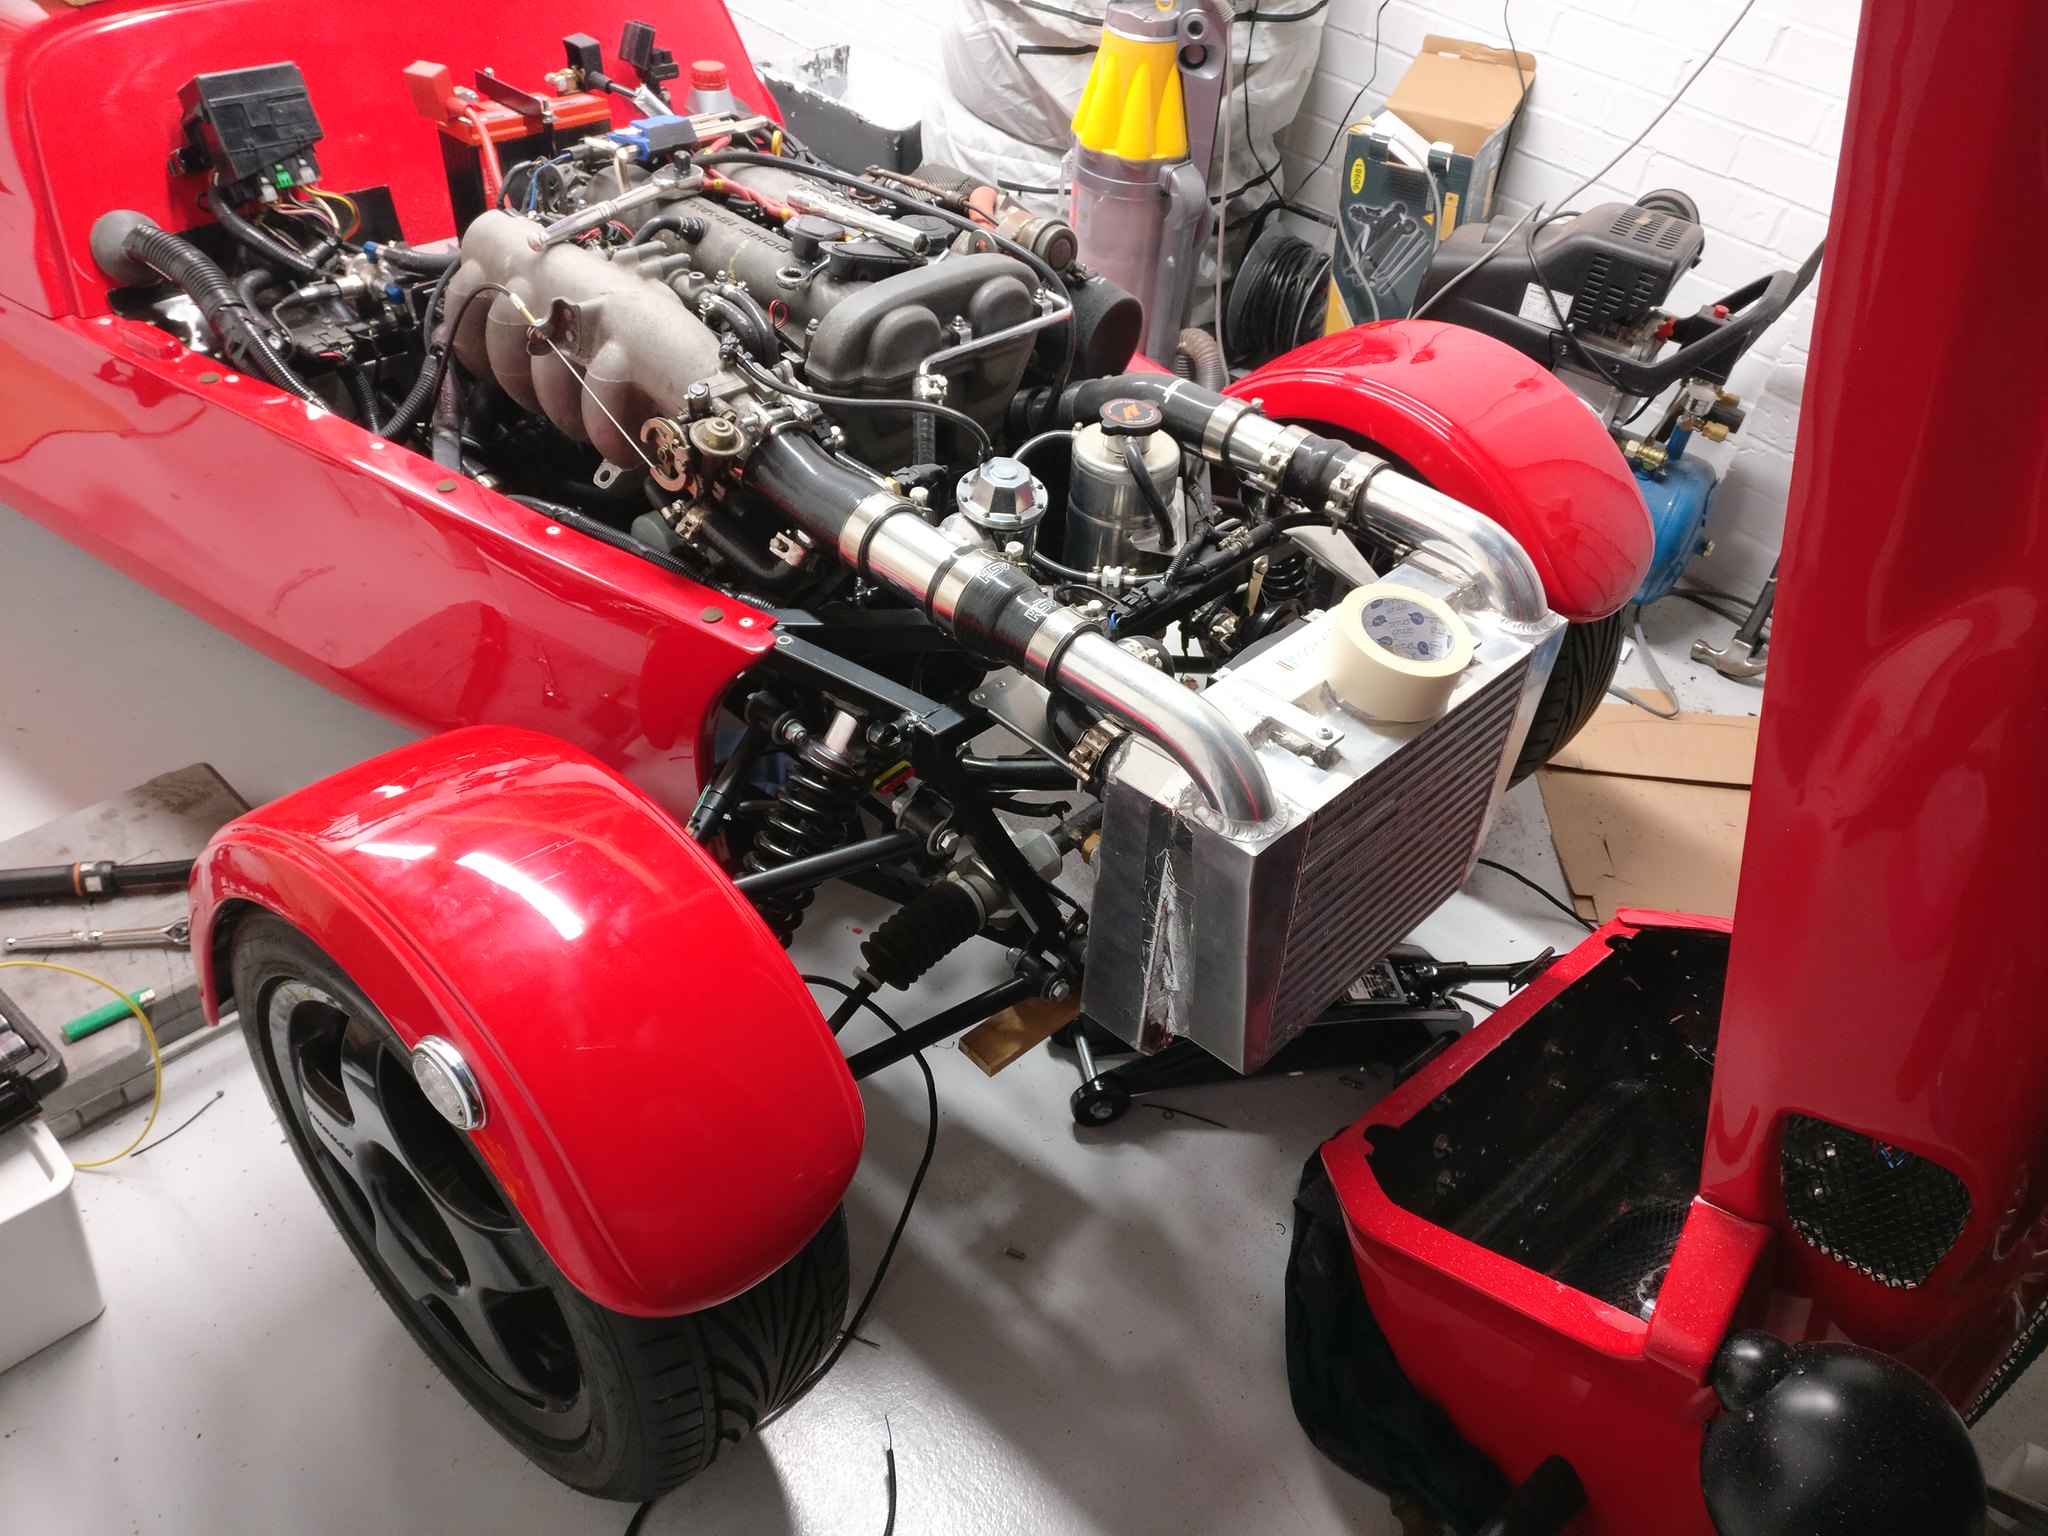 The end goal is to use carbon fibre ones but these will suffice for now. |
|
|
|
Post by bunje on Feb 14, 2019 6:23:26 GMT
progressing great just read the whole thread i have just sold my mx5 turbo westfield. was a blast to drive keep up the good work
|
|
|
|
Post by dadbif on Feb 14, 2019 8:46:44 GMT
Re camber, remove upper ball joint, cut grind the end of the wishbone back to give you more adjustment, refit balljoint, there is plenty of thread within the suspension arm so you will not weaken it.
|
|
|
|
Post by bunje on Feb 14, 2019 10:04:55 GMT
regarding your camber issuse that nut is too thick swap it for a half nut will gain you more clerance.
heres a picture of mine you can just see the nut
|
|
|
|
Post by teamawesome on Feb 14, 2019 10:49:33 GMT
progressing great just read the whole thread i have just sold my mx5 turbo westfield. was a blast to drive keep up the good work Thanks! I read your thread on WSCC. Great to be able to learn from others experiences with these cars. I think a half but will be the solution for this, and I'll cut the wishbone as a very last resort. |
|
|
|
Post by bunje on Feb 14, 2019 13:02:20 GMT
progressing great just read the whole thread i have just sold my mx5 turbo westfield. was a blast to drive keep up the good work Thanks! I read your thread on WSCC. Great to be able to learn from others experiences with these cars. I think a half but will be the solution for this, and I'll cut the wishbone as a very last resort. unfortunatly my build thread lost all its pictures when photbucket went bannans. but if you need anything else just give me a shout |
|
|
|
Post by teamawesome on Feb 15, 2019 20:37:18 GMT
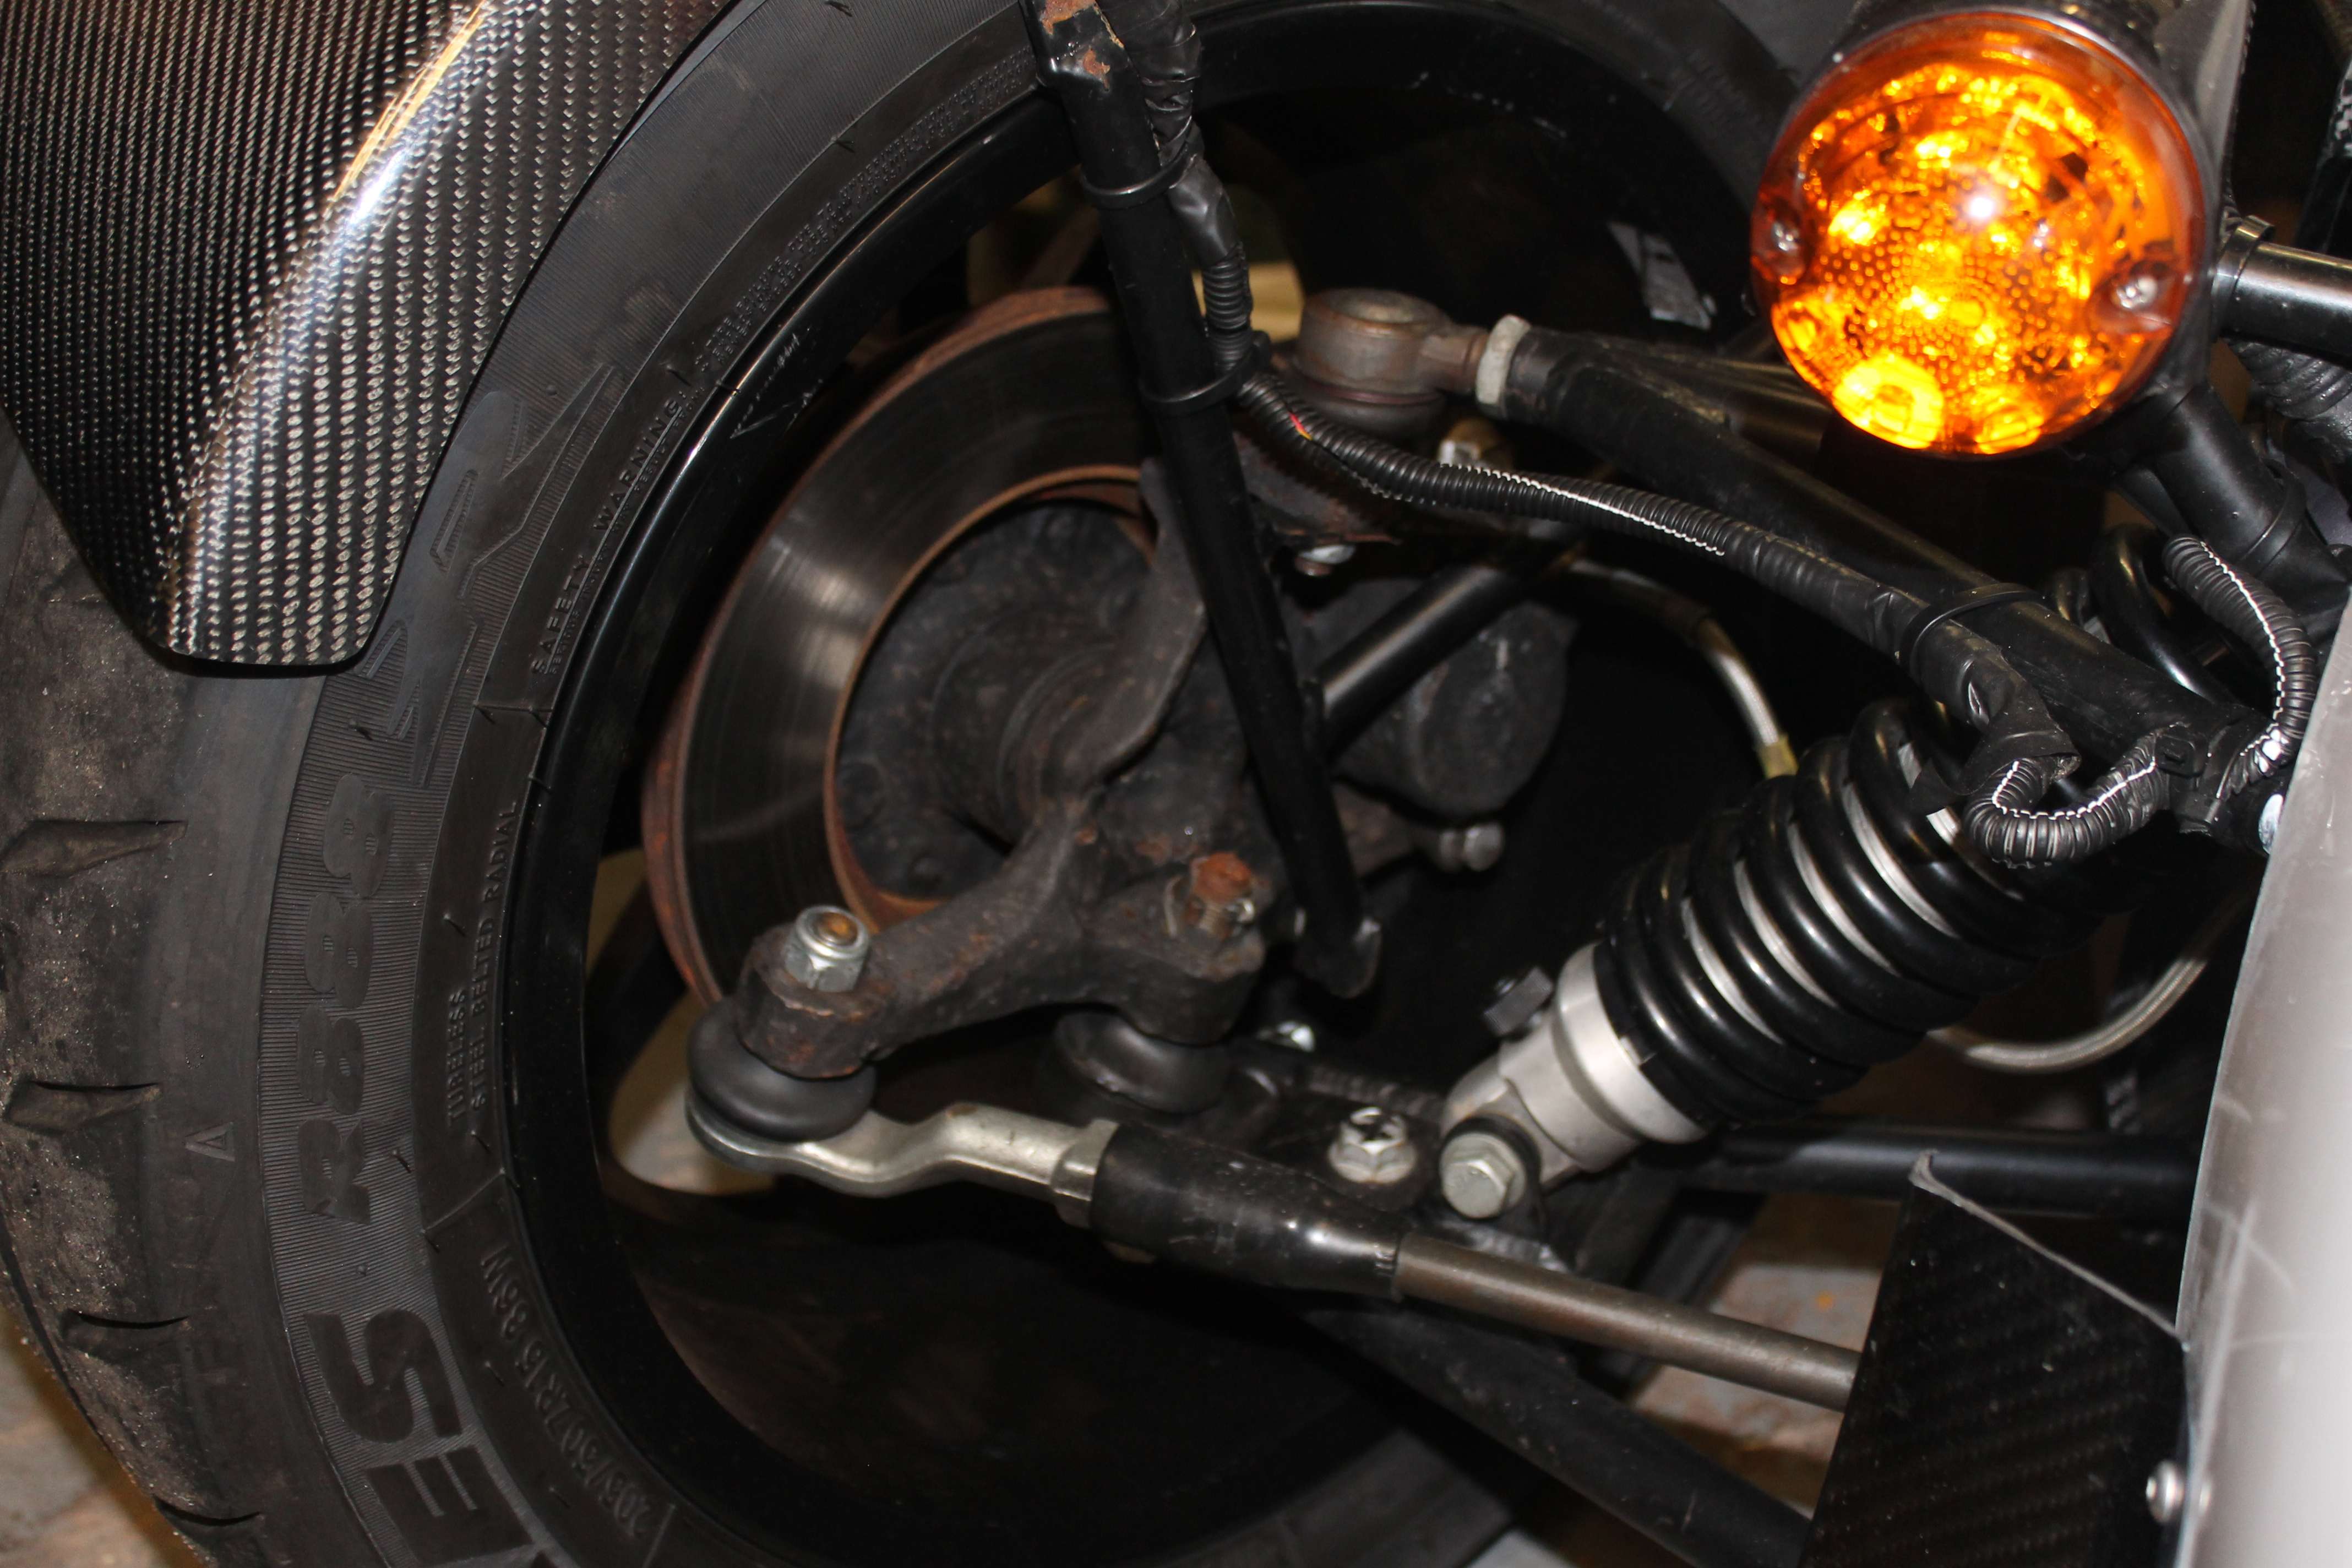
Today was the day to get the aerocatches bonded to the bonnet. A few double checks and here we are 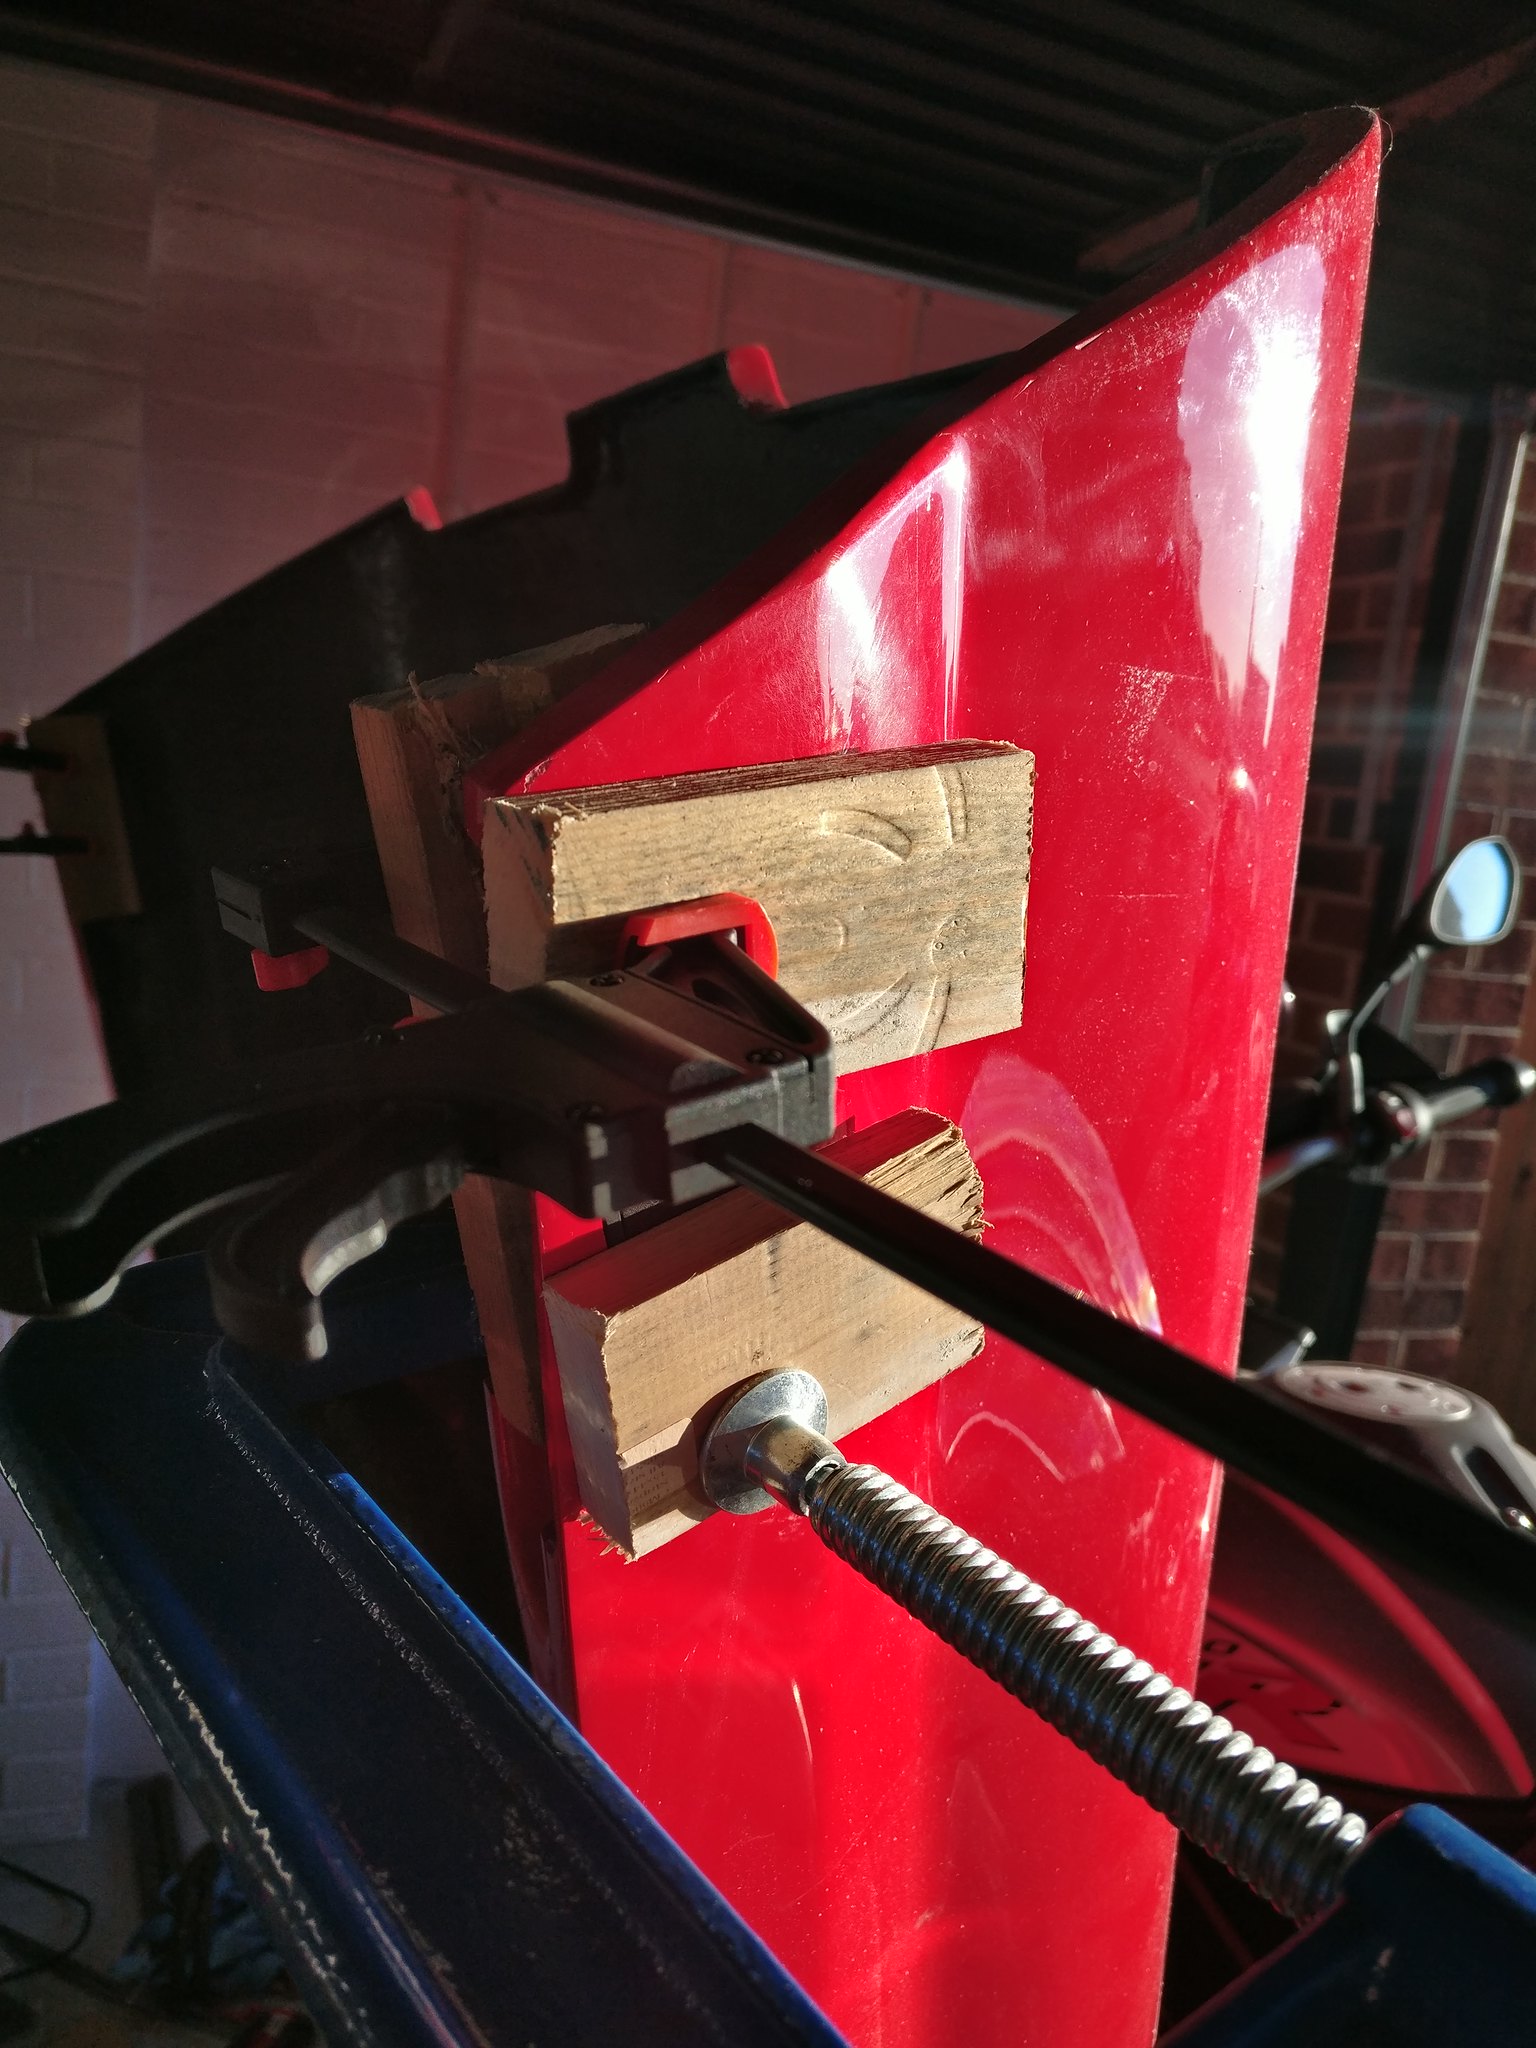 I bonded a test piece using offcuts to strength test tomorrow. Fingers crossed as always but I think it'll be fine. Apart from that I've been tidying the front suspension area for the IVA. Can anyone see issues here? Steering straight: 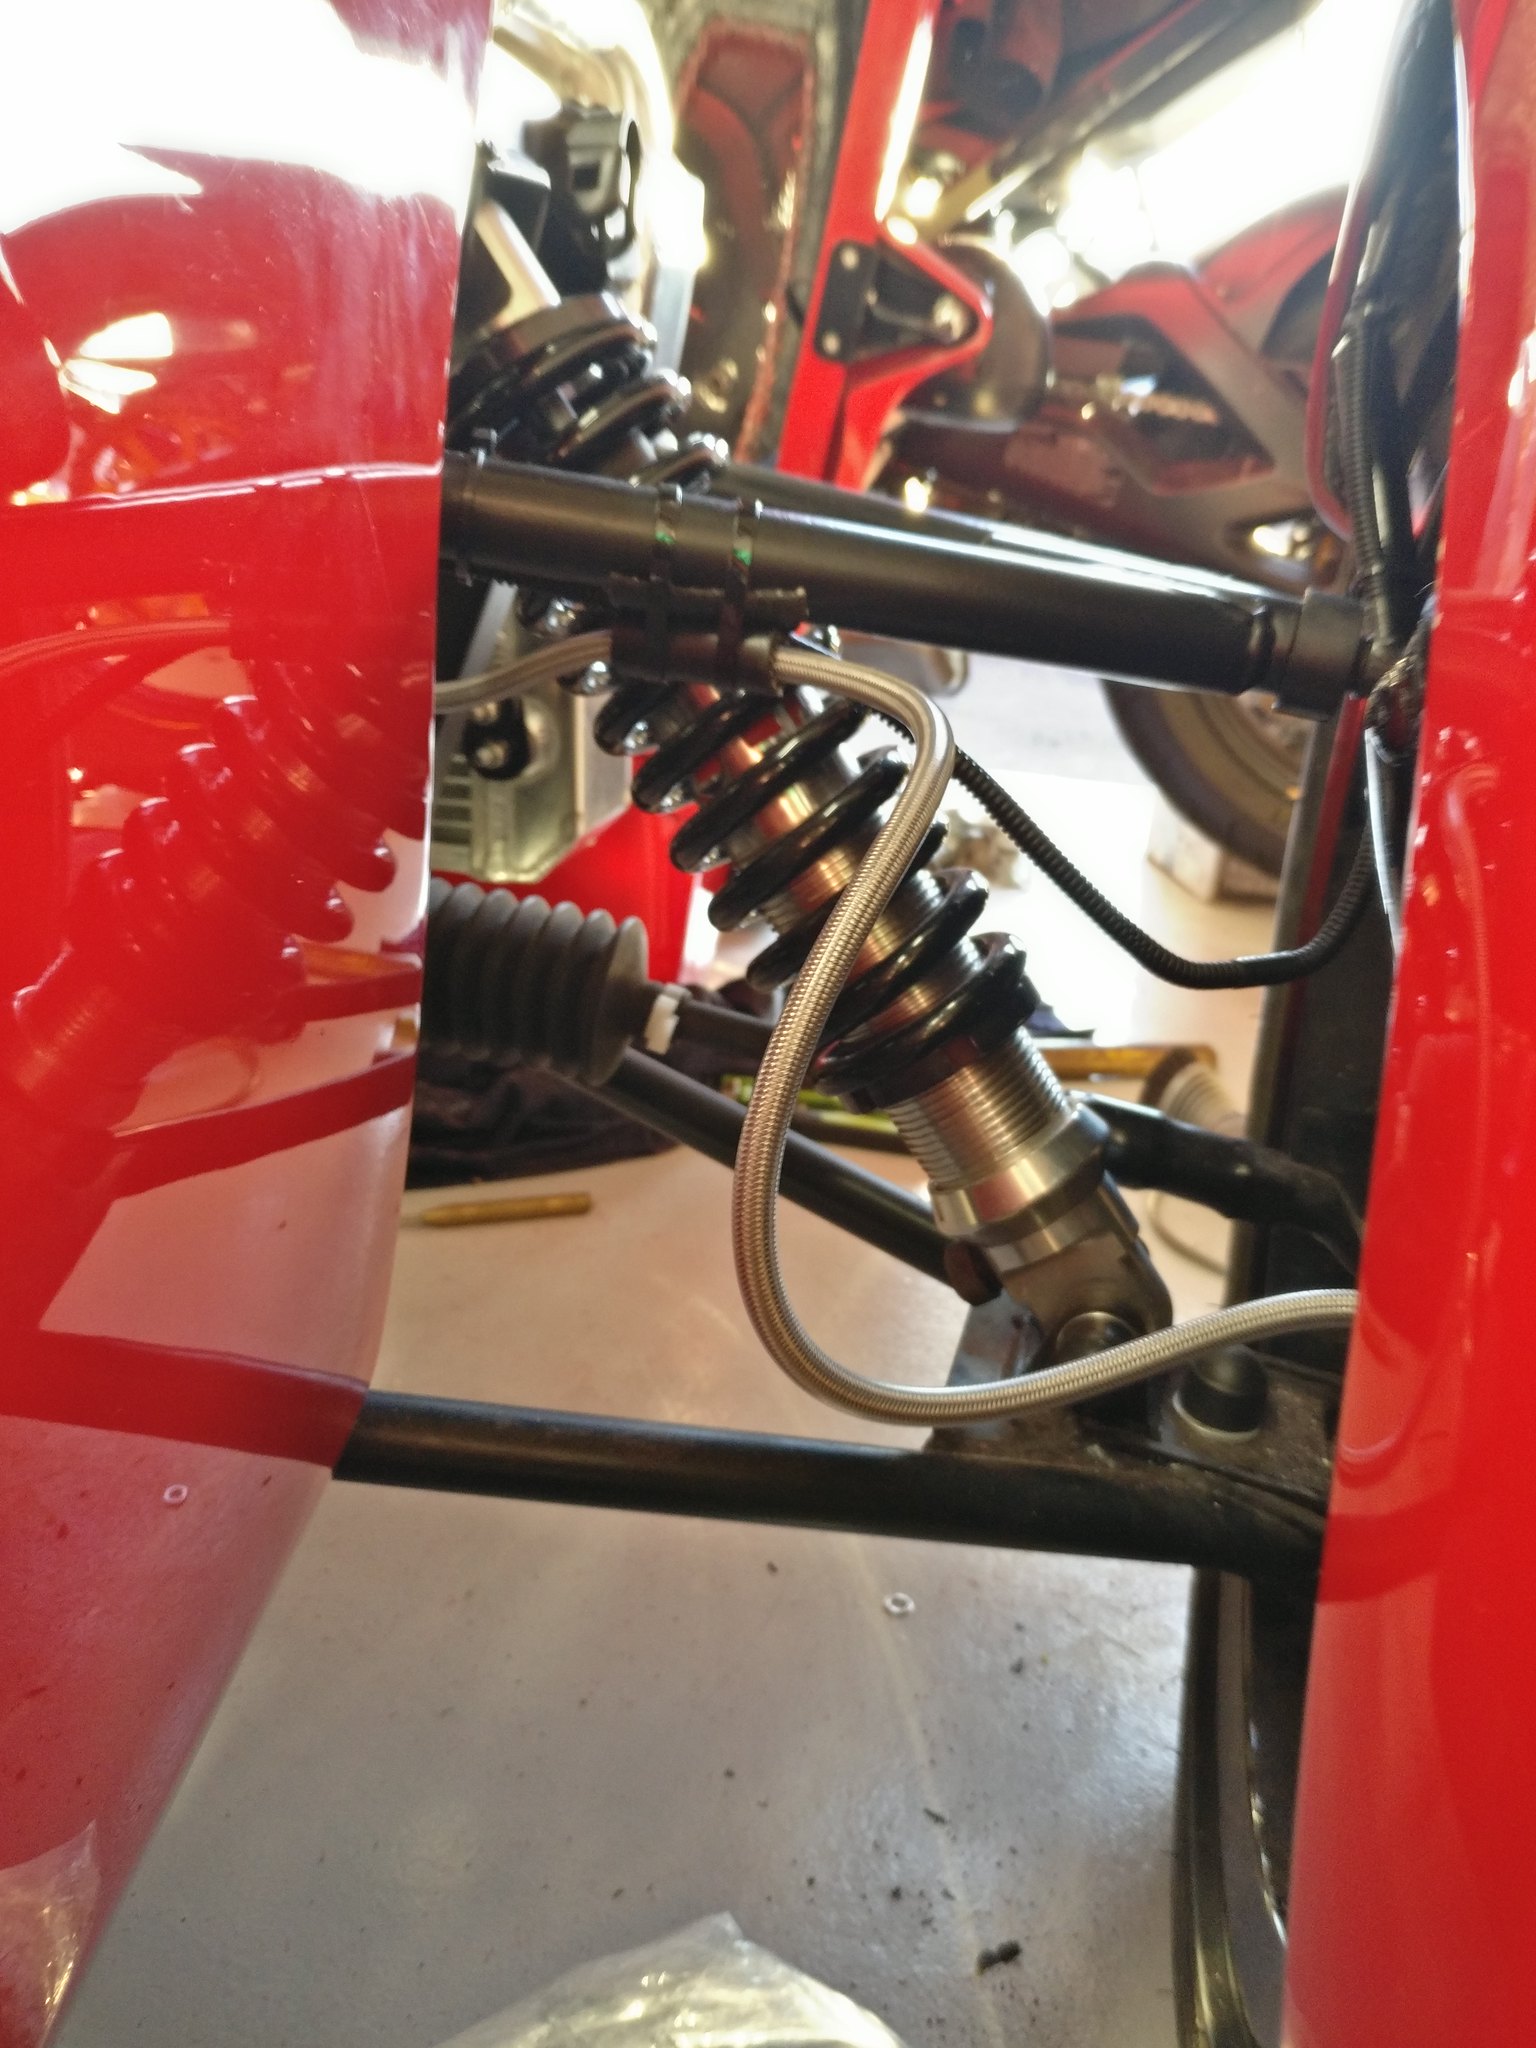 Full lock 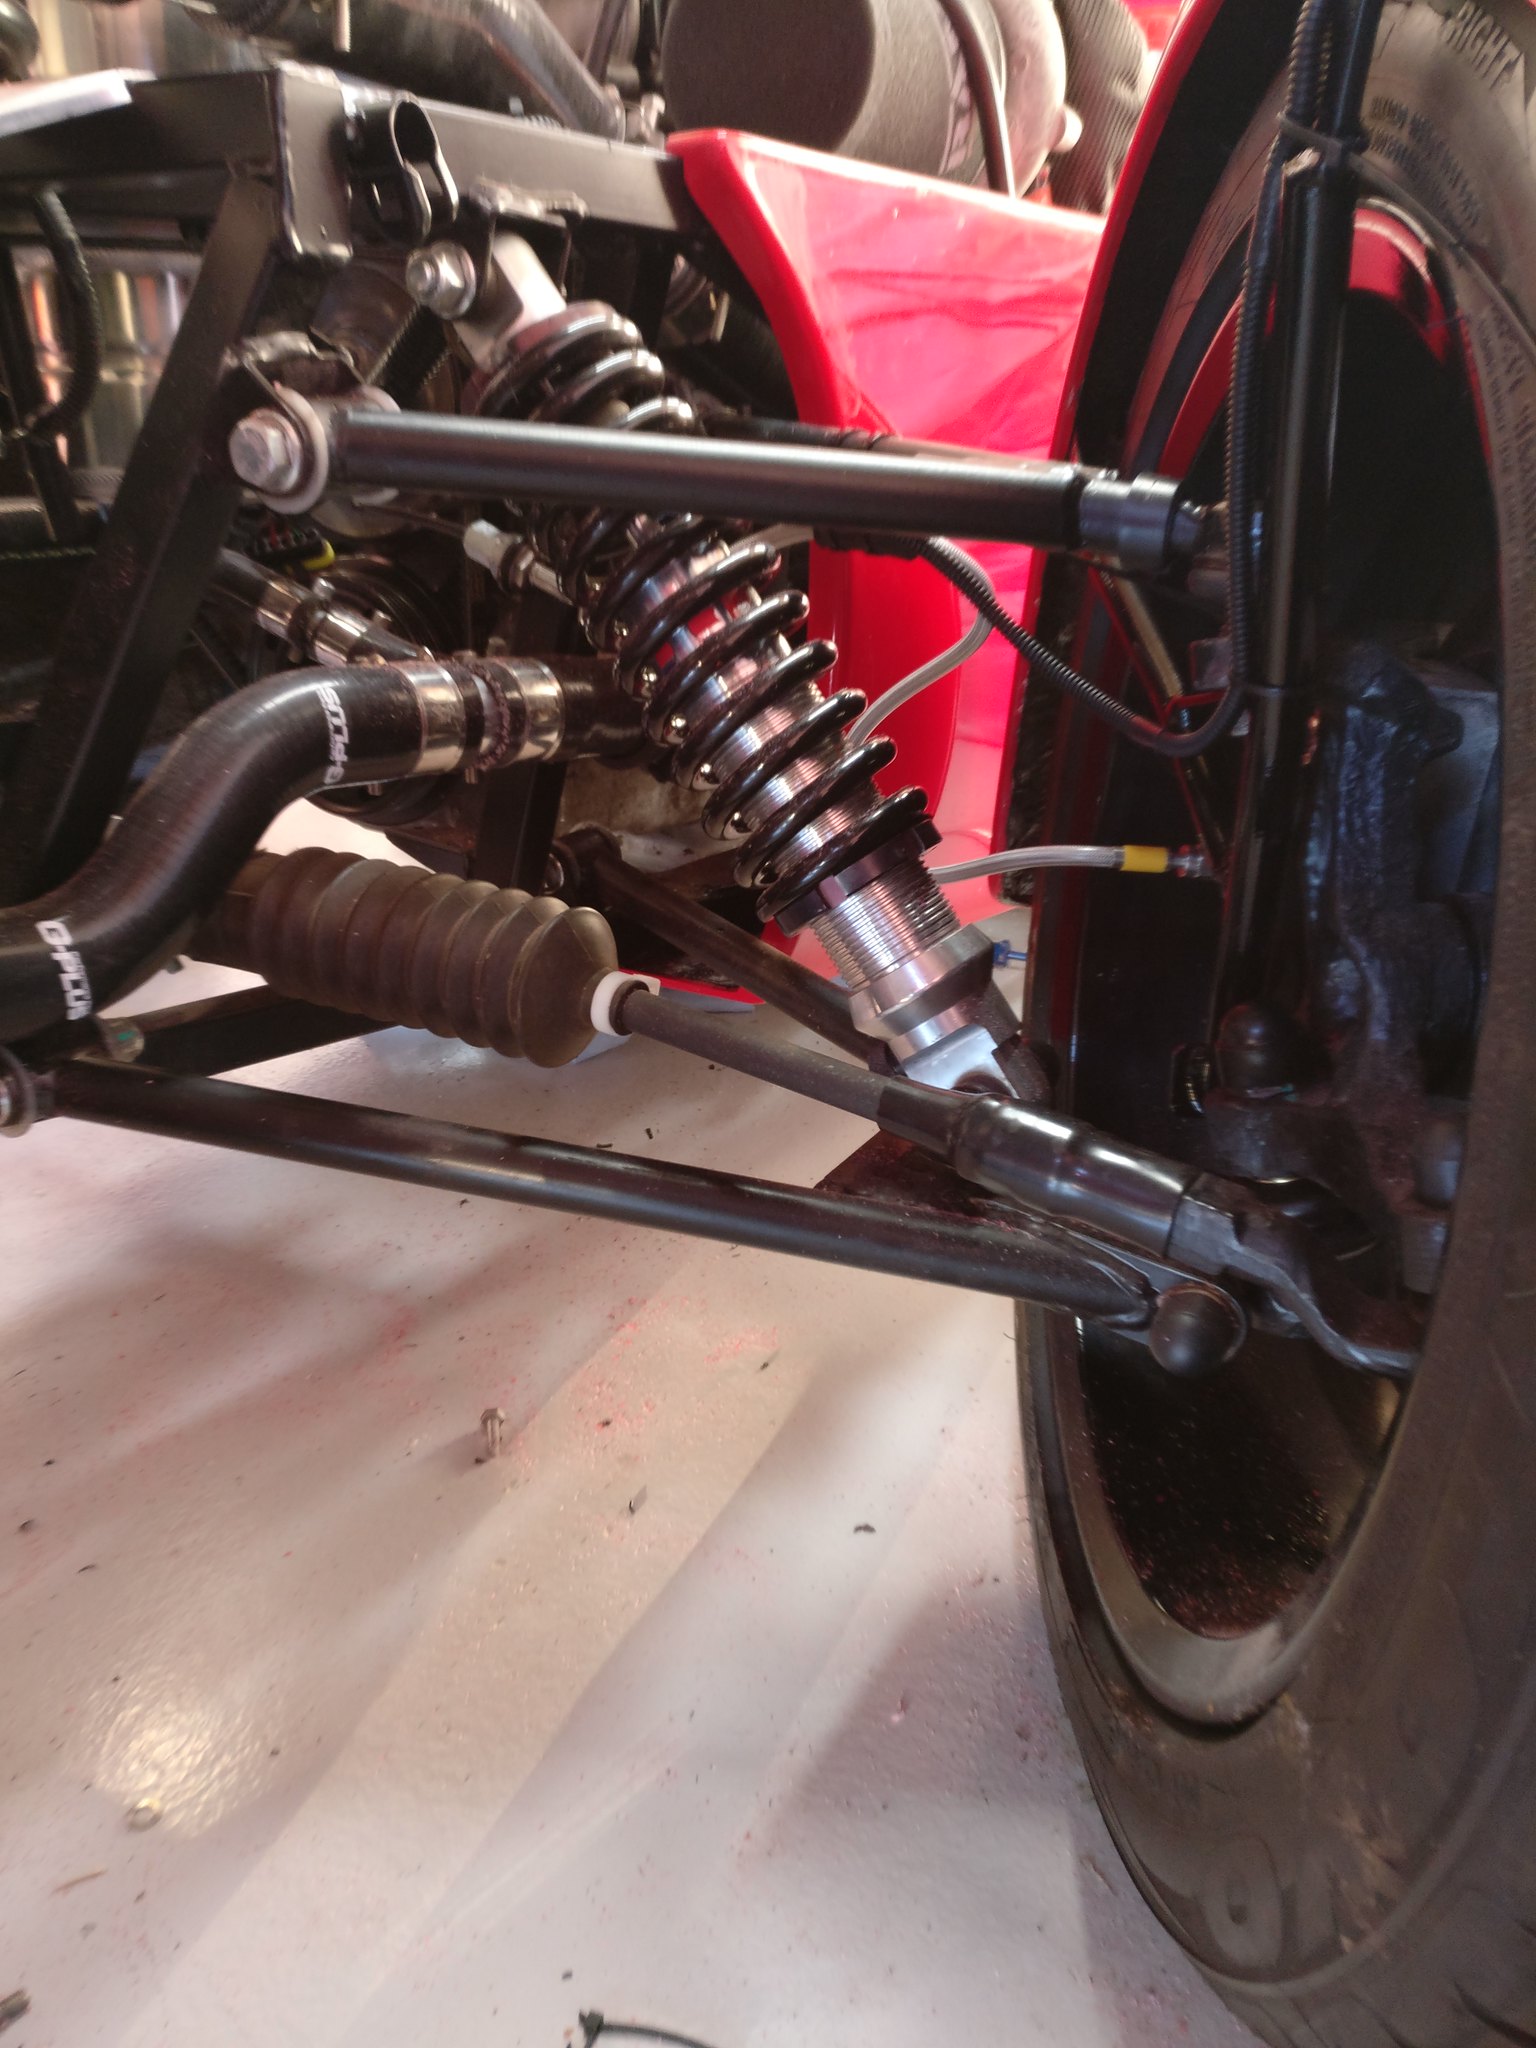 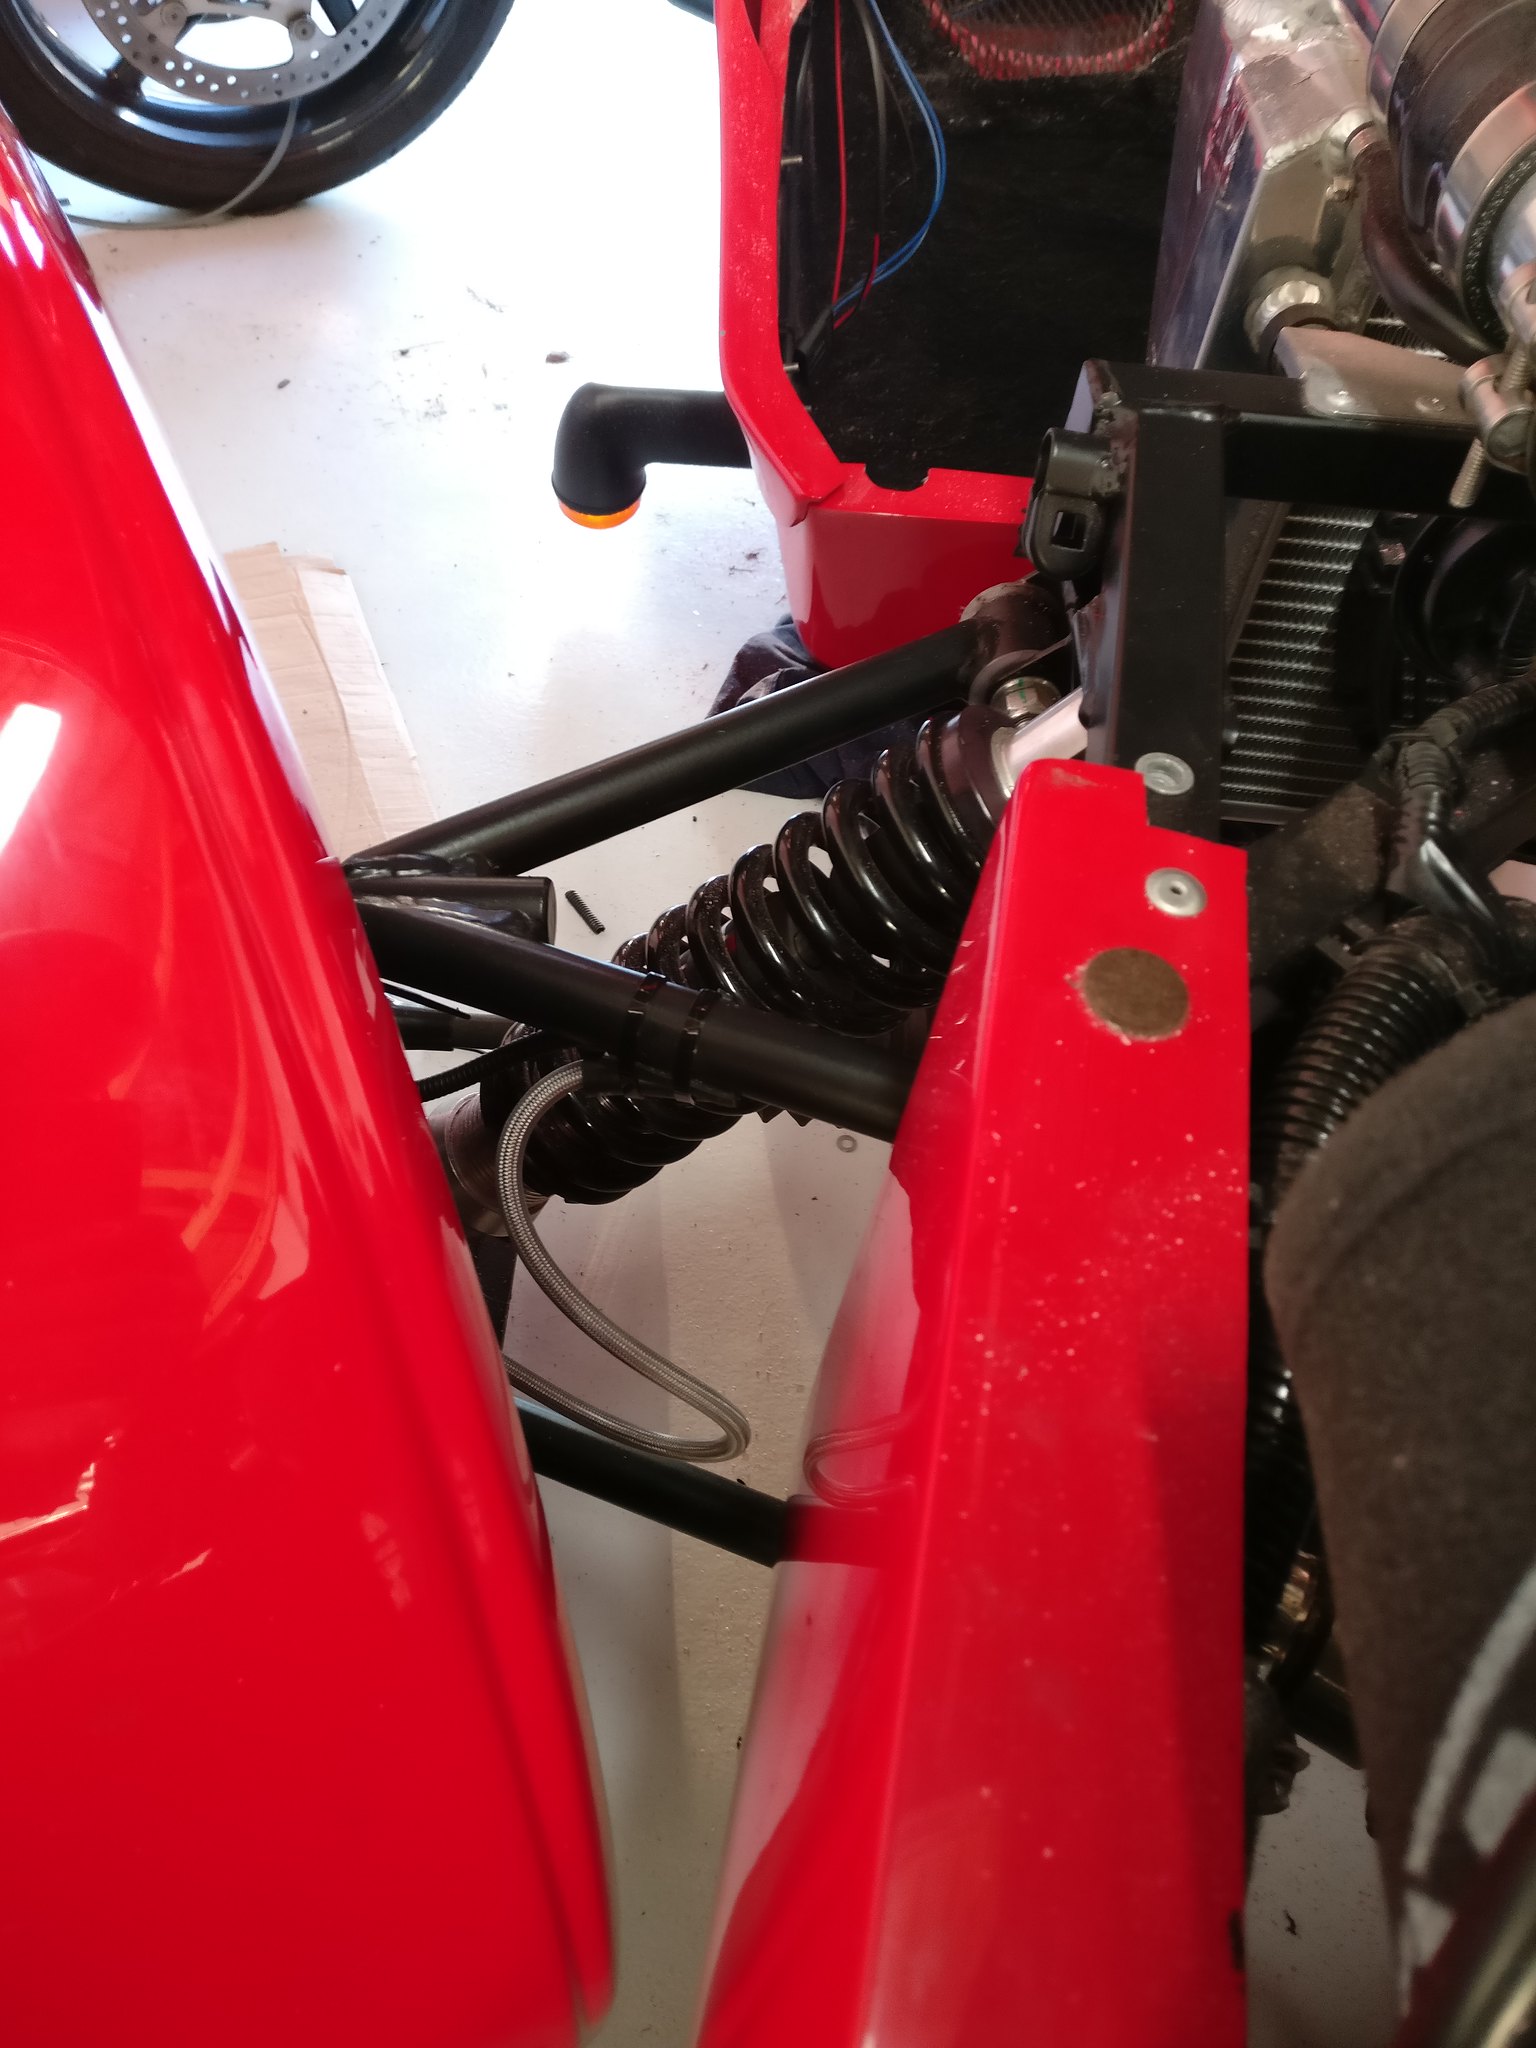 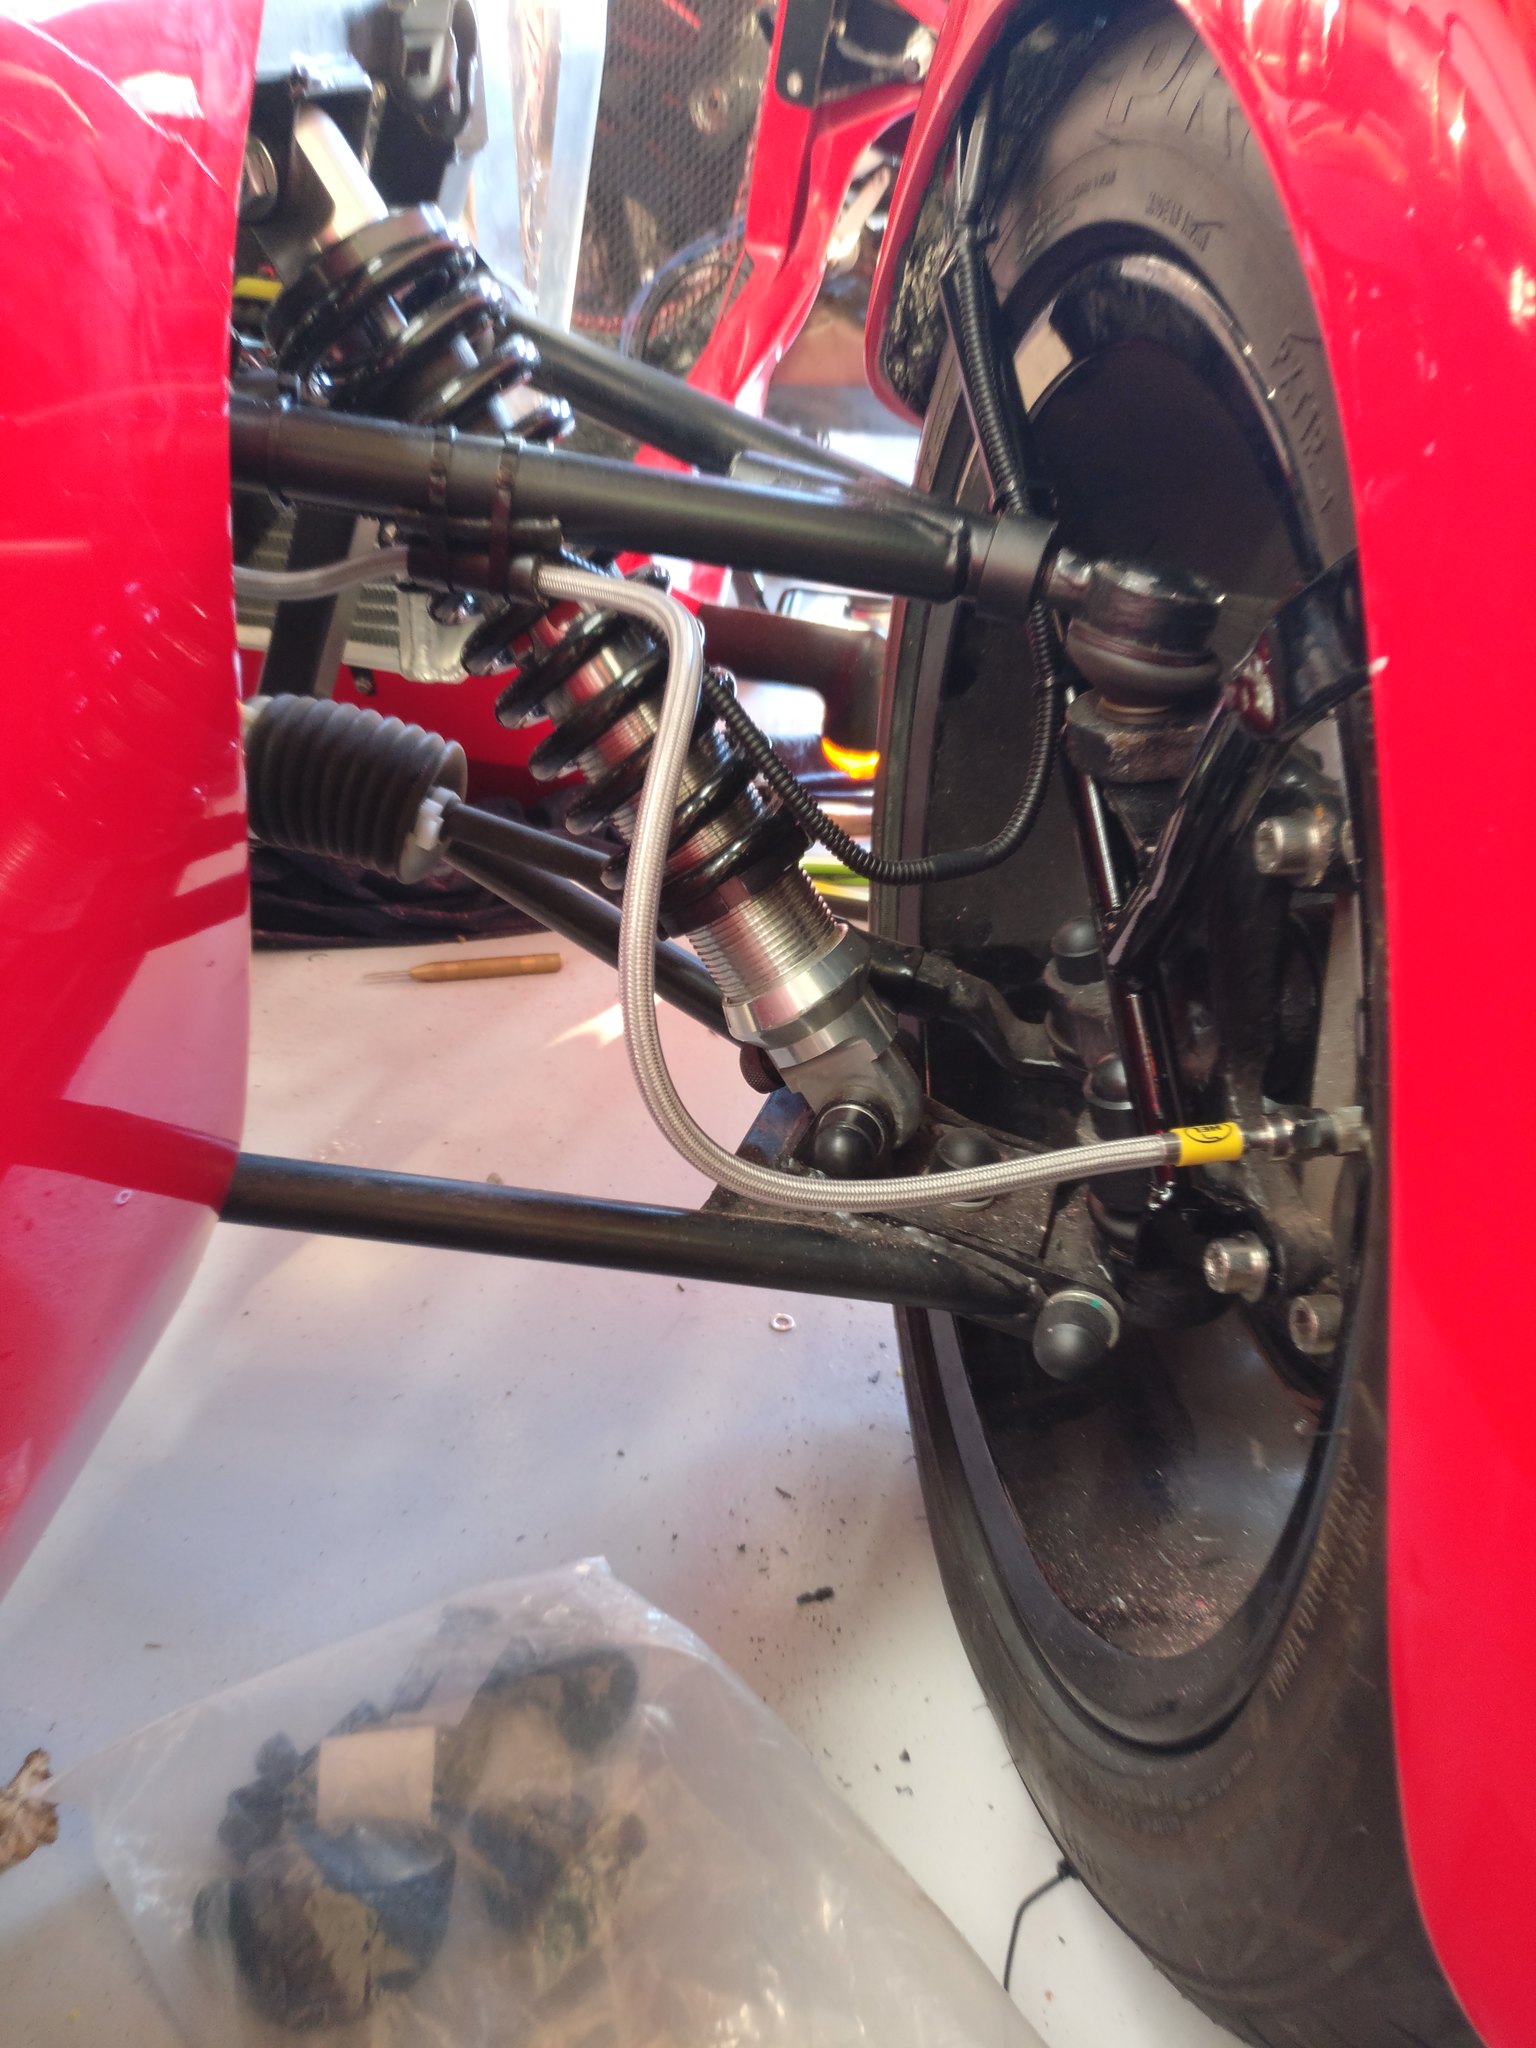 There's nothing touching or binding and I've tried to tie things away so they can't swing into the suspension. |
|
|
|
Post by teamawesome on Mar 3, 2019 10:47:42 GMT
Finally, I've had my first drive! 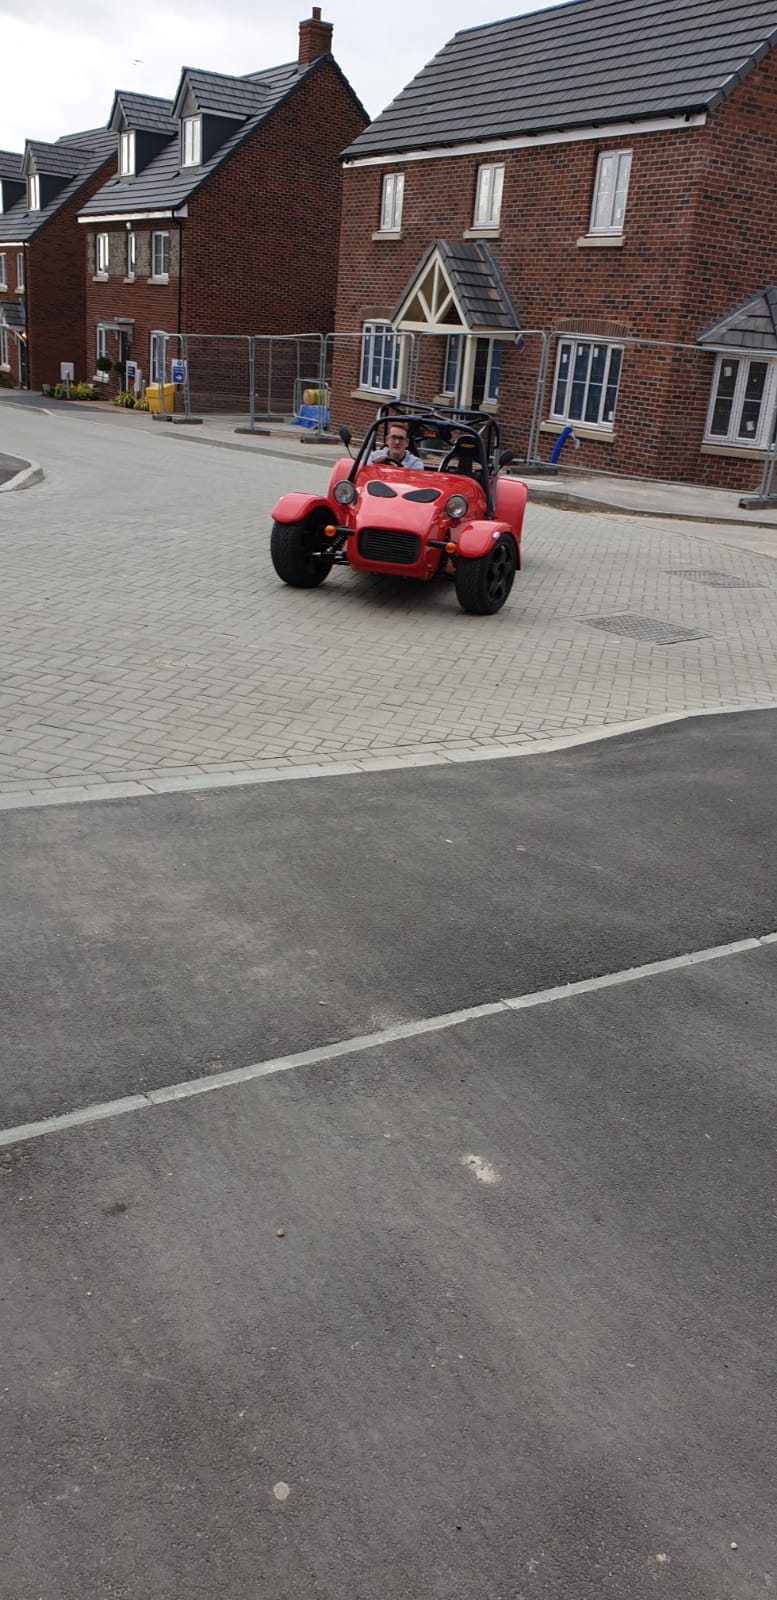 Everything seems to be ok, although I forgot to check the speedo. No knocks or bangs and it goes well. Not much self centering (as in there's none) and I had one brake light that refused to worked. Turns out the pin was the wrong way round in the connector and wasn't locking. |
|
|
|
Post by teamawesome on Mar 4, 2019 20:48:19 GMT
I got a few of the IVA suggestions done today. Hopefully a little closer! I had noticed that the grating over the vents had started to rust so I decided to sort it out. First a bit of etch primer: 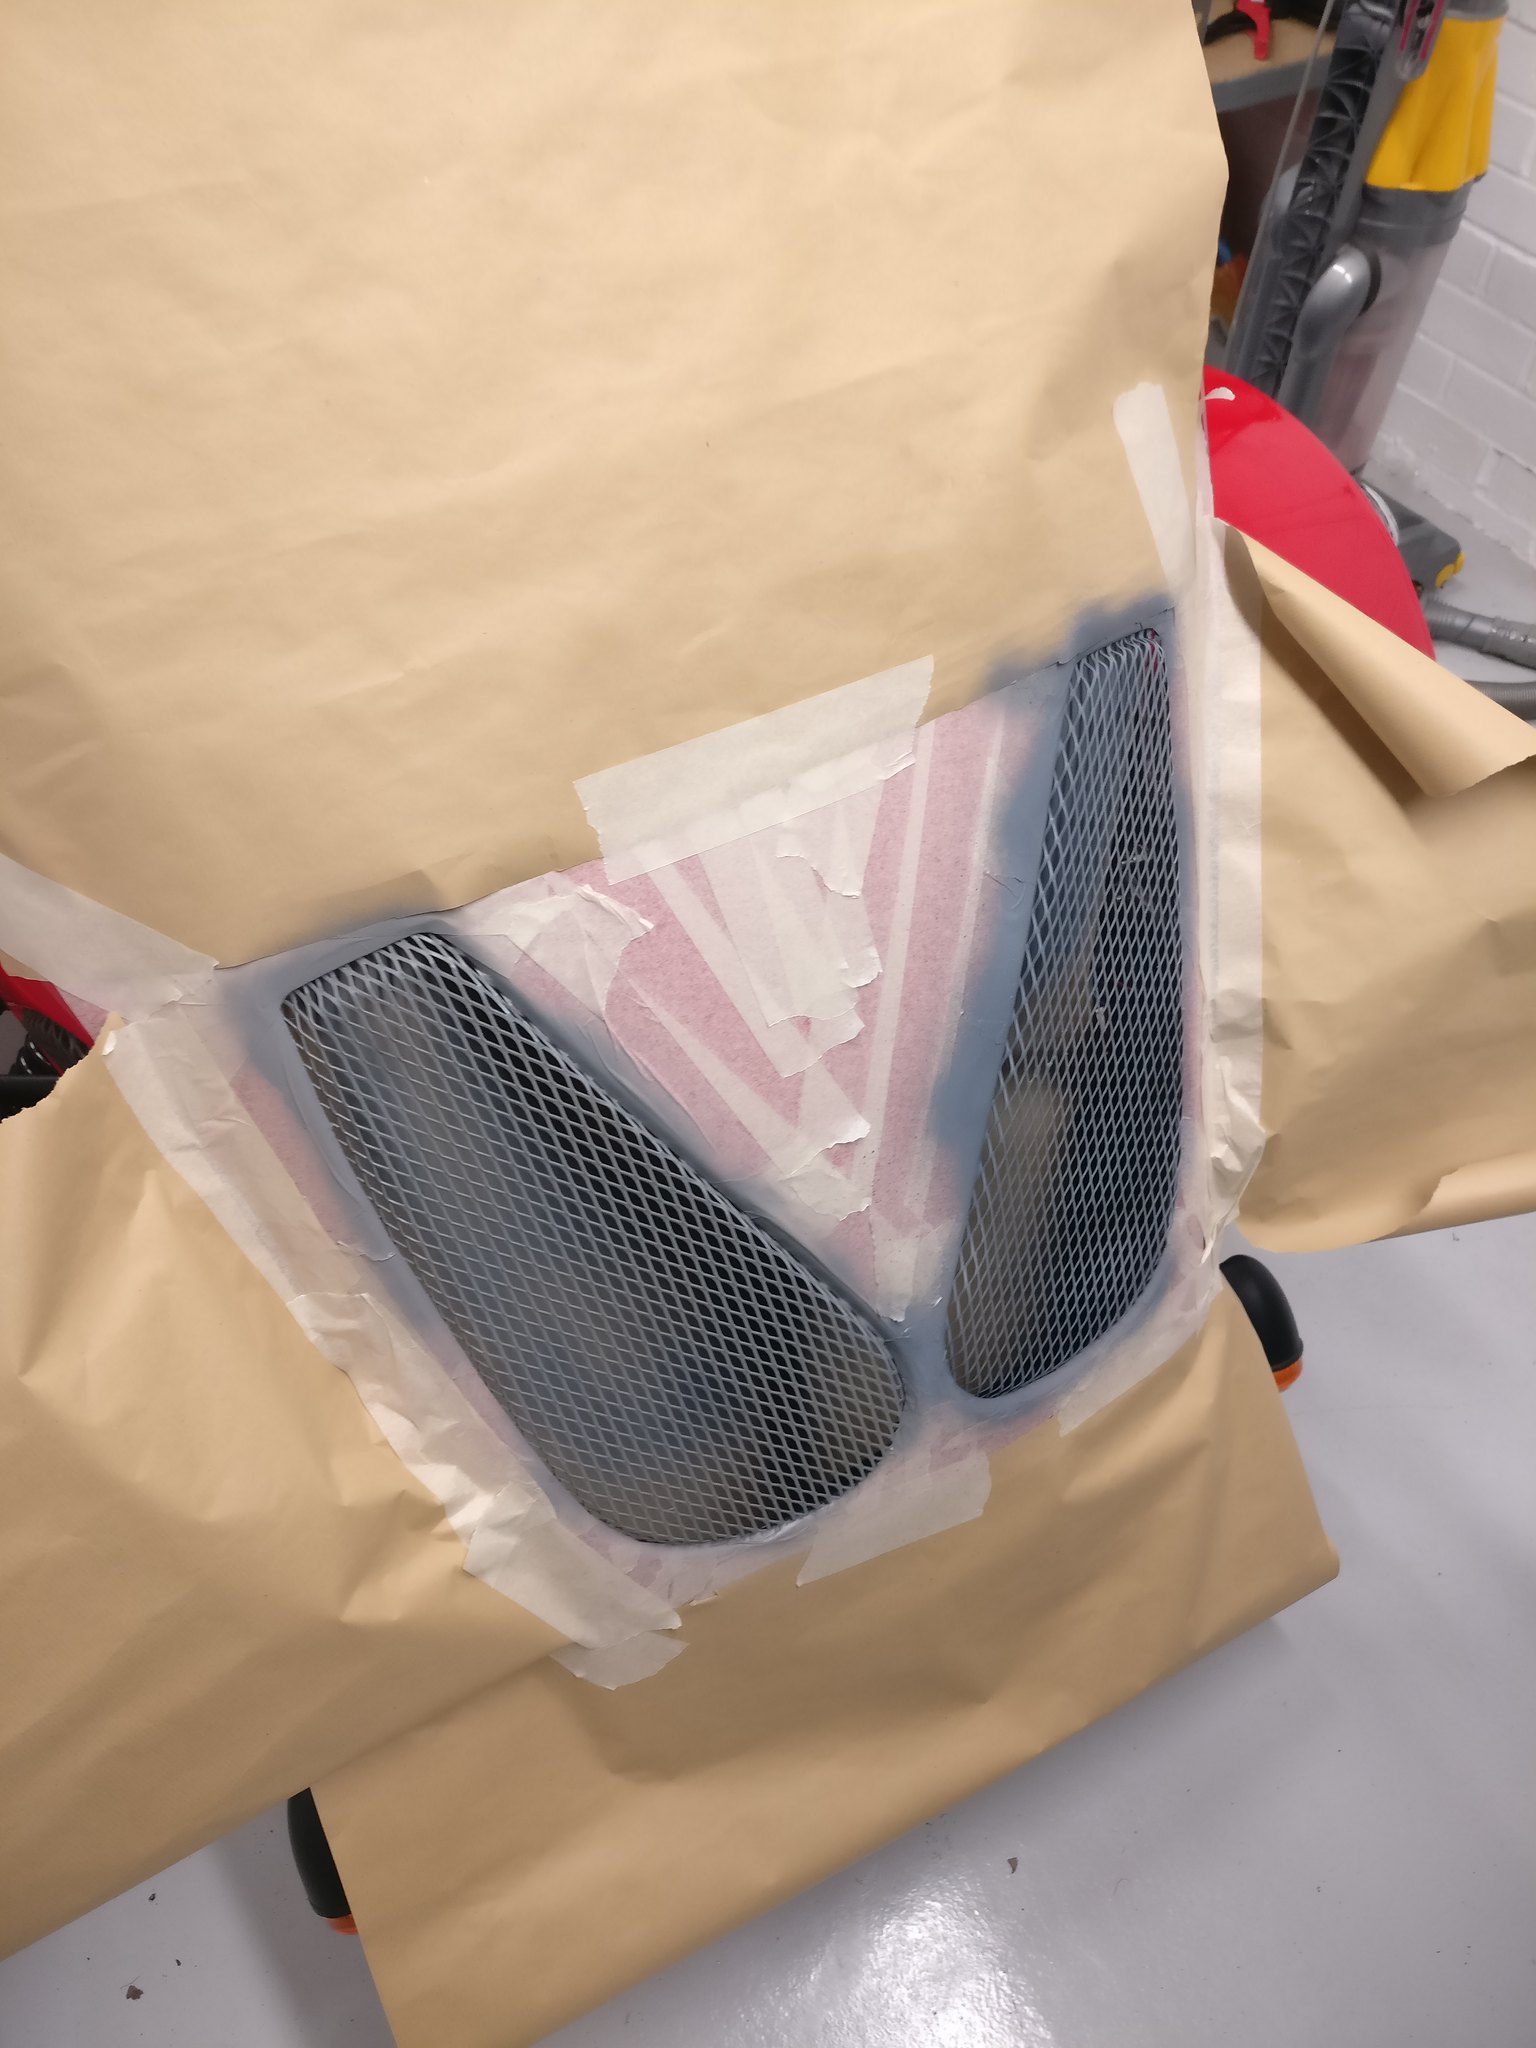 And after 6 coats in total 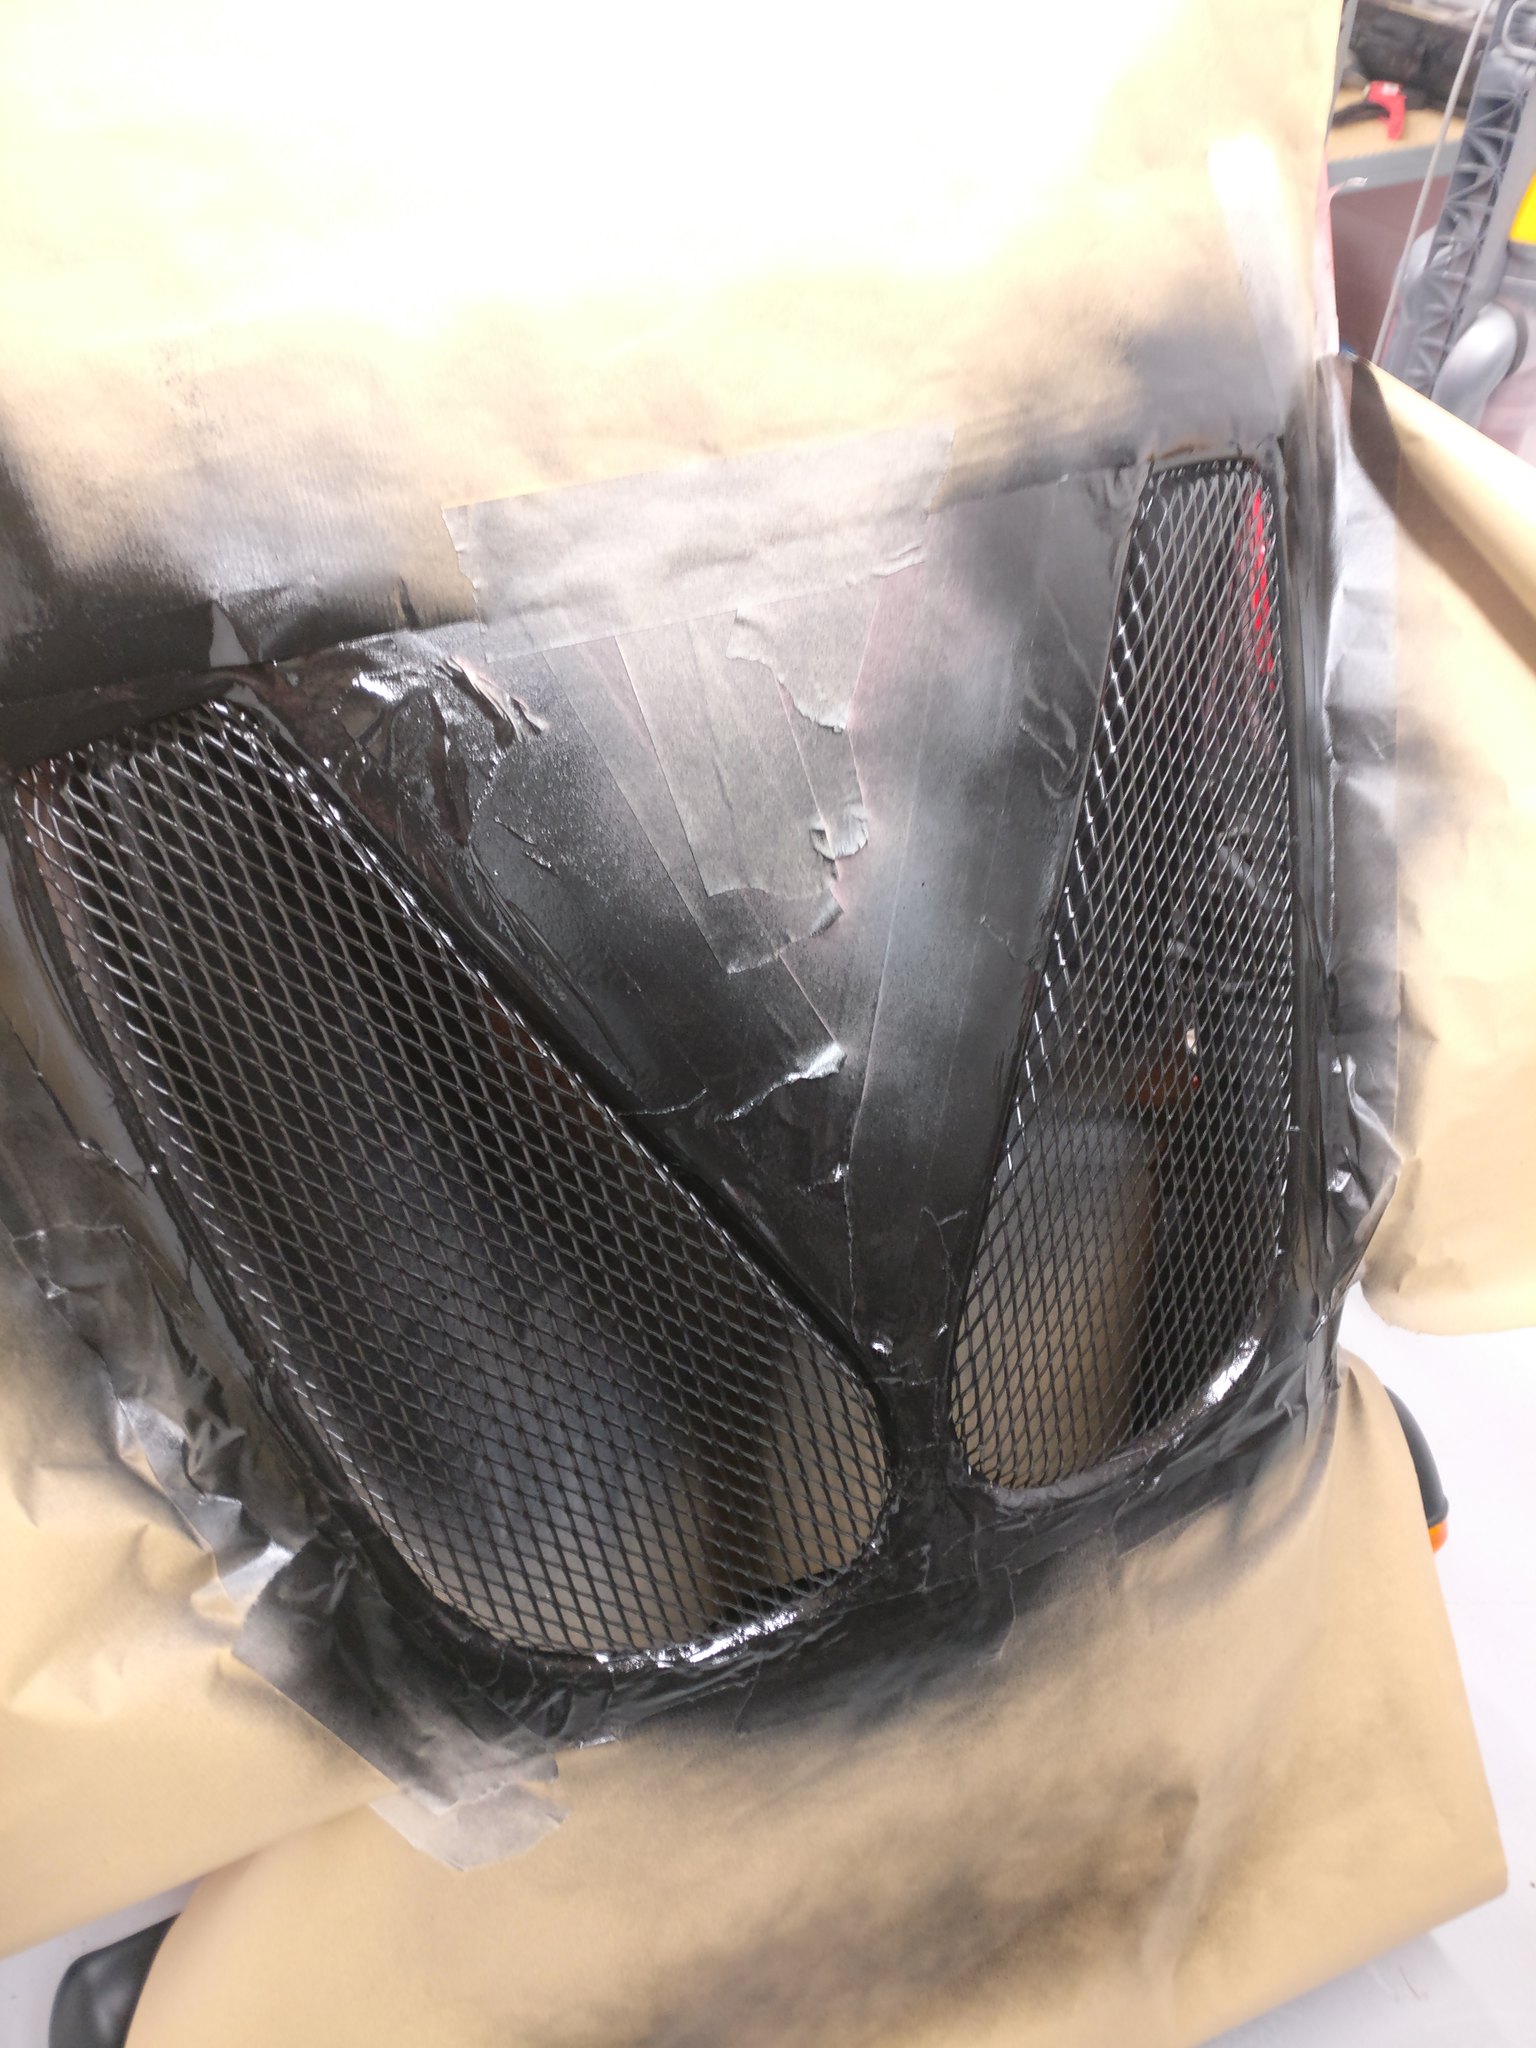 I'll have to do the side vents at some point but this will do for now. In other news, the bonnet catches are now fully fitted and working as they should. Hopefully they won't break again! |
|
|
|
Post by teamawesome on Mar 9, 2019 14:26:00 GMT
So..... I am now the proud owner on an IVA certificate! I took the car to Leighton Buzzard yesterday full of nerves, but feeling ready for someone to validate 2 years of work. It all started very well, the car was ready and I was happy I'd completed all required tasks. Here's how it stood at 6.30am ready for the drive. At this point it had done only 0.3 (trouble free) miles. 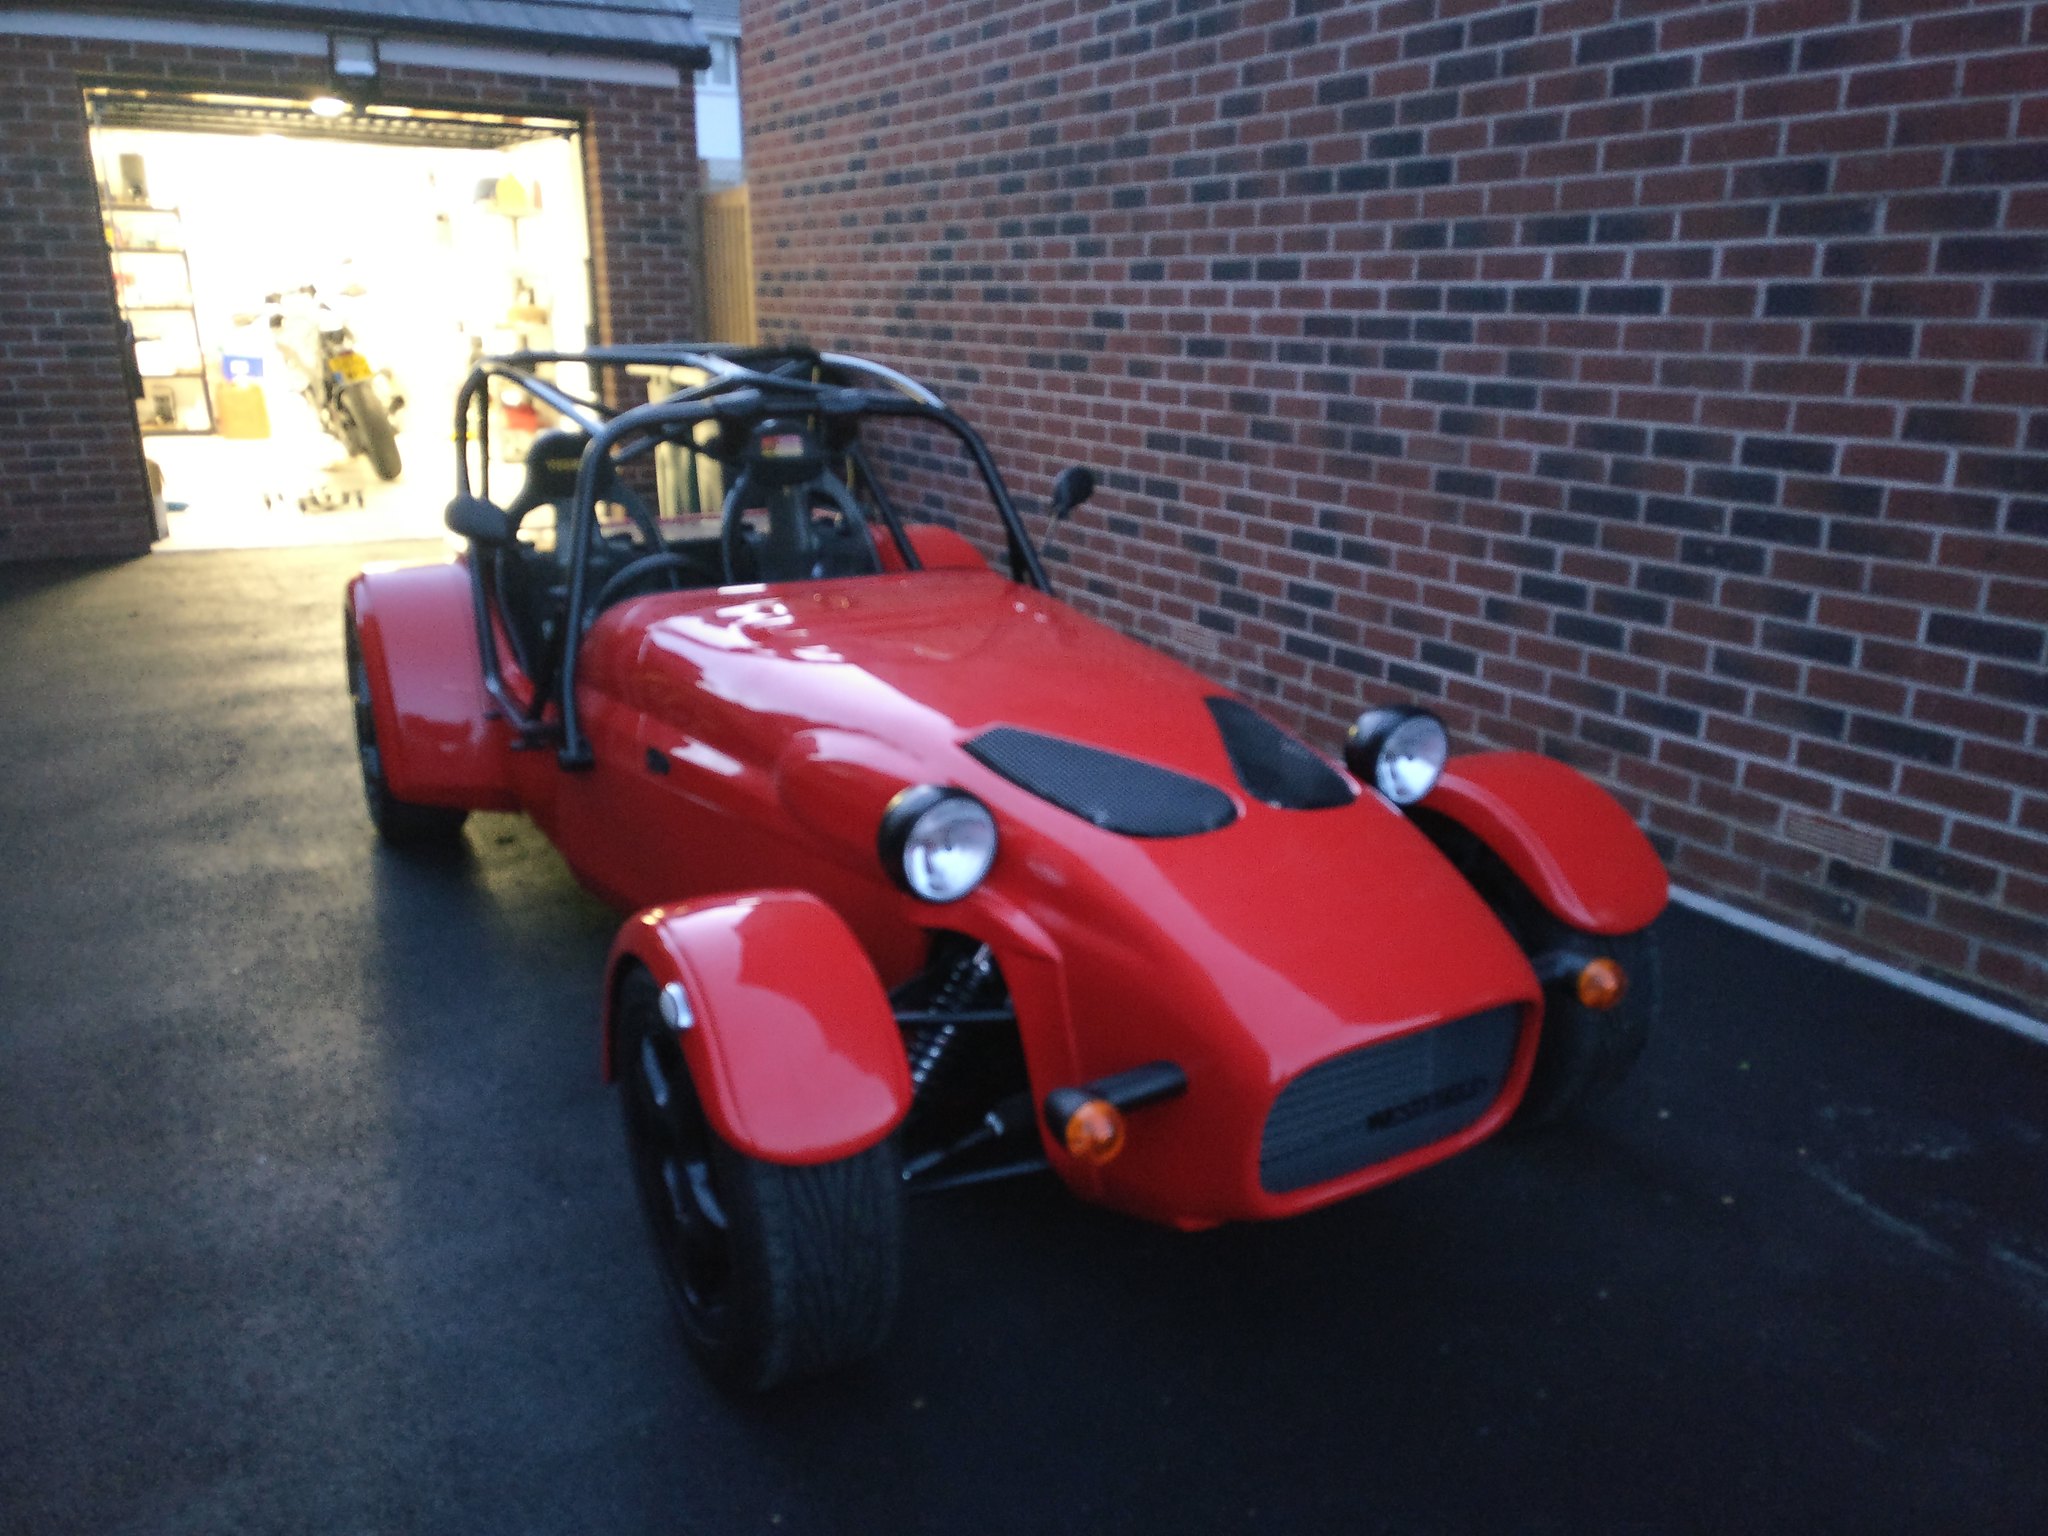 I had decided to wear my motorbike gear as it was cold but it didn't stop my hands being freezing. I could only find my summer gloves. This next photo was taken at 7.45am, just quarter of an hour before the test was due to begin. 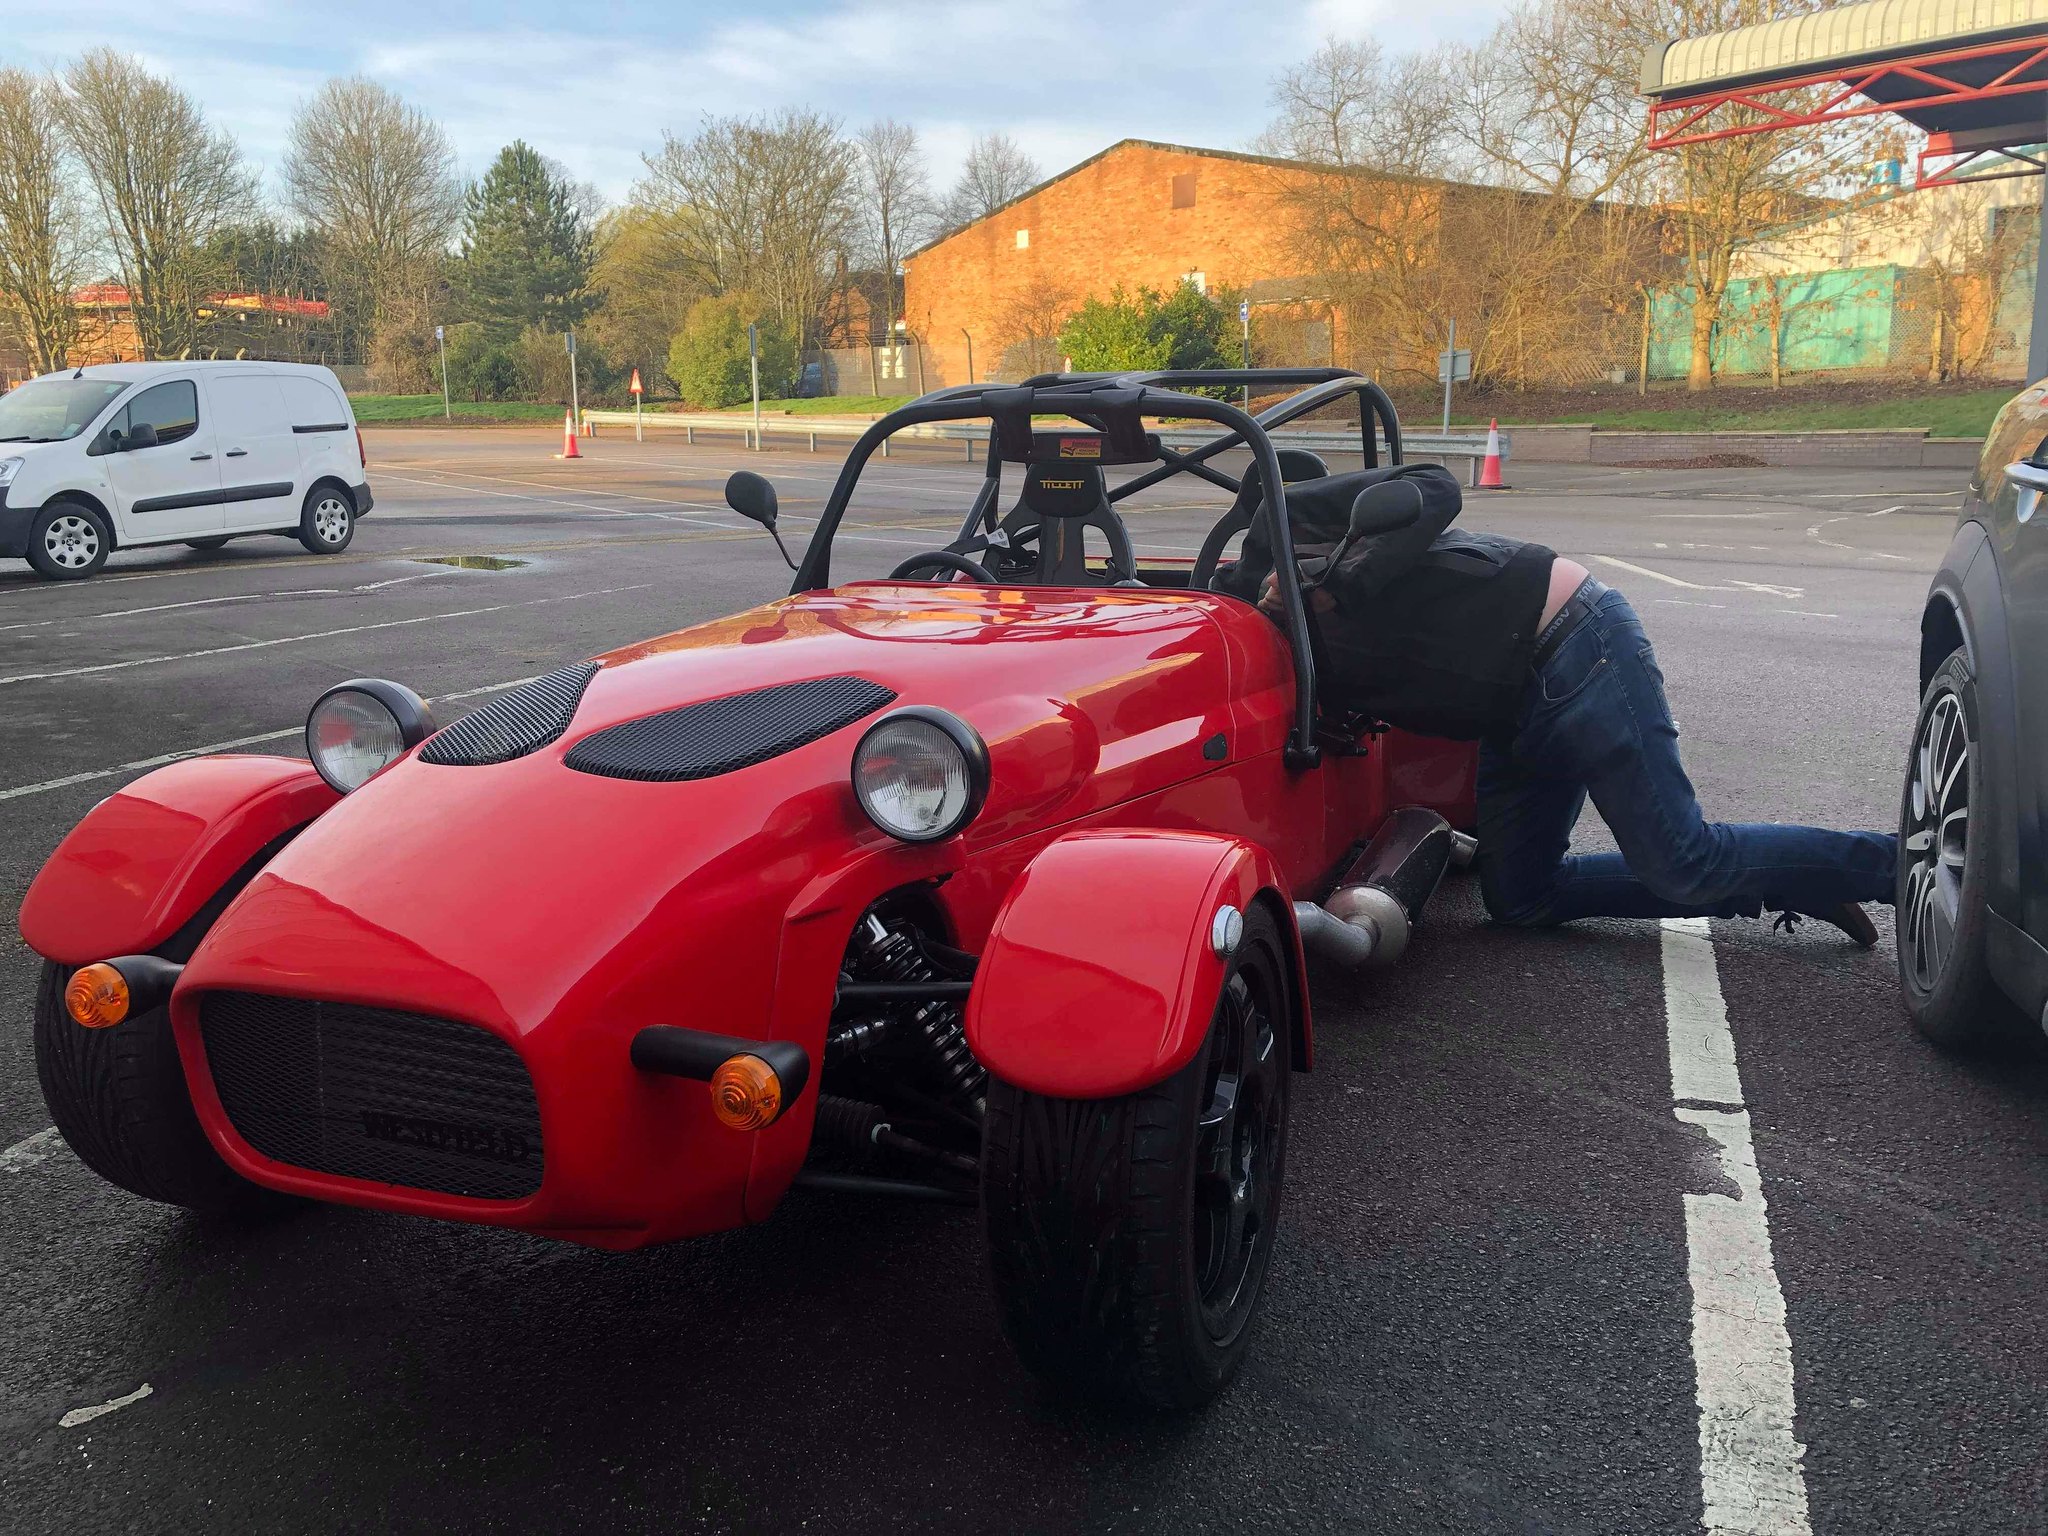 The car was hunting quite a lot and was stalling when coming to a stop. I solved the idle by whipping out the laptop and changing the tune slightly, but I couldn't solve the stalling. Luckily the examiner, Richard, had already been over to introduce himself and said that wouldn't be an issue as long as it would restart every time. Moving on to the test, it started a little late as there was a discrepancy between my paperwork and the V5. My donor car was privately imported from Japan in 1999 but manufactured in 1990. The V5 only stated 1999 so there was some phone calls to double check which emissions test that would be required. Luckily the 1990 test was decided upon. This was my first test and I scraped through. I knew it would be tight with my base map. 3.5% CO2 was the limit and I averaged 3.16%, not good but a pass is a pass. Next the car had a good looking over on the ground and it went on the ramps to check underneath. I was quizzed on a lot of the build but was able to answer all the questions easily. One of them being whether the covers for the mirrors we're provided by Westfield. I said I'd made them myself and no more was asked about them. I was asked to remove a wheel nut to check engagement and to remove one of the carbon covers at the back. All passed the test and Richard repeatedly said he'd not found a single loose nut or bolt yet and he always finds one. Good for me I suppose! 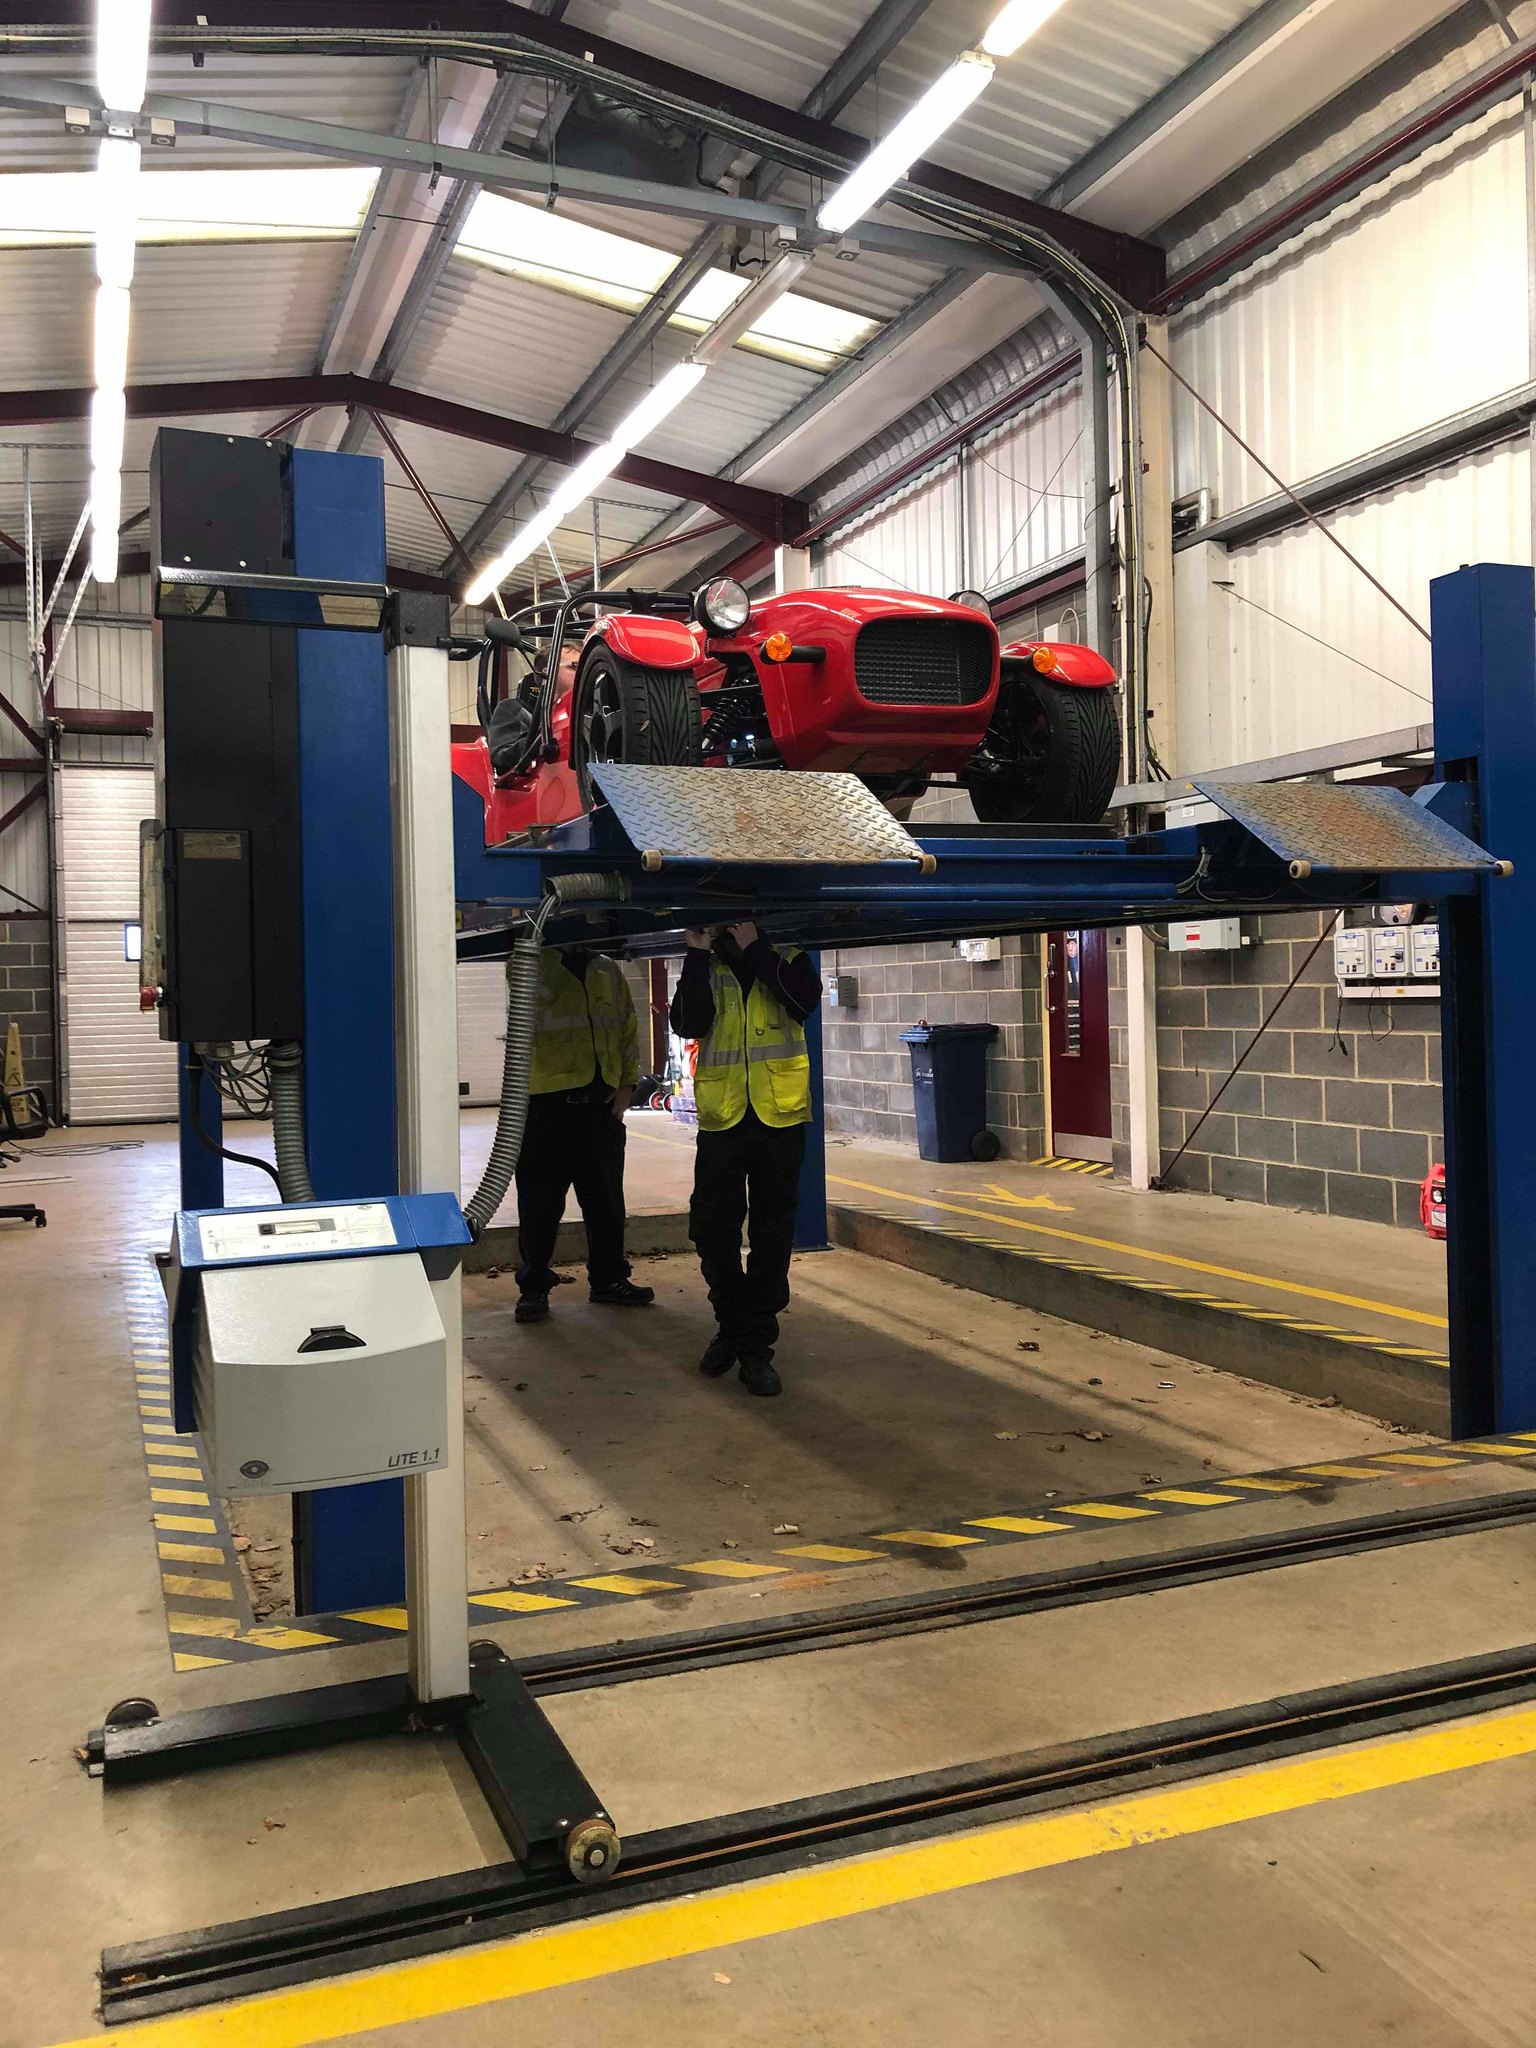 Before it went on the lift it had already been mentioned that my handbrake didn't have enough reserve travel and this would be a fail if I couldn't solve it, so that had me a little bit nervous. On to the brake test Richard went through the procedure and noted the braking effort down but mentioned that he wouldn't know if it was a pass or fail until he'd put them into his spreadsheet to calculate the efficiency which he'd do at the end. My speedo test was initially a fail but I was allowed to reconfigure the dash and have it retested. 5 mins later it was a pass. The mirrors was an easy pass, I can see the whole world in that 14 inch mirror. The brakes locked up as expected and then on to my personal dread, the self centering steering. I'd been adjusting this literally minutes before the test as the journey to the test centre confirmed I had none. I wasn't able to test it out but I'd put enough toe out on the car and it did give the required effort. Richard may have hit a puddle on his drive around the test centre though. 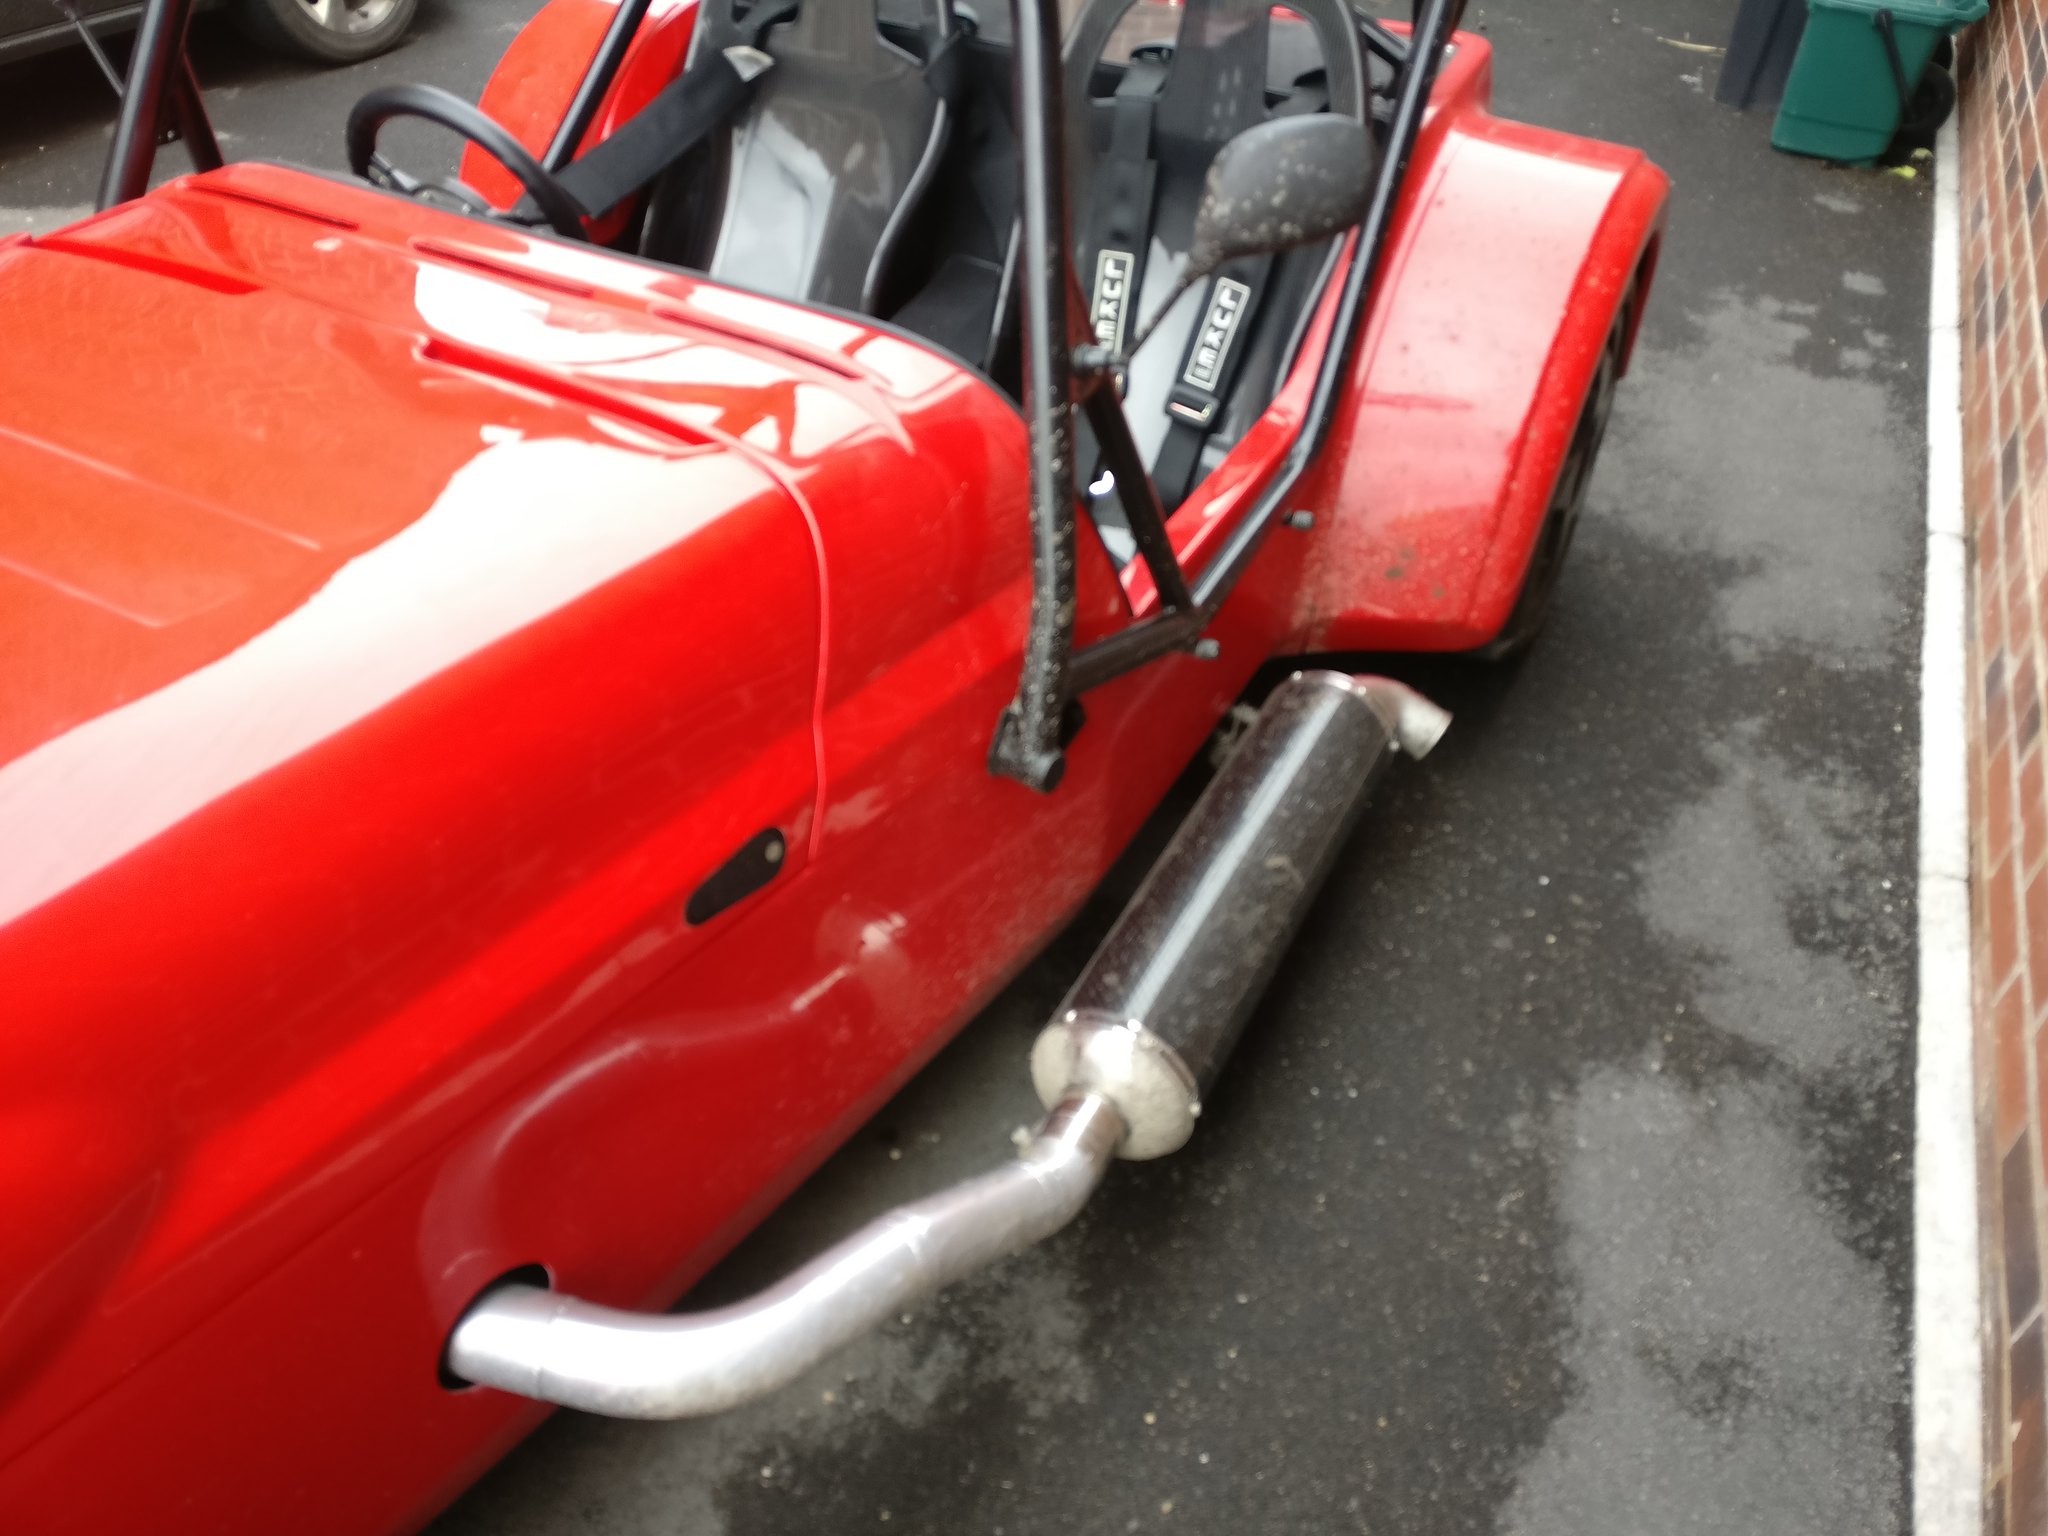 Up to this point everything apart from the handbrake was a pass but Richard had to check the brake efficiency. This gave my 15 mins to adjust the handbrake. Luckily I didn't need that long and had the tools there at the ready. Richard was happy with the travel but the brake efficiency was a fail. He said he would take the car for a drive and get them warm, then redo the test. He did this and the handbrake test at the same time. It came out as a pass! Next time I'll remember to not use track pads for a cold test! With that I had a certificate on the way and I had the world's most smug look on my face for the next few hours. All said and done Richard was extremely nice and helpful. It was clear he wasn't going to let anything slide, but he was very fair and happy to let me adjust things to make it a pass. Couldn't have asked for more, I even got a nice cup of tea from them. Finally, if anyone tells you a Mazda SDV doesn't need a shortened sump I had this when I arrived 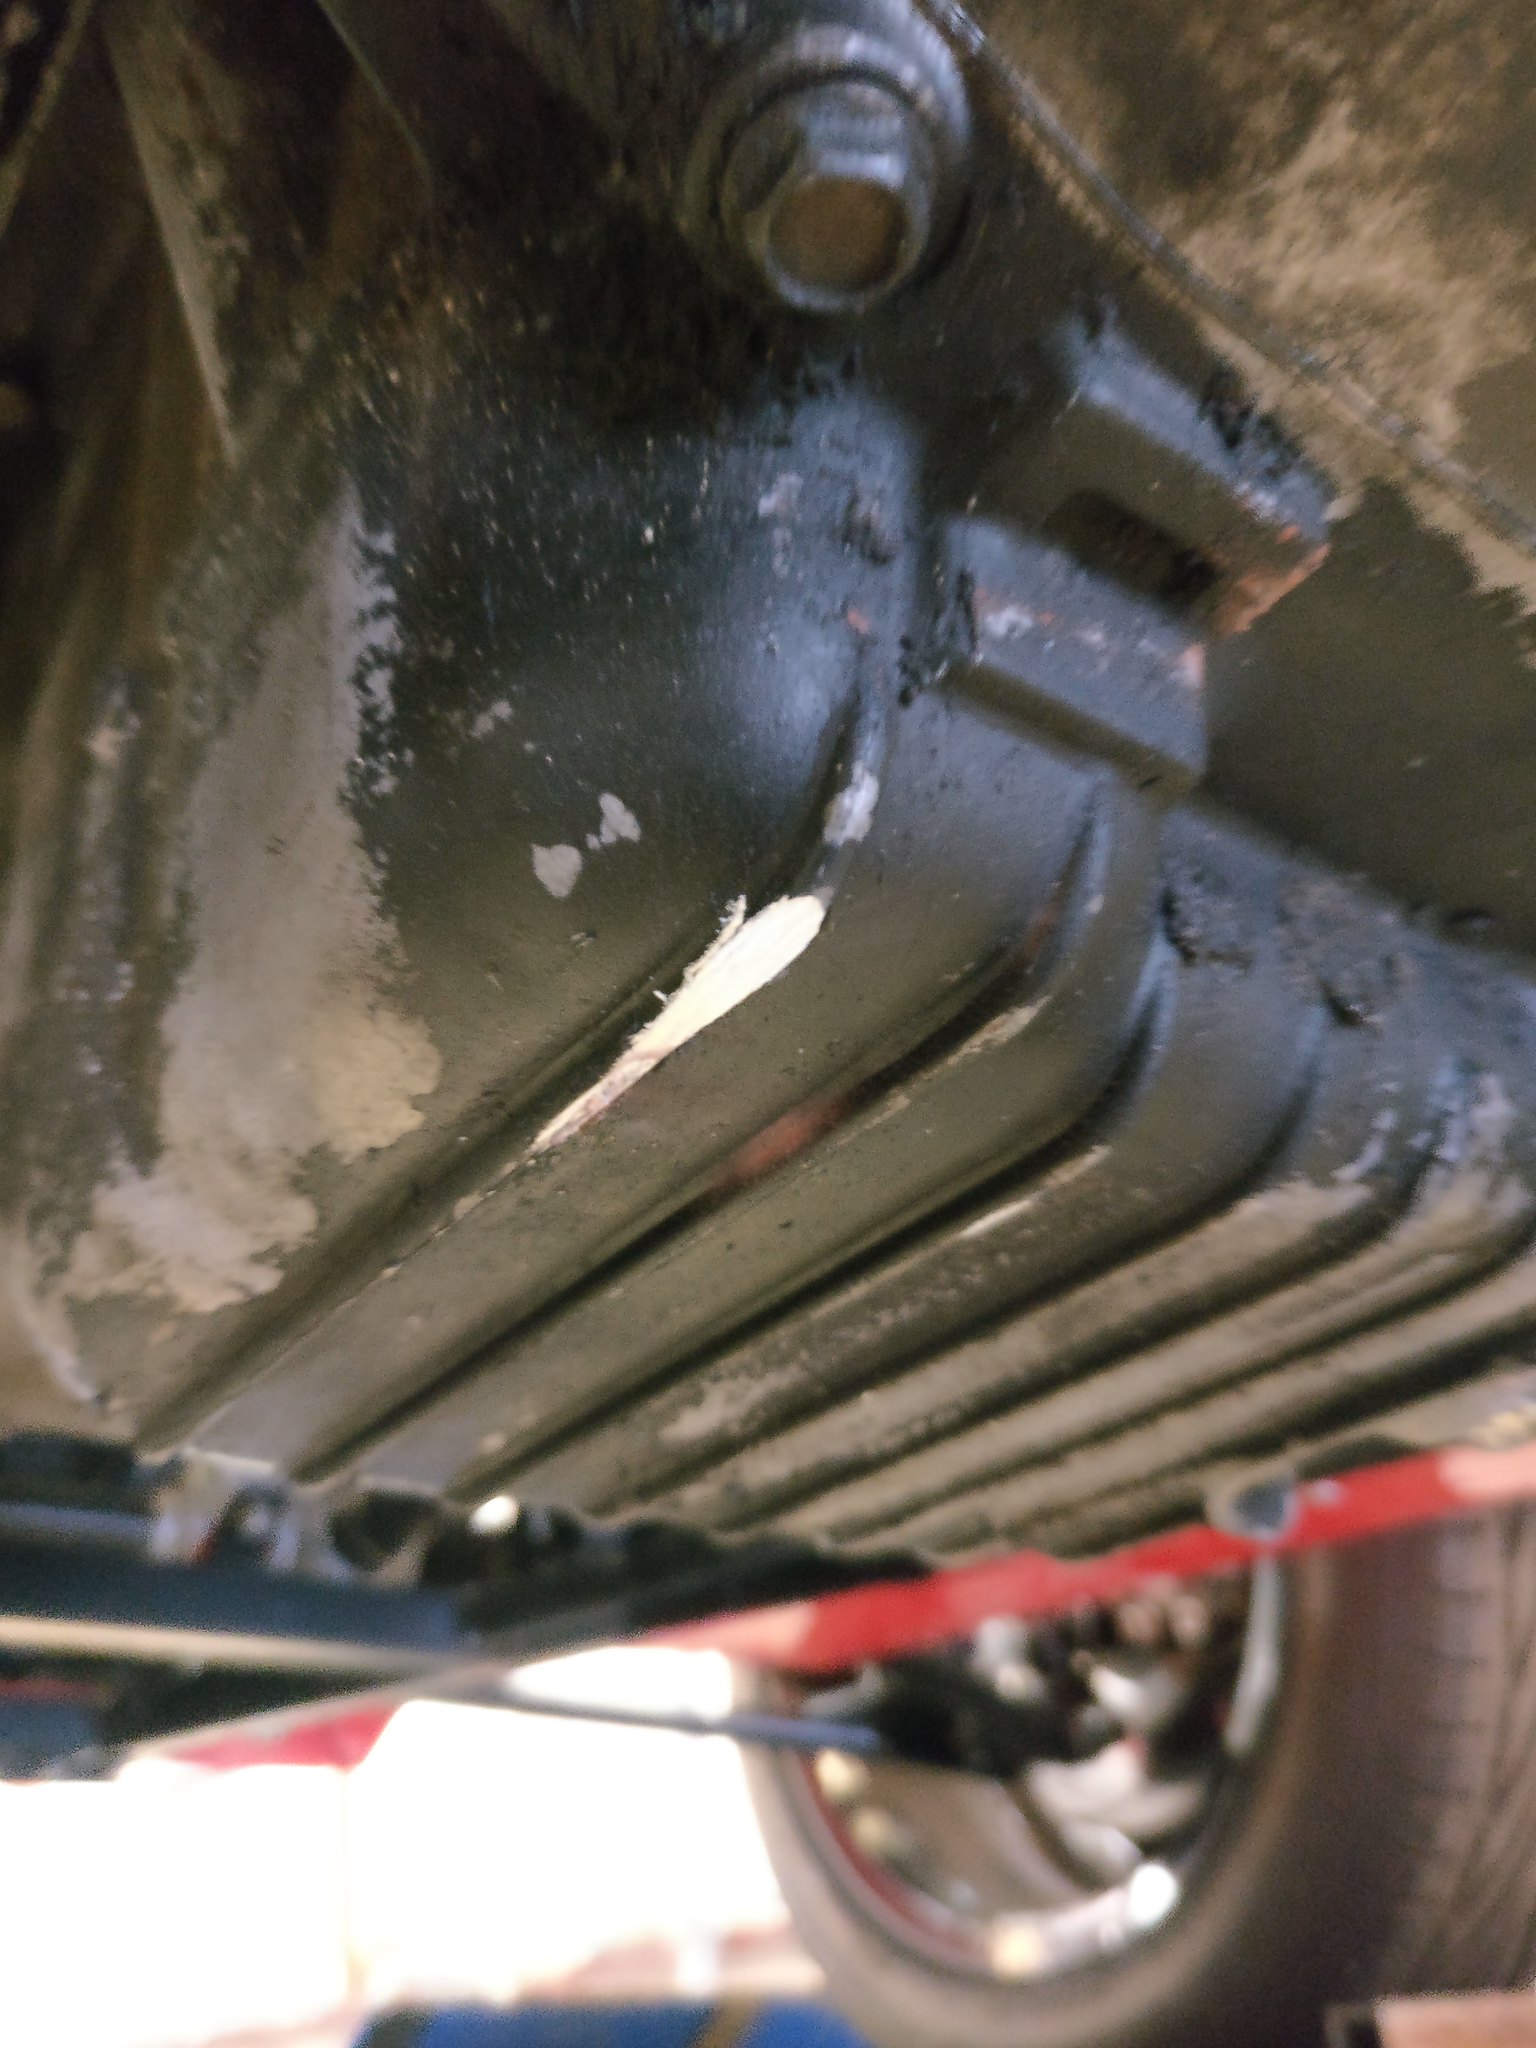 I'm working with someone to machine a new one after welding one has failed several times as the casting seems very porous. |
|
|
|
Post by superdan on Mar 9, 2019 18:41:19 GMT
Many congratulations, I would dread an IVA, fortunaly my 15 year old Indy had its SVA a long time ago.
|
|
|
|
Post by FFS Corders on Mar 9, 2019 22:37:20 GMT
Awesome effort, well done Sam!
|
|
|
|
Post by dadbif on Mar 10, 2019 7:53:11 GMT
Thankfully it wasn’t necessary when I built mine, just an MOT.
|
|




 le sigh