|
|
Post by teamawesome on Sept 4, 2018 10:01:34 GMT
Been a while since the last update. A mix of working away and moving house haven't helped with getting time to work on the car. I do have decent updates now though. The car is very nearly completed. Over the last few weeks we've fitted the seats fully and got the carpet in the car. The carpet needs to be trimmed slightly but nothing major.  We've done the majority of the carbon fibre boot cover. I know you can't see it on this pic properly but you can see the work thats gone into getting it the right shape. It started off as just a rectangular piece. 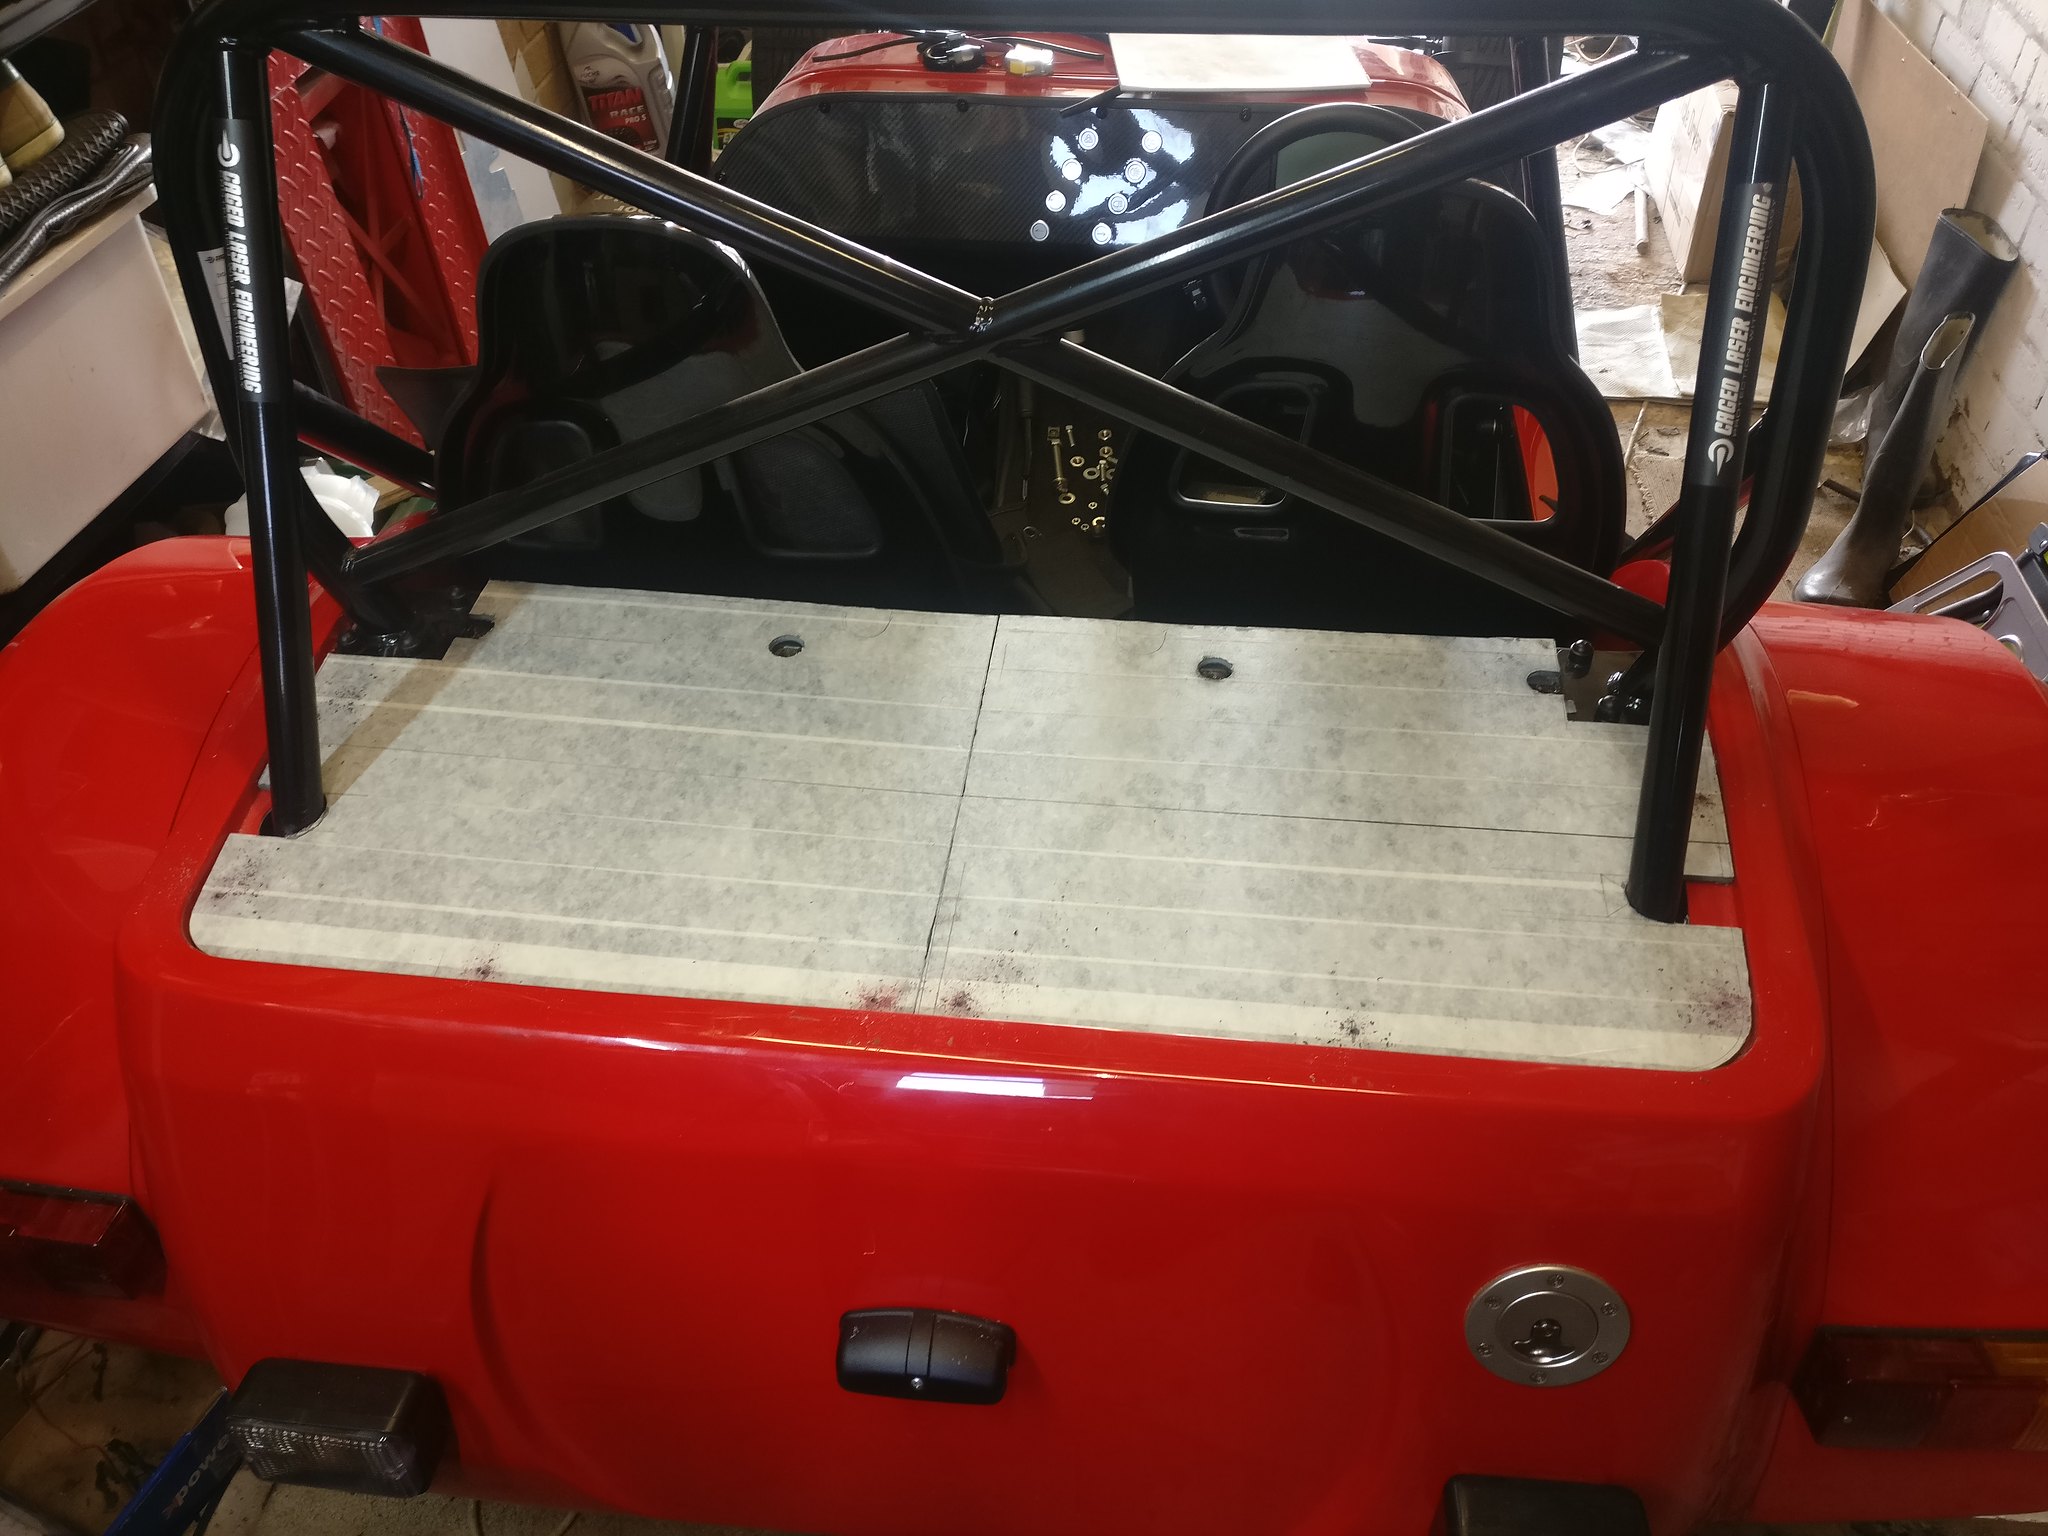 The wiring is complete and the engine has a sump full of oil at last. I tried to crank it over to get oil rpessuep and it only went and started first time! All that effort on the wiring must have paid off. It's not the cleanest bay but it works! 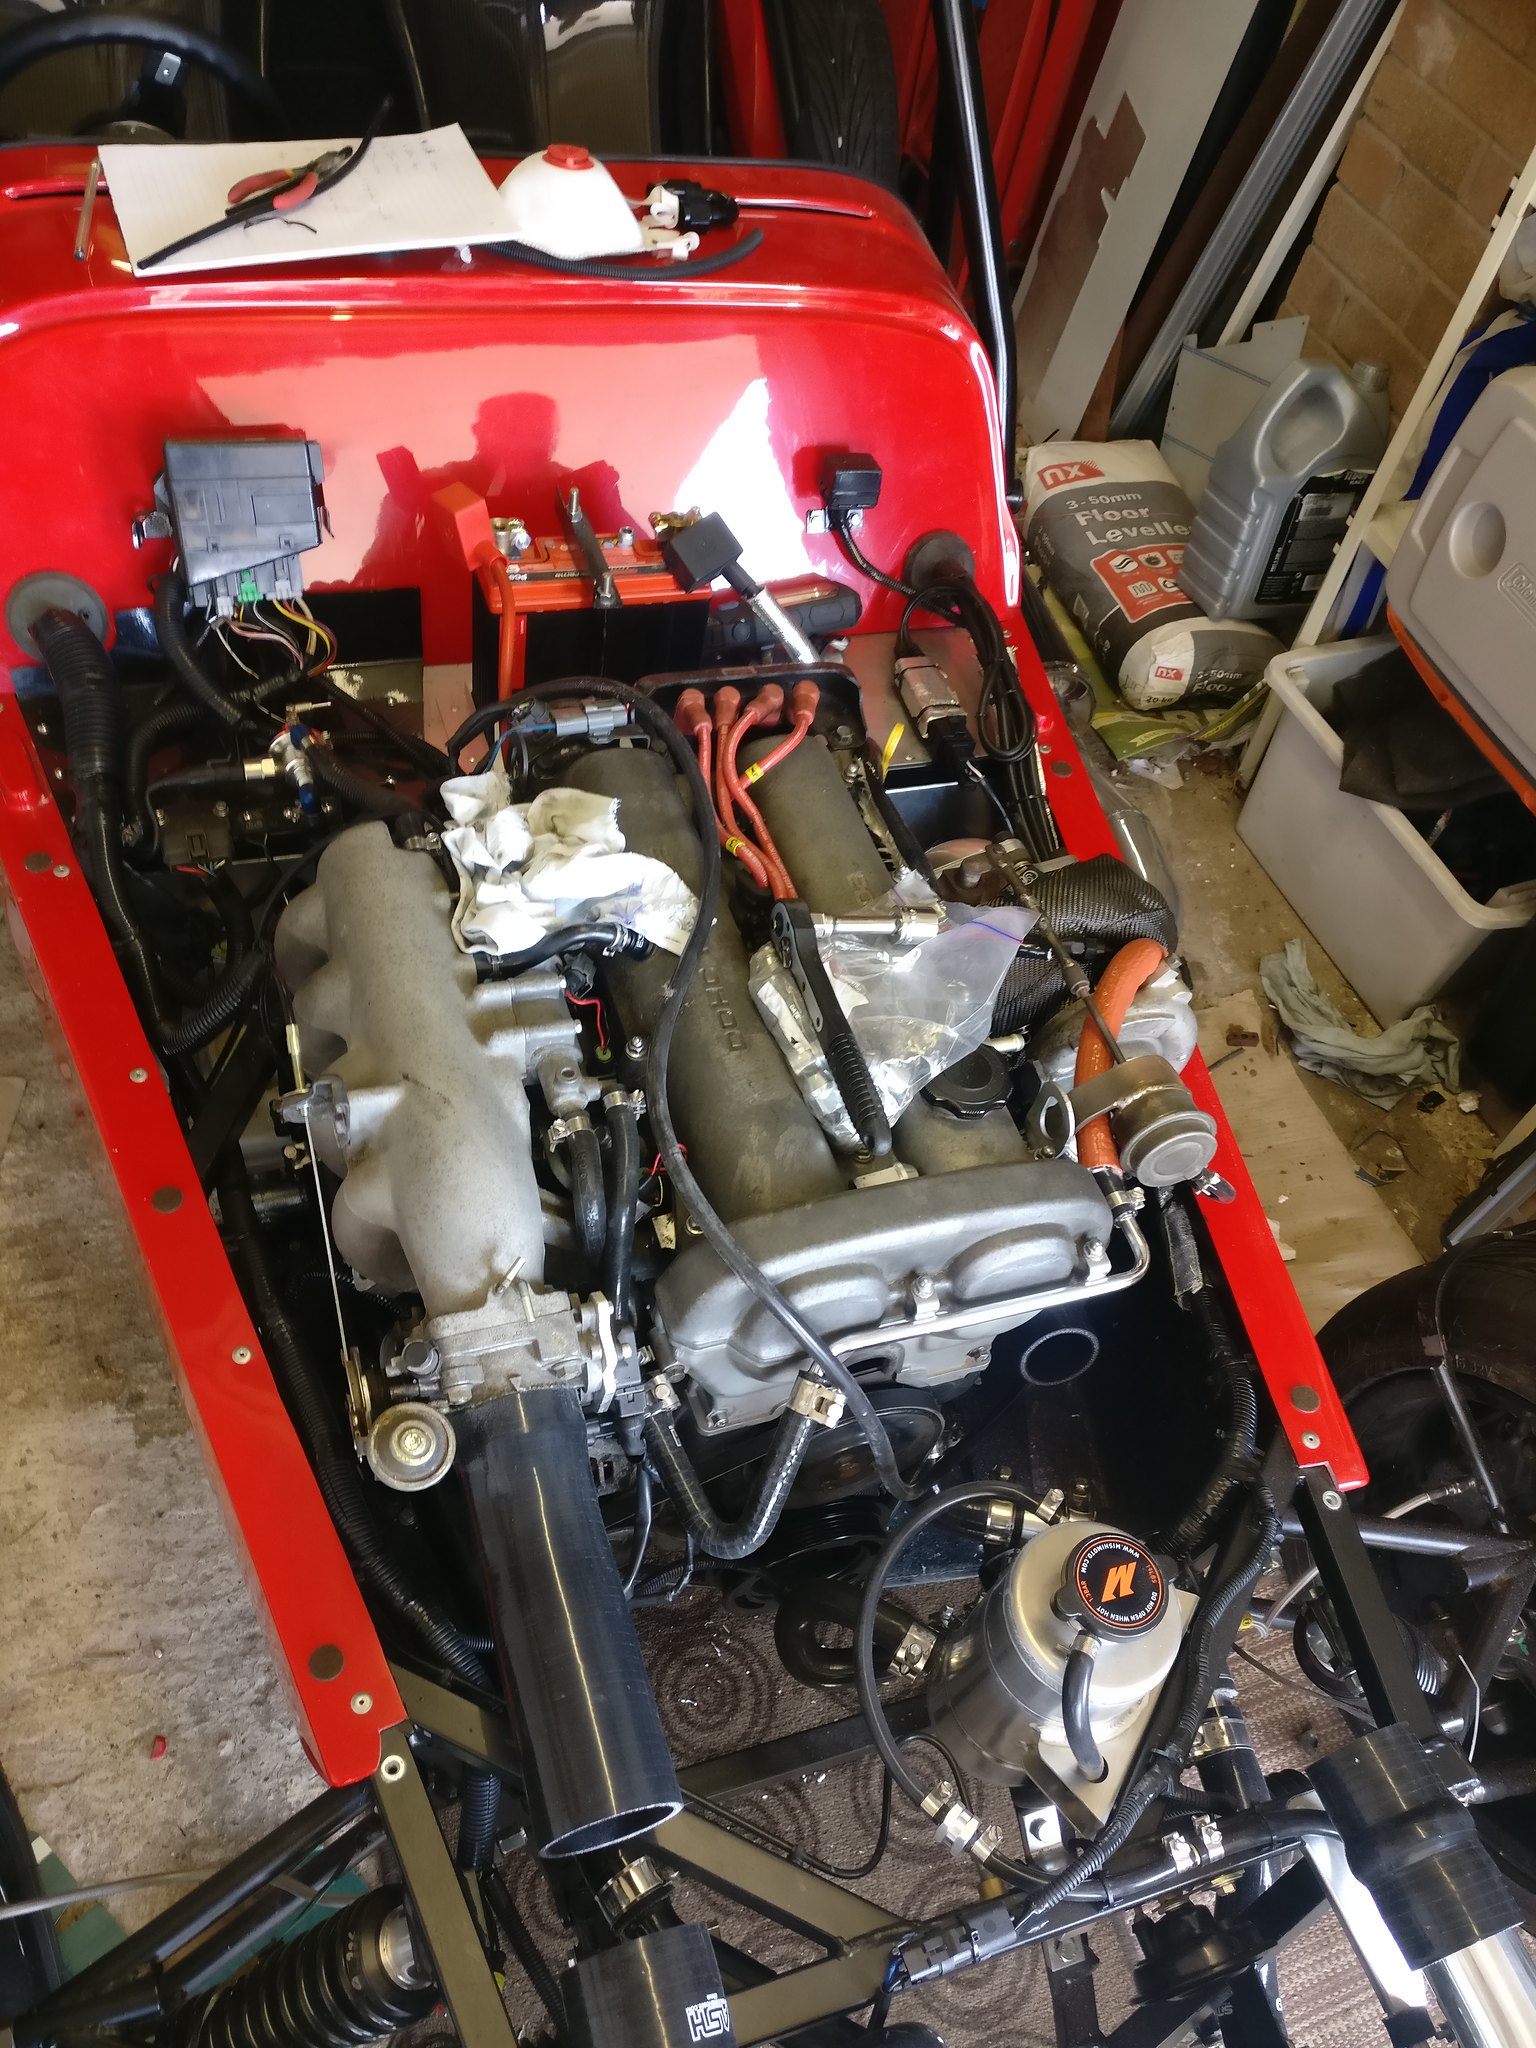 The car is also now on its own wheels and can be moved about. We made a custom exhaust for it and then had it ceramic coated. I think it's turned out very well (for a home made, first go at an exhaust)! 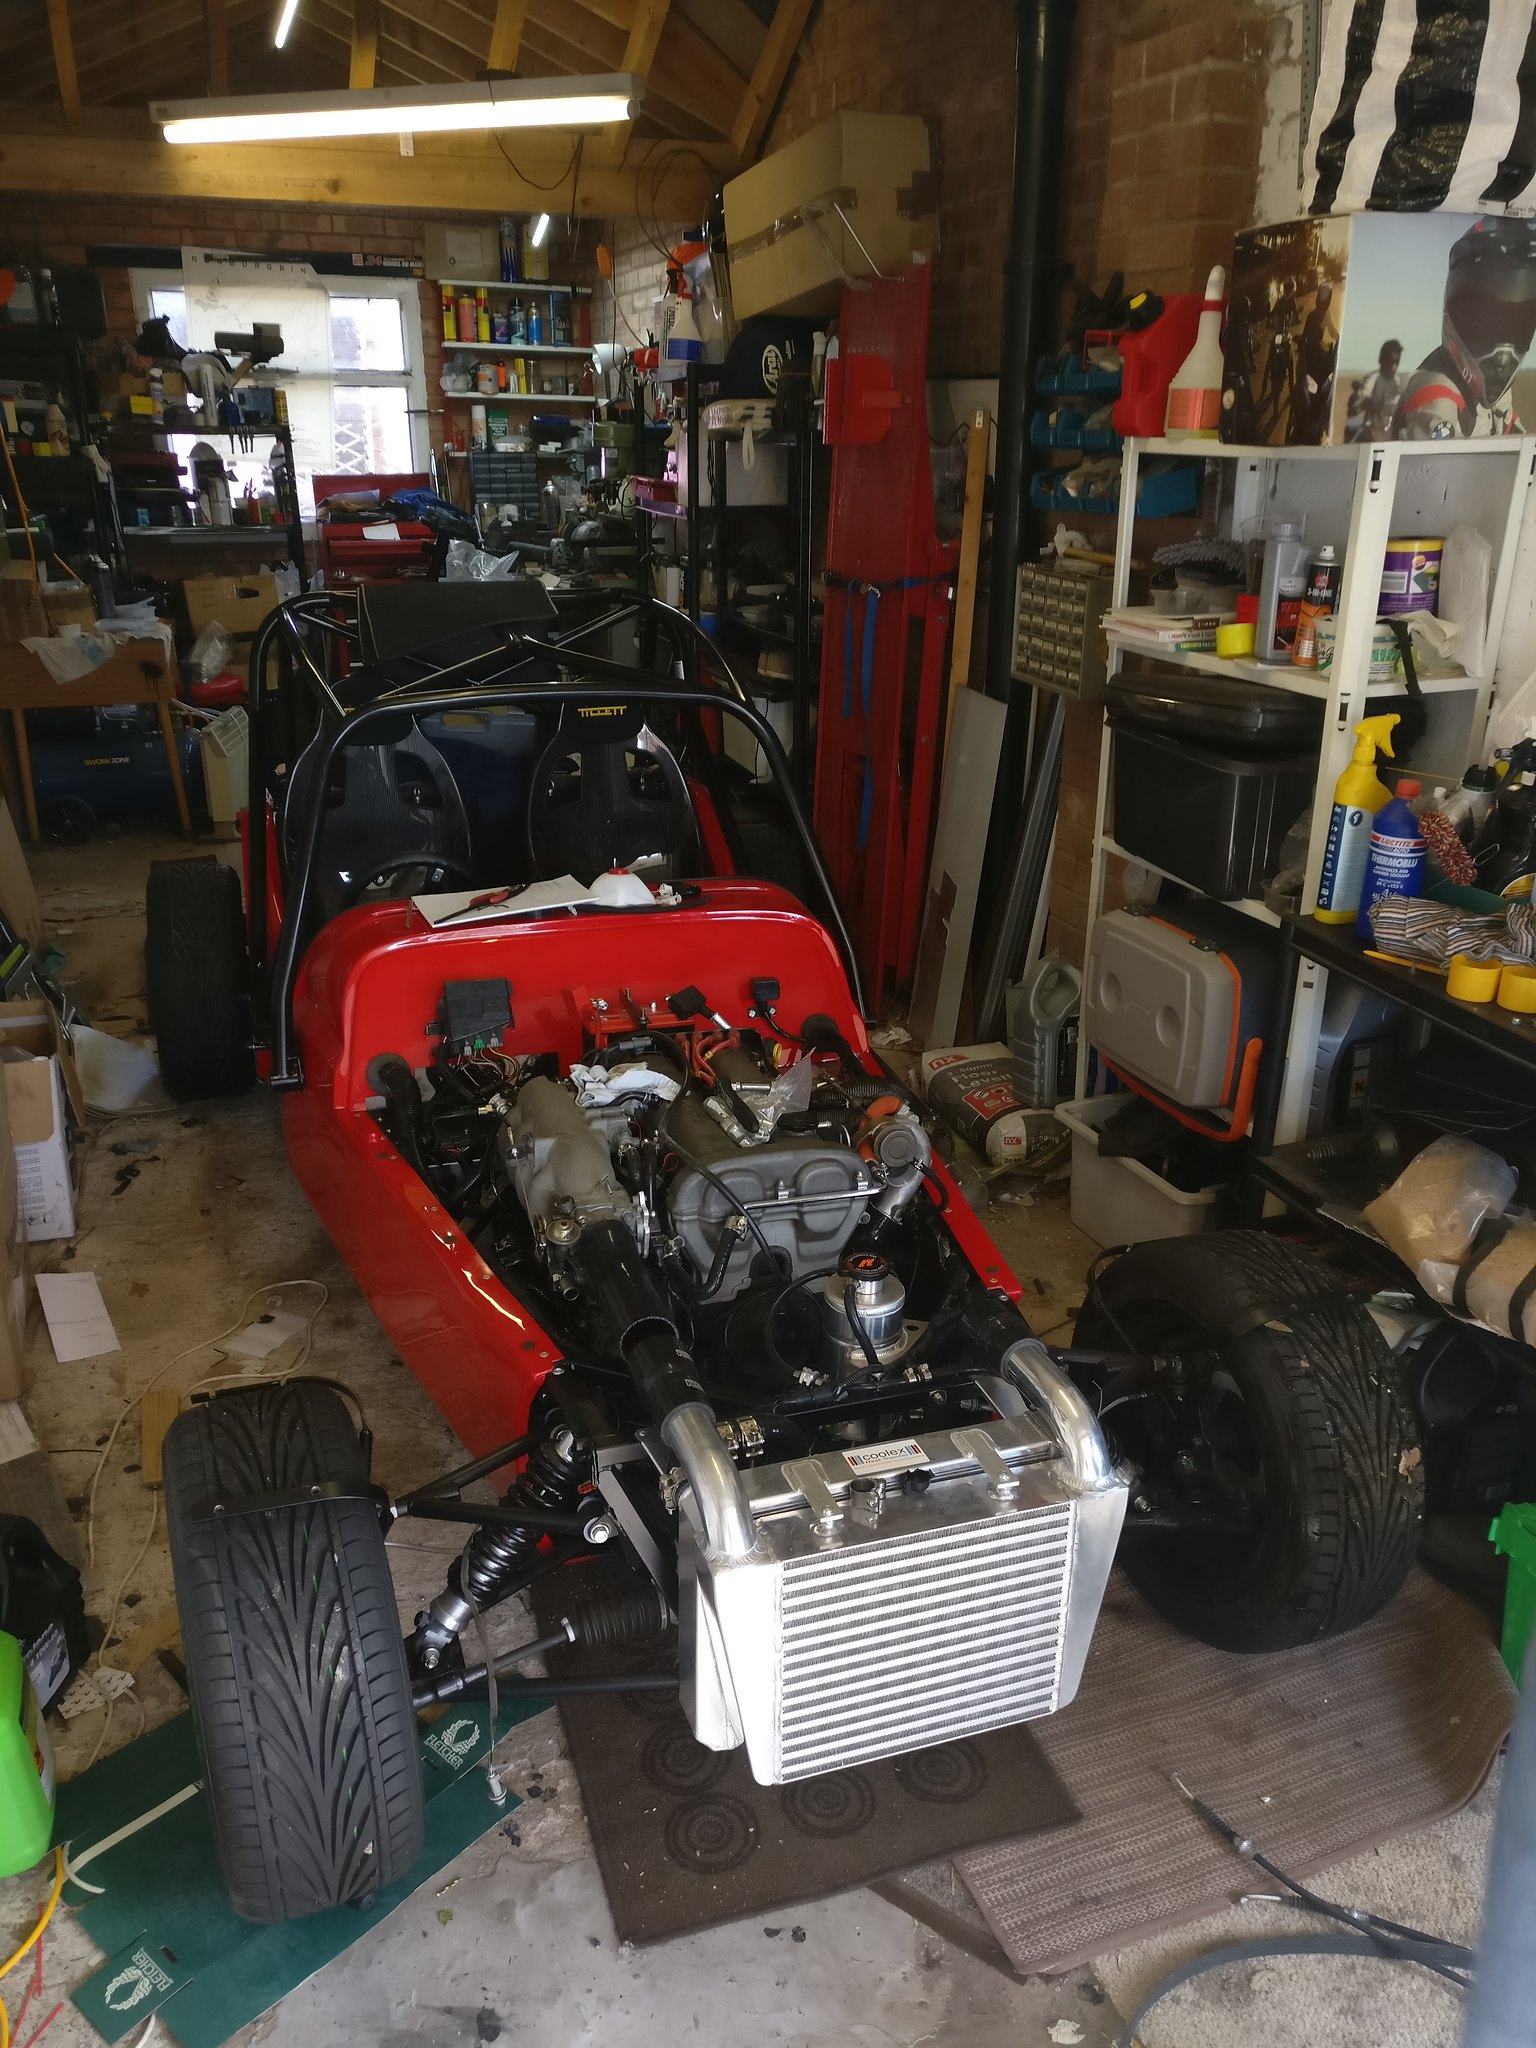 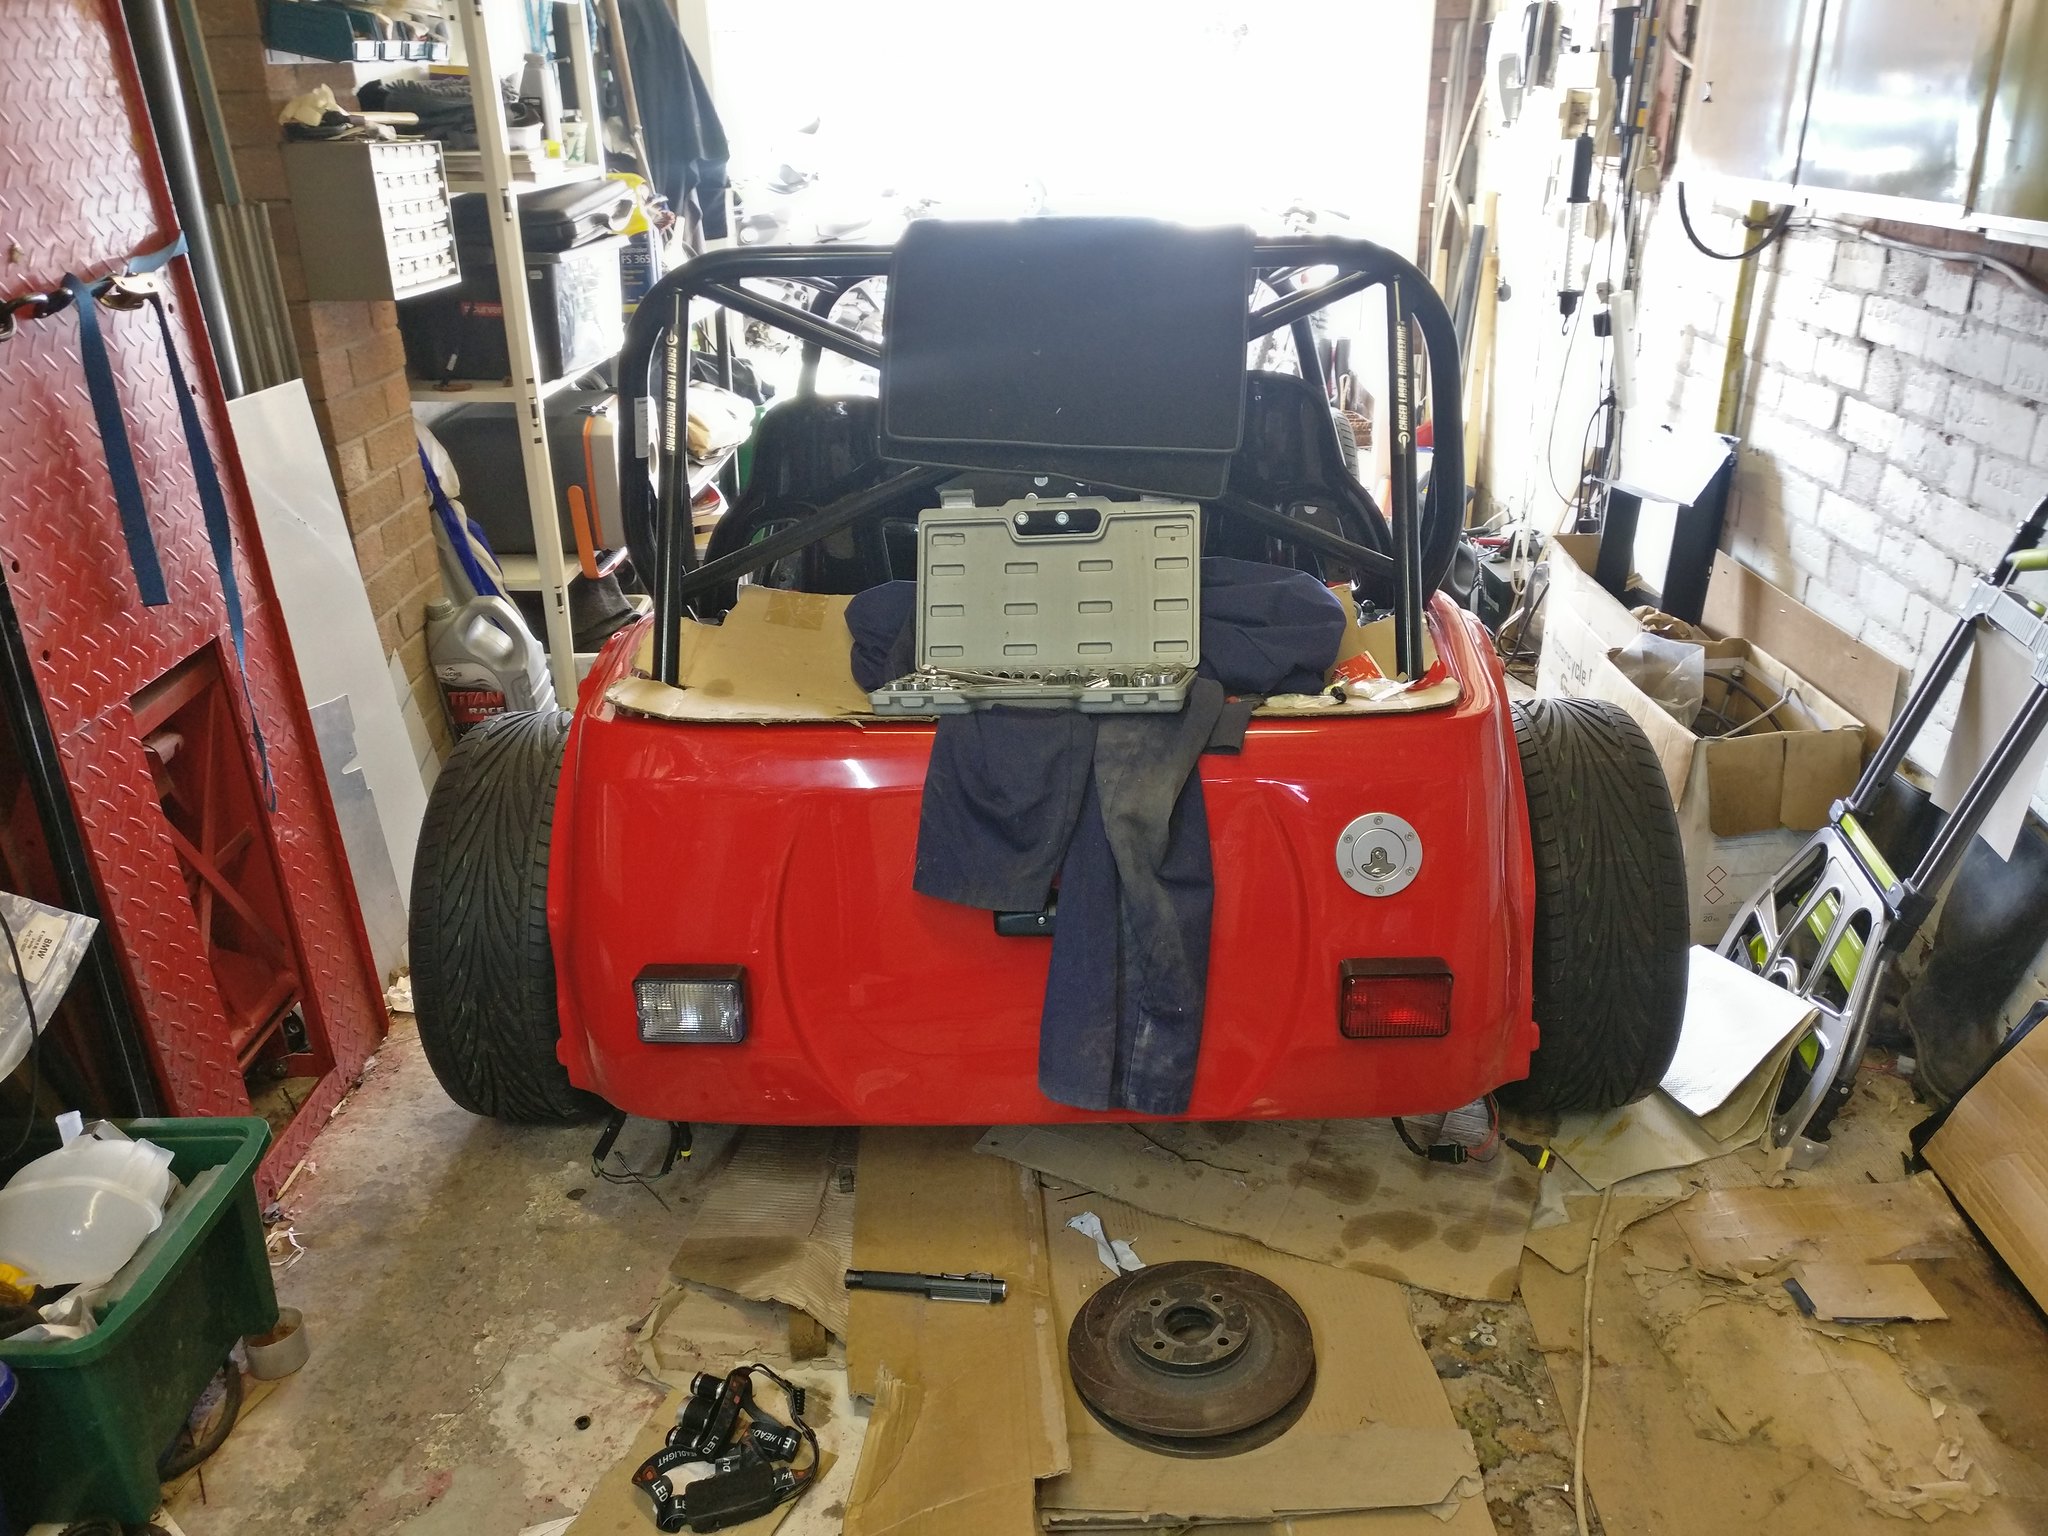 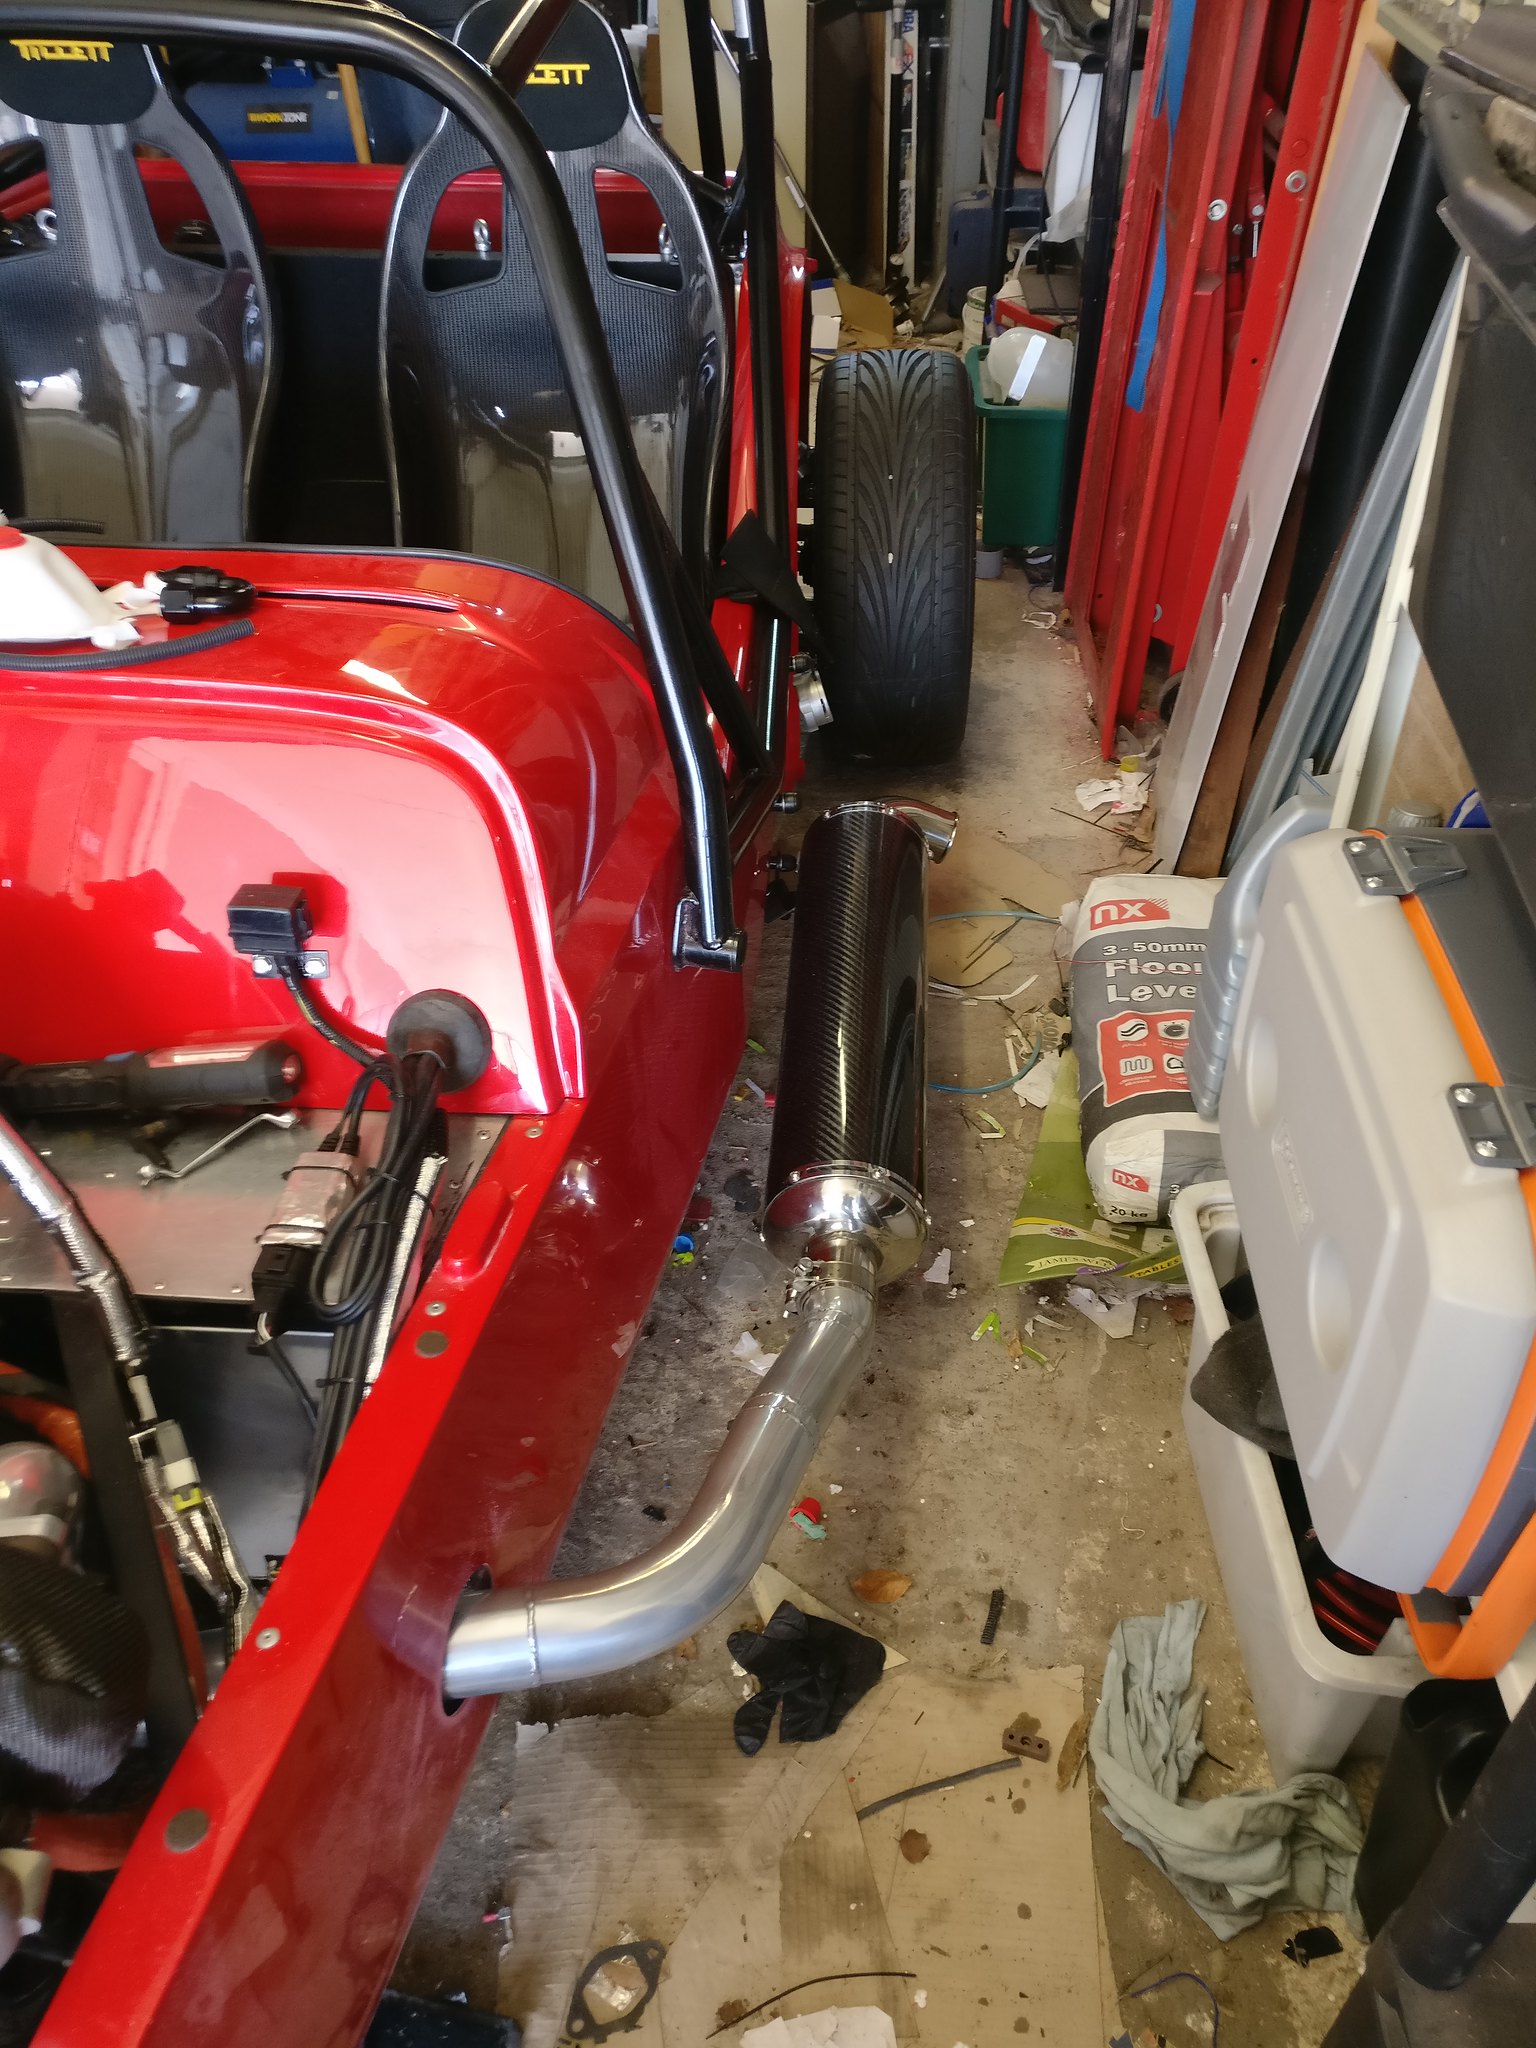 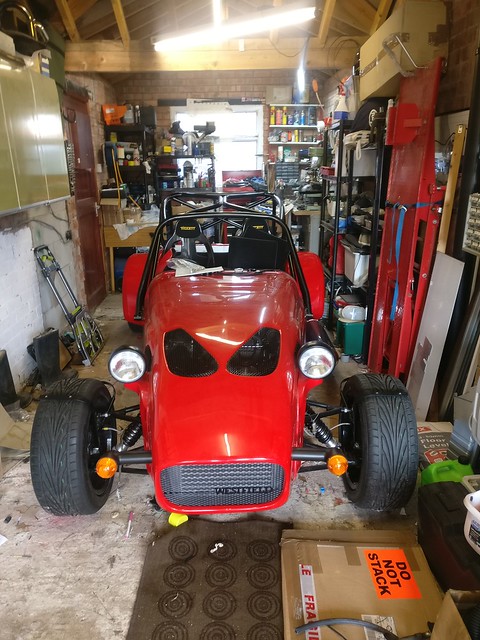 |
|
|
|
Post by teamawesome on Sept 18, 2018 8:52:37 GMT
It's all change with this project! Now that it's on its wheels and I have a decent garage of my own I made the decision to take it from my parents house and have it my own place. That way I don't have to drive 150 miles to work on it and it may be completed a little quicker. I rented a car transporter and was greeted on Saturday by this pile of prarrie canoe 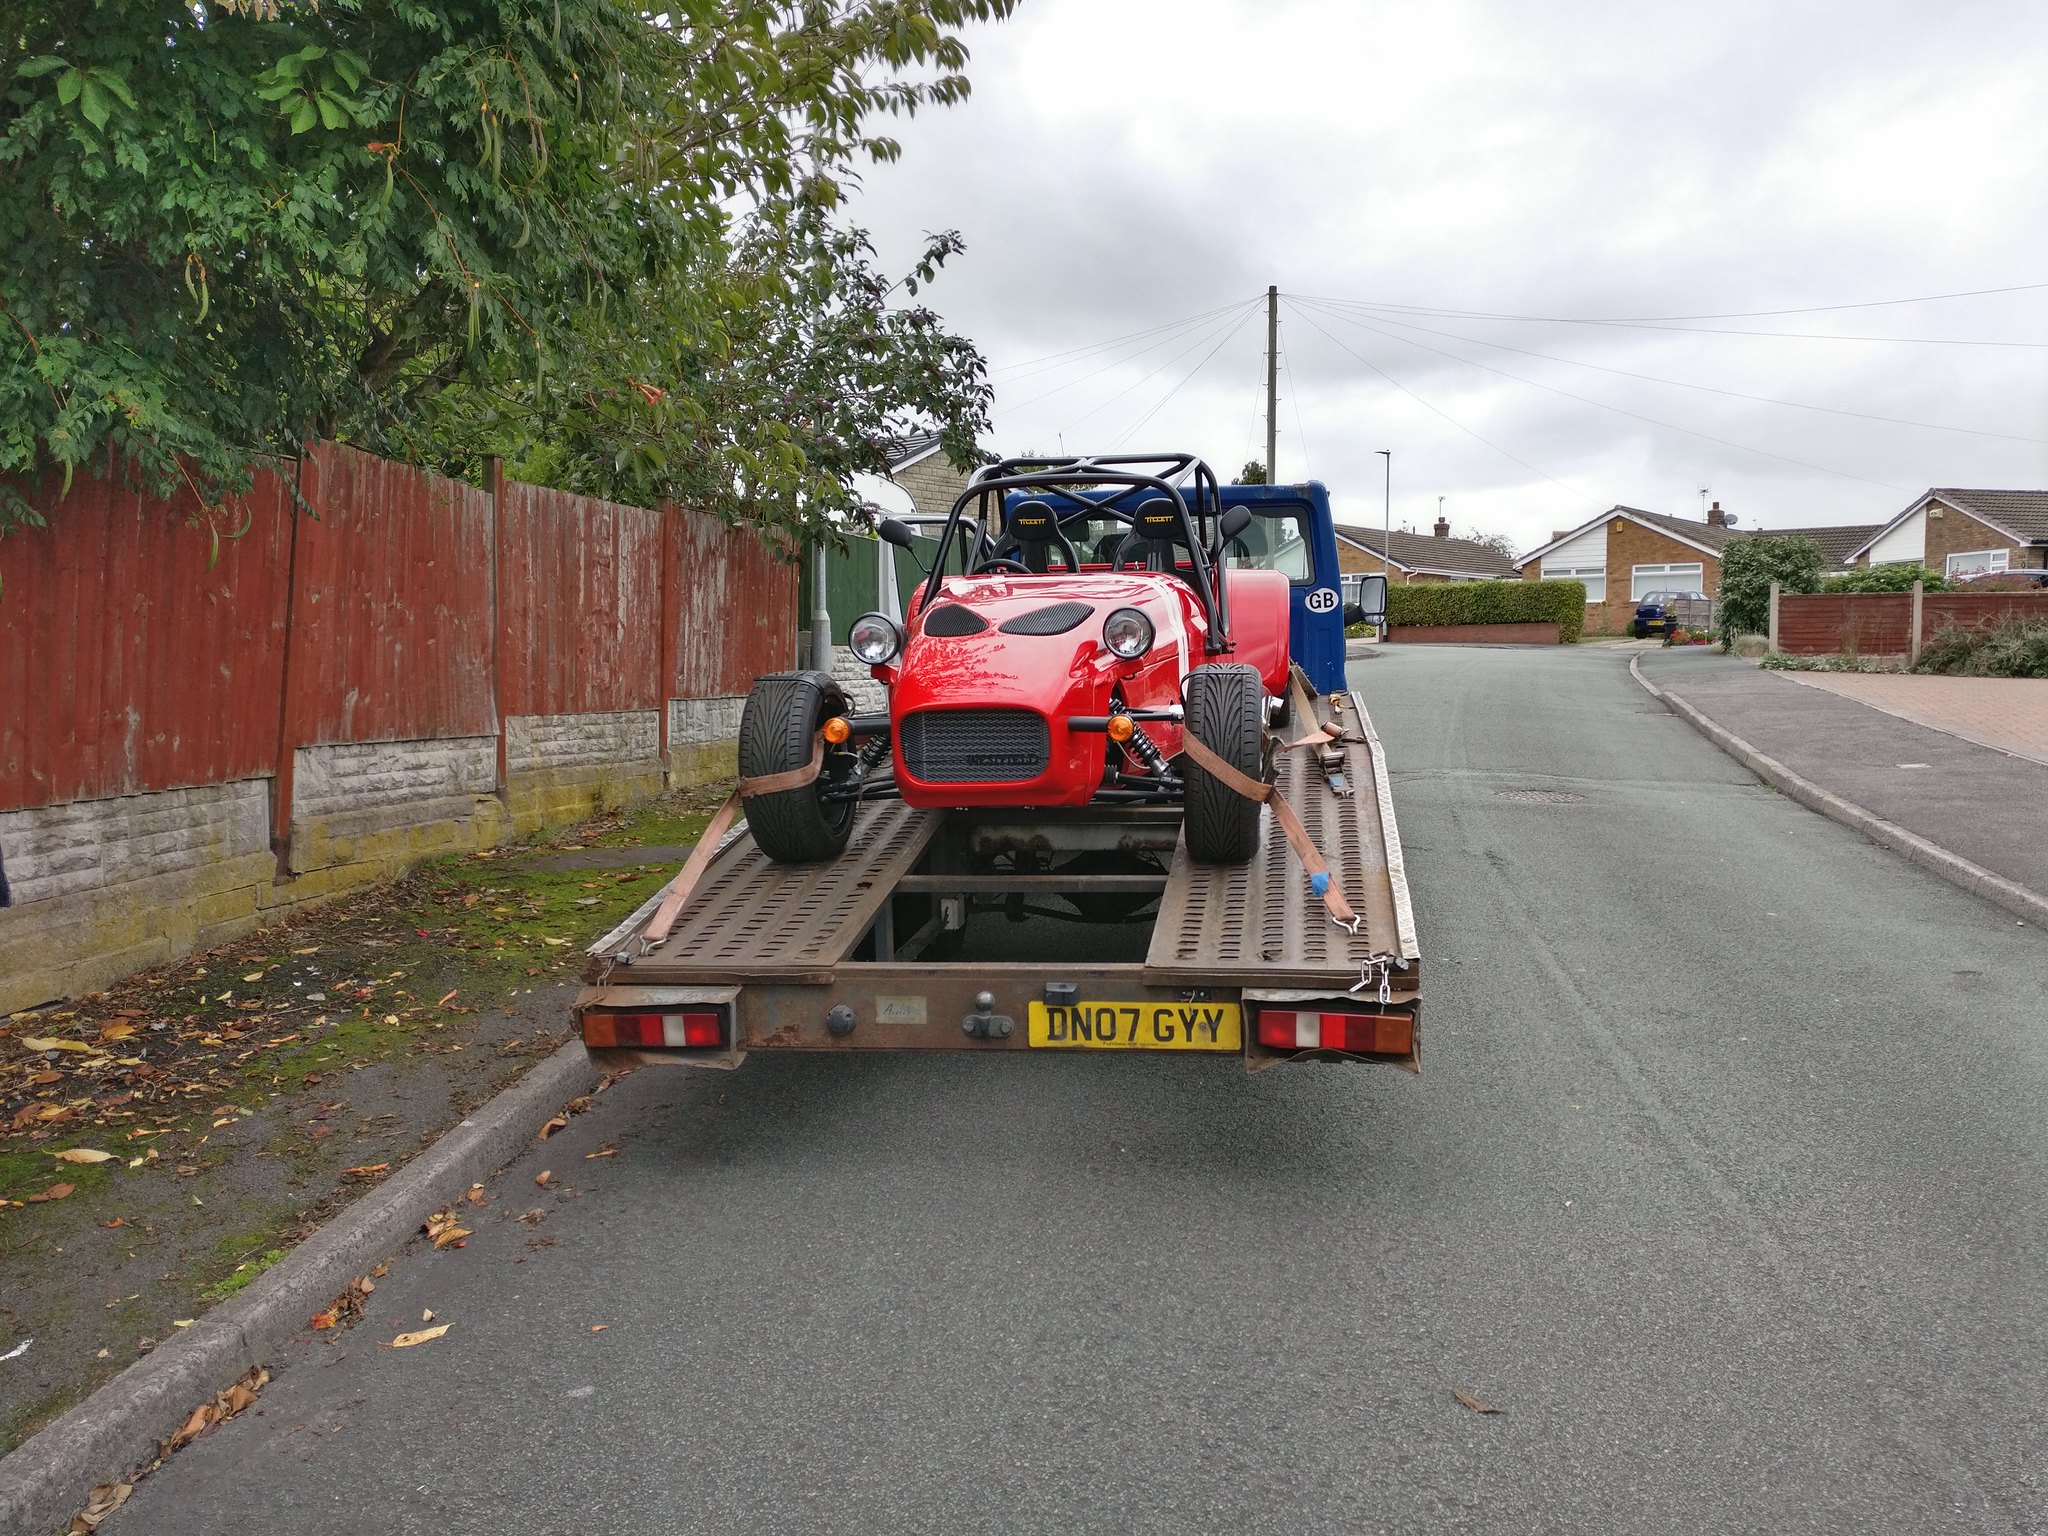 It got my car home late on Saturday evening before failing to start again. It had a hot start issue that saw me stranded in a petrol station 200m from the drop off point until it could cool down. I would recommend people rent a transporter from Transporter Hire in Farnham..... Here it is in its new home 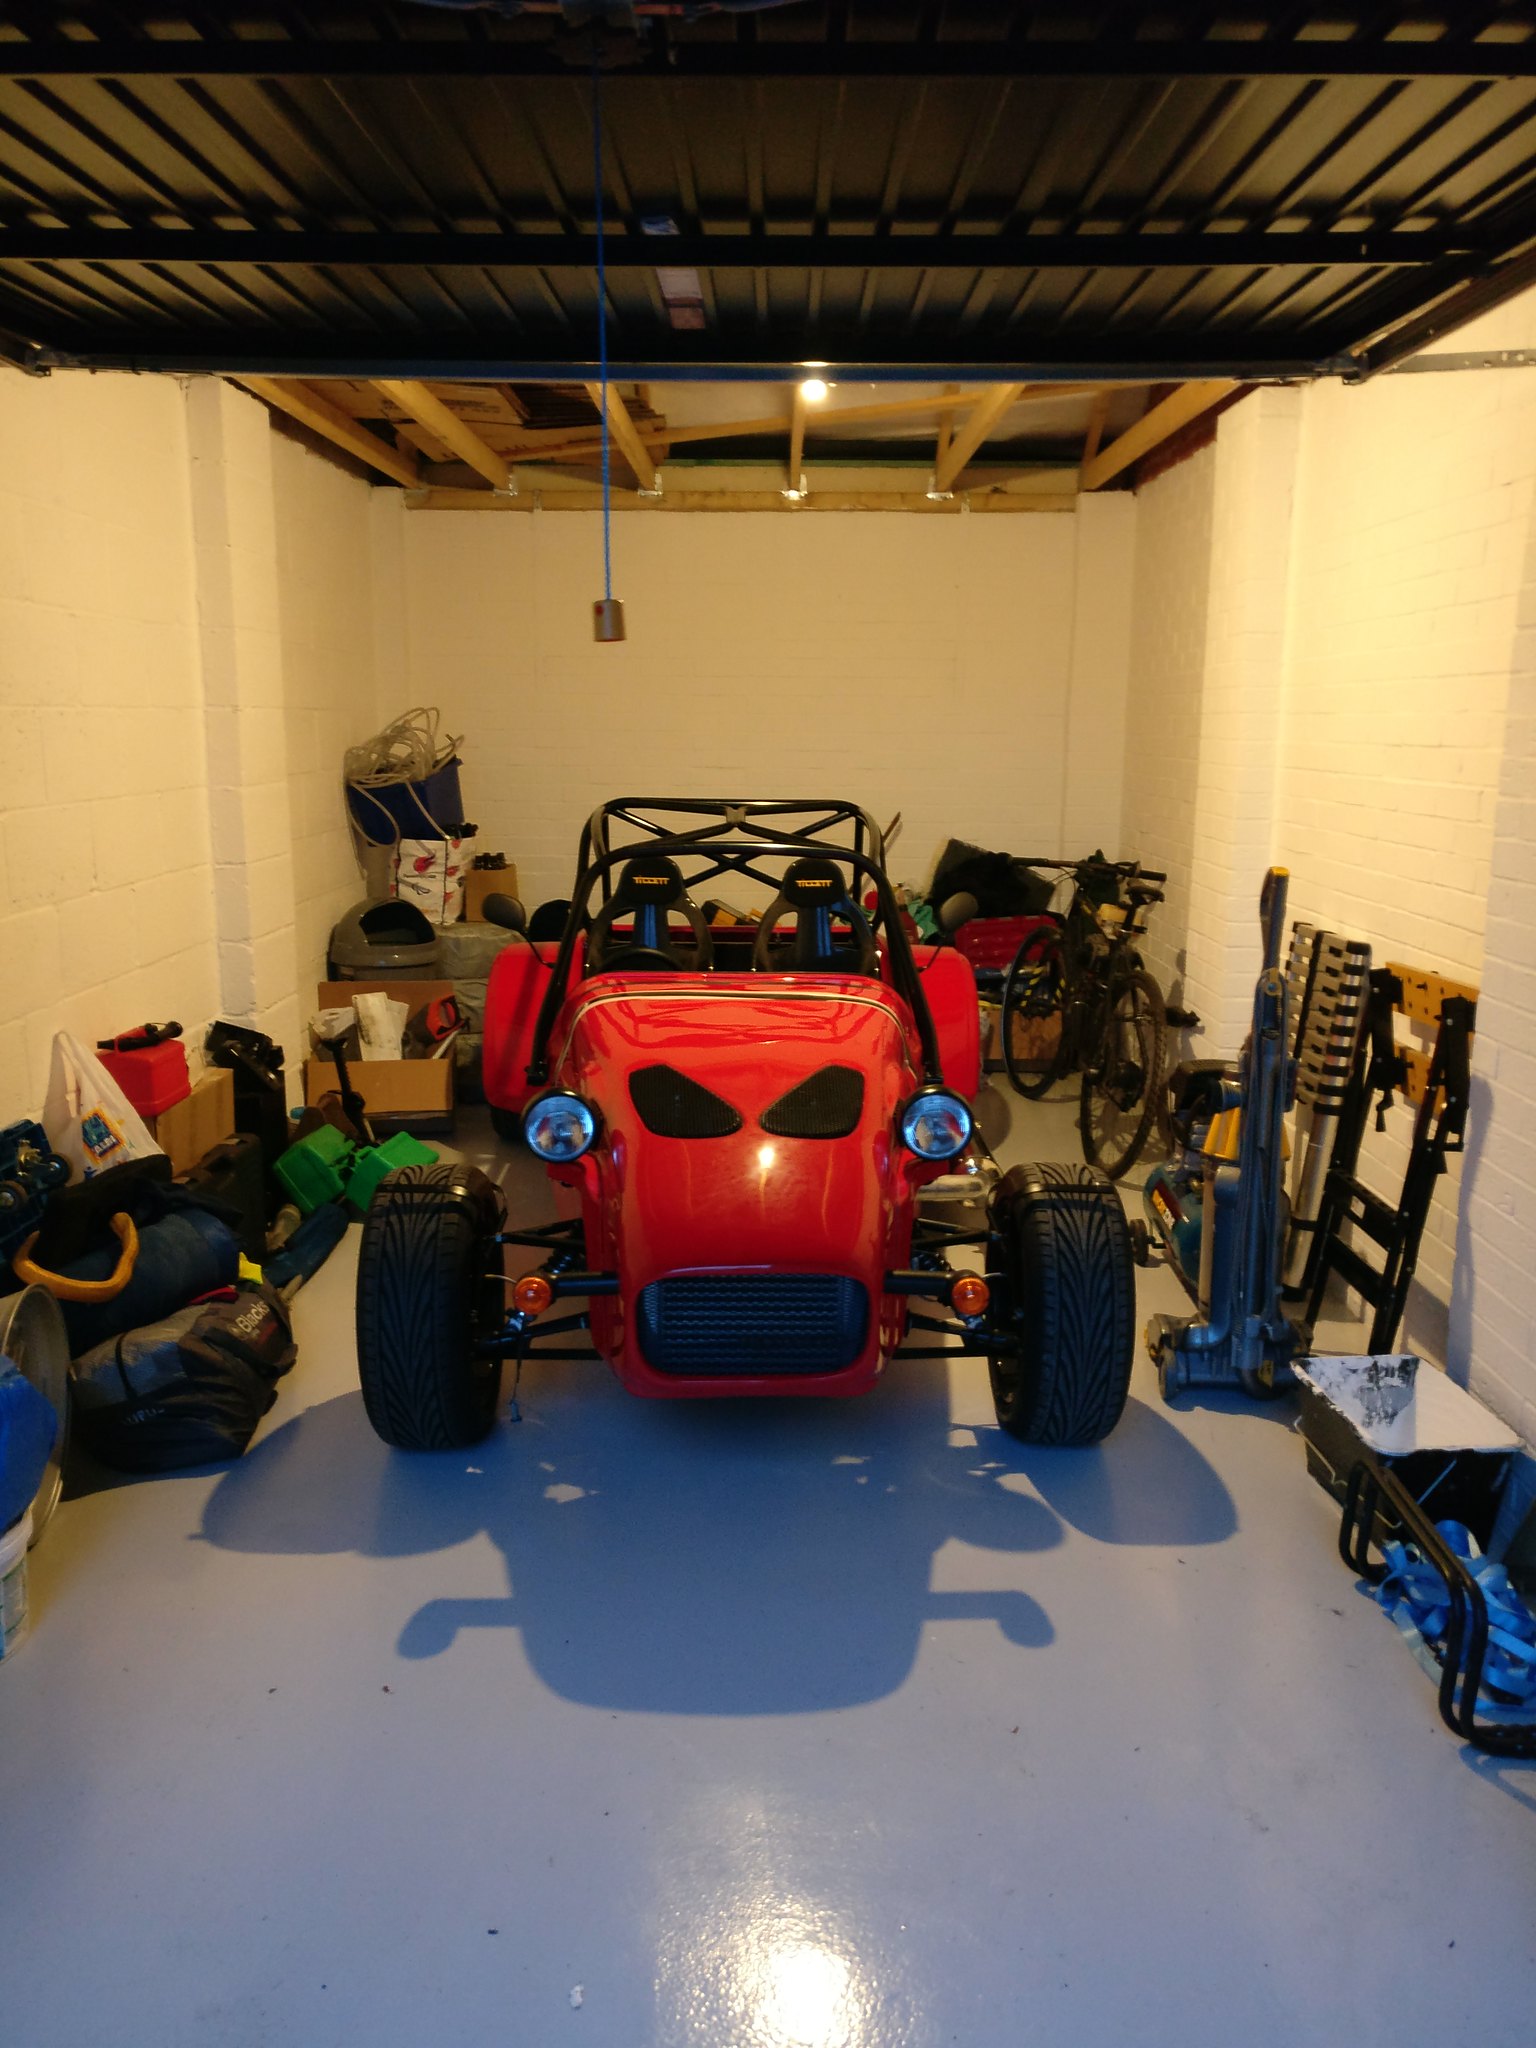 Apart from doing this I've been starting work on the intake pipes. The turbo to intercooler pipe is complete and the cold side is almost done too, I just need a t piece and dump valve to complete it. I ended up using some self sealing take offs for the idle control valve and IAT sensor, they seem to have worked well. 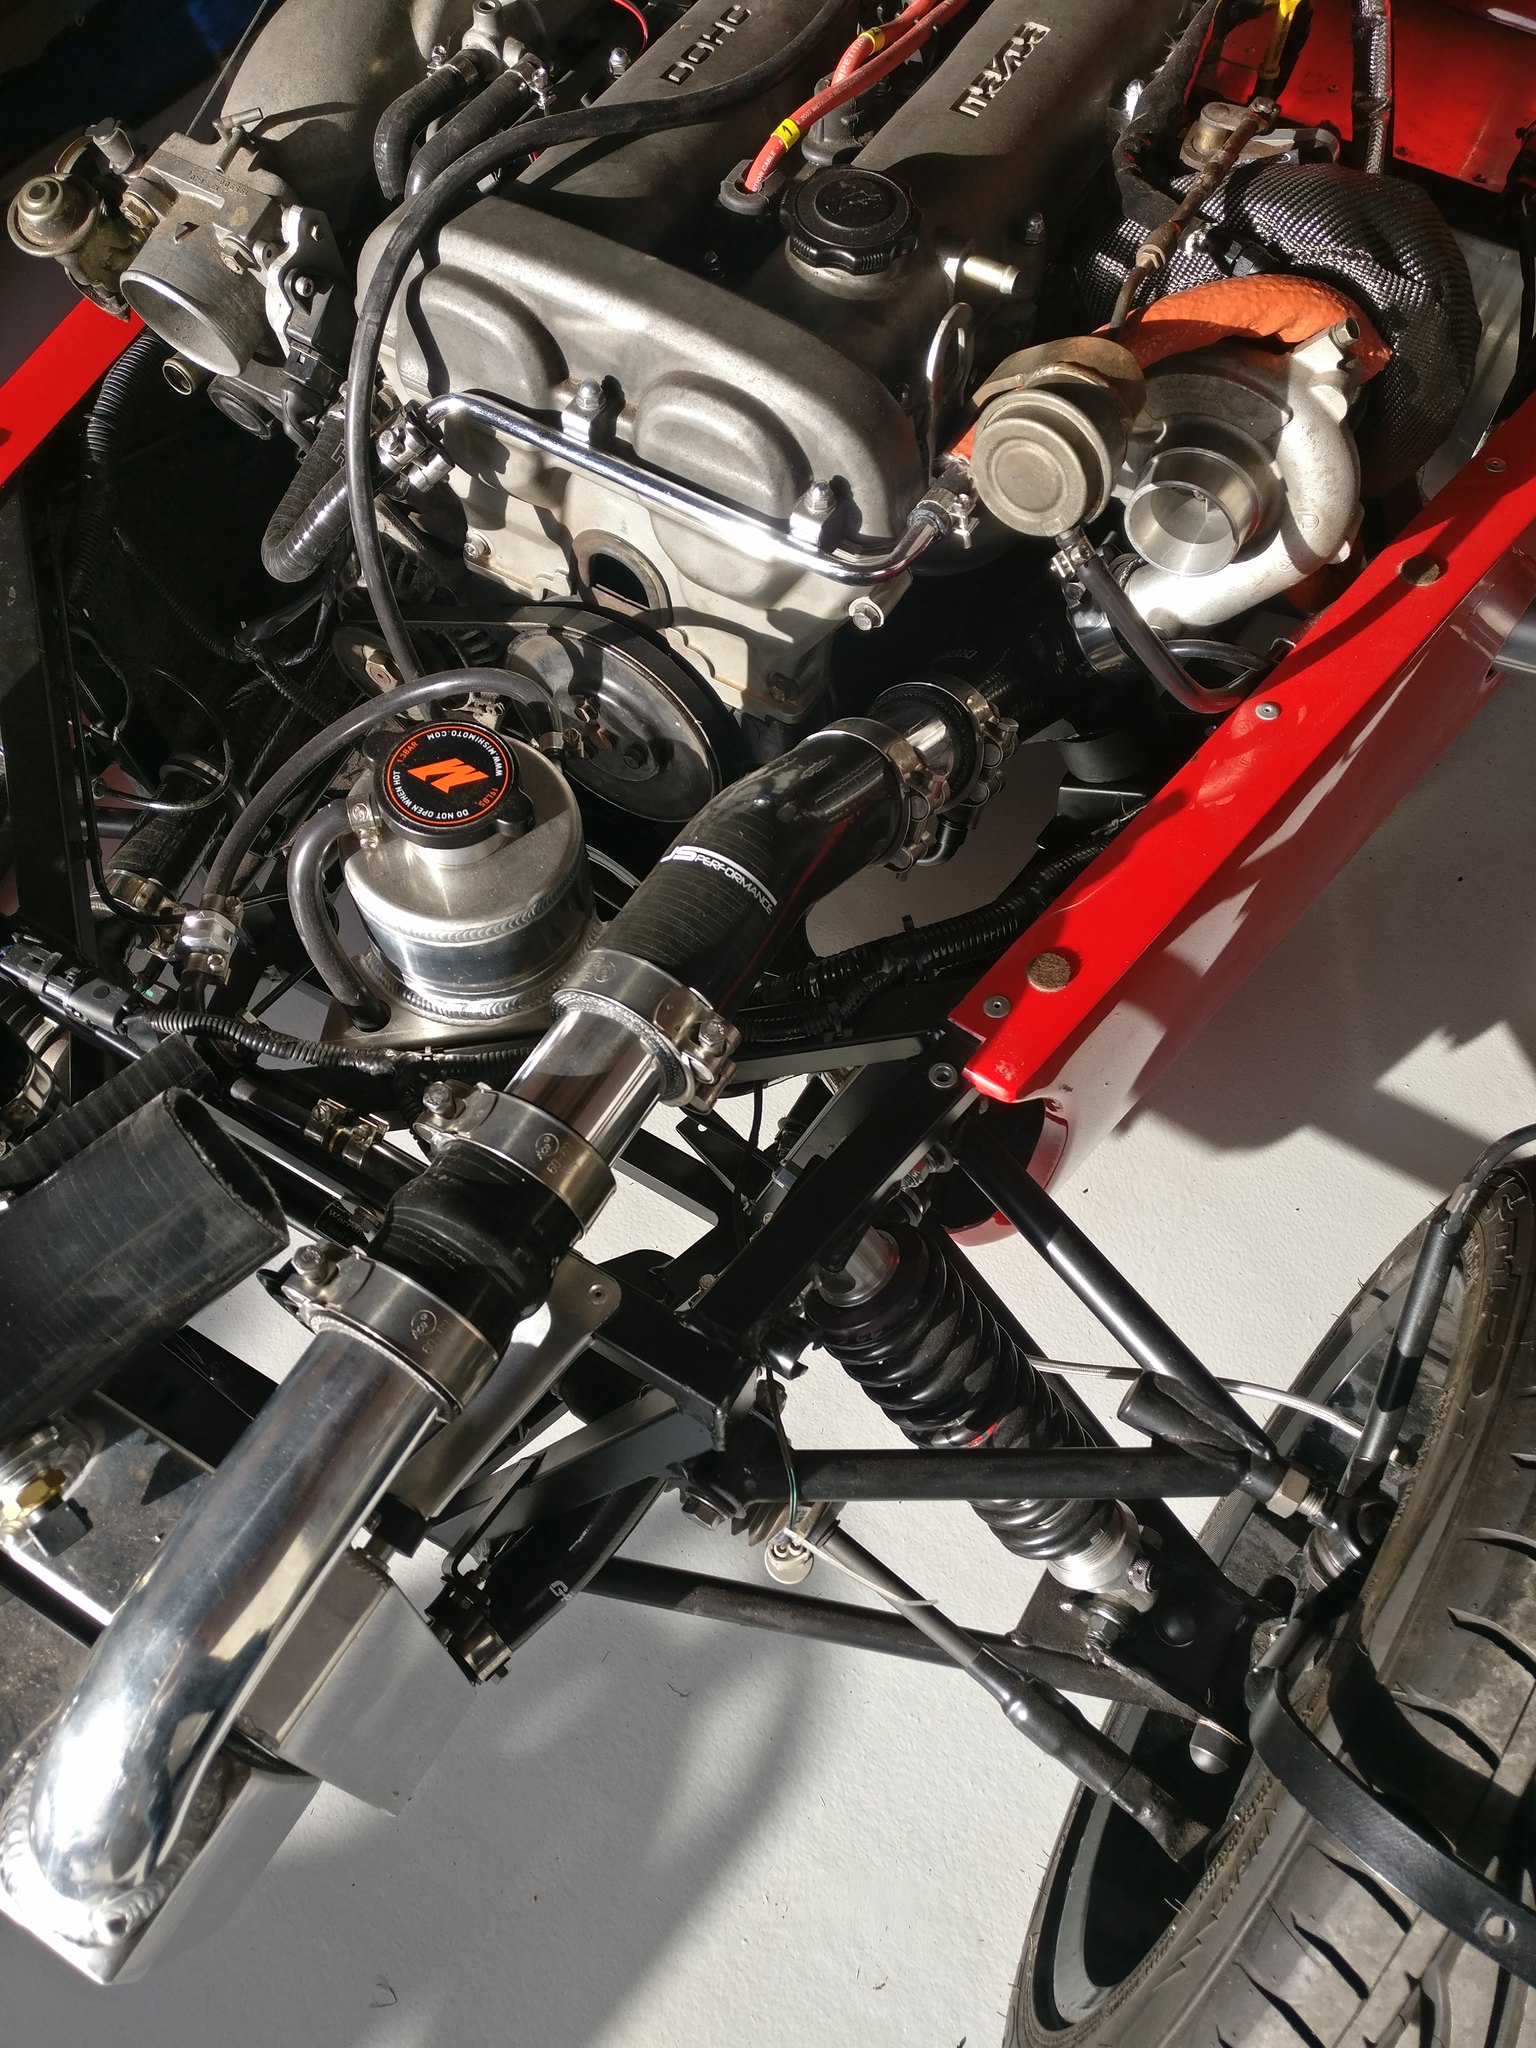 Next on the list is to fit the cycle wings. Just waiting on some connectors for the indicators. I also need to file parts of my carbon seats down to not clash with the chassis. They need 1mm or so taking off in places. £1500 worth of seats, that won't be scary at all! |
|
|
|
Post by teamawesome on Oct 14, 2018 20:04:49 GMT
Lots of work done, but I now realise I've taken almost no photos! Last week wanted to get the rear end done so I pushed it out of the garage for a bit of room and got going. The passenger side rear arch was fitted with relative ease and then I just needed to clean up the wiring. I had to take a lot of care to make sure nothing can touch the wheels or driveshafts etc for the IVA inspection. Yeah, I should take this amount of care anyway, but I don't think I ever did when I was an MX5 still, but then I didn't do as much extensive work. Rear end is all done apart from the boot lid, and that just needs 30 mins or so. 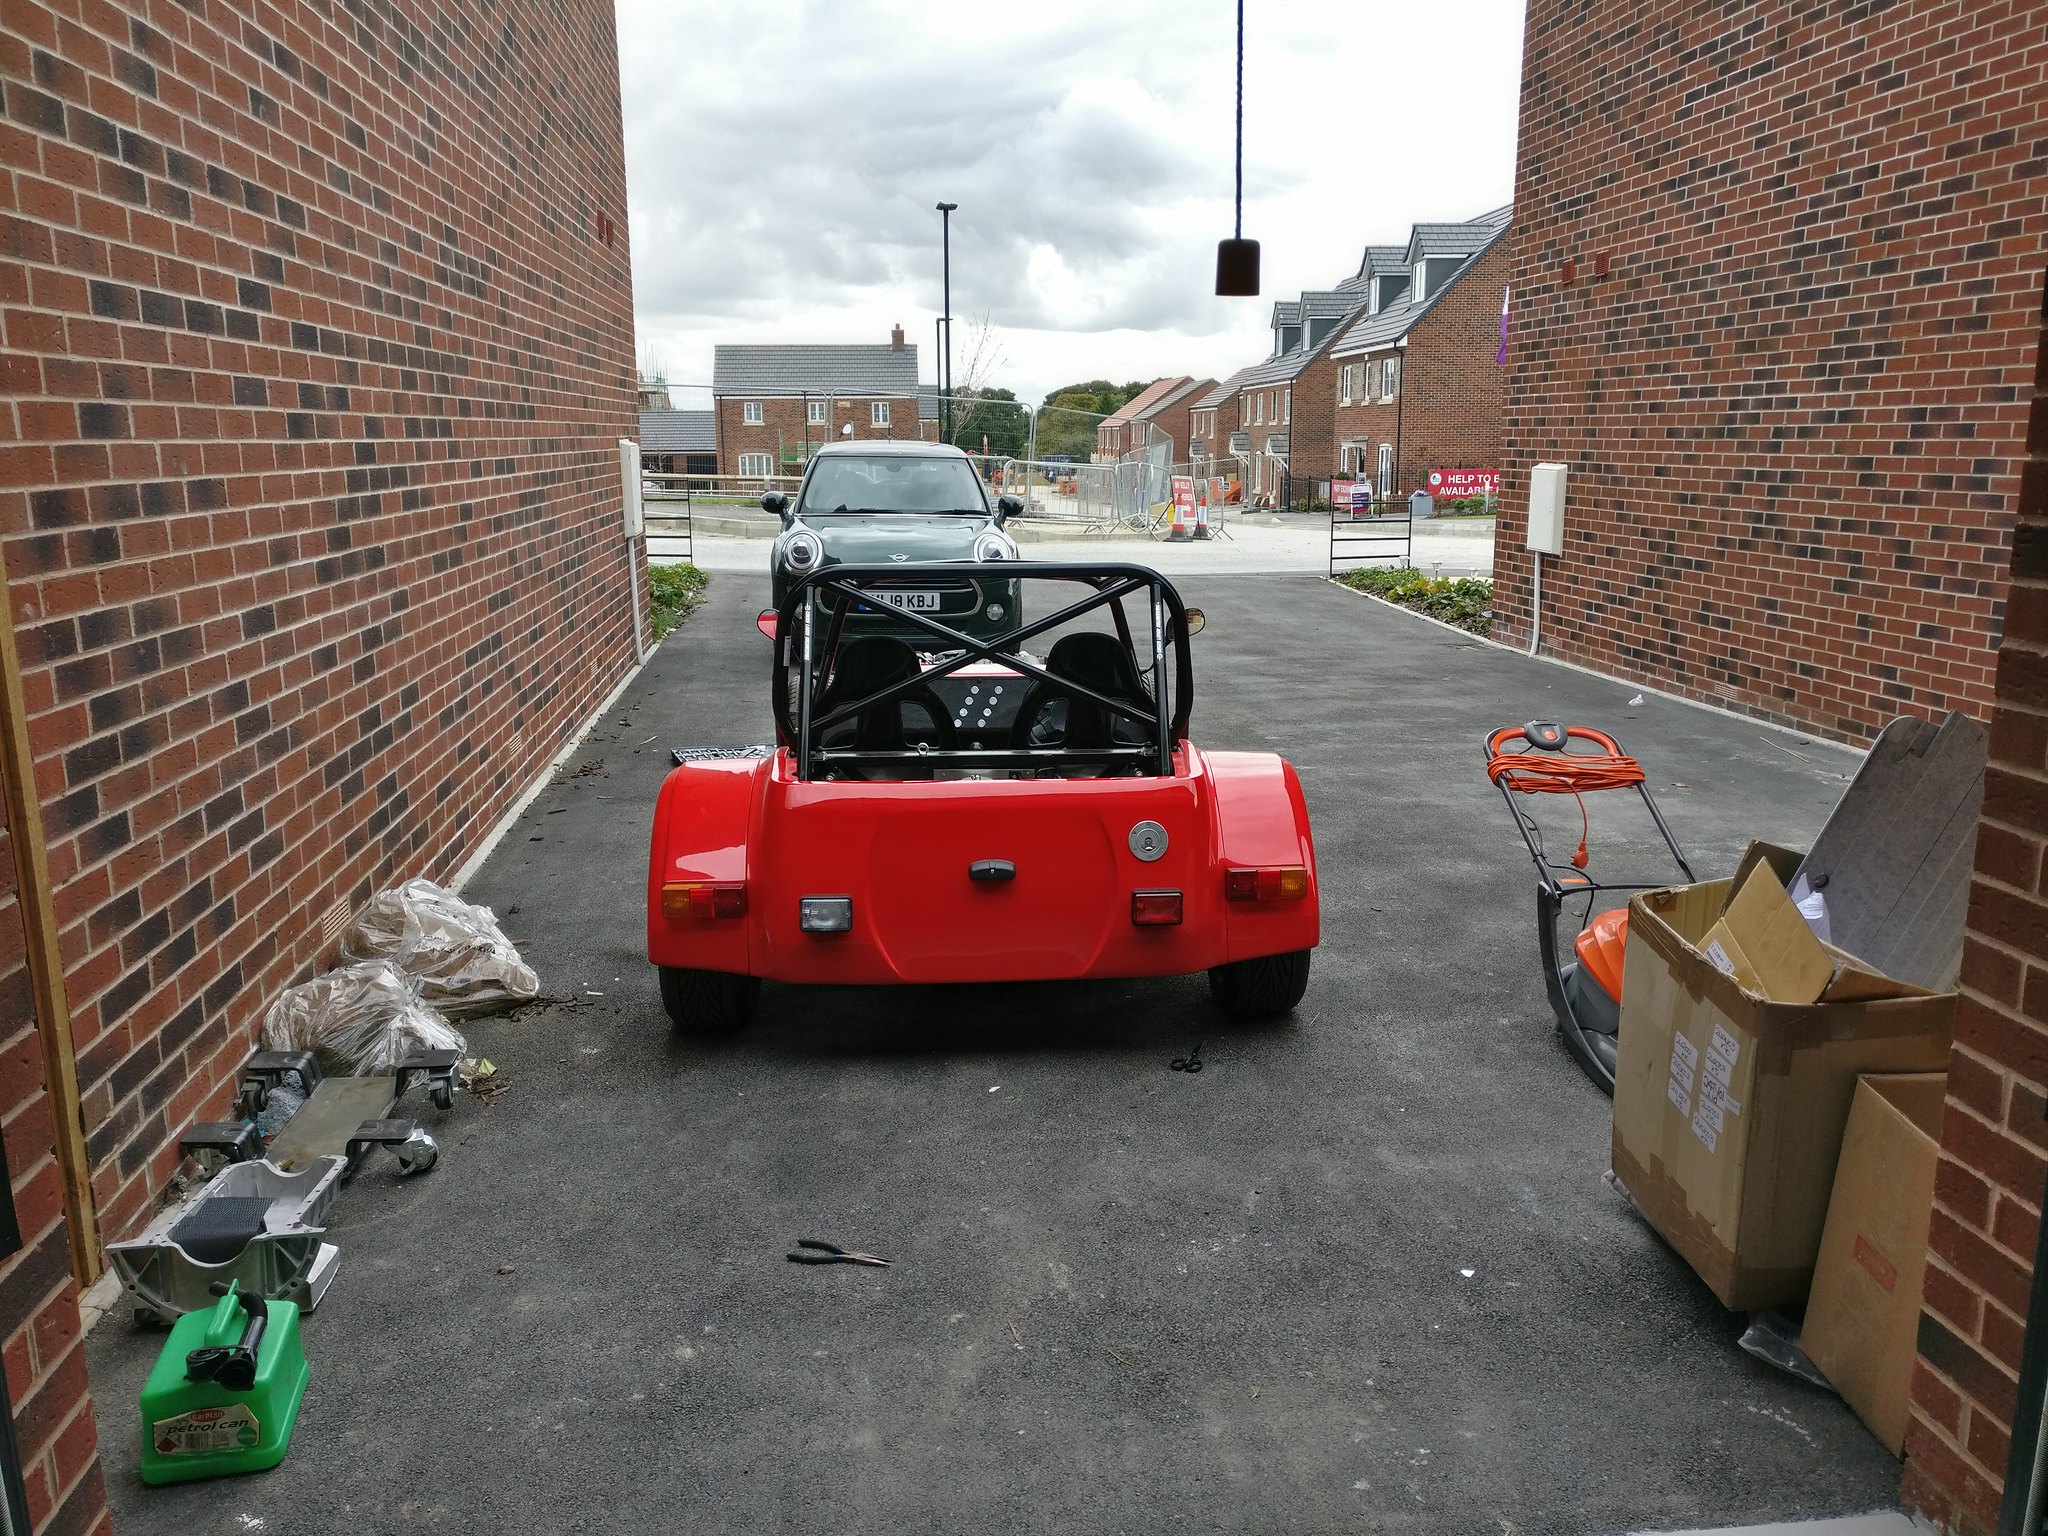 Next I moved to the front end. I bought the Coolex intercooler and radiator combo which is the cheaper of the 2 "off the shelf" solutions available. It's known to be a little less efficient than the Radtec but can come up to scratch with ducting. I made a start on this with so aluminium tape with the aim to force all the air that goes through the intercooler also goes through the radiator. I'm hoping it'll last. I'll make a shroud for the front to force air from the nose to go into the cooler. 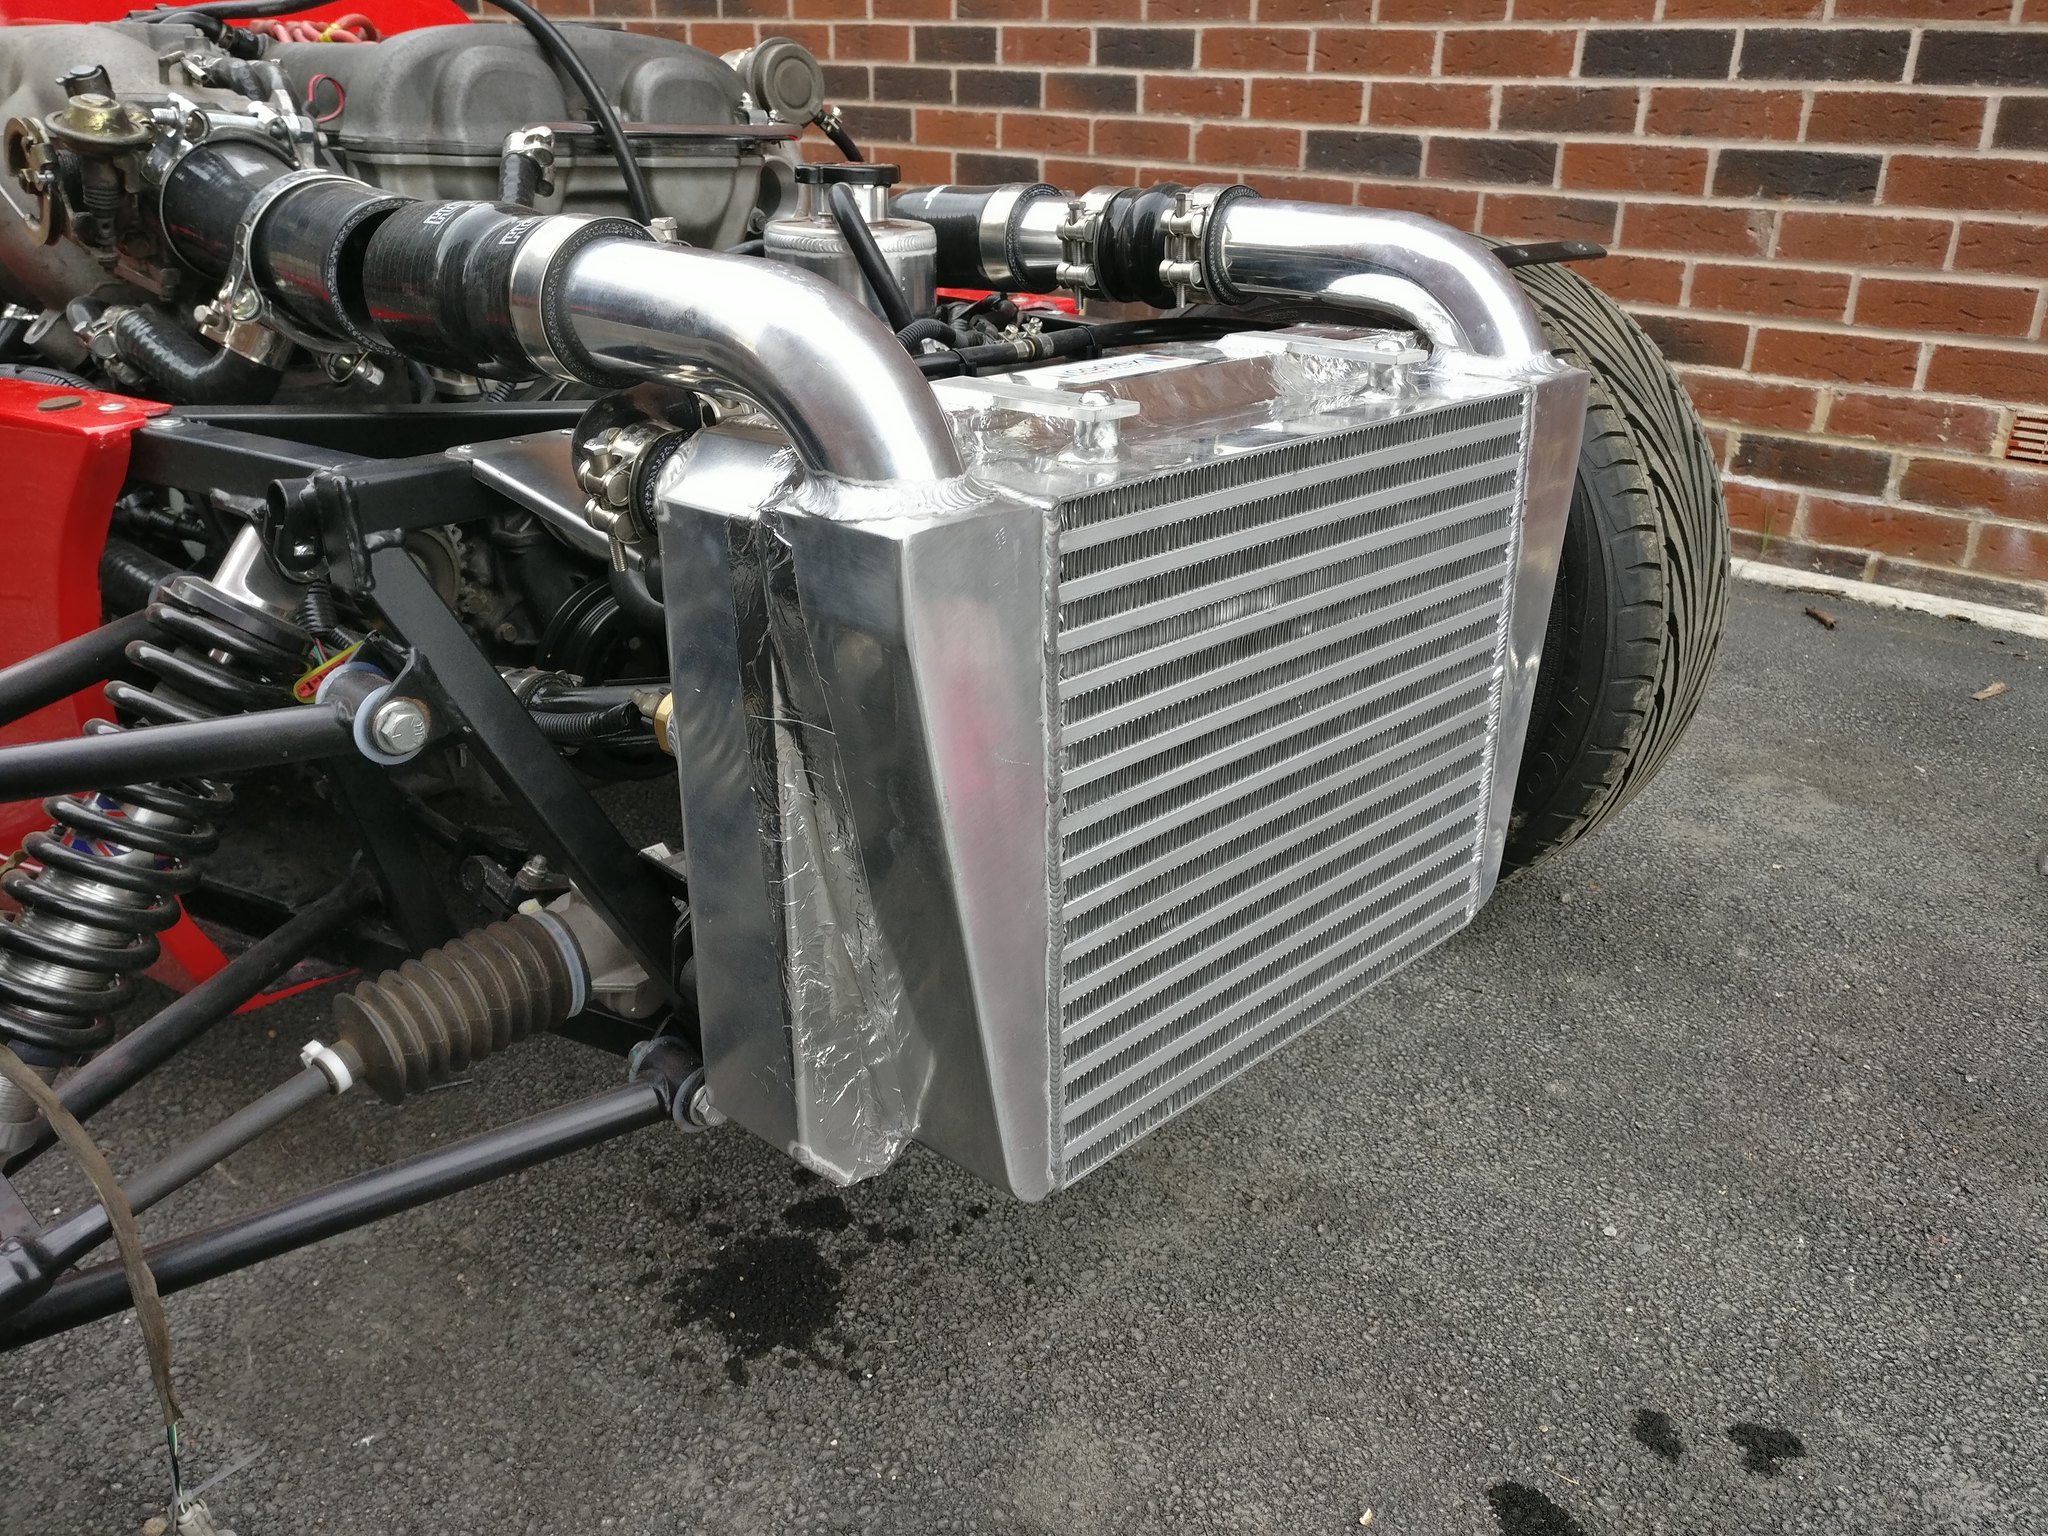 |
|
|
|
Post by howardb66 on Oct 15, 2018 8:35:52 GMT
A good electric fan with a dash mounted over ride switch will help IMHO.
|
|
|
|
Post by dadbif on Oct 15, 2018 14:31:58 GMT
Second that, had one on my Westfield, gives one confidence when stuck in traffic on a hot day, a flick of a switch and the temp gauge drops...
|
|
|
|
Post by teamawesome on Oct 15, 2018 19:19:43 GMT
It has a decent sized pull fan on the back. Should do the trick.
|
|
|
|
Post by teamawesome on Oct 22, 2018 21:10:20 GMT
Bit of an embarrassing one this time. I'd been suffering poor running ever since I came to start the engine a month or so ago and I'd put it down to the fact that I'd changed ECU and was on a base map, but this went against everyone's opinion of the ME221 base maps so I was very unsure. It's certainly true to say that I much prefer the old days of using Tuner Studio to these new days trying to use MEITE. Maybe I'm getting old. Anyway I arranged for Dai at Valley 5's to remote tune it as I couldn't get it to work properly. I just needed to solve the 5 coolant leaks I had first. Turns out the T-Bolt clamps weren't tight enough, they felt tight but my research threw up the fact that they are to be done to a max of 8ftlbs and mine were around 3. Torque wrench out and clamps tightened to where I'd never take them u less the manufacturer told me, no more leaks. Back to the ECU. I'd reduced the fueling in the VE table drastically and still couldn't get it to idle higher than 13:1 AFR. I'd been looking at the screen for hours and couldn't get it. Dai looked at the screen for 20 secs before saying I had a problem. He thought I had a vacuum leak or a pinched hose somewhere. He was very patient while I searched. He was right, I had a pinched vacuum hose between the chassis and a fibreglass panel so the ECU wasn't reading the engine pressure at all. As soon as he mentioned it the data was obvious. I know the pressure shouldn't be that high at idle but I was totally blind thinking it was my wiring or something else. Job done. Well, almost done as my wideband is kicking out some weird readings. Most likely the sensor as it's almost 10 years old now. I need to hook up the gauge to see whether the 2 outputs match. Moving on, I have been working on the rear boot lid for a while. The boot box will not be used as I've used the space for a fuel system so I just needed something to cover the gaping hole at the back. I bought a flat sheet of foam cored carbon fibre and got stuck in with the scary task of taking tools to a £130 item. I'm very happy with the way it came out though. I've fitted it using rubber rivnuts commonly used on motorbike fairings and screens. They seem to work very well here too. You can still see some glue residue from the masking tape on this but you get the idea. Let me know what you think! 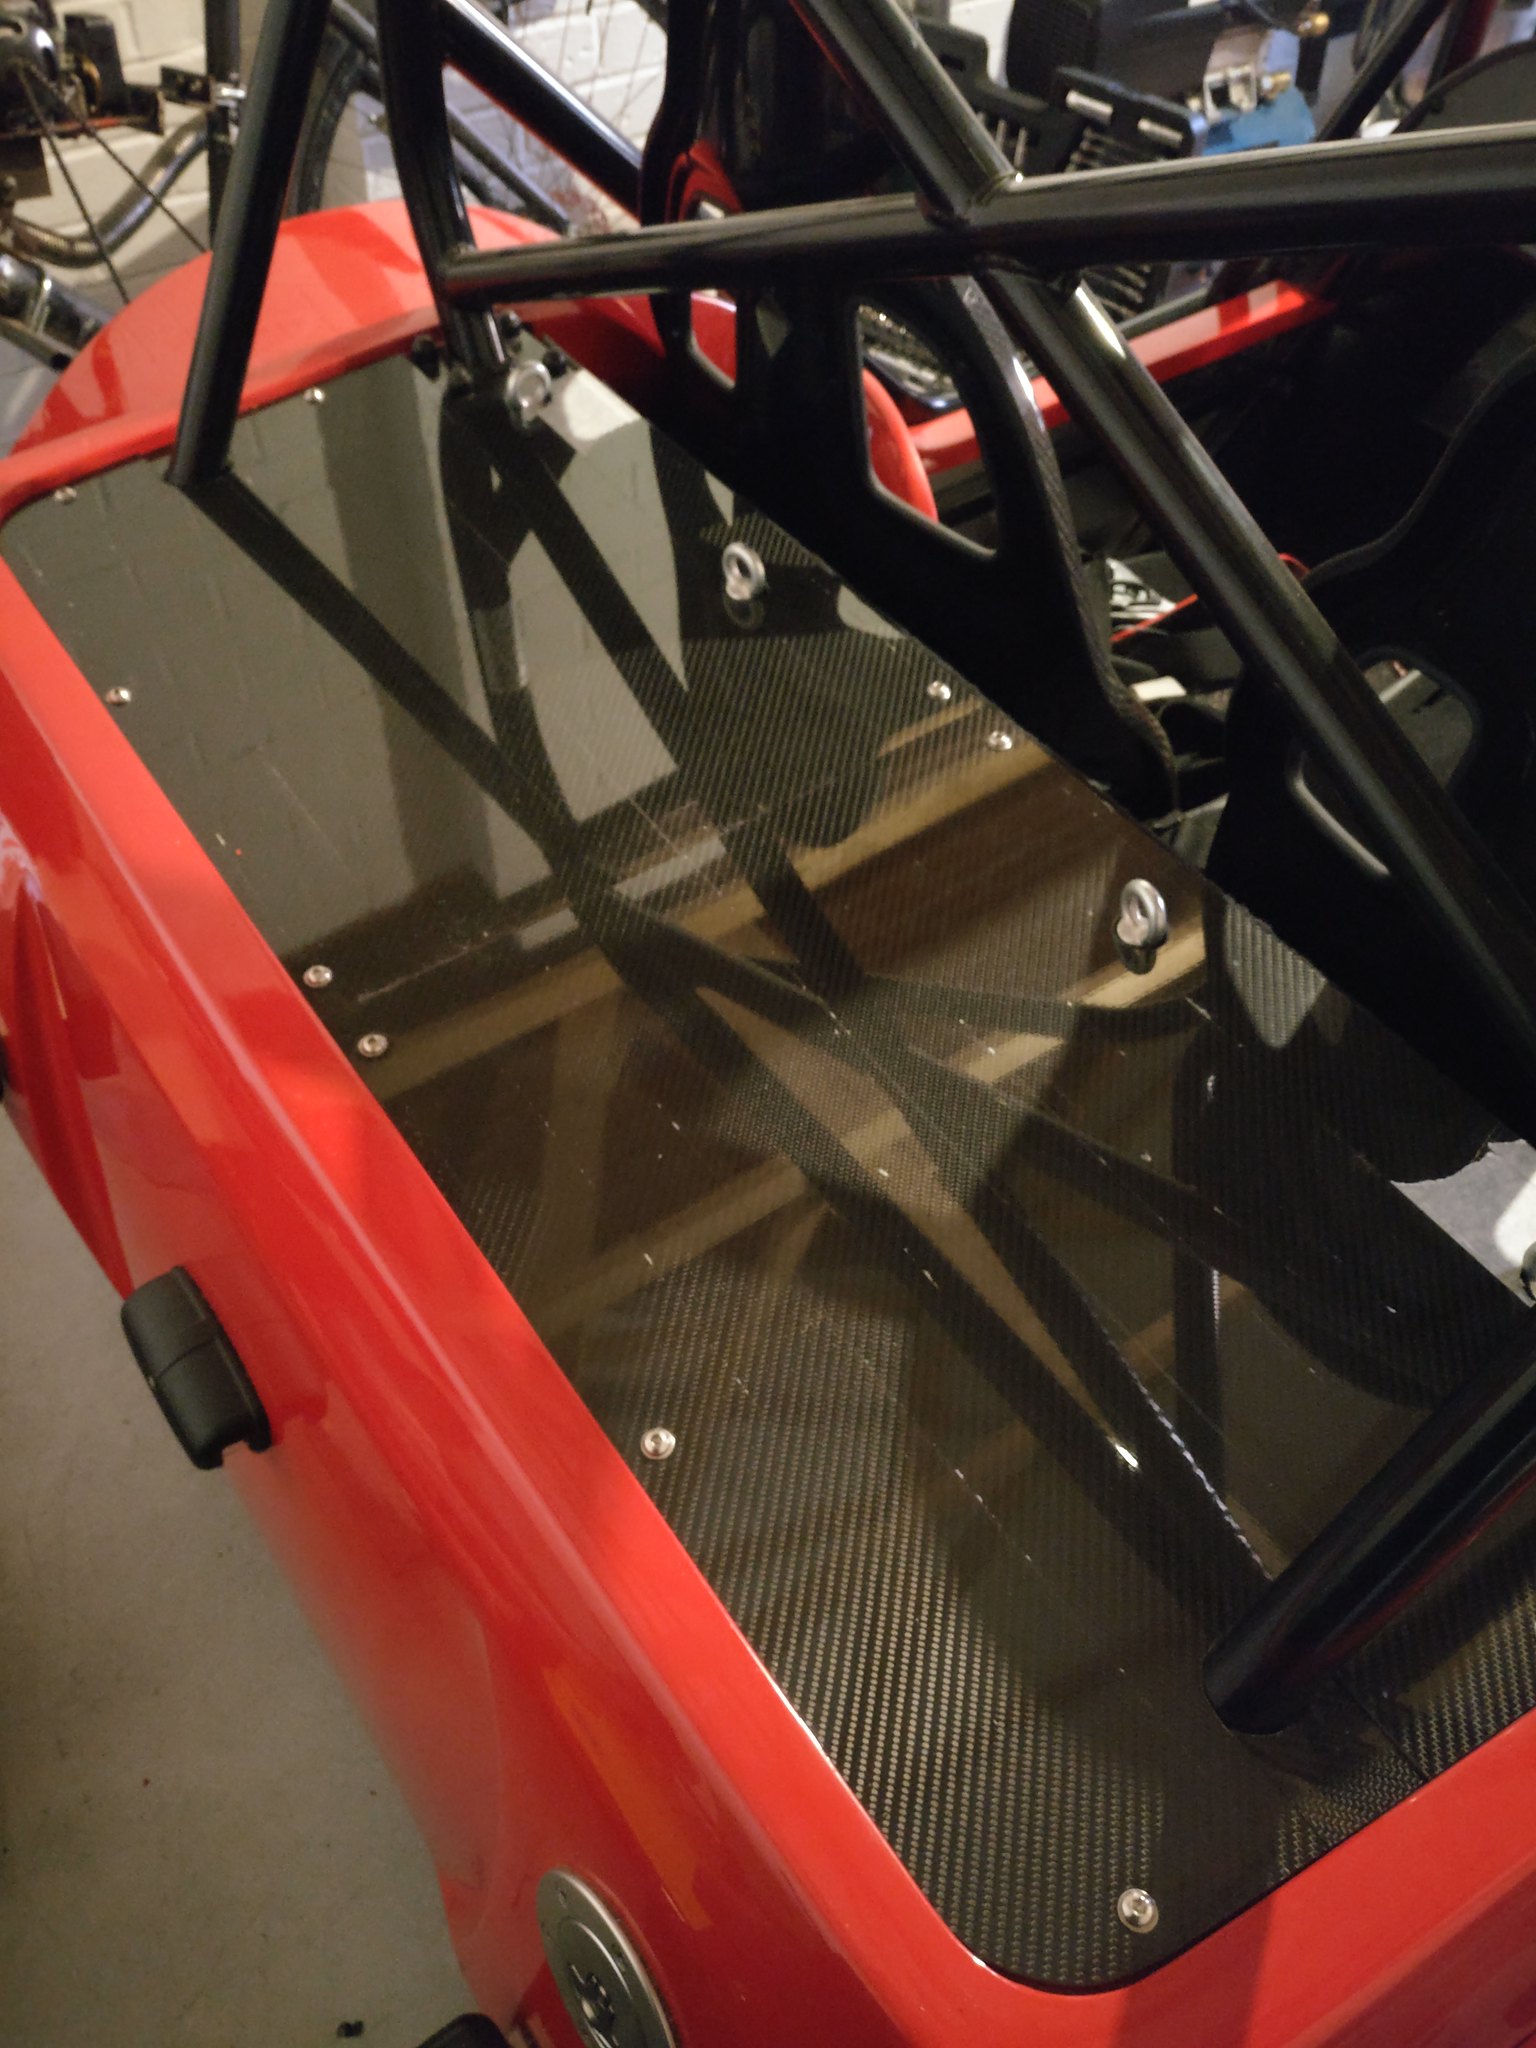 |
|
|
|
Post by atlex on Oct 22, 2018 22:03:23 GMT
Love Dai.^
|
|
|
|
Post by FFS Corders on Oct 23, 2018 8:58:37 GMT
It's looking awesome Sam, can't wait for it to be running
|
|
|
|
Post by teamawesome on Oct 23, 2018 12:19:35 GMT
Thanks. We're very close to completion now. I need to get the seats bolted down and put the bonnet on and that's pretty much it. It'll need the geometry doing but that isn't too major for the IVA, the only real thing it needs at IVA is a hint of self centered steering.
|
|
|
|
Post by Horney on Oct 23, 2018 17:24:19 GMT
Awesome progress.
|
|
|
|
Post by teamawesome on Nov 29, 2018 9:30:43 GMT
I managed to do a little bit more on this yesterday evening. A particular issue I've been dealing with it the seats and getting them to fit properly. The Tillets are a very tight fit anyway and I've been putting it off for some time now. It turns out that I have 2 major issues with the fitment, the first being that the rails weren't square on the seats. When I took the seats out the front mounting holes were a touch wider than the rear mounting holes. In my mind this would make the rails try to spread out in a V shape as it's moved forwards and this could be the source of the resistance to movement that I've been feeling. Luckily Tillet provide spacers so I've packed the space one side at the rear out with a spacer and this has evened the rails out nicely. The second issue is the holes drilled in the chassis, these are about as square as the Moon, and I shall be firmly blaming my Dad for that one! I will make a paper template of a nice square and see it I can redrill them nicely enough and then try to cover the other holes some way, they're slightly elongated so a grommet won't work. I've been thinking about this for a long time, what will be the best looking gaiter for the gearstick and handbrake? In my case I've gone for a chrome ring/surround for the both. I was going to stitch it into the carpet but I've gone against this as I think this may make fitting/removal a little easier. That and I can't sew. It's taken me a while as I melted the Westfield part with contact adhesive, taking the wax off my girlfriend's nice (expensive) new table at the same time! I replaced it with real leather and this was a little bit more successful. I've only done the gear gaiter so far but it's looking good. 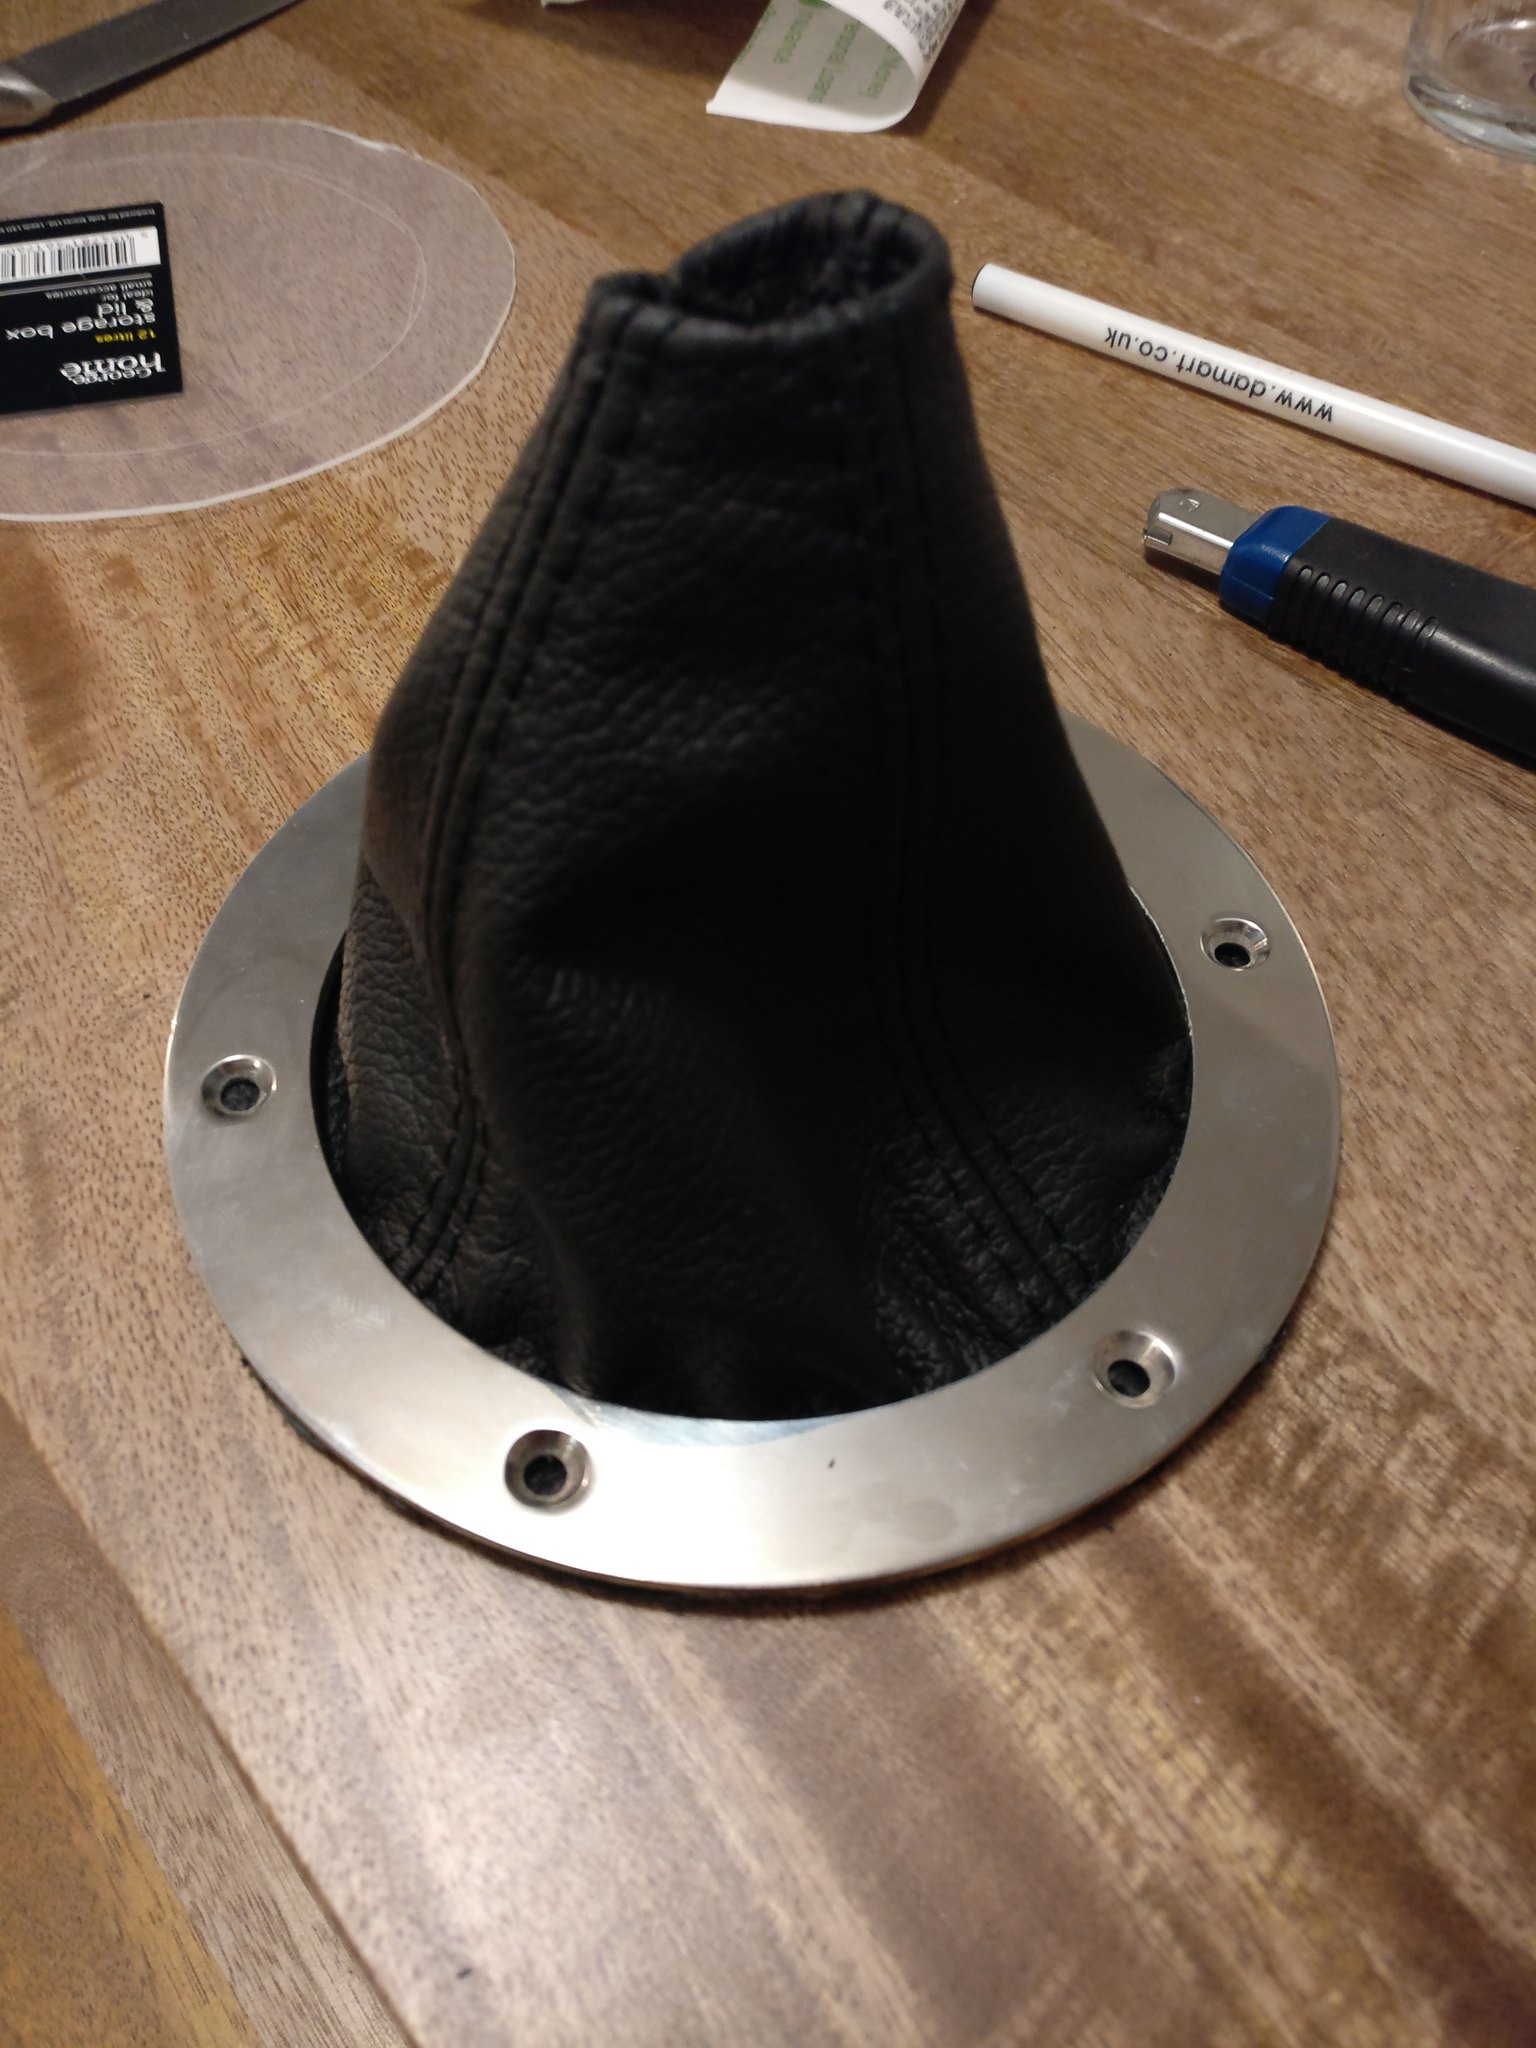 |
|
|
|
Post by teamawesome on Dec 14, 2018 18:14:08 GMT
Finished work for Christmas today so celebrated by working on the car. I did a few little bits where I'd need some edging but the main focus was to get the gaitors fitted. I'd drilled holes the other day and fitted some M5 rivnuts but as always with these things they weren't 100% centered and the bolts didn't go in nicely. I drilled the surround out slightly to allow a tolerance and this seems to have done the trick. That's another thing off the list. 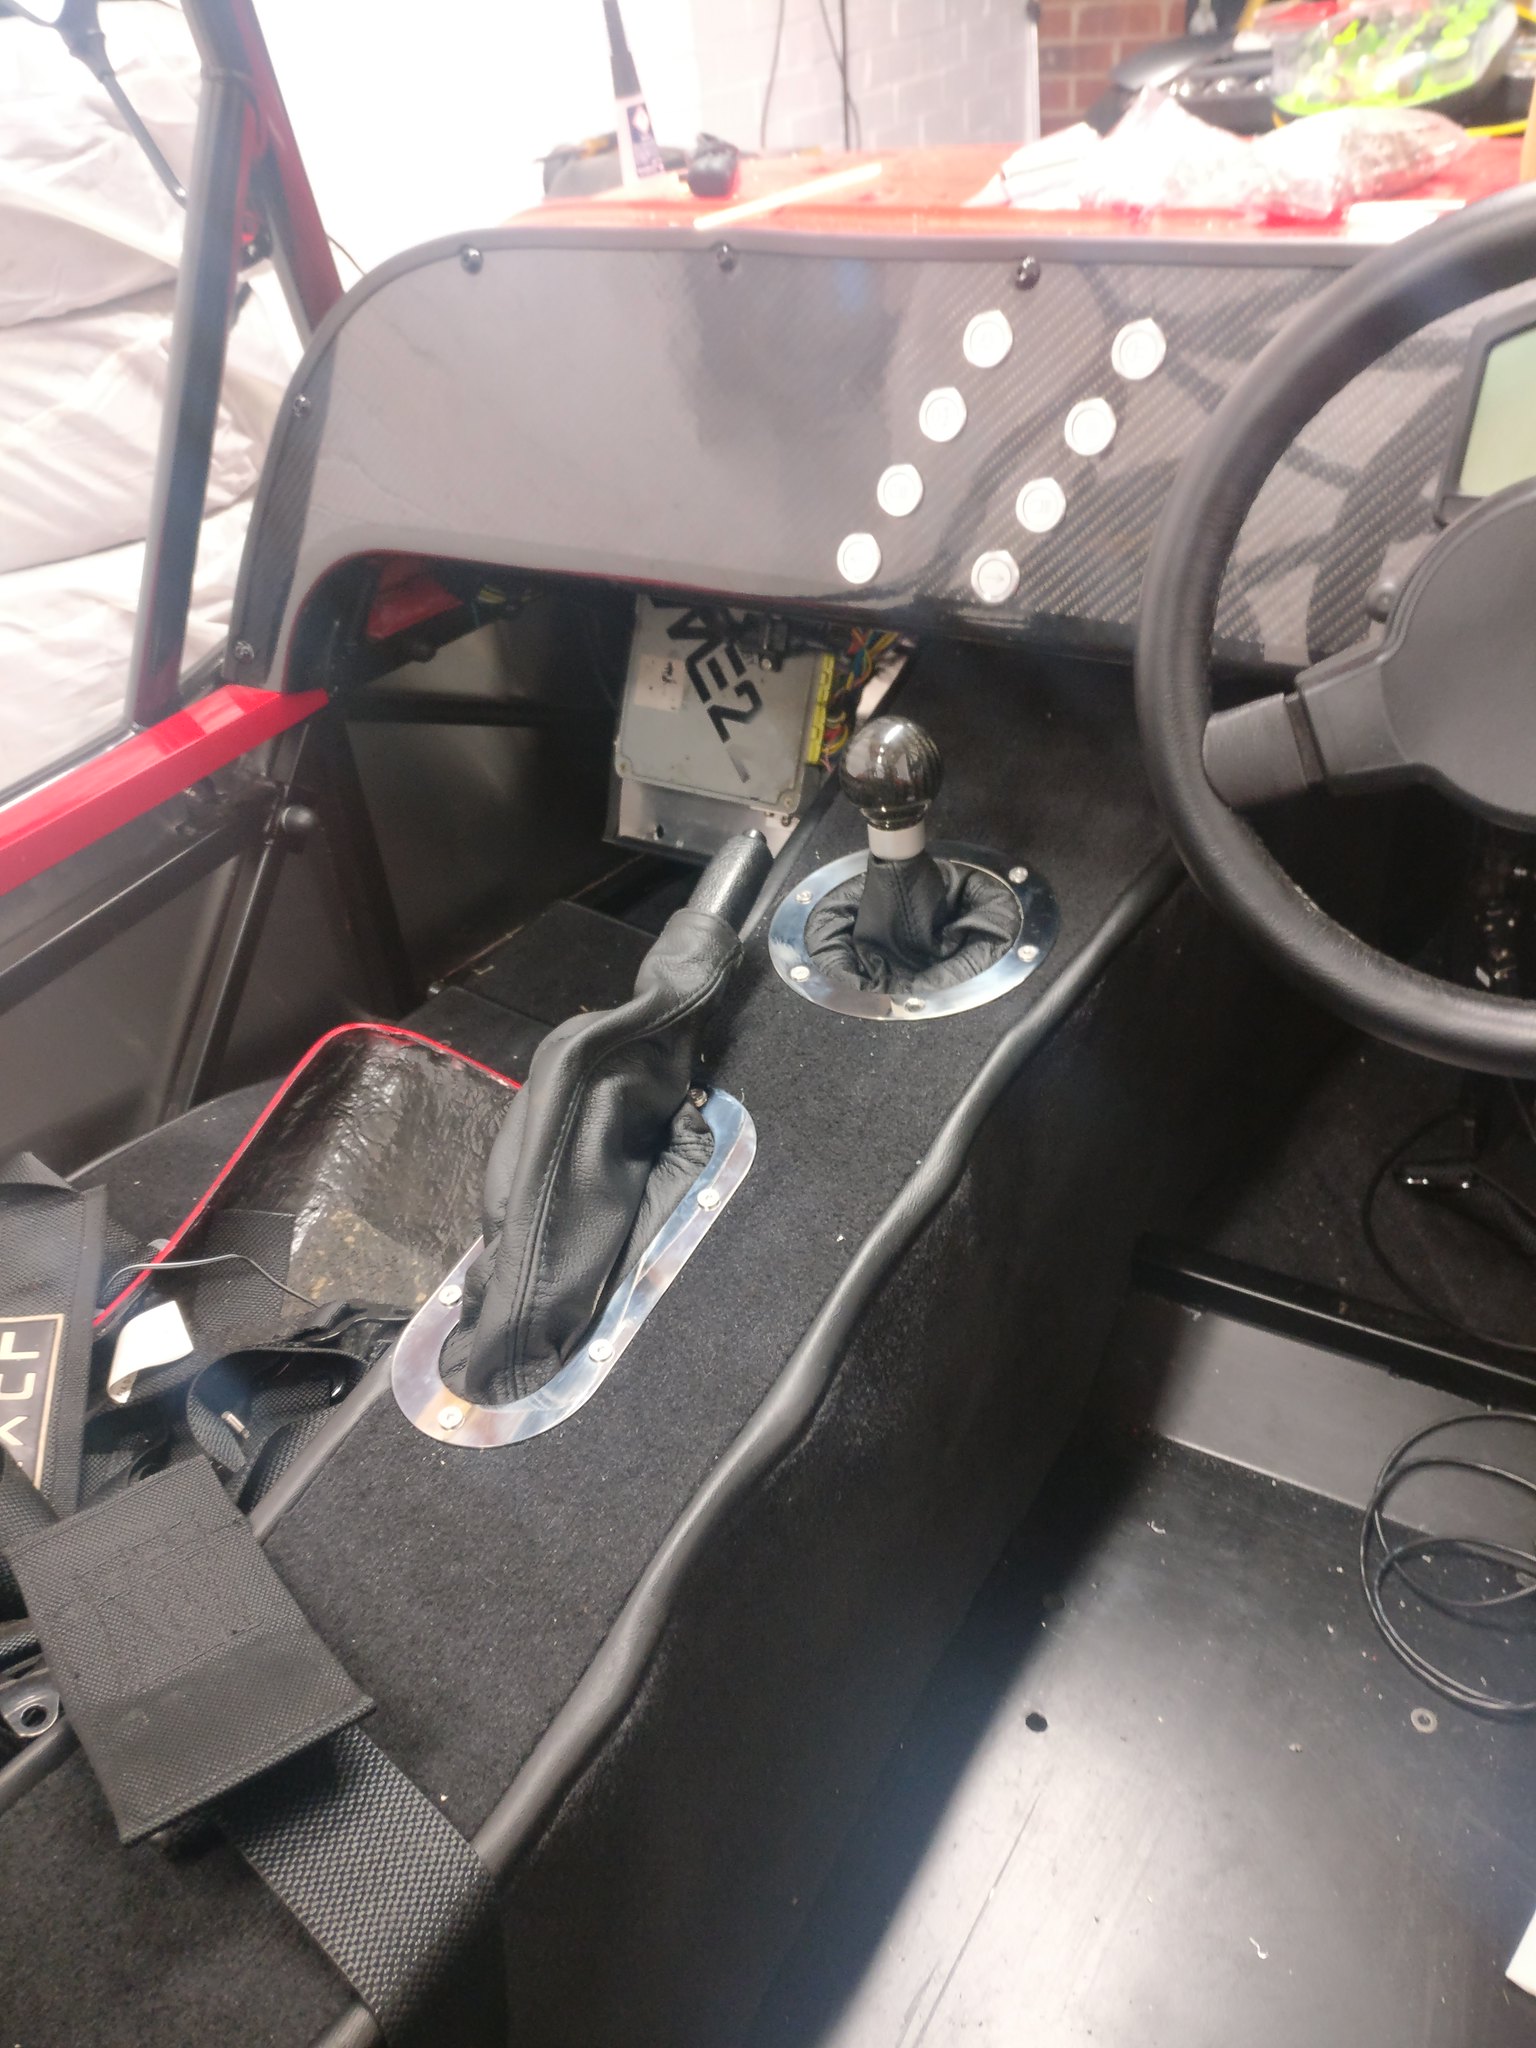 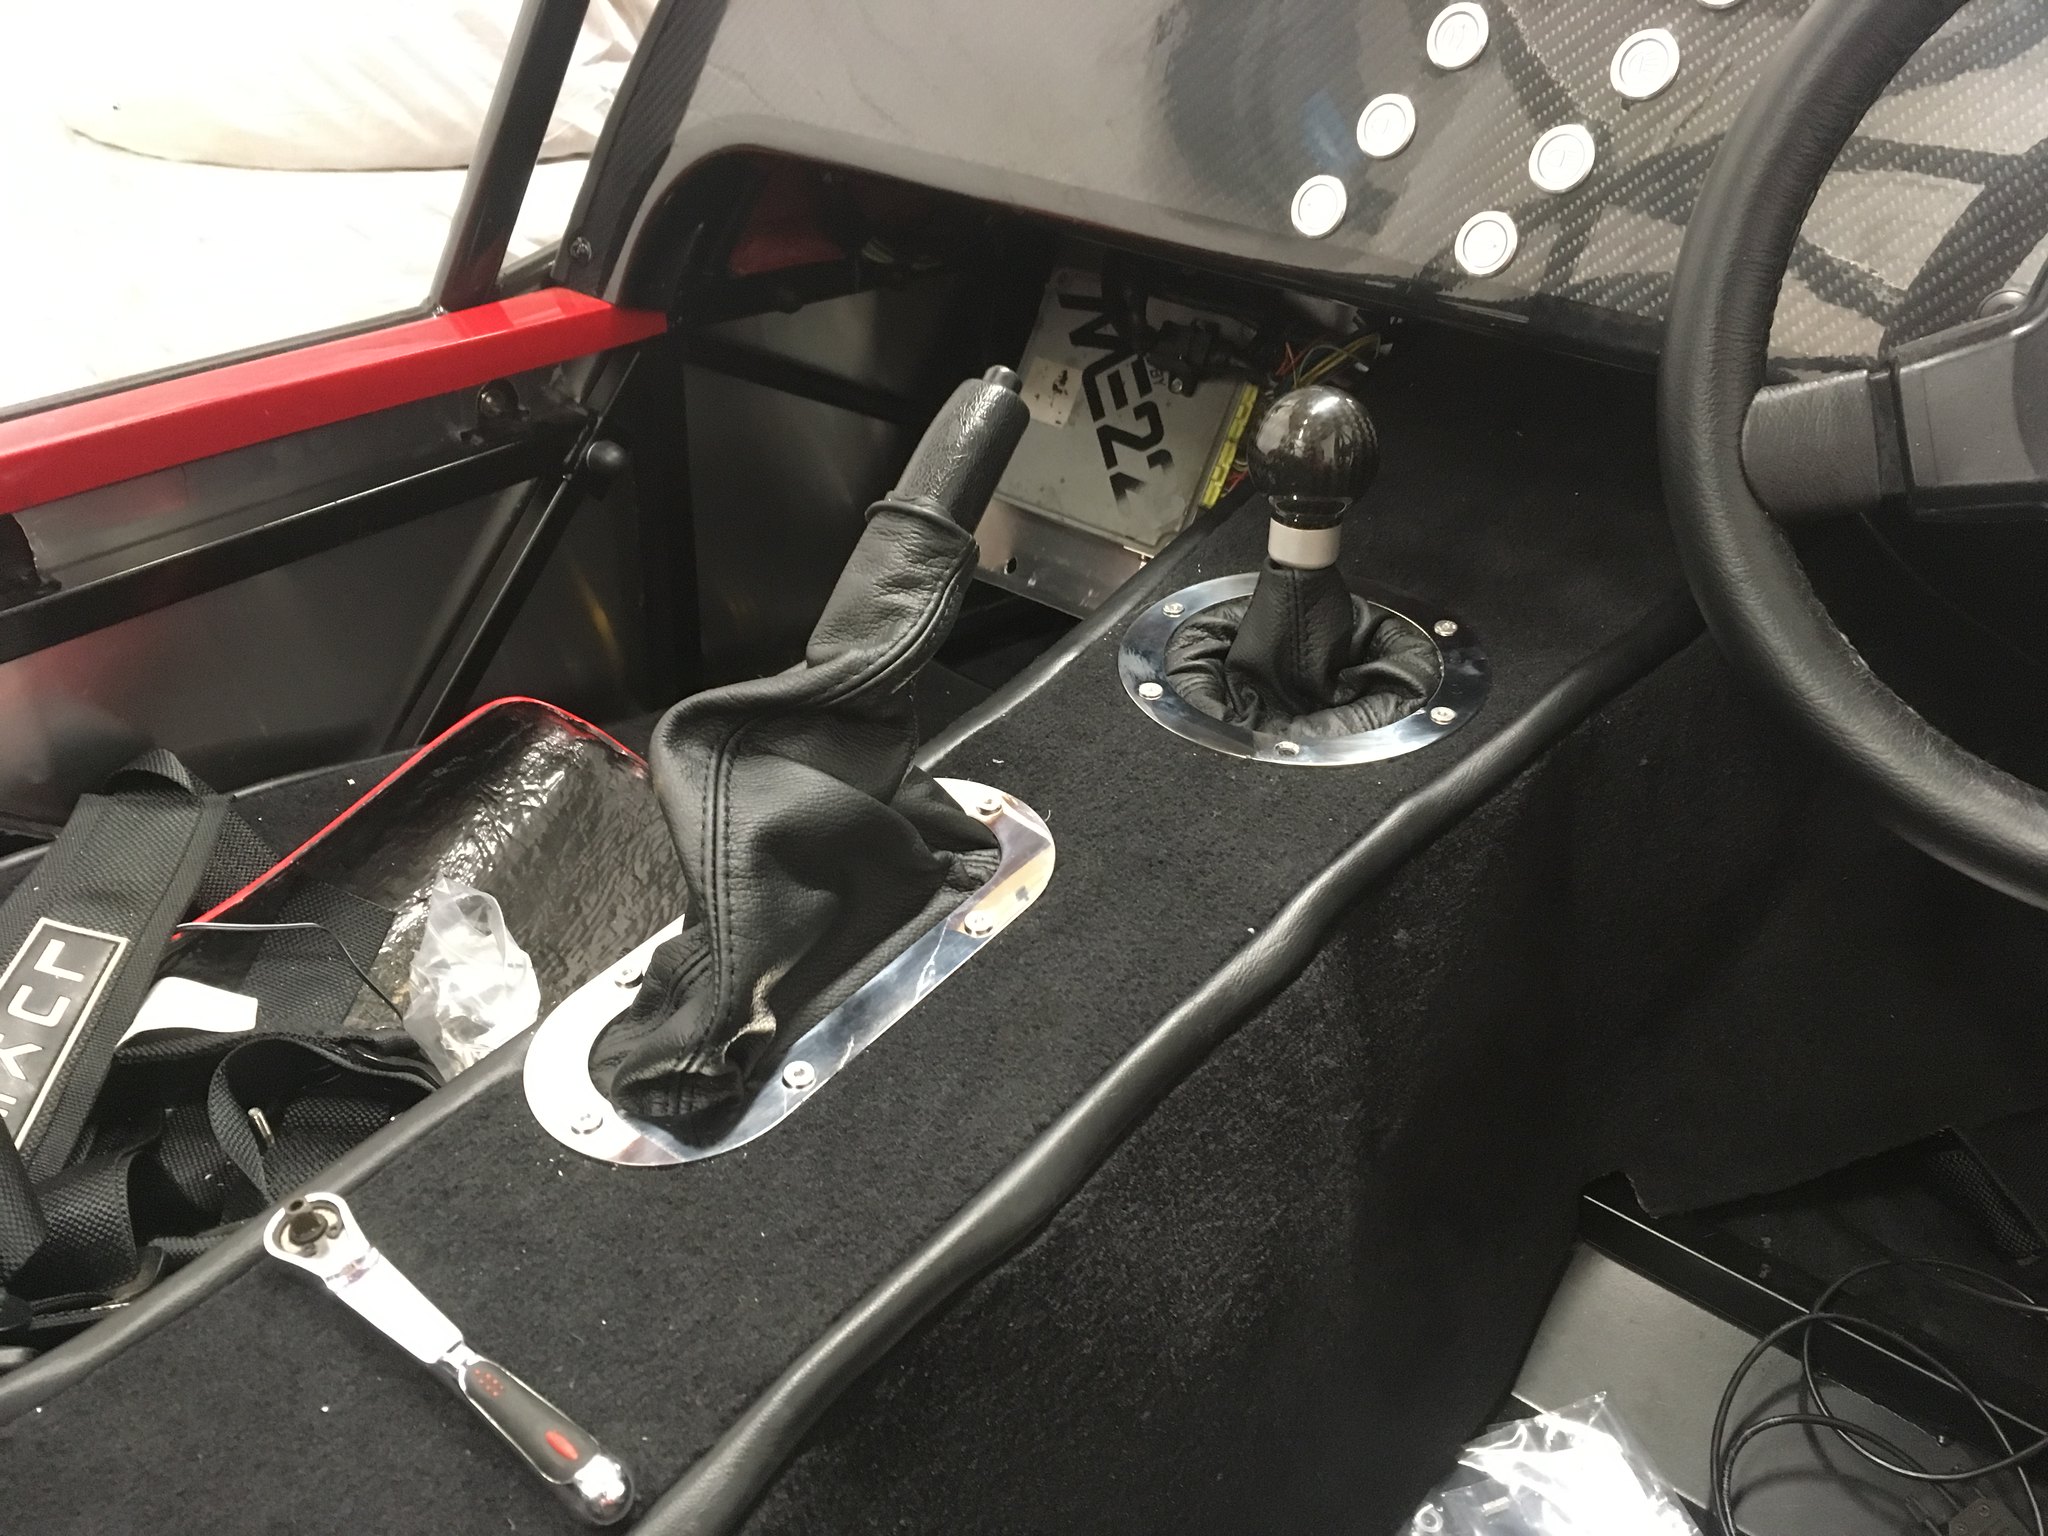 The bolts are very slightly proud so I may get some headed bolts, but I don't think I'll need any edging as it sinks into the carpet nicely. |
|
|
|
Post by Horney on Dec 16, 2018 10:15:50 GMT
You reckon you'll get it all finished over the Christmas break?
|
|
|
|
Post by niklas on Dec 16, 2018 10:51:14 GMT
Errrr, that ECU needs some wearher shielding. I've seen ECU'S fry due to rain in positions like that before. Good progress  |
|