|
|
Post by FFS Corders on May 4, 2020 15:57:12 GMT
Thanks both, glad I bought a pack of grommets recently, rest assured many photos of the process will follow
Dickie, definitely a simpler option but i was just following the AEM wiring guidance so letting the gauge's internal controller sort out the sensor heating and have the O2 signal go to it and then onto the ECU. Your way would be how I'd have gone if I had just got the sensor with no gauge which I was very tempted by. Then the AFRs would have only been displayed on the laptop itself when road tuning
I've been pleased that it's been fairly simple to make the wiring as reversible as possible if I give up and decide to put the original ECU back. Although I will be cutting the MAF plug off and taking the excess wires back to where they got extended for the Jackson racing intake
|
|
|
|
Post by dickie on May 5, 2020 15:40:50 GMT
Hi Corders, I have the AEM gauge fitted into a clock cubby on the Eunos the controller is under the dash behind the glovebox. The only thing I cut was the old O2 sensor plug to splice onto the wideband sensor.
As you said keep things reversible,
We all have different ideas for doing things for different reasons, as we share information it keeps others informed with whats possible.
keep up the good work.
|
|
|
|
Post by FFS Corders on May 5, 2020 16:00:11 GMT
I'd be interested to see how that looks in your bay, must be a bit neater than my corner of spaghetti!
The controller being inside my gauge must make a difference with how things match up, I was against getting a gauge at first but was convinced by the fact I need to see the figures when tuning, it'll stay in the glovebox otherwise It's great to see all the different ways things can be done. I haven't even started on the tune yet, that's going to be a real eye opener |
|
|
|
Post by dickie on May 7, 2020 19:49:46 GMT
Hi Corders, I have a couple of bits of random wiring due to the GSXR ITB's I have extended the tps wire which runs across the bulkhead to the back of the engine, I have also extended the IAT wire to the filter backplate. I have posted a picture of the engine bay somewhere. ( The car is currently locked down at the rolling road so I can not take any pics )  this link might work |
|
|
|
Post by dickie on May 7, 2020 20:01:21 GMT
Hi Corders,
Mk 2 inlet air valve to manifold block then into ITBs
The wide band plug is just to the nearside of the coilpack in the OEM position. Standard throttle quadrant is grafted onto the GSXR spindle and a standard TPS is mounted on a custom adaptor at the bulkhead end of the spindle. I am making a GRP inlet plenum at the moment, it is still in the pattern stage at the moment.
Cheers Dickie.
|
|
|
|
Post by FFS Corders on May 10, 2020 16:13:32 GMT
Thanks Dickie, your build is giving me plenty of inspiration for when i get round to my own itbs! This week's progress saw the thread tapped into the gutted MAF and IAT installed into it 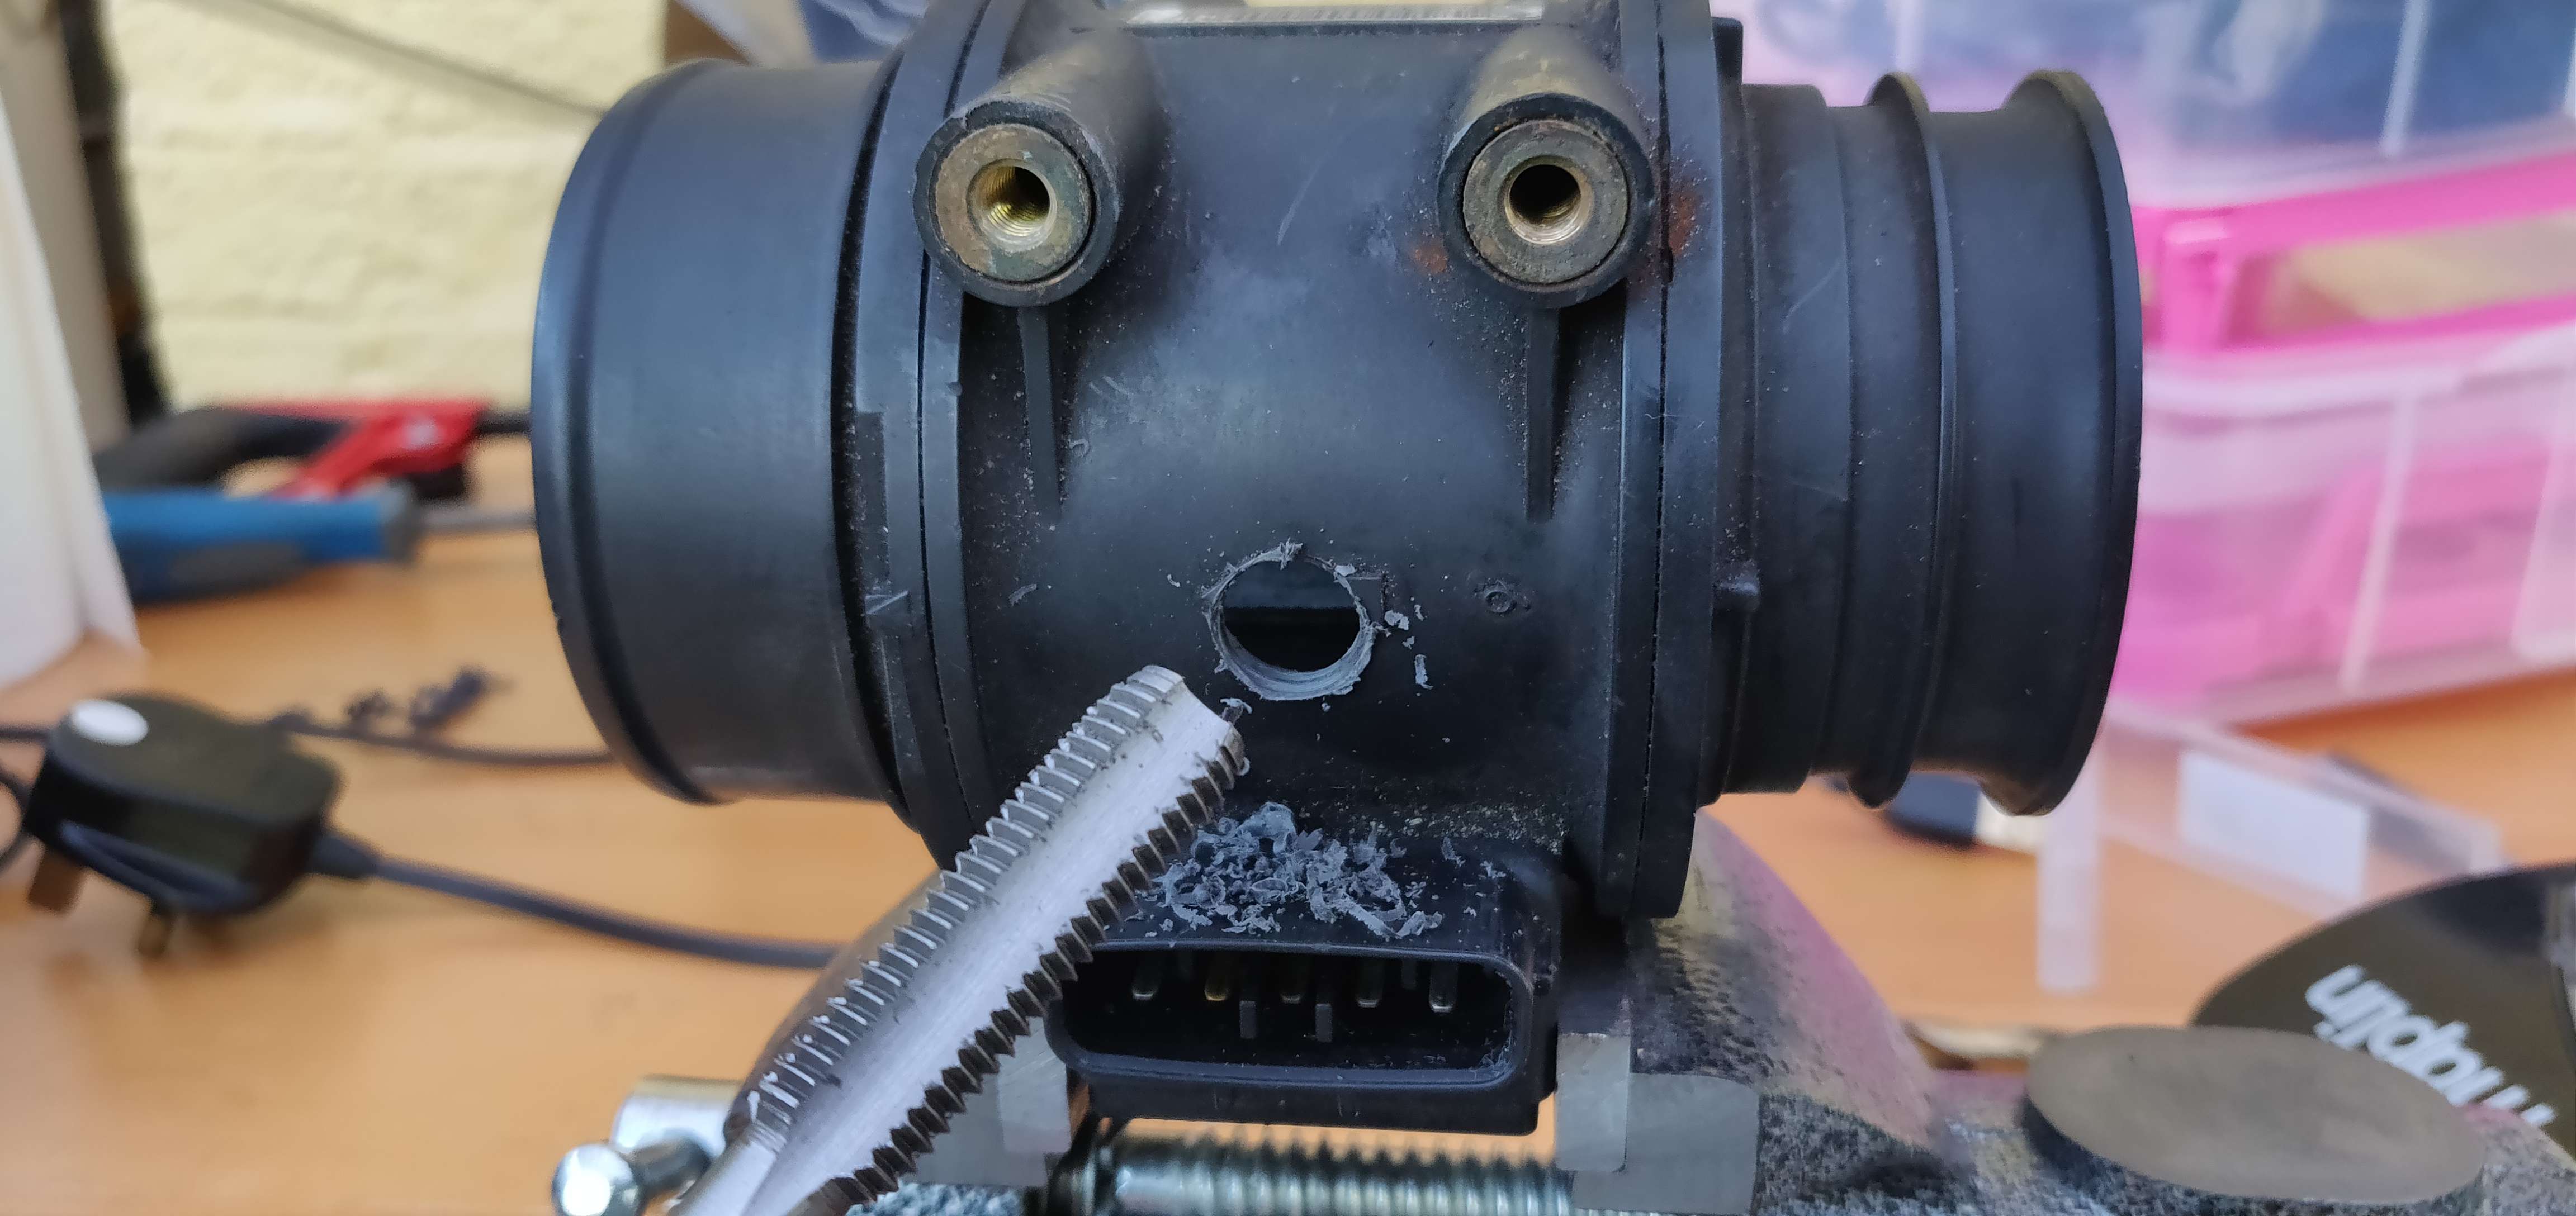 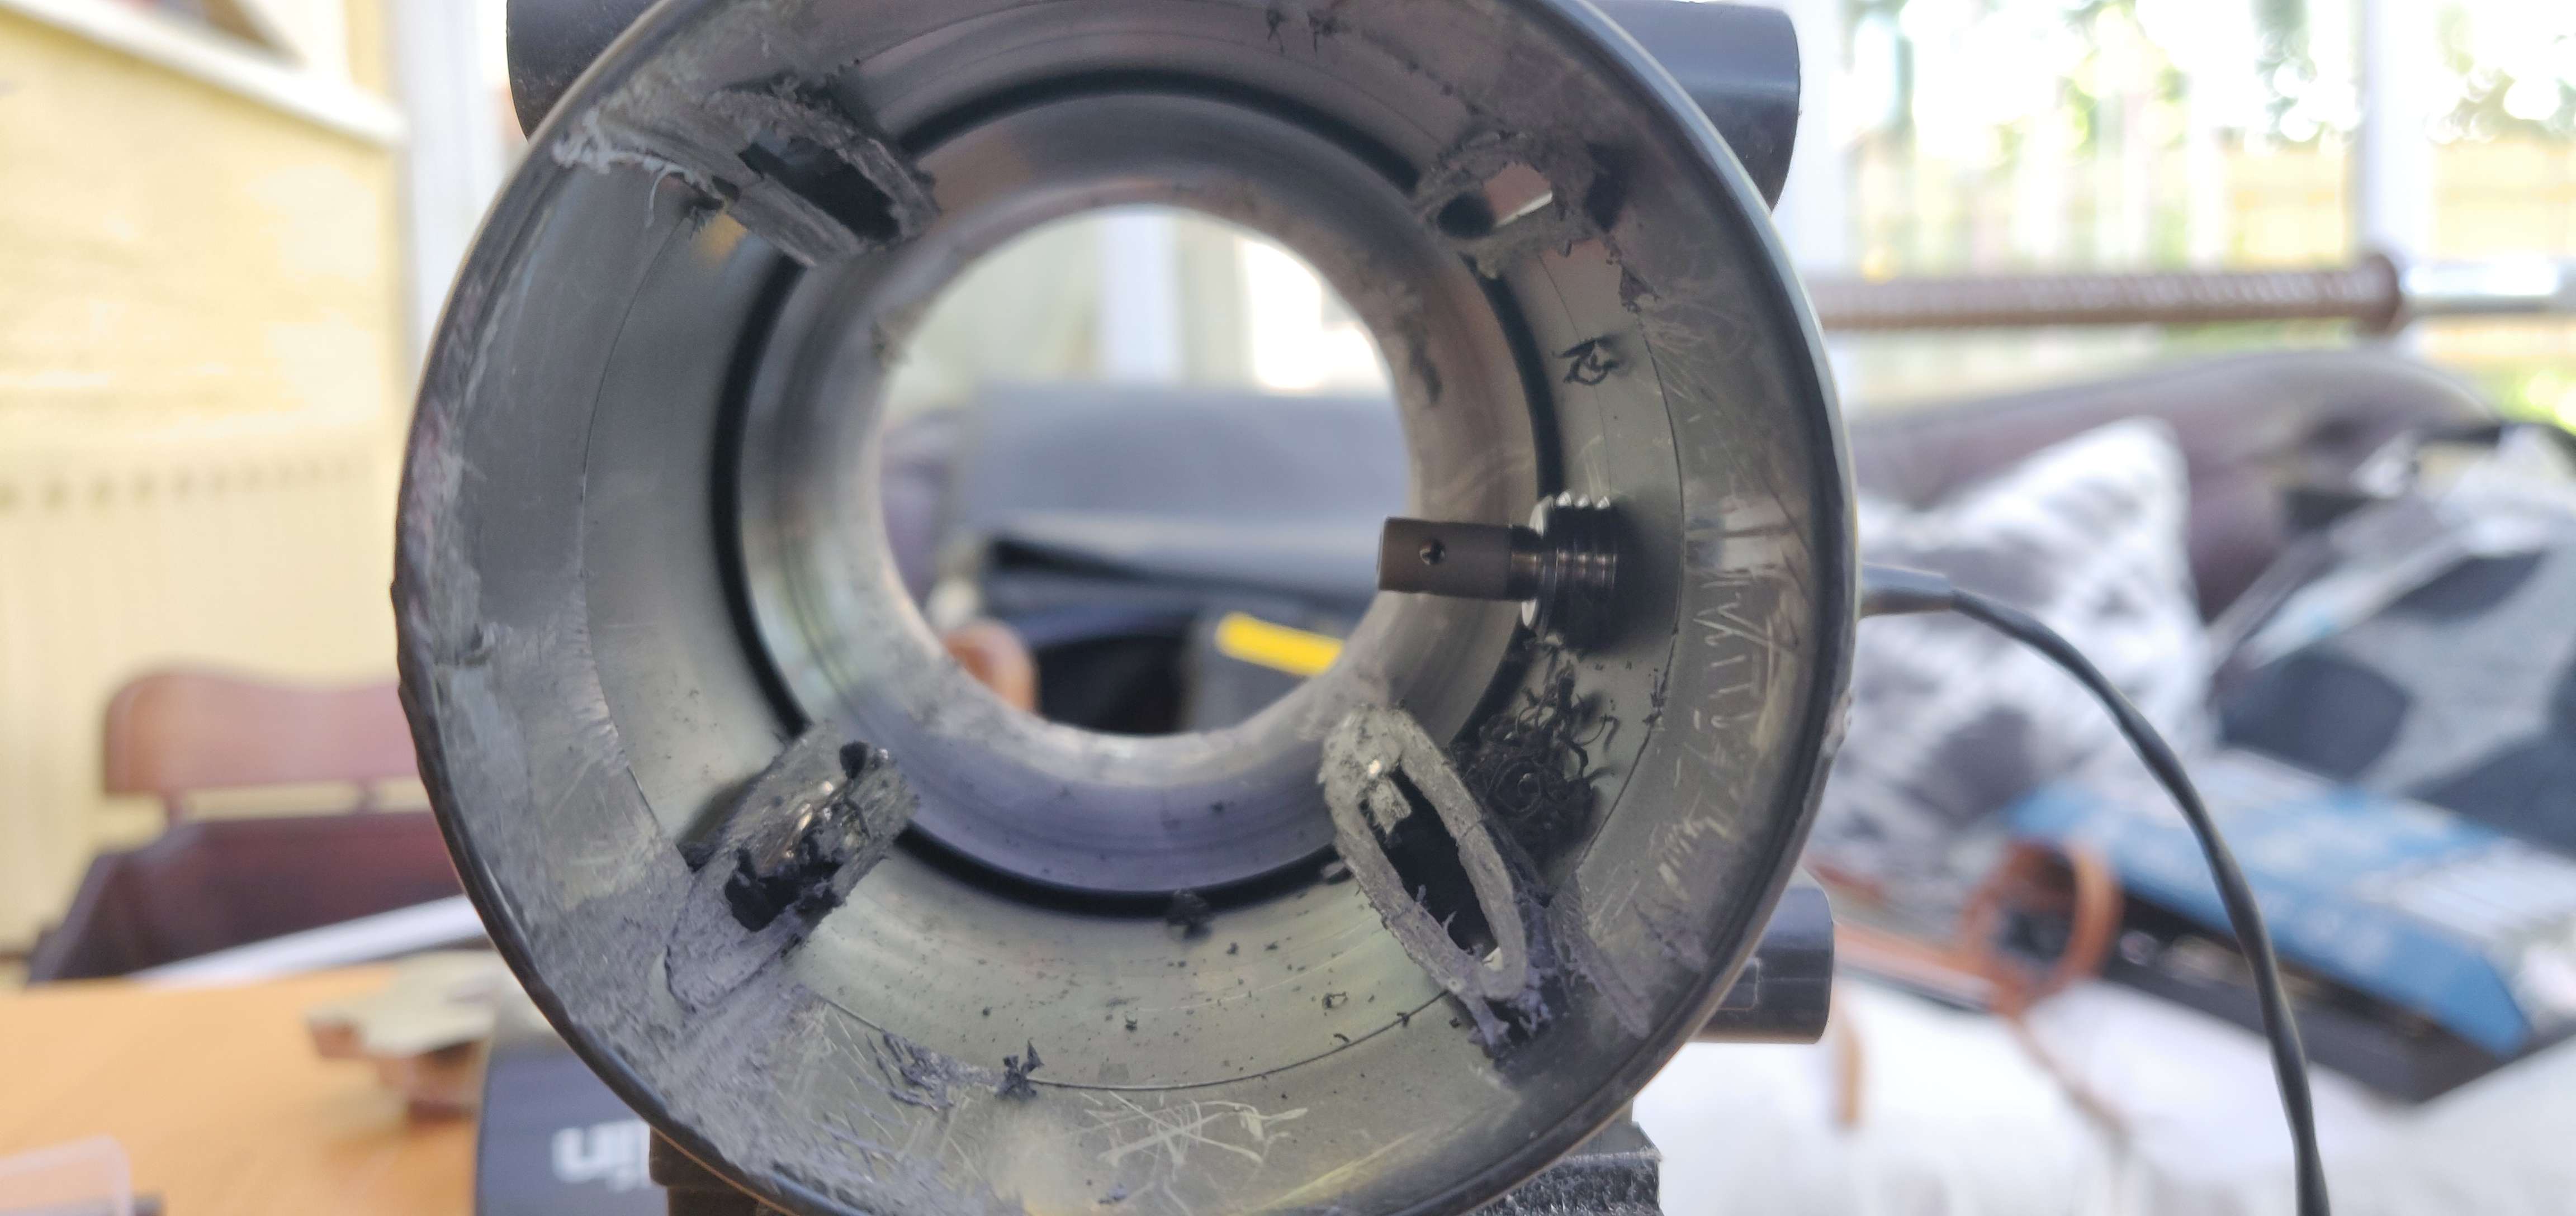 im not particularly over the moon with how much of the insides of the MAF remain so eventually i'll buy a dremel type thing and get it smoothed down Then i moved onto wiring up the IAT - trimmed back my extended MAF loom to the original join, pushed the wires i didn't need back into the shrouding, leaving the Red/Black and Black/Green to wire onto the connector i prepared earlier. MAF went back into position, then cable ties occurred 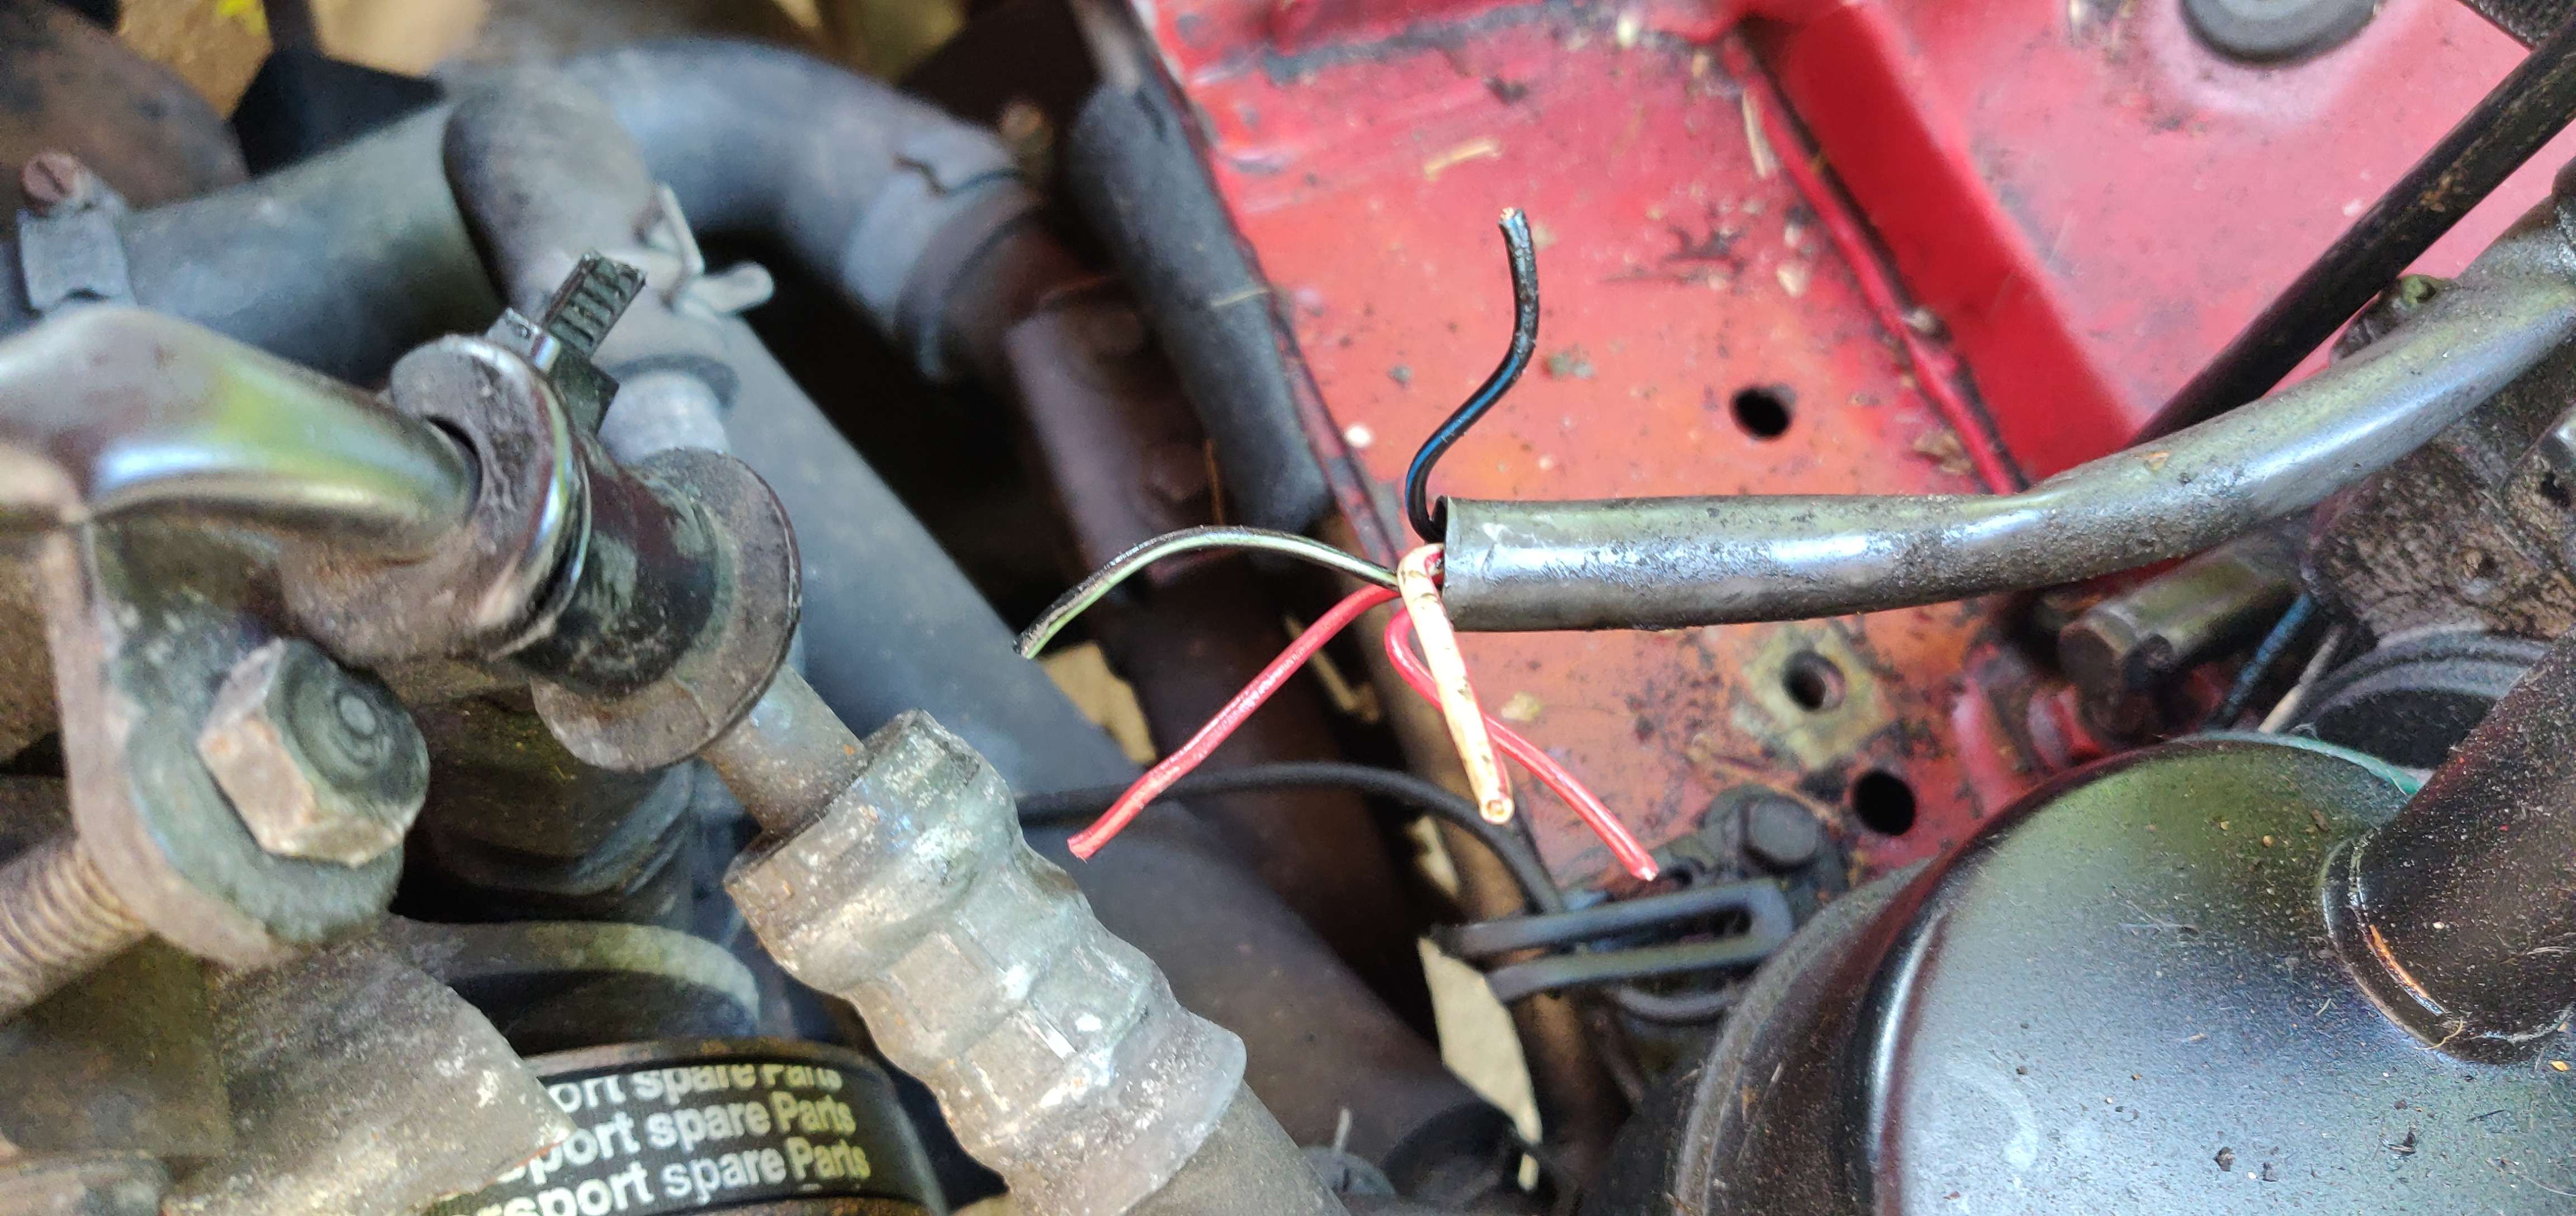 / 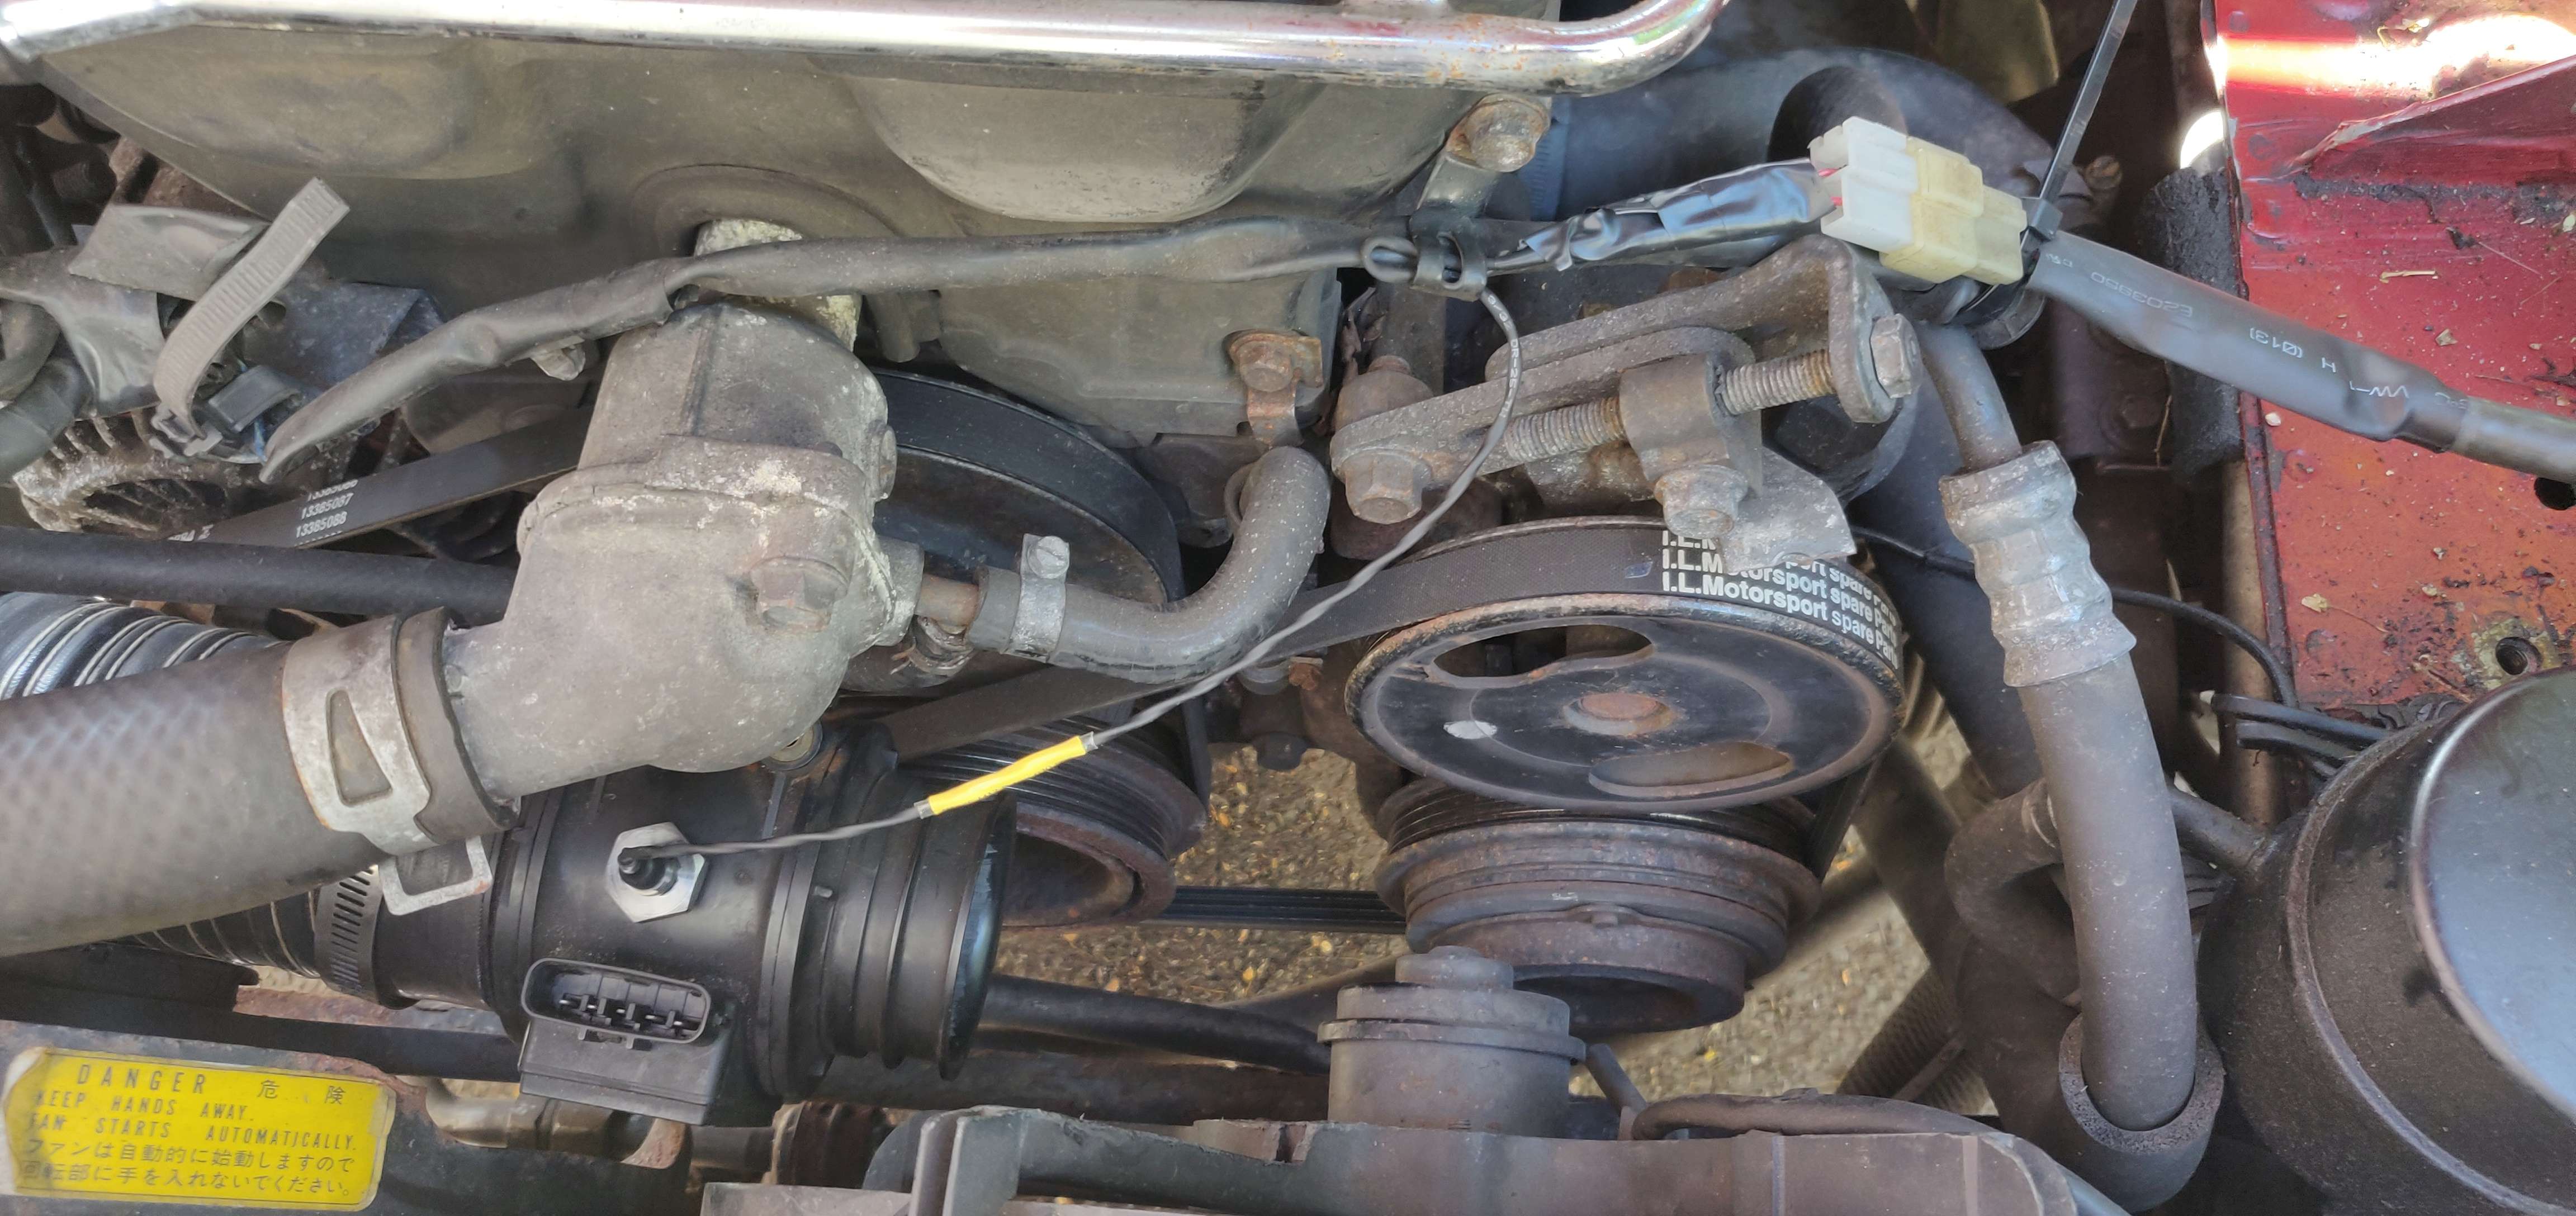 Now time for a gratuitous overall engine bay shot 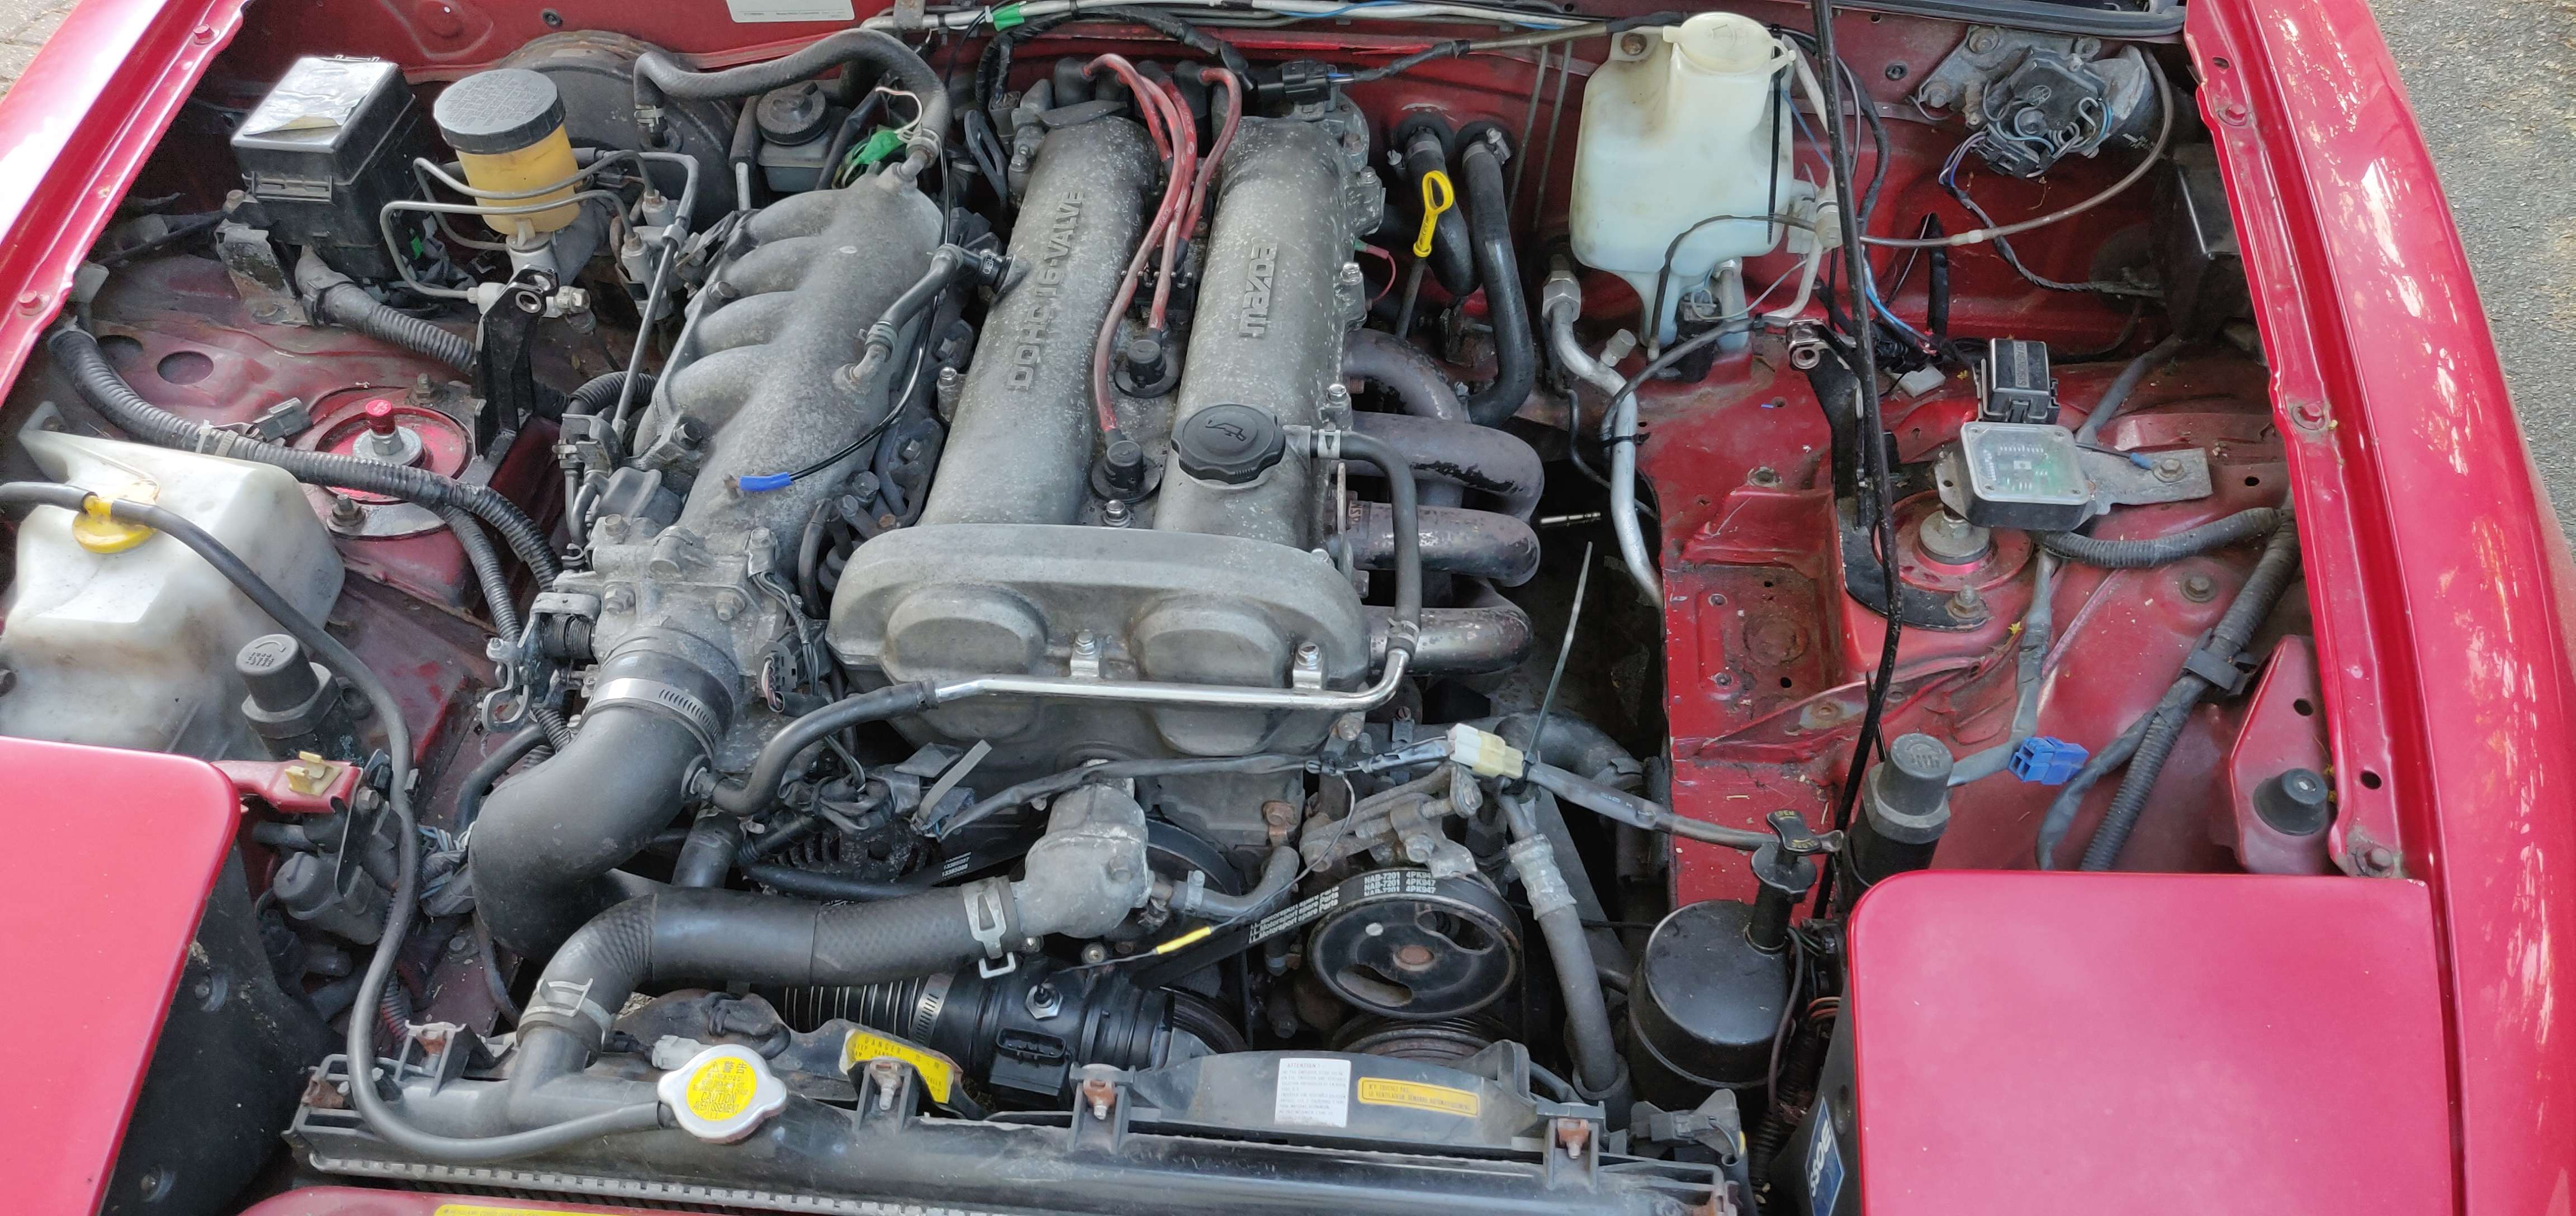 That just left the first start....which went well Turns out that using the battery to jump 2 of your other cars then sitting with the ignition on while you play with Tunerstudio might drain it Take 2 occurred yesterday, with the engine firing! but it's all over the place. So hopefully by next weekend i'll have my timing light from Machine Mart and some more success can happen. Definitely into uncharted territory for me now, i've got a lot to learn in order to make it run right |
|
|
|
Post by scottydugg on May 12, 2020 10:59:27 GMT
Great progress, also really useful for me as I'll be doing the same once I get all the bits. Lifesaver that you've detailed how to wire into the 4 lambda wires, as I couldn't find anything on it either.
|
|
|
|
Post by FFS Corders on May 12, 2020 11:33:31 GMT
Great progress, also really useful for me as I'll be doing the same once I get all the bits. Lifesaver that you've detailed how to wire into the 4 lambda wires, as I couldn't find anything on it either. Thanks, it's been a real pain to find exact details on a Eunos 1.8, almost everything out there is based around Americans tuning their 1.6s or 1.8s with different wiring colours I drown in lots of conflicting info but no definitive "I did this and it worked" with photos, so hopefully this thread will pull some info together...wether it works or not we'll have to wait and see  Having an MSLabs MS2 is a slight pain too as he uses his own firmware and there isn't much info out there for them, I'm building the courage to ask for info but not sure how helpful he would be to someone who isn't a direct customer (yet...plans for MS3 in a few years exist) |
|
|
|
Post by dadbif on May 12, 2020 12:30:49 GMT
He may have his own software, but the important bits should still be the same in Tunerstudio
|
|
|
|
Post by FFS Corders on May 12, 2020 15:03:19 GMT
He may have his own software, but the important bits should still be the same in Tunerstudio Most of the menus have all the same headings bar a couple of differences so I've been able to follow guides like the carpassionchannel video ok for getting to this point, which is good I tried playing with a basemap from diyauotune but it came up with a few errors so leaving that alone and going to work on what the ECU came with. But mostly it'll be a case of drowning people in questions |
|
|
|
Post by FFS Corders on May 14, 2020 13:40:25 GMT
This turned up yesterday, so that's a good part of my weekend accounted for 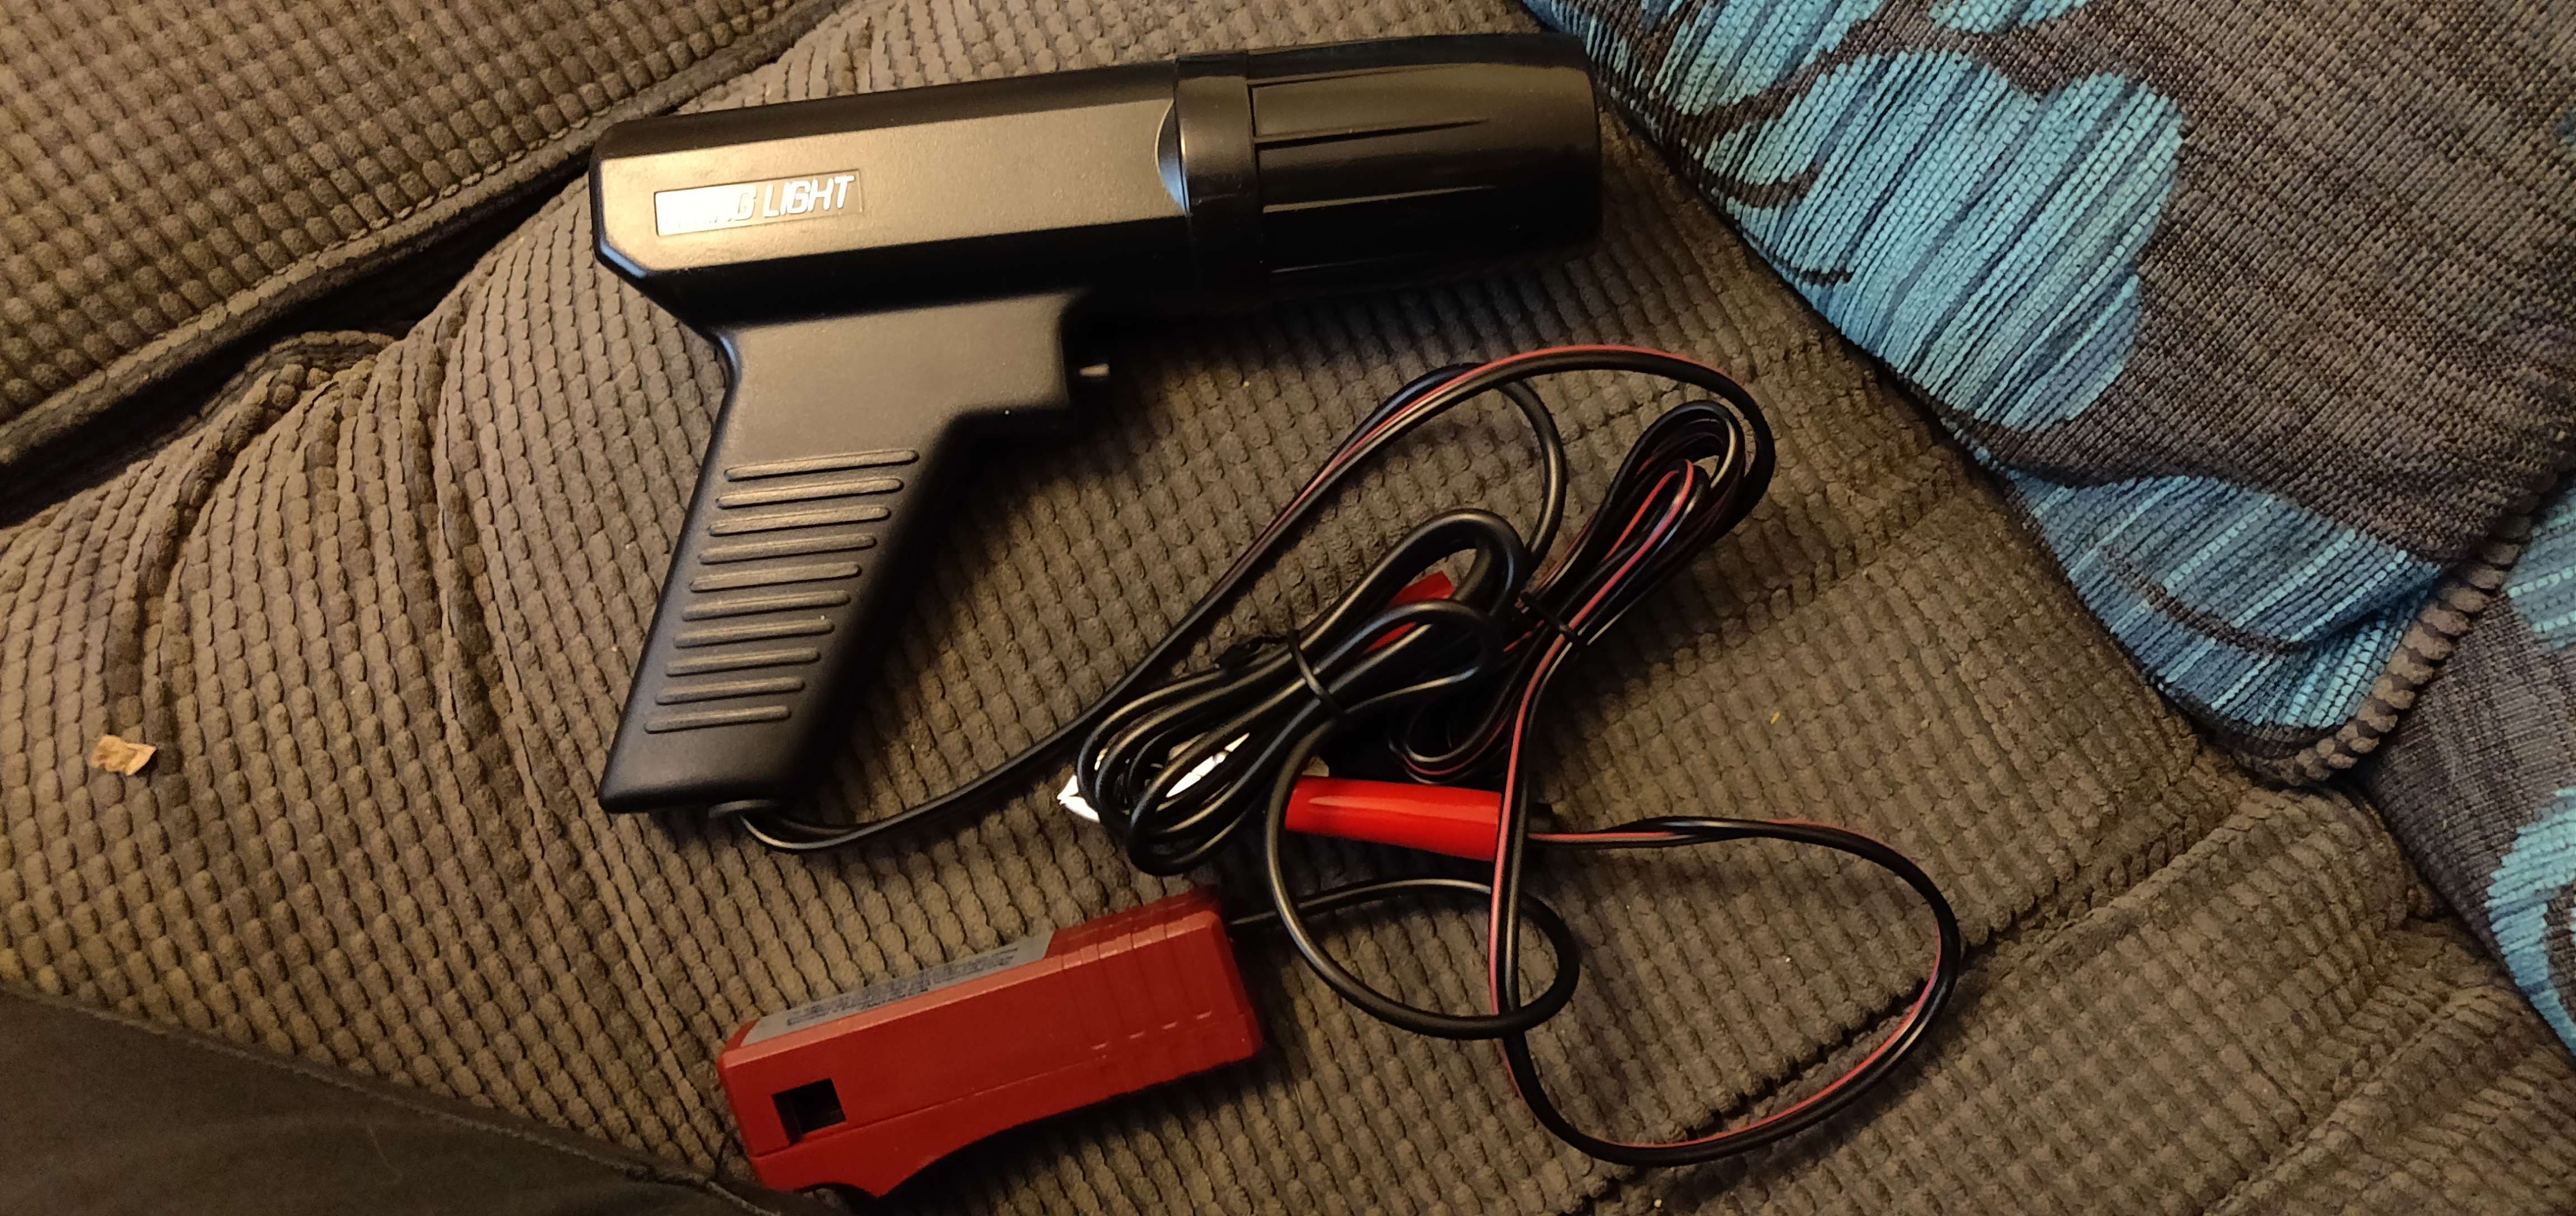 |
|
|
|
Post by dadbif on May 14, 2020 21:02:10 GMT
Got some white paint/tippex?
|
|
|
|
Post by FFS Corders on May 16, 2020 18:35:27 GMT
Got some white paint/tippex? I luckily still had marks from last time  MK2 pulley as well so get both marks, which helps identification Set the timing to 10 degrees ish with the idle all over the place as per the last video, then set about adding a shed load of extra fuel to the VE table after consulting JoshO who is on a similar road to mine at the moment. All of which meant the idle became somewhat on the steady side of life, with AFR in the 16ish region on the gauge But only on the gauge...for some reason the ECU isn't giving an AFR reading. I checked the wiring is correct and that my soldering is intact, which it is, so not sure where the lack of signal is. So now the plan is to get the multimeter out and see what's going on in the signal wire. Then once the ECU shows AFR I can play with the tables some more And fit that grommet in the bulkhead of course |
|
|
|
Post by dickie on May 16, 2020 19:44:30 GMT
Hi Corders,
I would have been tempted to drill and tap the inlet plenum for the IAT sensor, you have the removeable upper part so easy to get rid of swarf, that would take heat soak into the casting into account and be more accurate.
You can ditch the plastic lump as well then. I understand you have gone for the quick fix at the moment.
I have mounted mine into the air filter backplate between 2 and 3 cylinders.
|
|
|
|
Post by FFS Corders on May 16, 2020 21:52:15 GMT
Thanks Dickie. There is a very inviting spot right by the throttle body that I was tempted by, but gutting the MAF was something I wanted to try out. Definitely not something I would choose to do again! At least I know the thread tap I bought works well It will live down there for now as the Jackson racing intake has its outlet directly bolt onto the MAF's existing threads so will have to keep the gutted bit until I get a replacement but of pipe...or I could use my non molested spare MAF. Something to ponder after the car is running better  |
|