|
|
Post by atlex on Mar 5, 2018 16:48:20 GMT
Looks very, very awesome. It'll be running soon ?  |
|
|
|
Post by browno on Mar 7, 2018 10:36:59 GMT
It is in mobile condition now (in that the engine runs and brakes, clutch etc all work) - but obviously some more to do before it is legal!
I actually called the DVSA to check approx wait for IVA appointments last week. I reckon another couple of weeks to get the front and rear bodywork buttoned up and then I will submit the IVA paperwork so that I then have a deadline to work to for the final sorting. A target is to be able to drive it to the Stoneleigh kit car show in May.
|
|
|
|
Post by BikeTuna on Mar 7, 2018 10:46:02 GMT
This is really interesting to see it all come together, I've kind of already decided that when mine dies of rust (which is probably imminent) the exocet will be its next life.
|
|
|
|
Post by browno on Mar 28, 2018 23:12:38 GMT
So, it has been a little while since I last updated - so here is the latest instalment in my build! The first job from last time was to get a number plate light fitted - which started out with some careful marking and positioning... 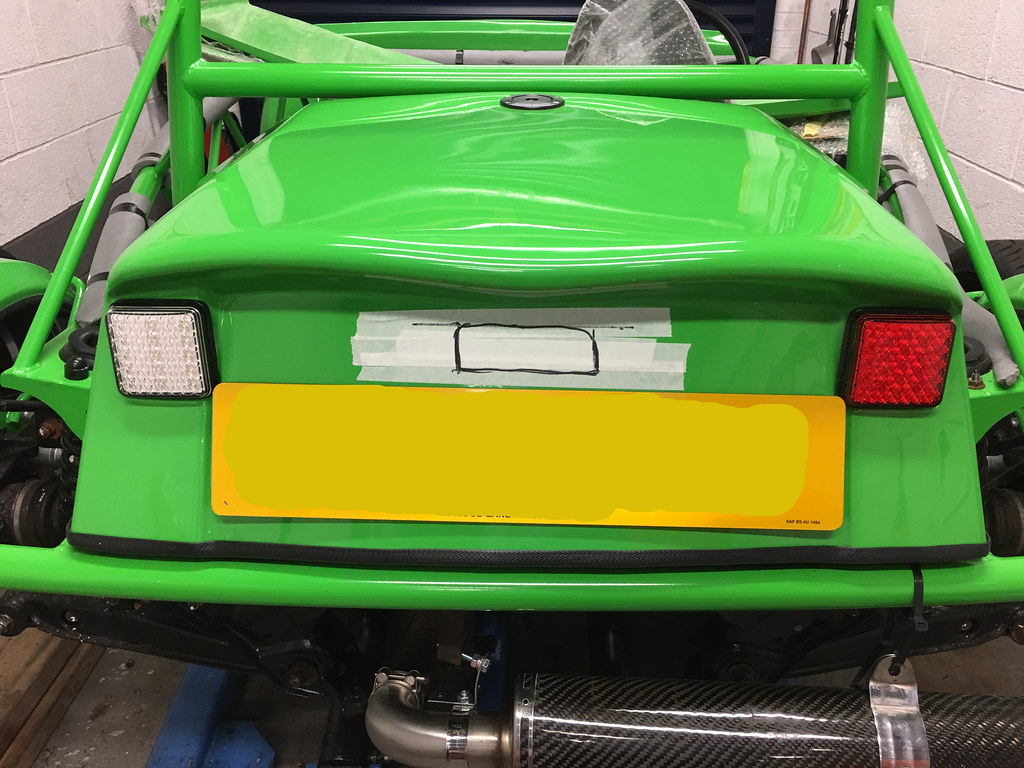 Untitled Untitled on Flickr and got the lights in the cover all connected up and tested: 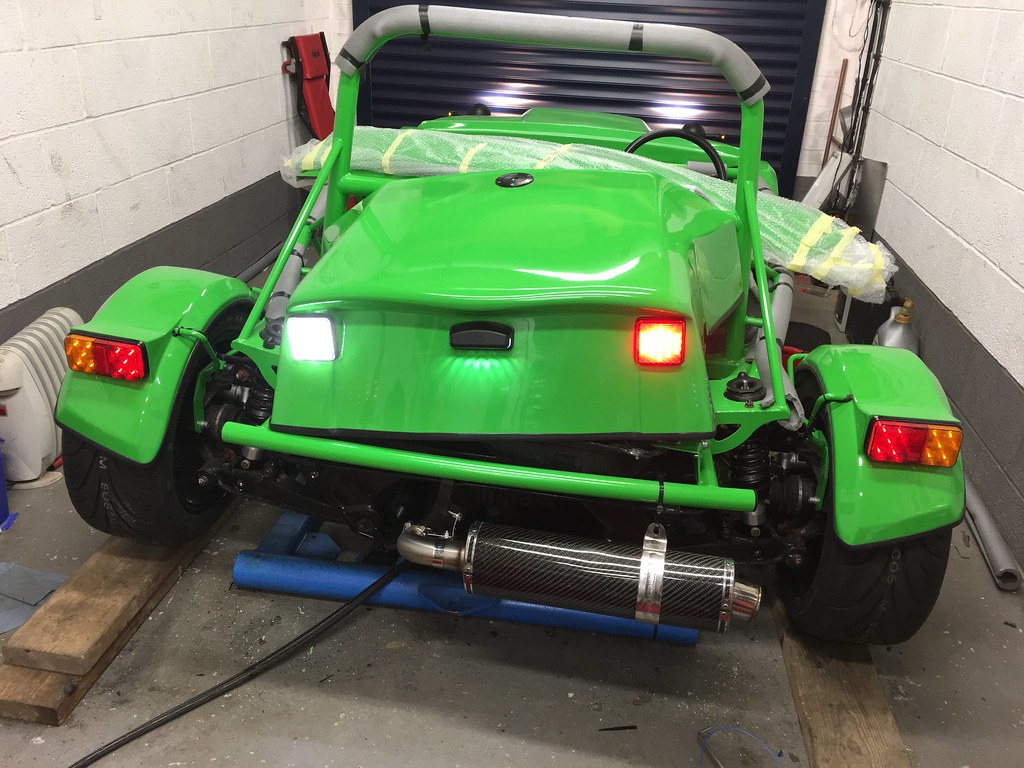 Untitled Untitled on Flickr so I could then secure the rear cover into place (the silver screws have since been replaced with some nice black allen-head bolts and countersink washers) 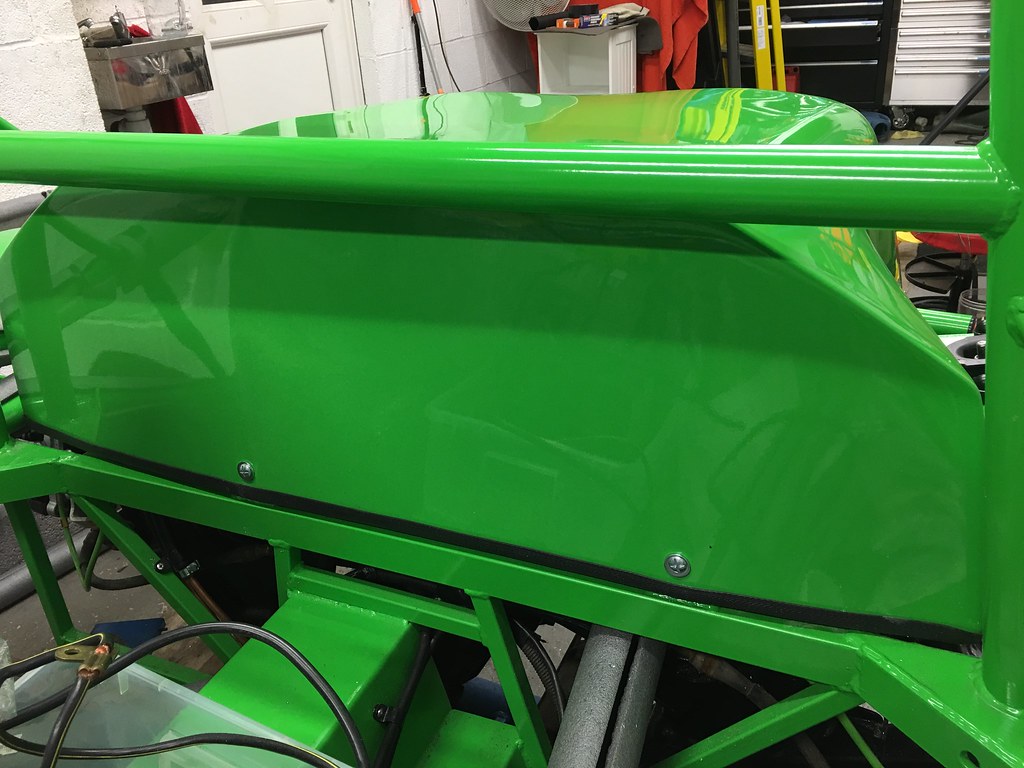 Untitled Untitled on Flickr then I fitted the side repeaters into the cycle wings and wired those in 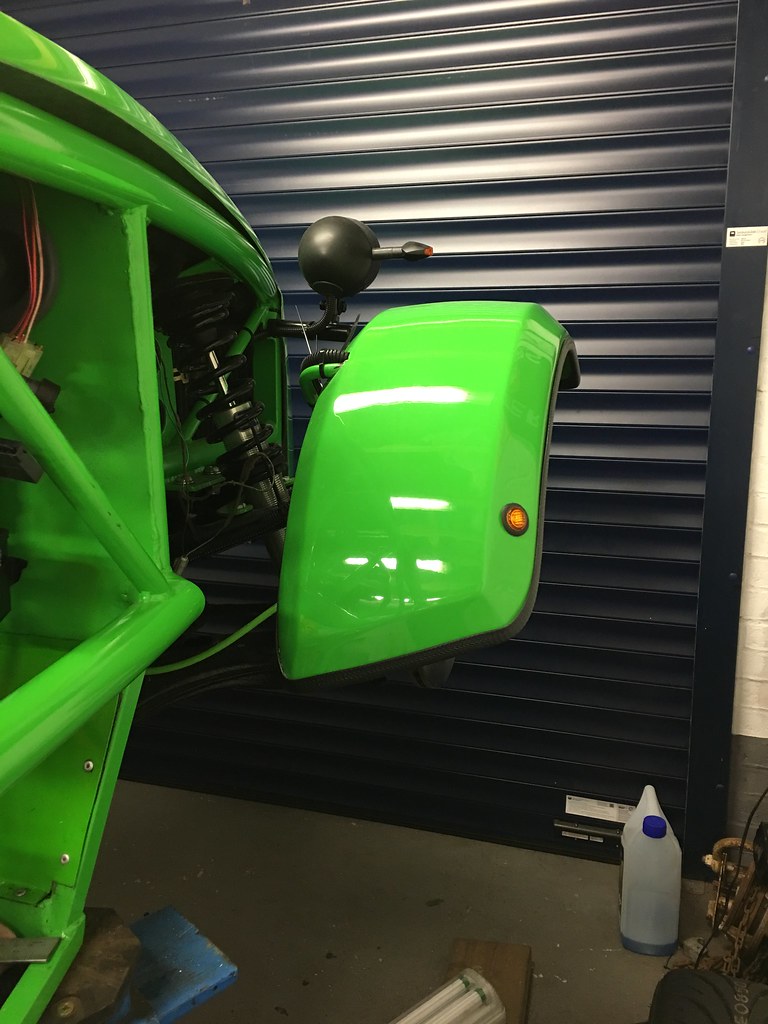 Untitled Untitled on Flickr Next were some painting jobs to get out of the way: Priming and painting the cam cover: 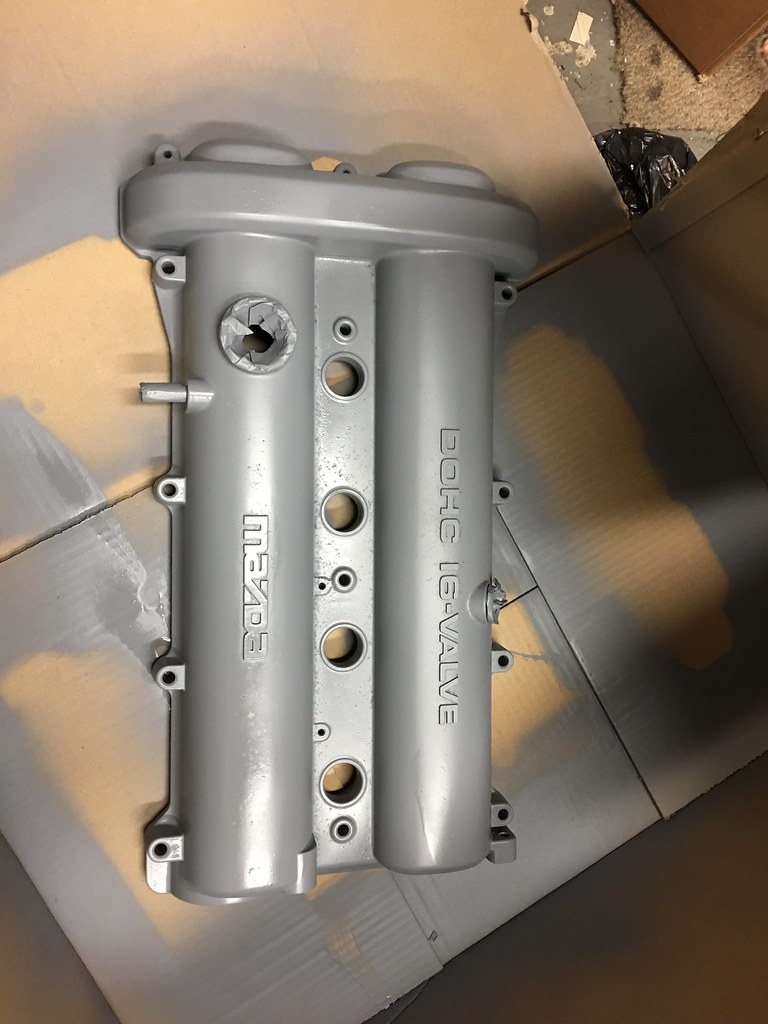 Untitled Untitled on Flickr 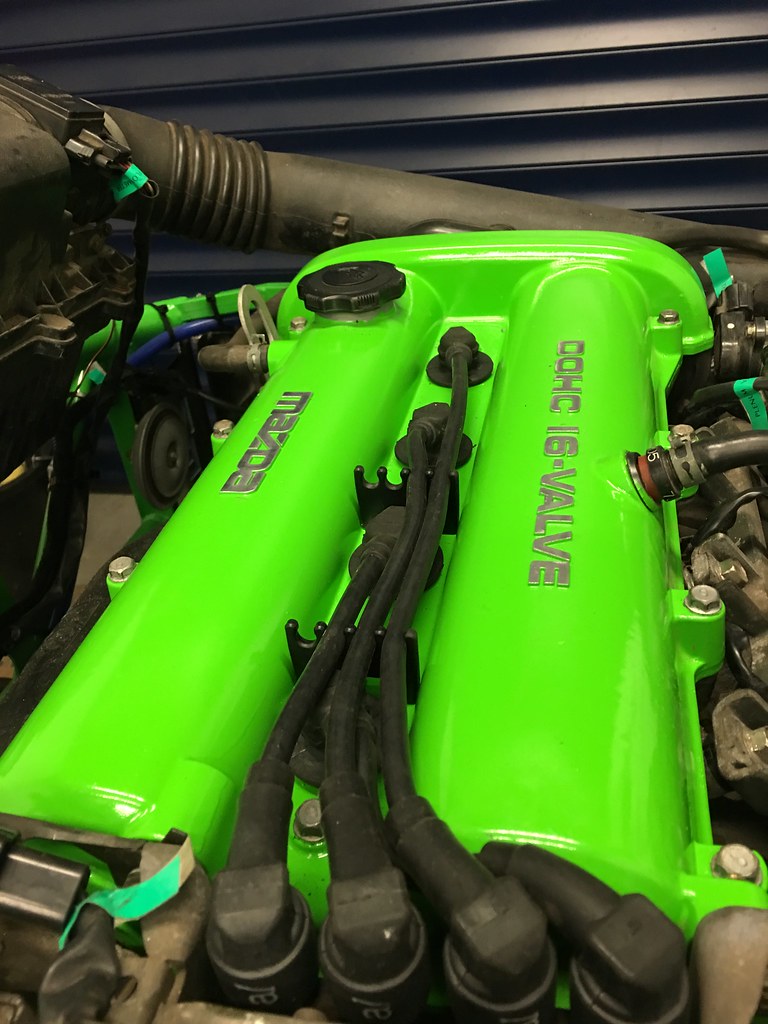 Untitled Untitled on Flickr and a coat of black gloss over the backs of my GRP seats to finish them off 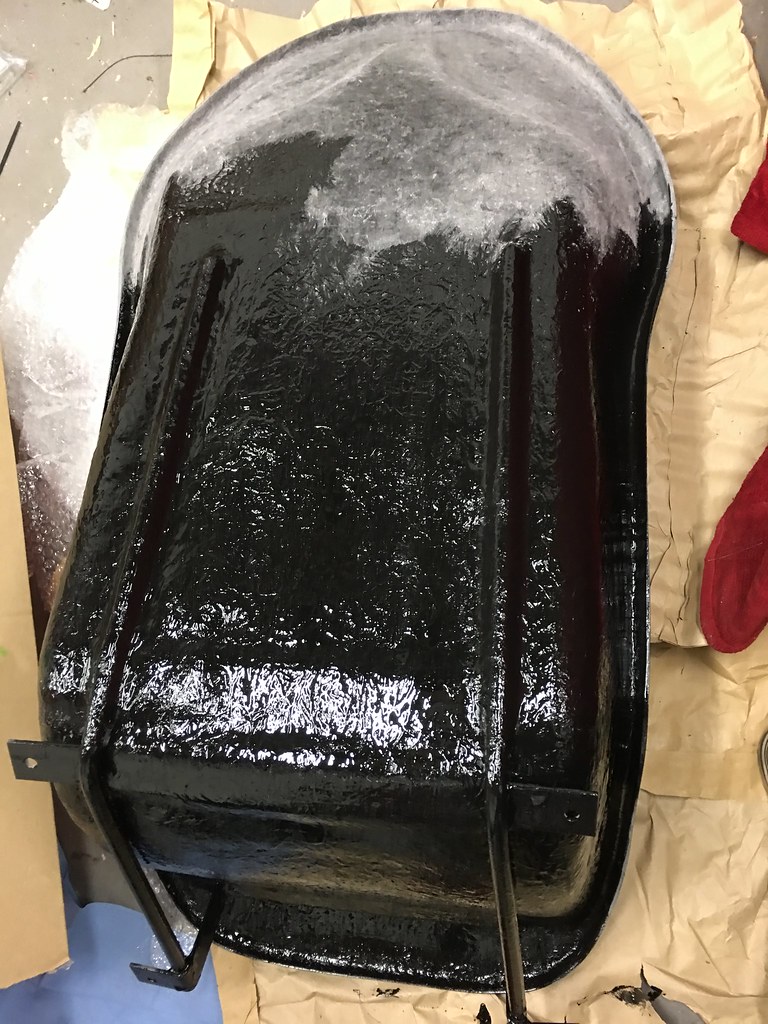 Untitled Untitled on Flickr Fitted my fog and reverse light switches (with rings due to a *slight* error with the initial drill placement). 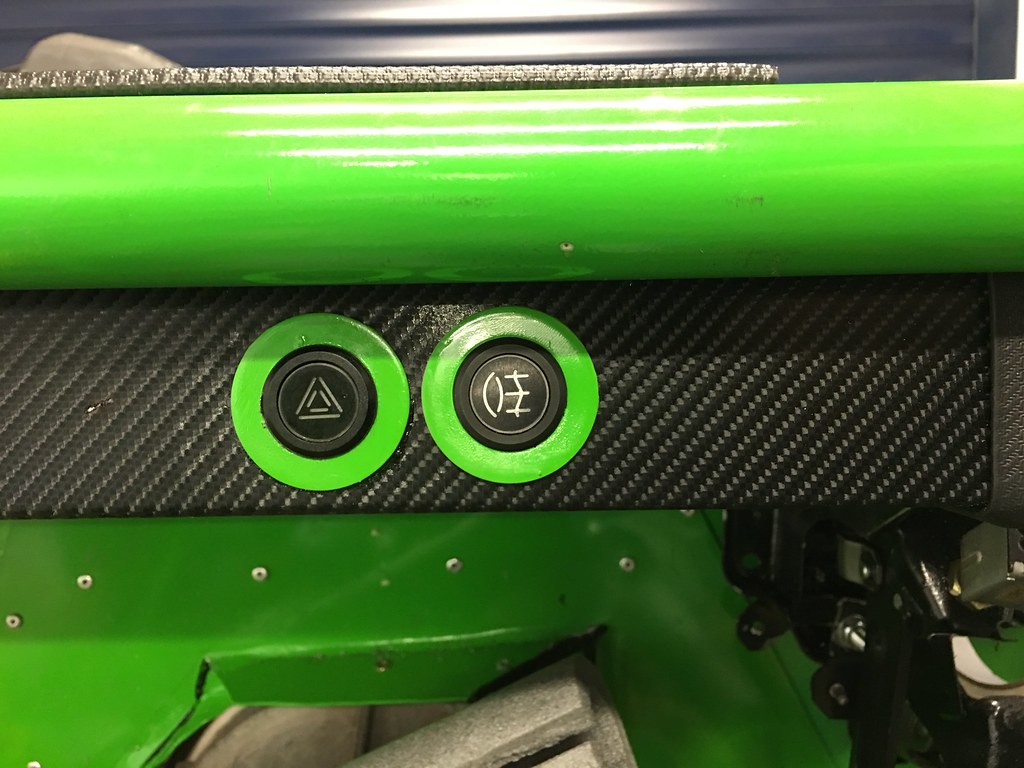 Untitled Untitled on Flickr Next was a bit of cardboard templating and cutting out the rear bulkhead ready to be fitted:  Untitled Untitled on Flickr and then the bit I hadn't been looking forward to - fitting the nose. Unfortunately, even with the radiator moved as far back as possible (the fan housing is hard against the frame) and the inside of the bonnet contacting the radiator, there is still a gap of about 20mm between the back edge of the bonnet and the top bulkhead rail - which is a shame, but something I can't see a way around without further modification - so I will address the gap somehow instead. Nervously cutting out the openings for the aero catches: 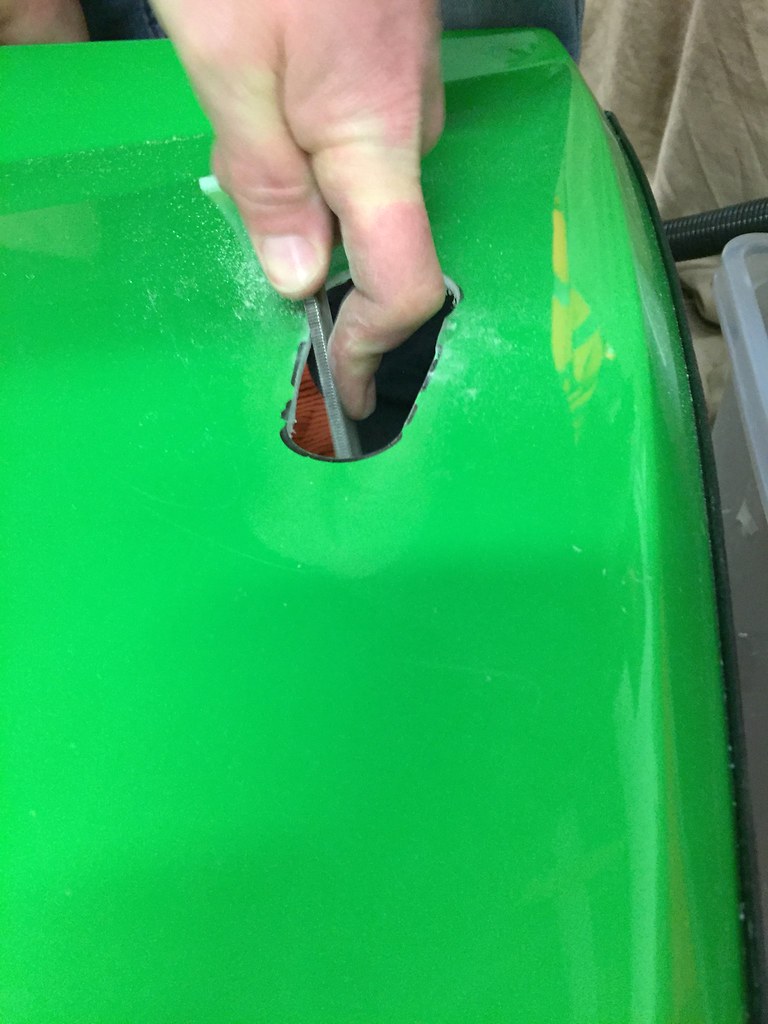 Untitled Untitled on Flickr and fitting them 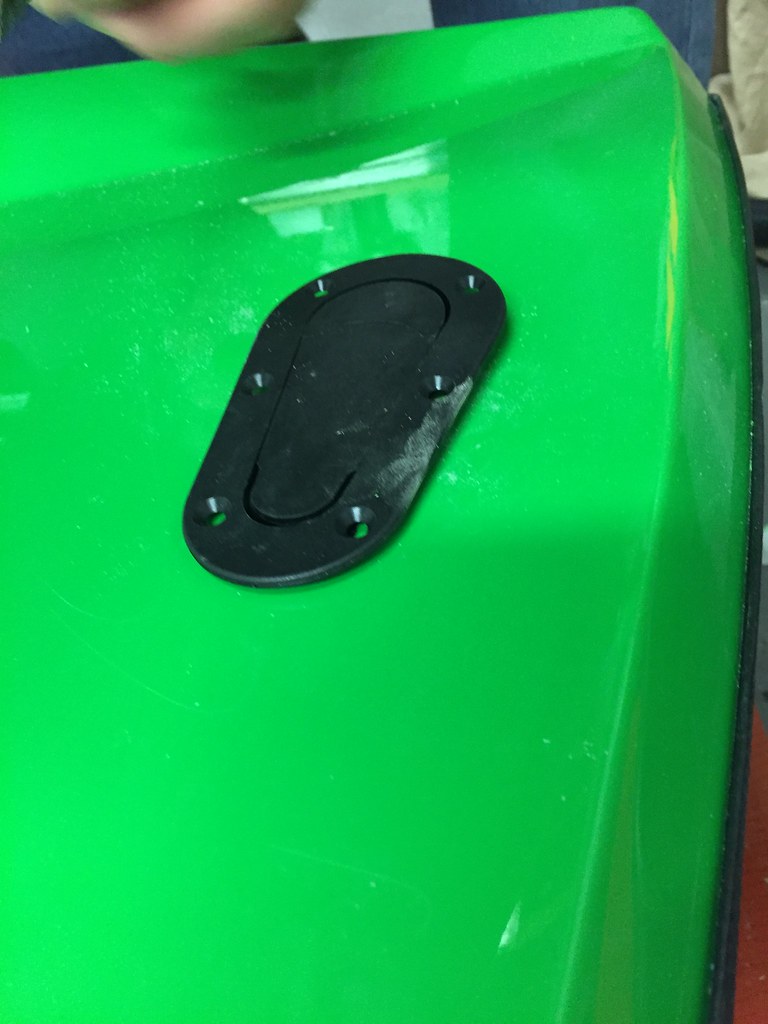 Untitled Untitled on Flickr and bonnet fitted (but with a noticeable gap) 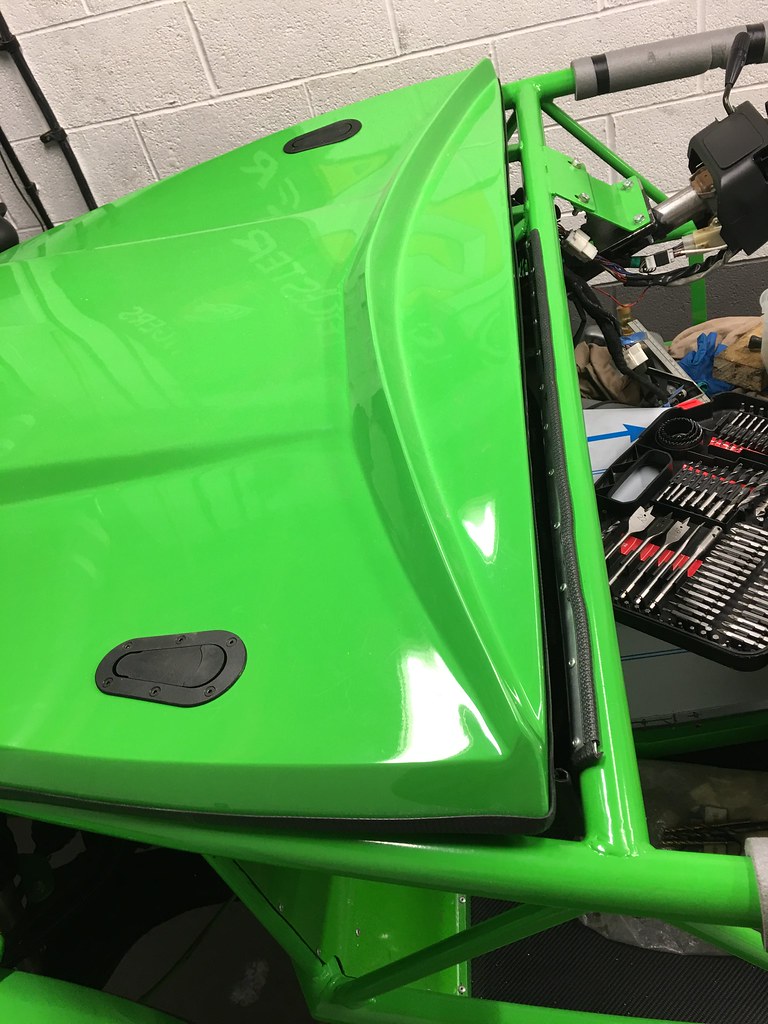 Untitled Untitled on Flickr finally, I have added a couple of push-button pins onto the front end to secure that - and everything is nice and secure. 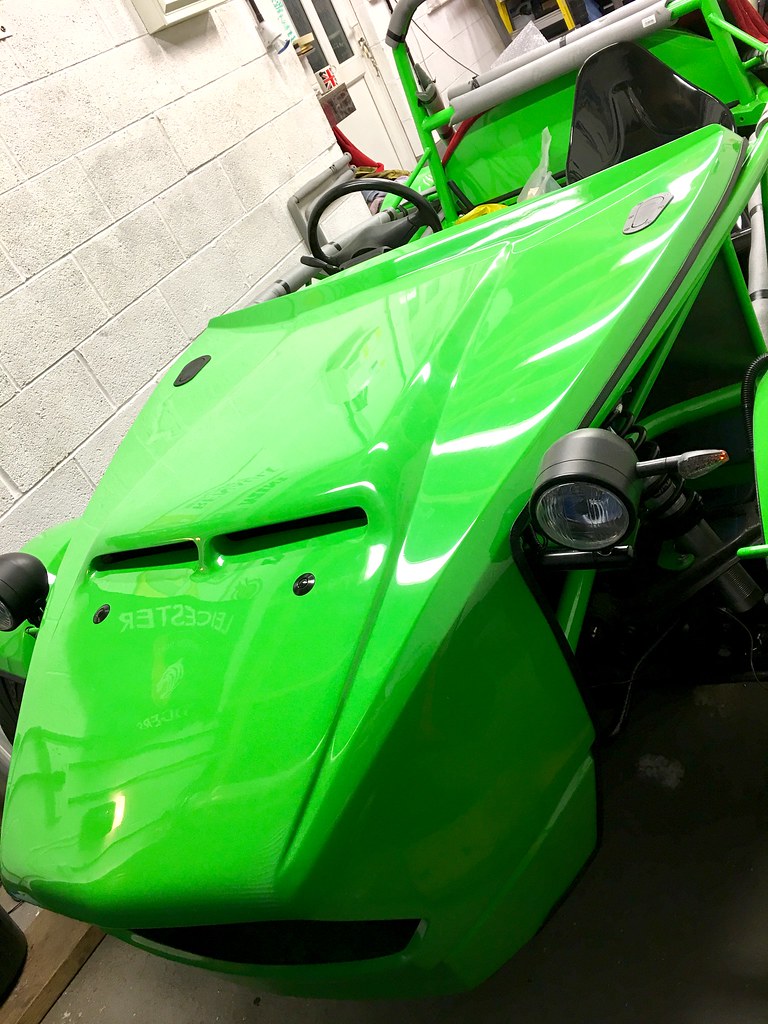 Untitled Untitled on Flickr I have tonight started to trim up my side panels ready to fit them up - so hopefully I can get them and my seats all fitted up very shortly. I am pleased with how it is coming together and am managing to tick off some of the jobs that I wasn't looking forward to as well! |
|
|
|
Post by teamawesome on Mar 29, 2018 9:09:19 GMT
Looking good! Where did you get the exhaust box from? Is it 2.5inch?
|
|
|
|
Post by browno on Mar 29, 2018 21:07:15 GMT
Exhaust is a used bike can (quill branded) from eBay - it is 2” ID inlet, so slips nicely over the original mx5 exhaust. So works fine for now until I maybe swap it for something more purpose built later on...
|
|
|
|
Post by browno on Apr 21, 2018 21:19:15 GMT
It has been a few weeks, so it's time for another update! First job was to fix my rear bulkhead with a combination of a good bead of tiger seal and some rivets - as seen here in progress... 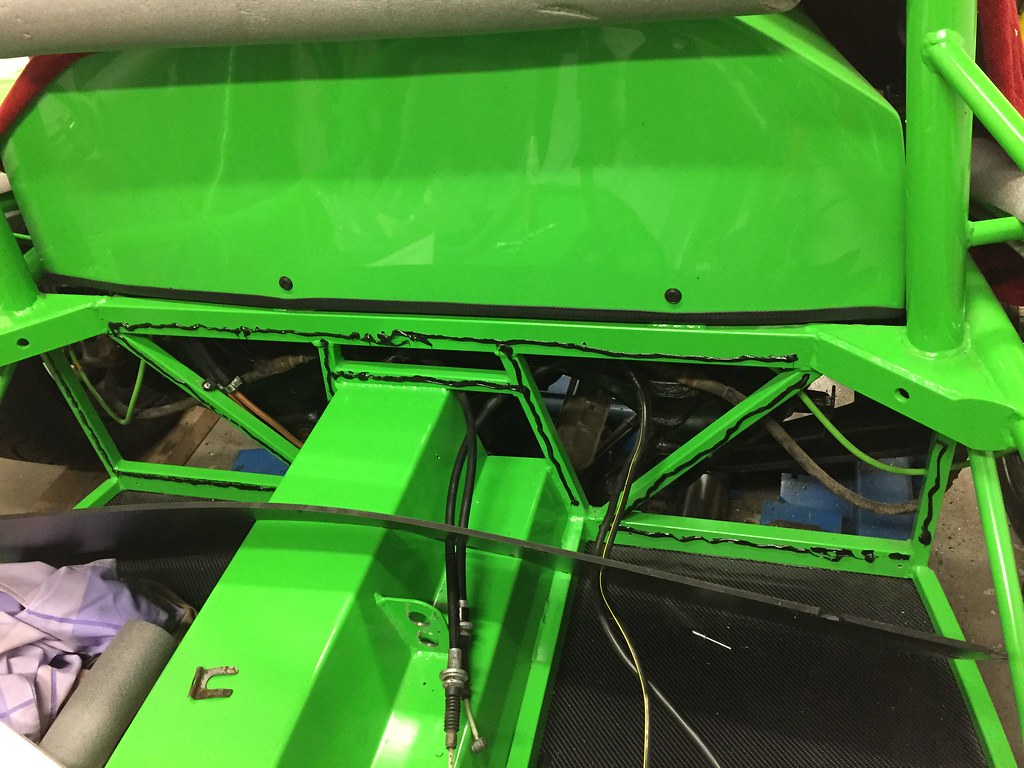 Untitled Untitled on Flickr Next up (after some trimming and double checking fitment!) was to fit my side panels, which I secured using LOTS of tiger seal! I used a full tube across the bottoms which was then allowed to go off (and a further bead added on the inside and outside of the bottom edge to fill out the space), and then 2/3rds of a tube for the top edges. I added edge trim along the bottom, front and rear edges after fitting, and along the top edges (glued on), before then securing the top with a (mostly) neat bead along the top edge. 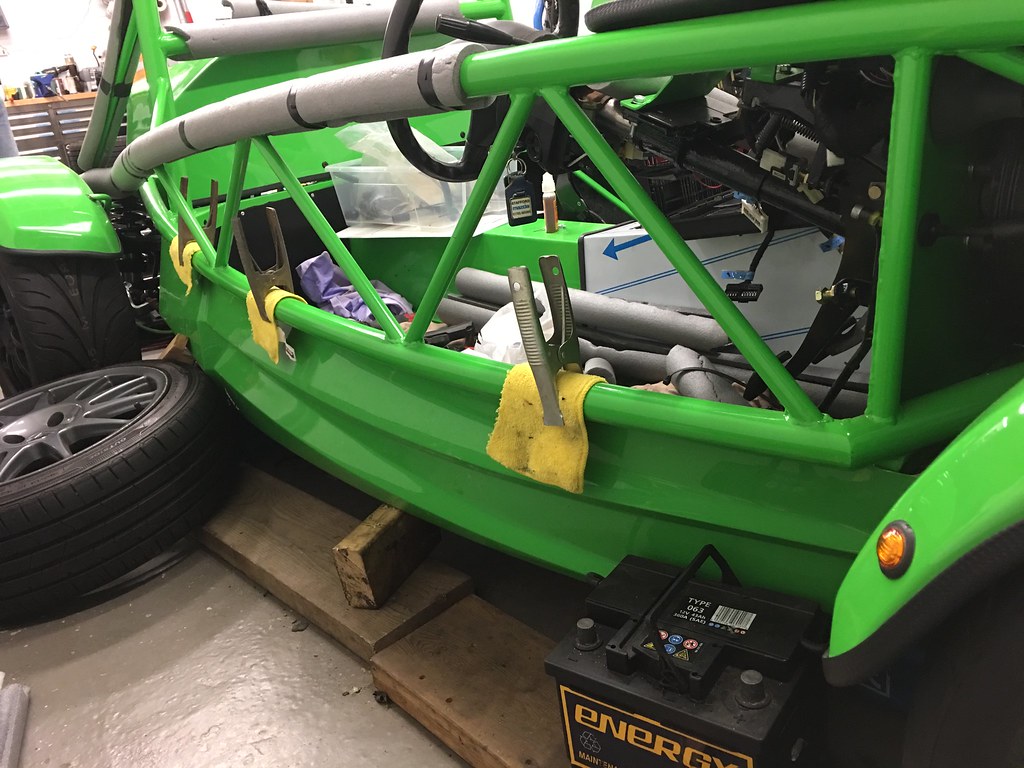 Untitled Untitled on Flickr 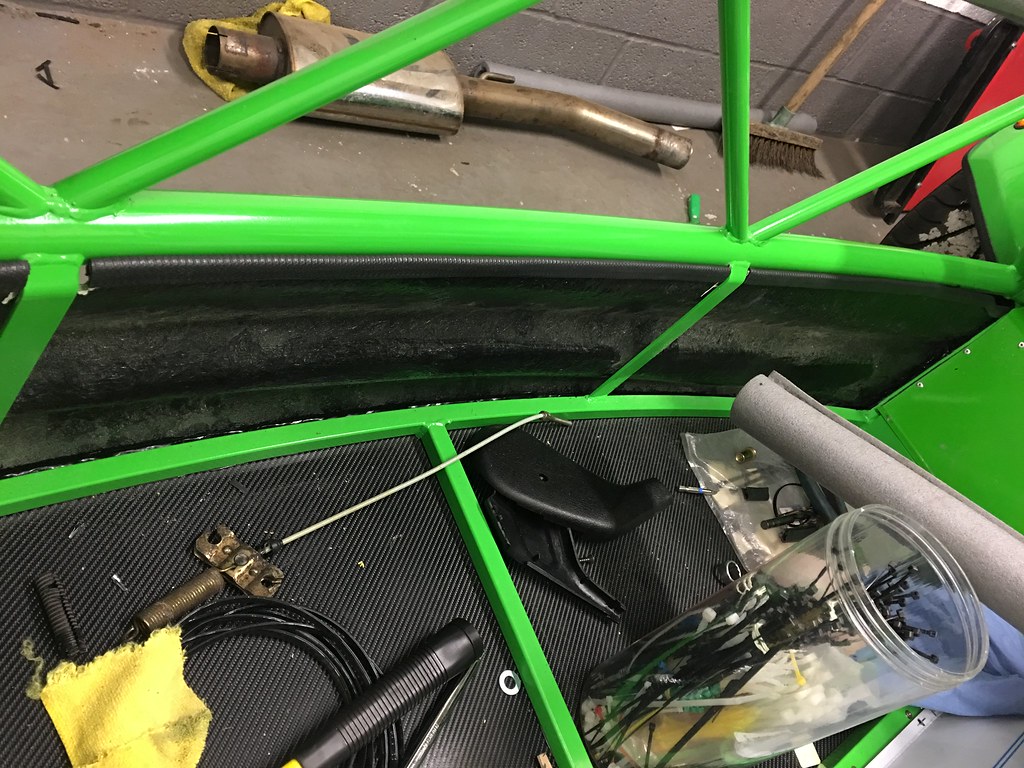 Untitled Untitled on Flickr 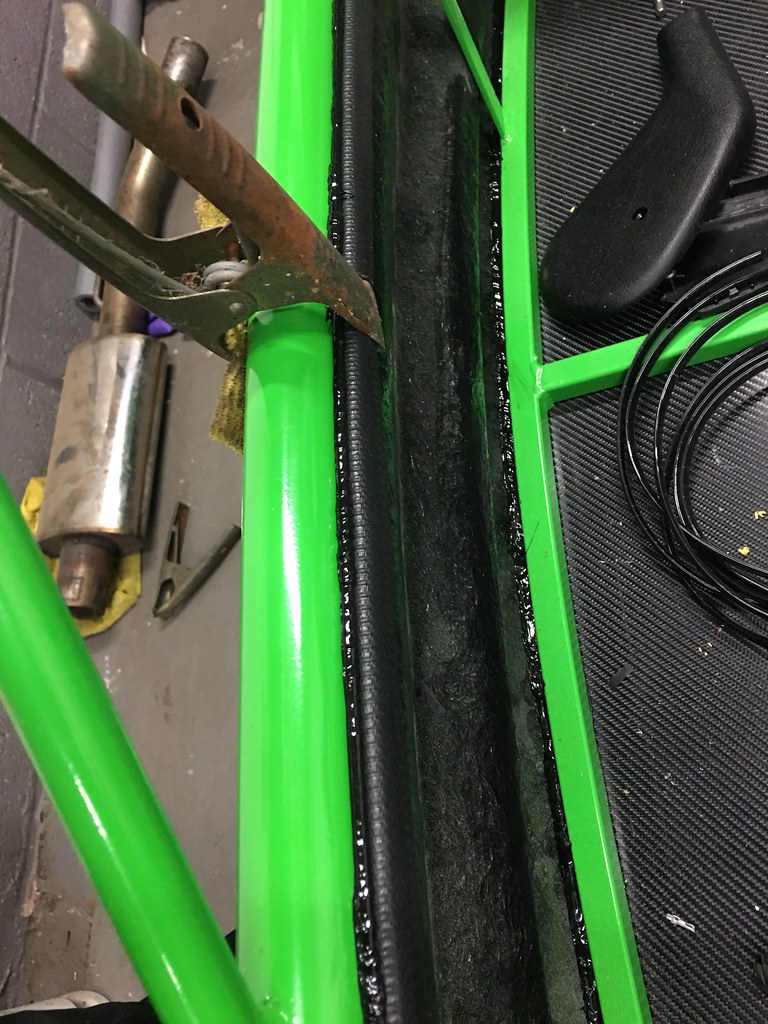 Untitled Untitled on Flickr 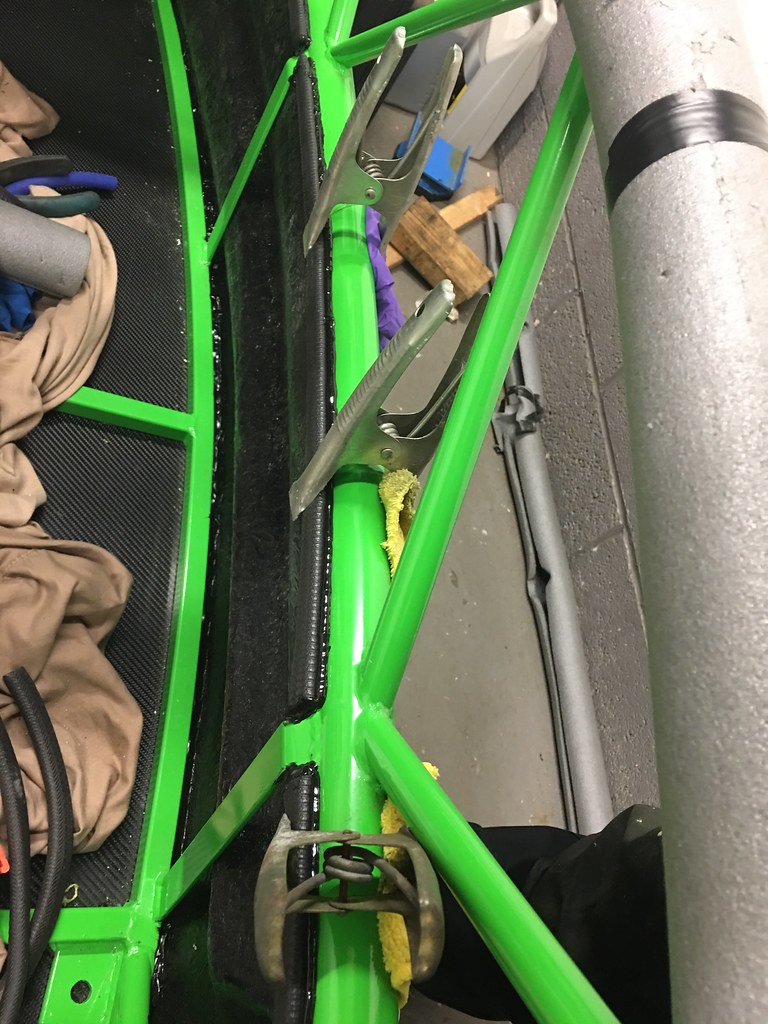 Untitled Untitled on Flickr I then added a bit of identification... 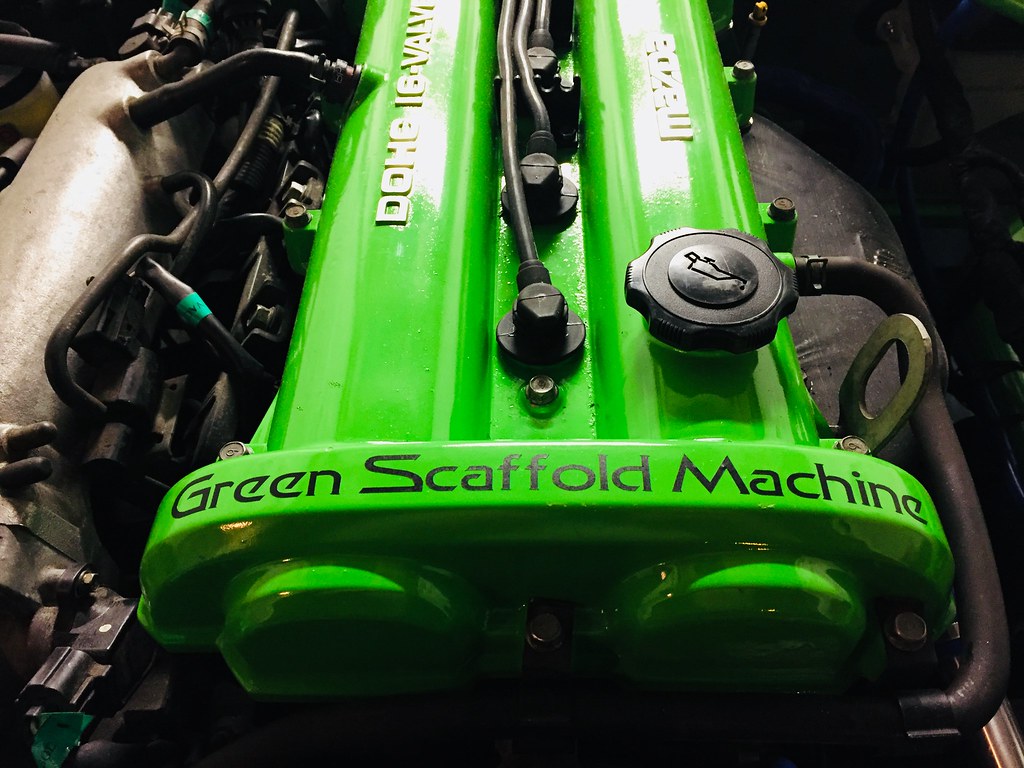 Untitled Untitled on Flickr I have then been doing a whole series of smaller jobs (changing the oil and filter, torquing bolts and sorting a blow in the exhaust), which aren't so photogenic! I have also bought a battery box, which is positioned ready to be bolted in, but I have been diverted by trying to get my seats in and fitted up. I had sold my donor seat runners along with the seats, so needed to buy a set of runners, which turned out to be mk2 runners, so needed a little tweaking to allow them to fit. Having fitted the runners and edge trimmed the seats, I spent some time playing with position and adjustments, I got the drill out and made the necessary holes which have allowed me to test fit my seats. I now need to get some shorter bolts to final fix them, and to cut out the holes for the harnesses (which I have the lower eye bolts prepped for). 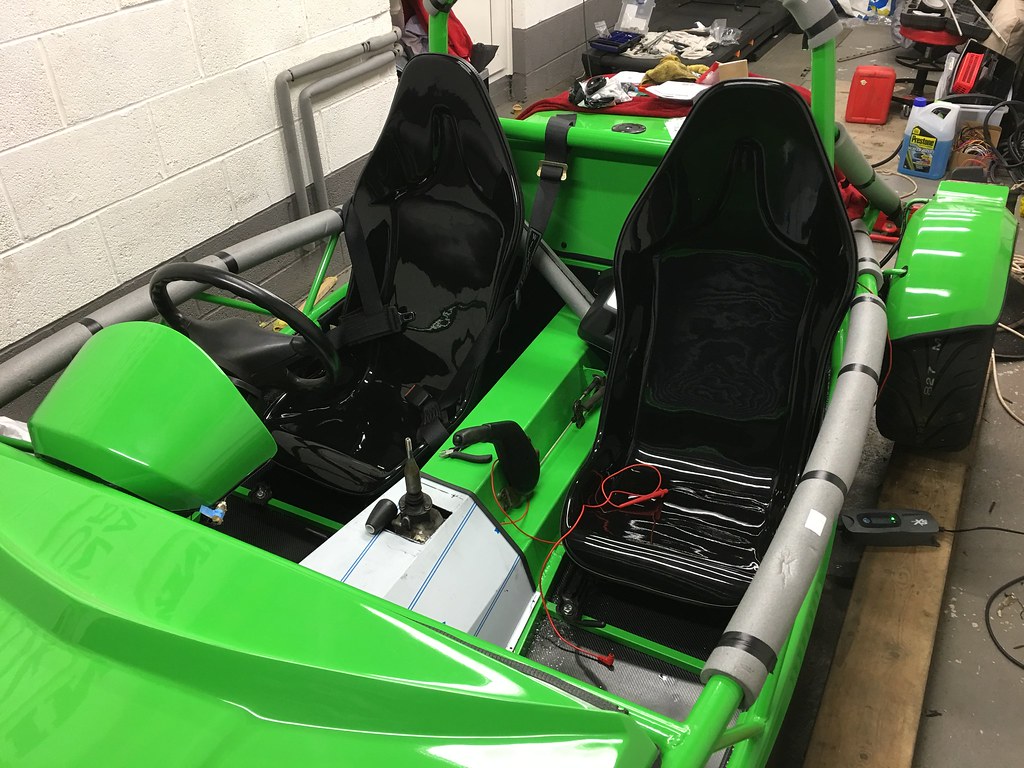 Untitled Untitled on Flickr 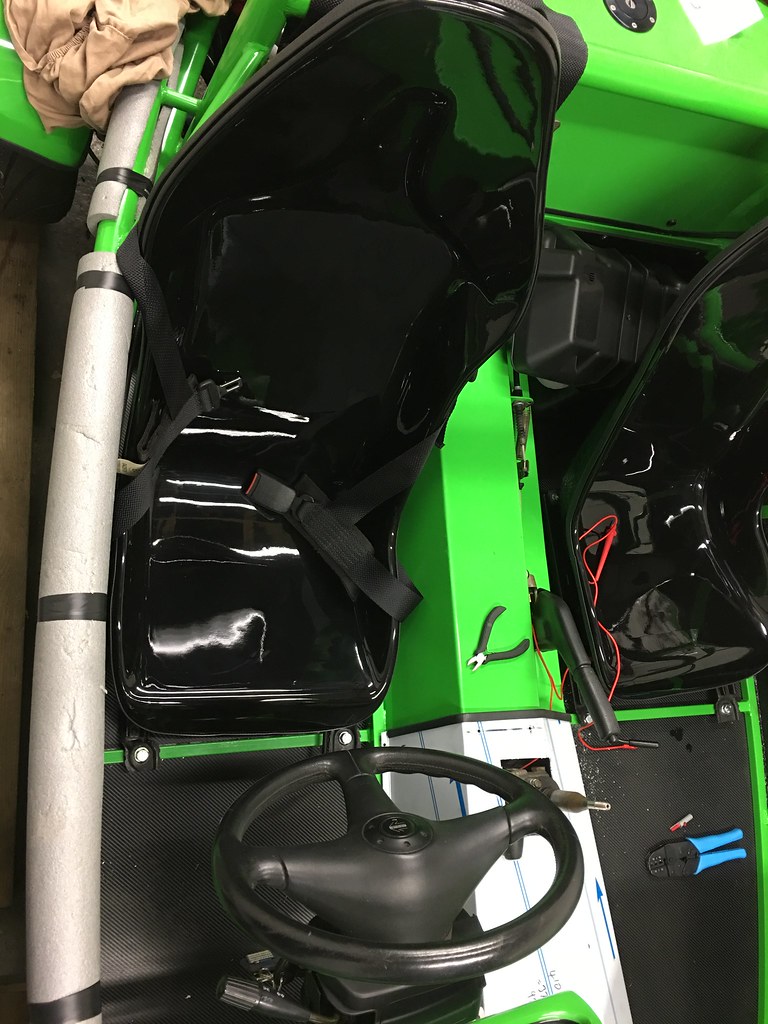 Untitled Untitled on Flickr Next jobs are to fit the battery box and then I am into final prep for IVA, where I plan to take it for a pre-check at a mate's garage with MOT bay, so we can check brakes, lights and emissions. I think that I am going to be ready to submit my paperwork very soon to get it ready for the road! |
|
|
|
Post by teamawesome on Nov 23, 2018 10:31:22 GMT
Any update on this?
|
|