Post by Fizbne on May 13, 2017 21:19:10 GMT
Heyyy guys.
Long time, no update - I haven't really had much time at all to relax. Been busy, but alas NOW IS UPDATE TIME!

I last left of with a jetwashed underside, a car that was full of holes, and my luscious booty. Holes are unacceptable, and did I mention I absolutely hate rust?
So, to destroy rust, you must cut out rust. So, off Hal went with the angle grinder and made my holes a single big hole. Lel.
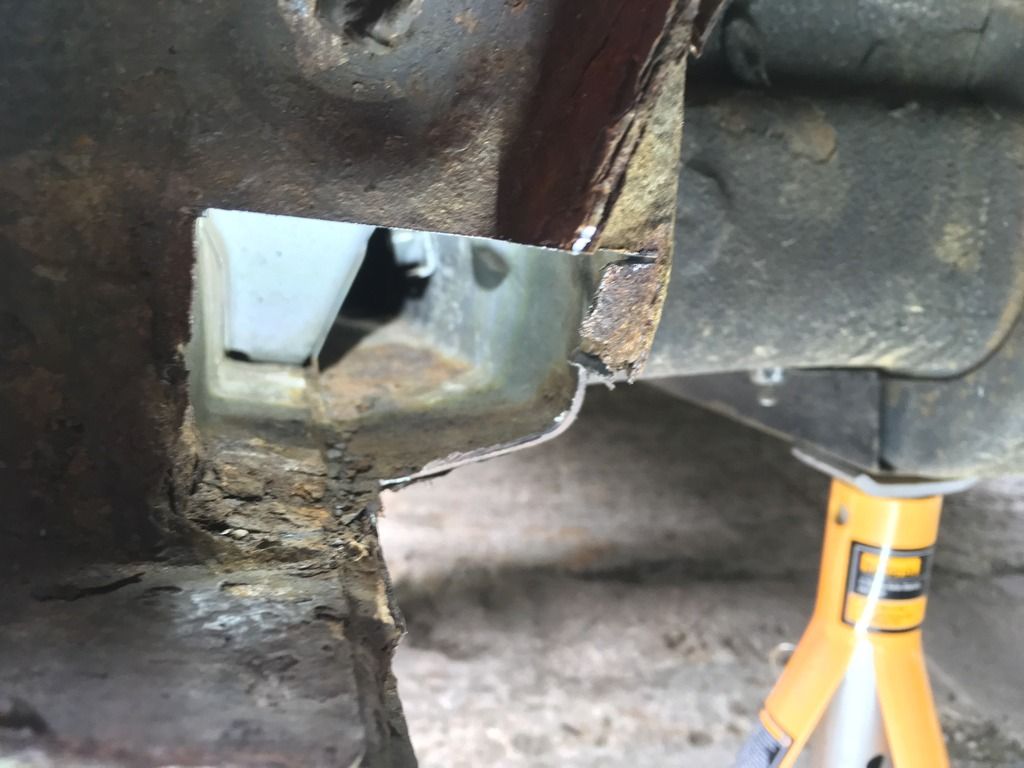
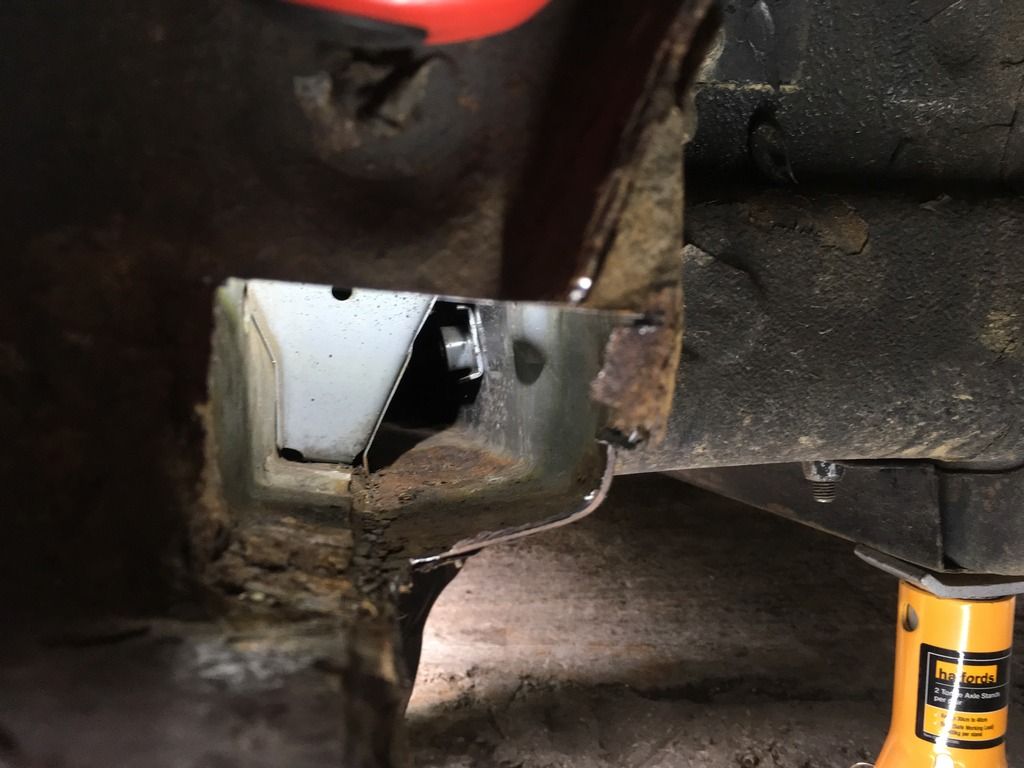
I've never cut up a car, let alone used an angle grinder so watching someone slice my car up was pretty daunting and I was quite nervous about it tbh. But, once we cut away the holes I was actually pleasantly surprised to see that the inside isn't actually that bad at all. Some surface rust on the bottom (where water tends to sit) but it was solid other than that. Seriously put my mind at rest now, and I've been able to enjoy the car ever since without having that nagging at the back of my mind "Ugh, I'm driving a peasant rusty Roadster".
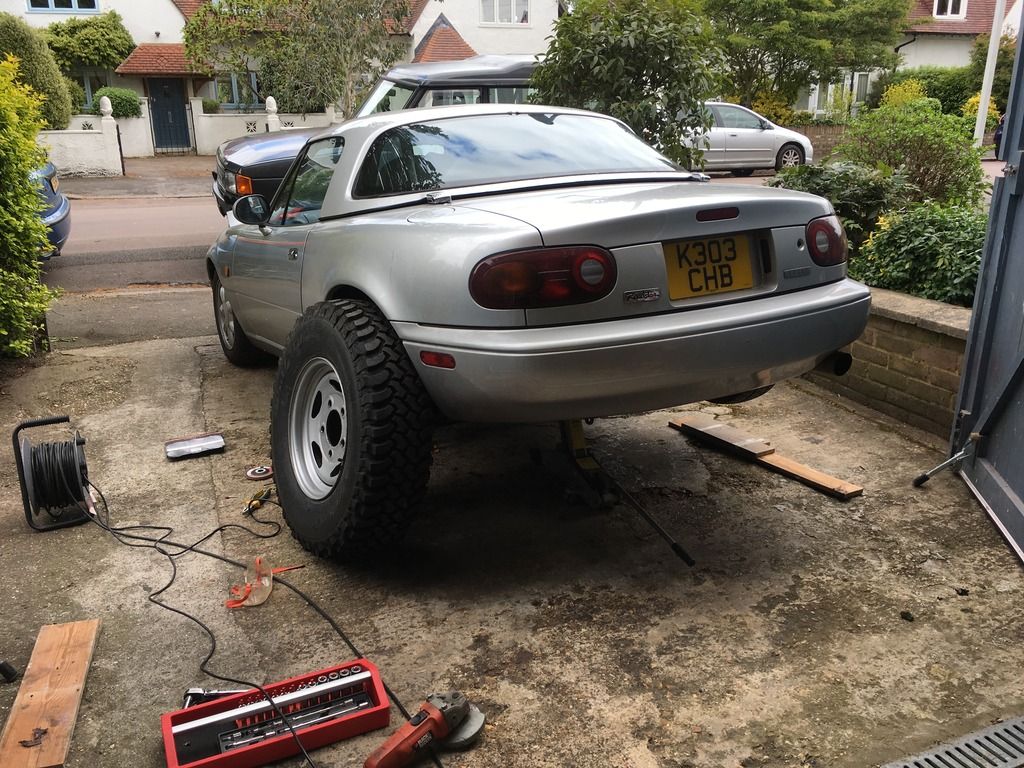
Took the spare wheel off the back of my mate's Disco - Looks Canoeing awesome and a lifted Roadster would be kinda cool thinking about it NO BAD HARIS NO LIFTING ROADSTER.
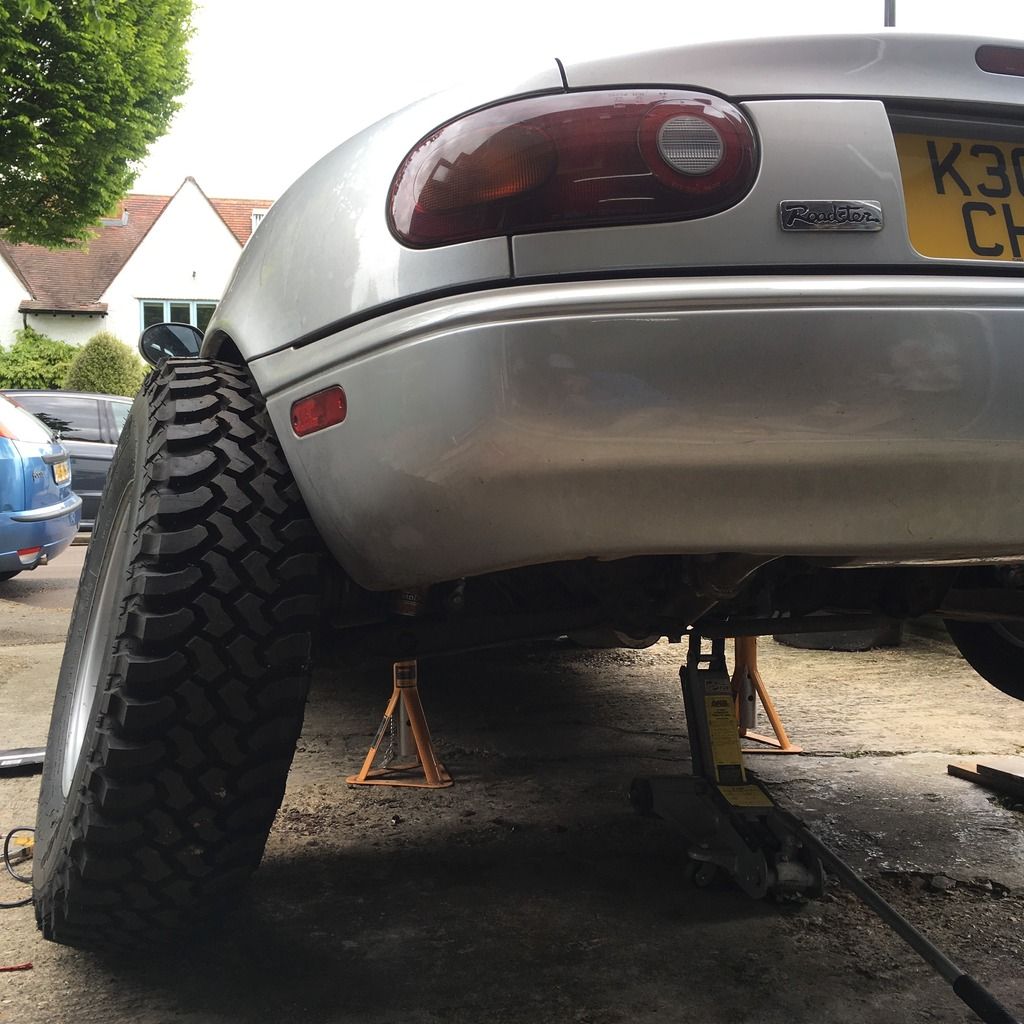
Do you even lift breh?
Alright, no more messing around. It's time to weld 'er up.
I was in charge of making templates using CAD - Cardboard Aided Design that is! Huehuehue.
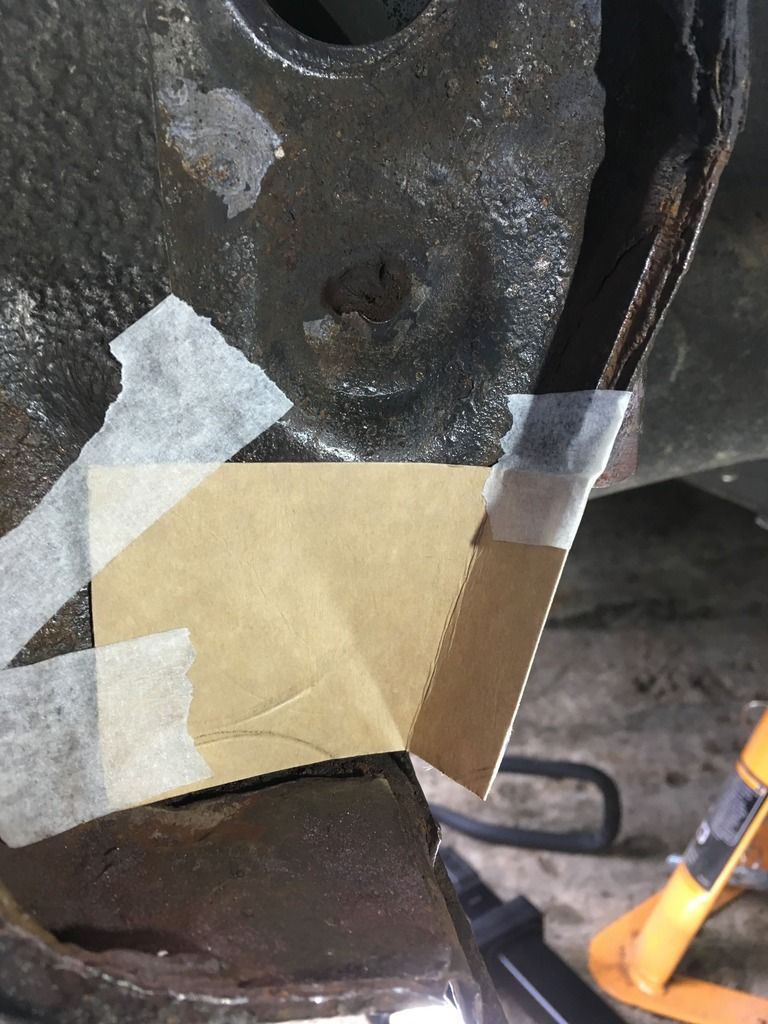
I took charge of templates as I can be a bit of a control freak and want things done to my standards, which are pretty high because I'm a posh Canoe. So I made templates, we consulted with each other and once happy with how they were it was time to cut the templates out from HEAVY METAL.
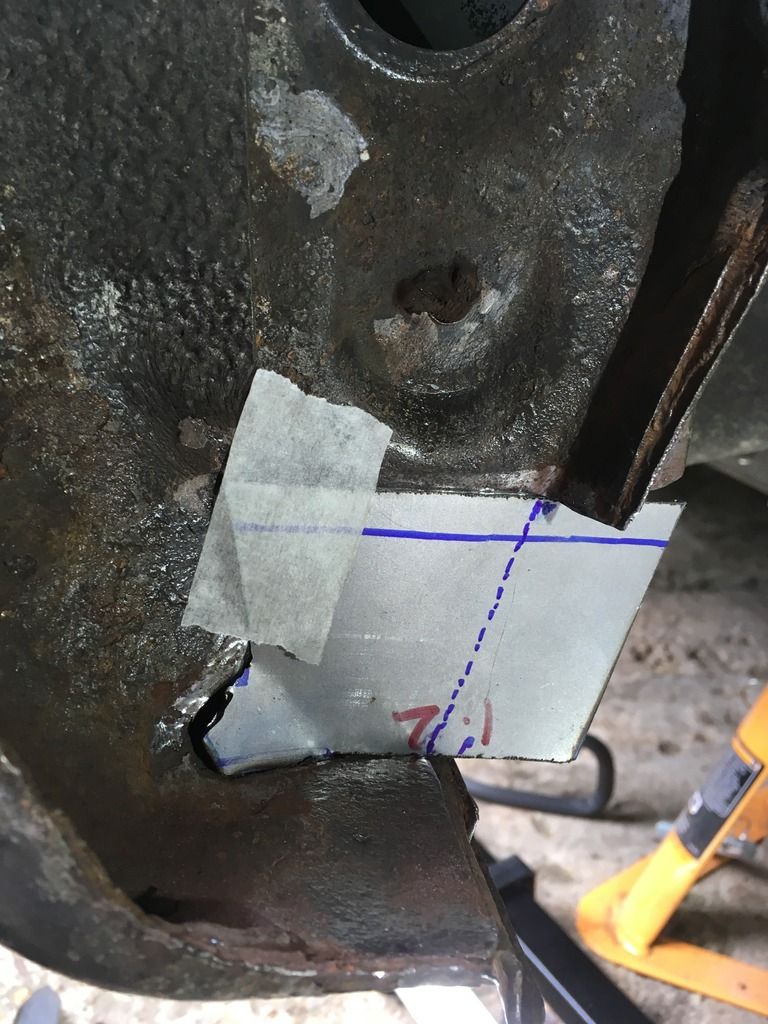
Alright, it could be better... So much for high standards LAWL. But, a bit of filling the hole with extra weld and all gut.
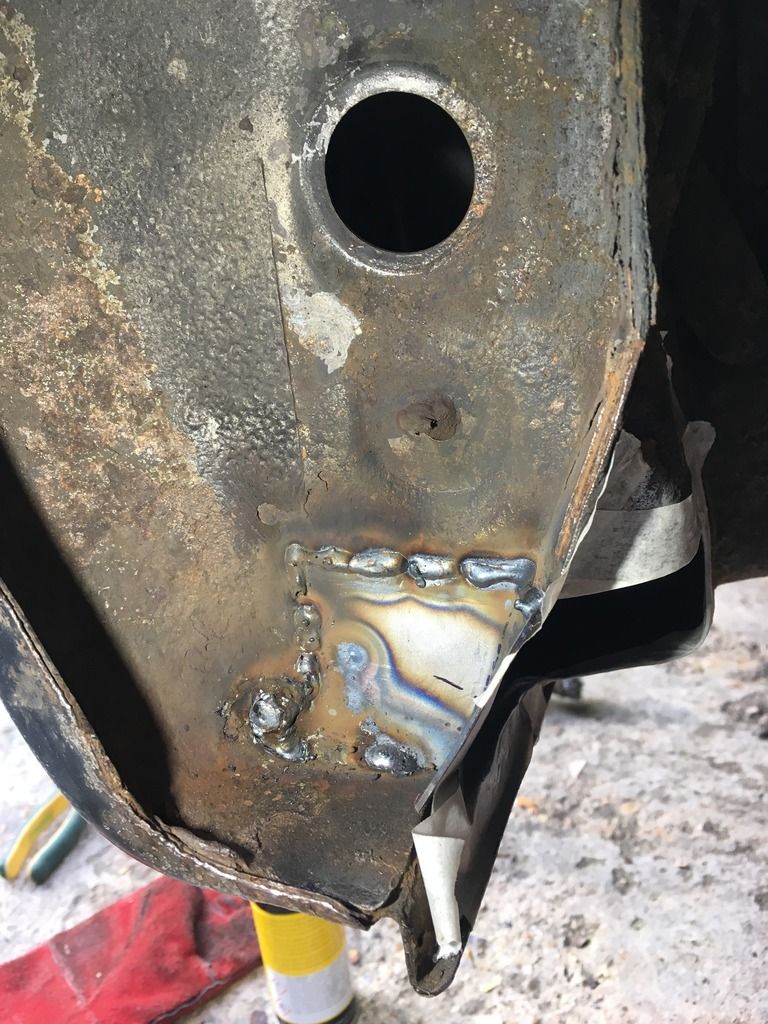
It was spot welded in place, and we made sure it all lined up okay - Once that was done, we bent the metal in to shape to follow the seam where the two plates meet and fully welded it in place. the hole was filled up pretty darn well and well, the result is something that I'm pretty satisfied with
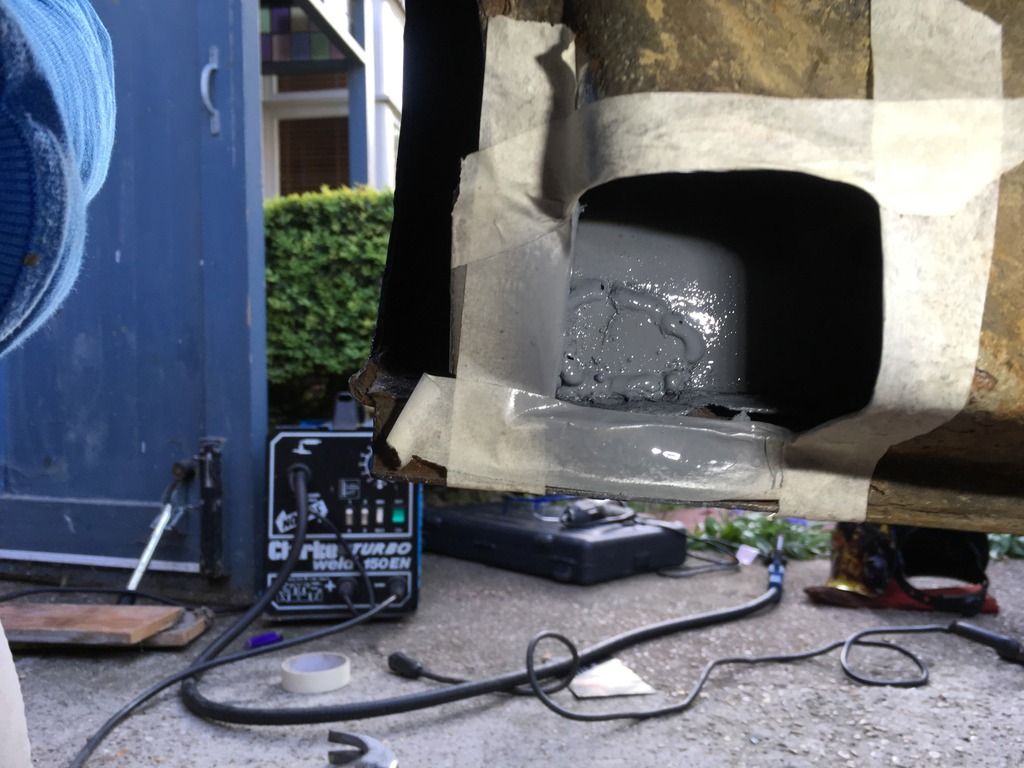
This bit inside was a bitch, and because I'd never really see it again we agreed to weld the prarrie canoe out of it, and then some, to make sure that:
#1 - It's solid
#2 - It won't break or become weak
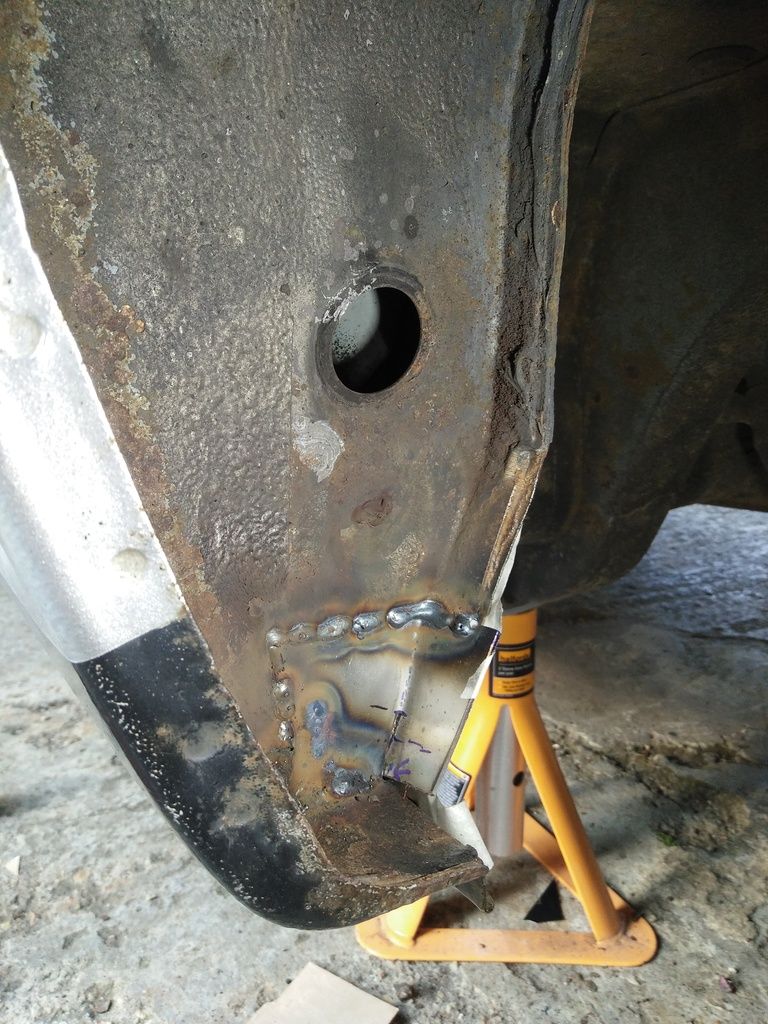
More angle photo for wows. We left a bit extra for the end of the seam. Better to have too much than too little hey.
So, that was the easy bit. Just a straight piece of metal with a 90degree bend in it. If you all remember what that bit on the underside looks like, you'll know that it's a humped curvey sorta shape. In other words, it's a compound curve so it looks fairly straight forward, but I found that trying to make a template using CAD, and making the final piece using a flat 2D piece of metal is pretty hard. We had a few options. One of which was to make one large piece, make "relief" cuts in to it, bend them in to a curve and weld the pieces together to make one solid piece. Kinda like a fan shape I guess that's folded in to a curve. As neat as this would have been, time wasn't on our side as it was at his parents house in his driveway, and the sun was setting.
So, we went with option two. Which was to make to fairly flat pieces, tack weld them in to place, and use a rubber mallet to smack them in to some sort of curve shape and like the more complicated idea - Weld the pieces together so that they're one solid piece at the end of it.
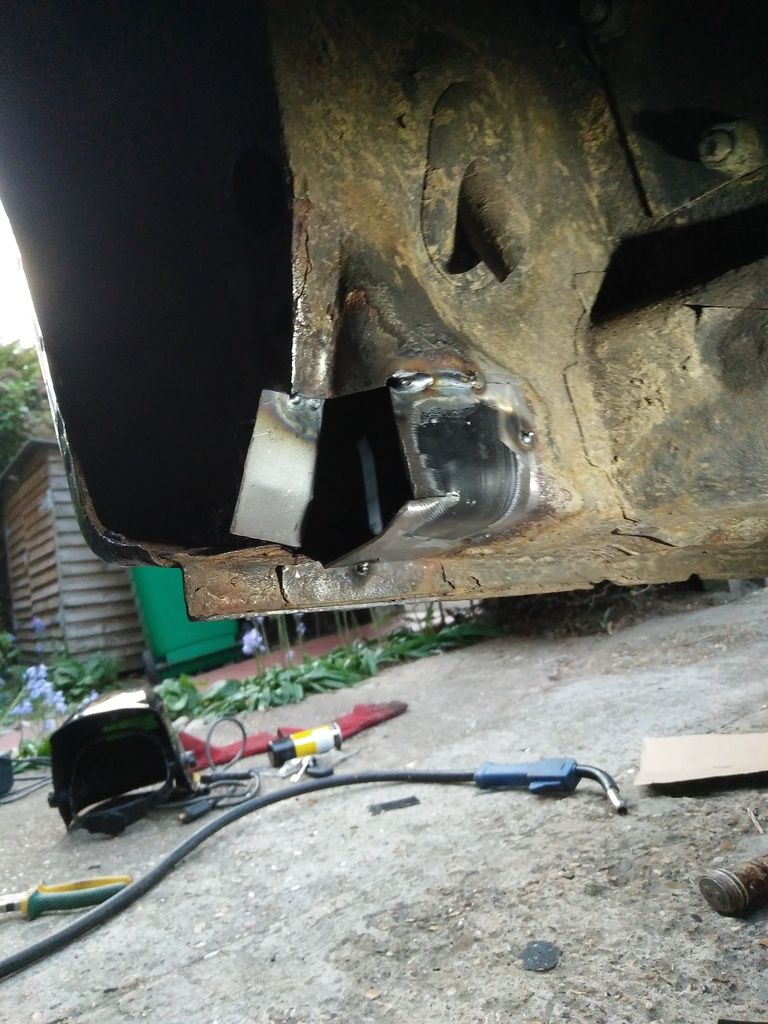
Here's one piece, You can see the relief cut at the bottom which we used to hammer in to a "curve" like shape.
I welded a bit of this myself! Turns out, I'm not too bad with a welder. But I promptly gave the welder back as a piece of molten metal burned through my hoodie, set me on fire, and left two nice burns on my arm soooo like, I'm alright thanks. Other than that, I really enjoyed welding and I might keep an eye out for a cheap one to start fabricating things myself
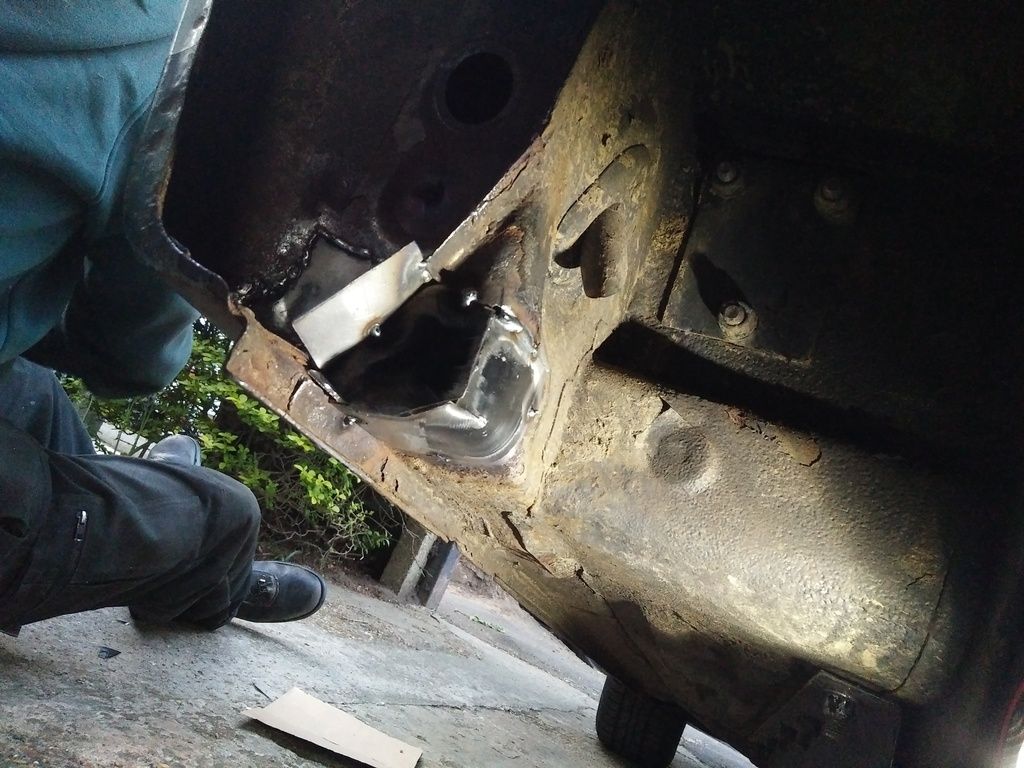
Here you can see the second part of the jigsaw puzzle, and the car's now looking like one solid piece of metal again! Like before, this was tacked in to place, smacked with a hammer until both pieces met together, and once we were both happy with the jigsaw puzzle we created, it was welded in to place to make one solid piece of metal and make the chassis fairly structurally sound again.
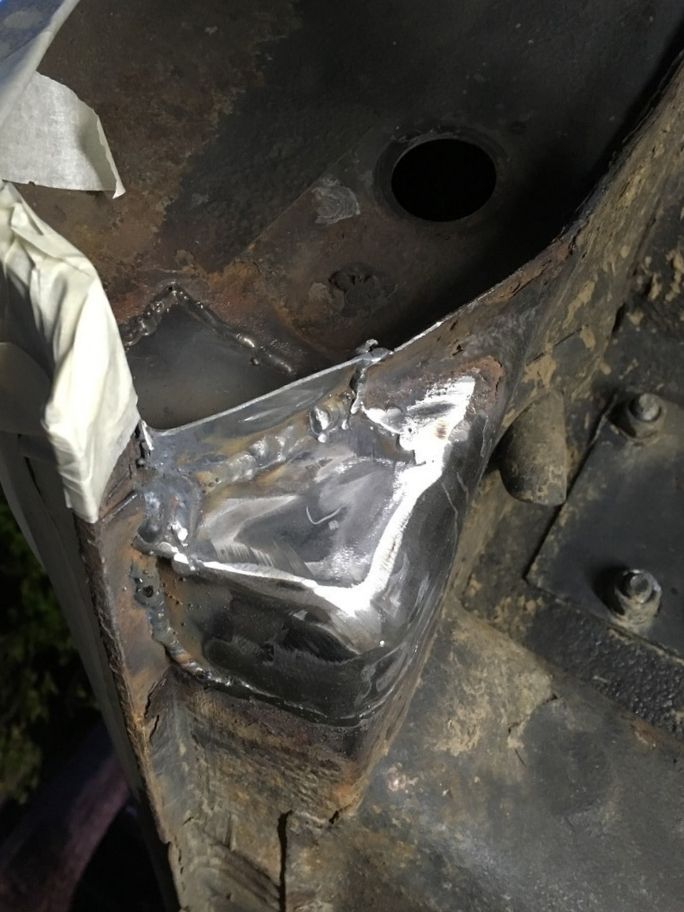
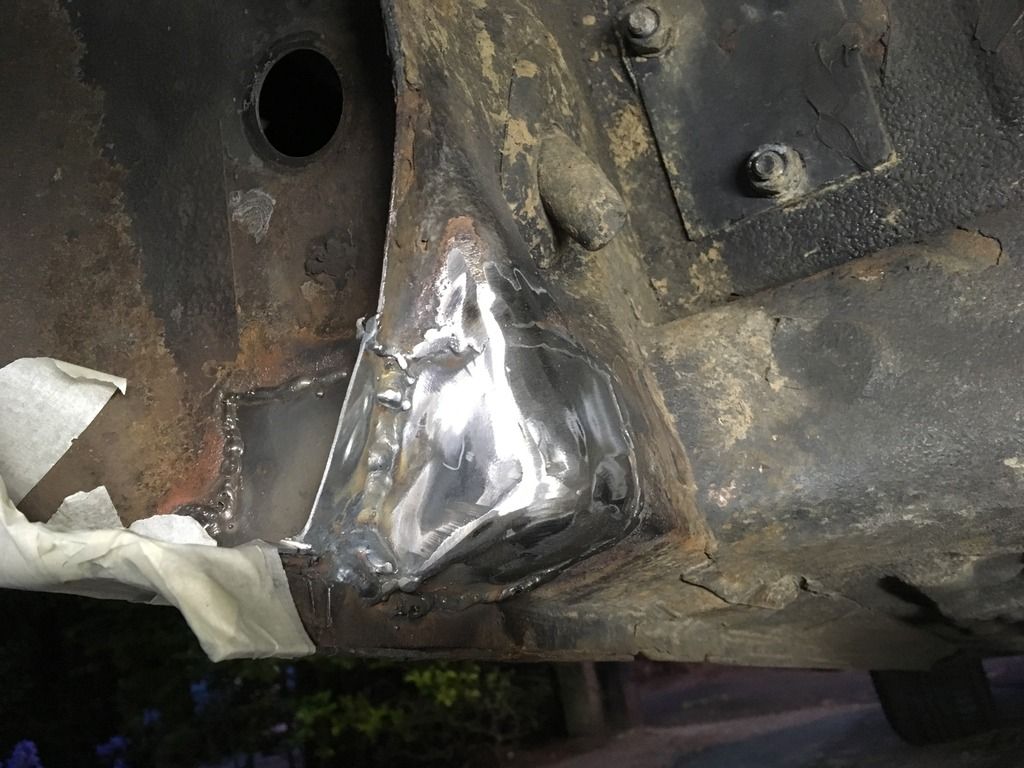
Done!
REALLY stoked with how this ended up. It's no way perfect, but it's not an eyesore either and with the welds flattened back it looks really really good imo.
I sprayed the prarrie canoe out of the repair with some Zinc Primer - Not really caring about finish on this as no one's gonna see it really, and it's only there to protect the metal from corroding.
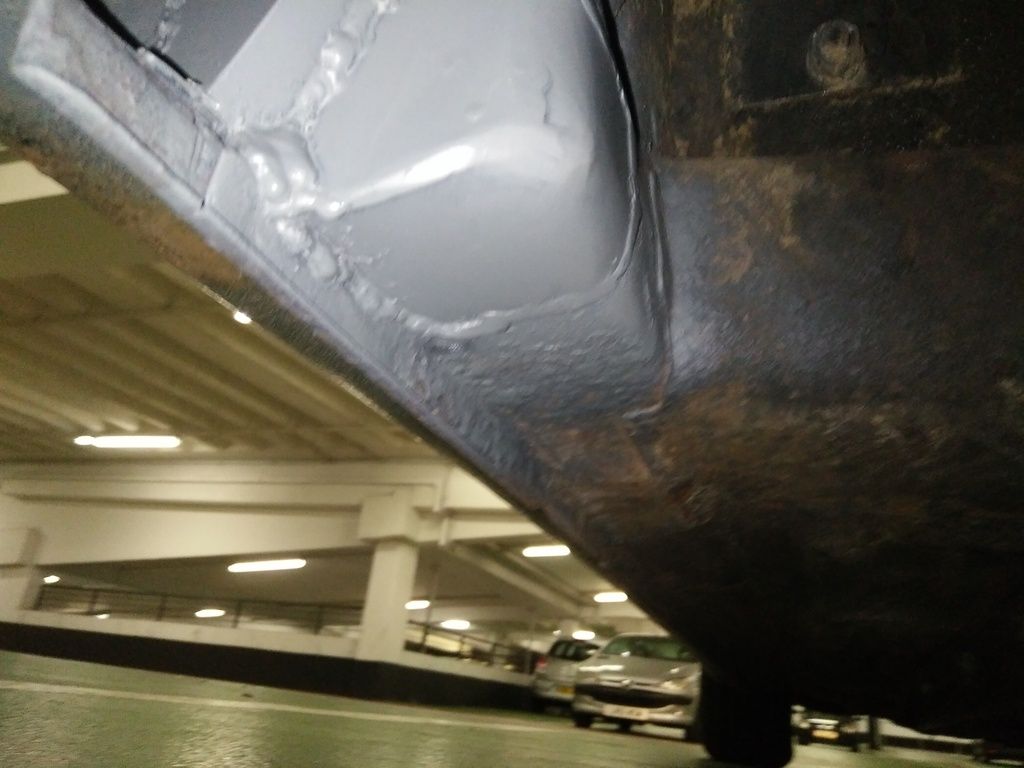
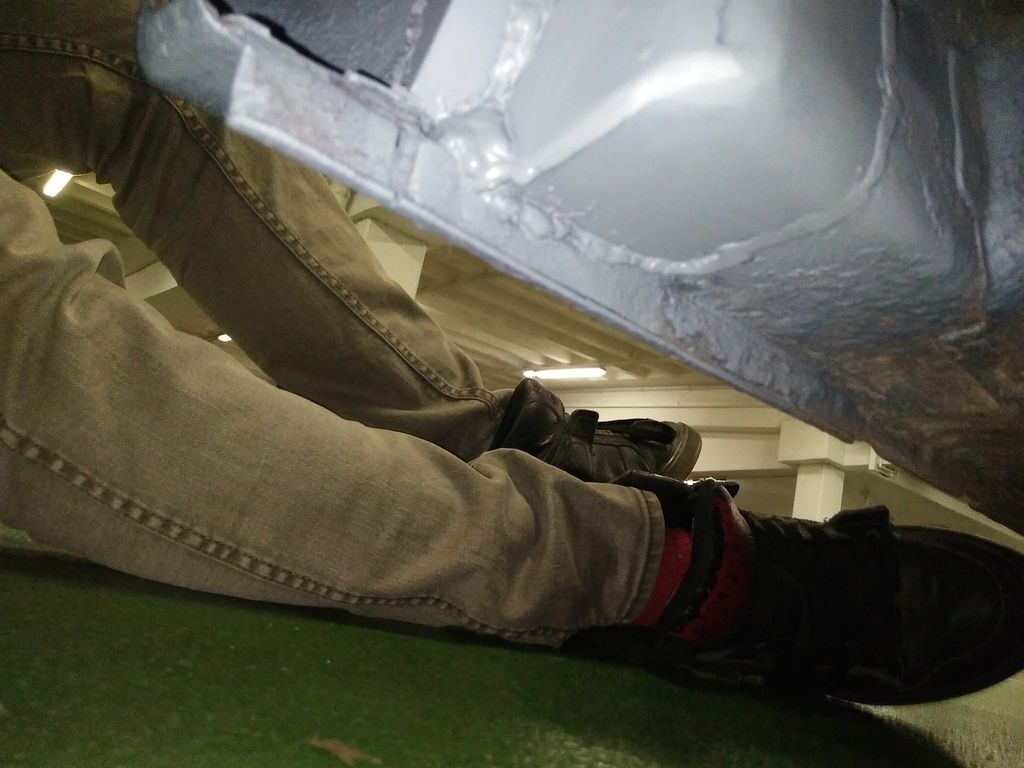
Yeah gurl, strike a pose.
Stooooooked maaaaaaaate.
That's the "worst" bit of my update out the way, which actually turned out to be a huge relief and fecking awesome. IF I MAY SAY SO MYSELFLF.
Anyways - Now that was out the way. Time to concentrate on fun stuff...
Long time, no update - I haven't really had much time at all to relax. Been busy, but alas NOW IS UPDATE TIME!

I last left of with a jetwashed underside, a car that was full of holes, and my luscious booty. Holes are unacceptable, and did I mention I absolutely hate rust?
So, to destroy rust, you must cut out rust. So, off Hal went with the angle grinder and made my holes a single big hole. Lel.


I've never cut up a car, let alone used an angle grinder so watching someone slice my car up was pretty daunting and I was quite nervous about it tbh. But, once we cut away the holes I was actually pleasantly surprised to see that the inside isn't actually that bad at all. Some surface rust on the bottom (where water tends to sit) but it was solid other than that. Seriously put my mind at rest now, and I've been able to enjoy the car ever since without having that nagging at the back of my mind "Ugh, I'm driving a peasant rusty Roadster".

Took the spare wheel off the back of my mate's Disco - Looks Canoeing awesome and a lifted Roadster would be kinda cool thinking about it NO BAD HARIS NO LIFTING ROADSTER.

Do you even lift breh?
Alright, no more messing around. It's time to weld 'er up.
I was in charge of making templates using CAD - Cardboard Aided Design that is! Huehuehue.

I took charge of templates as I can be a bit of a control freak and want things done to my standards, which are pretty high because I'm a posh Canoe. So I made templates, we consulted with each other and once happy with how they were it was time to cut the templates out from HEAVY METAL.

Alright, it could be better... So much for high standards LAWL. But, a bit of filling the hole with extra weld and all gut.

It was spot welded in place, and we made sure it all lined up okay - Once that was done, we bent the metal in to shape to follow the seam where the two plates meet and fully welded it in place. the hole was filled up pretty darn well and well, the result is something that I'm pretty satisfied with


This bit inside was a bitch, and because I'd never really see it again we agreed to weld the prarrie canoe out of it, and then some, to make sure that:
#1 - It's solid
#2 - It won't break or become weak

More angle photo for wows. We left a bit extra for the end of the seam. Better to have too much than too little hey.
So, that was the easy bit. Just a straight piece of metal with a 90degree bend in it. If you all remember what that bit on the underside looks like, you'll know that it's a humped curvey sorta shape. In other words, it's a compound curve so it looks fairly straight forward, but I found that trying to make a template using CAD, and making the final piece using a flat 2D piece of metal is pretty hard. We had a few options. One of which was to make one large piece, make "relief" cuts in to it, bend them in to a curve and weld the pieces together to make one solid piece. Kinda like a fan shape I guess that's folded in to a curve. As neat as this would have been, time wasn't on our side as it was at his parents house in his driveway, and the sun was setting.
So, we went with option two. Which was to make to fairly flat pieces, tack weld them in to place, and use a rubber mallet to smack them in to some sort of curve shape and like the more complicated idea - Weld the pieces together so that they're one solid piece at the end of it.

Here's one piece, You can see the relief cut at the bottom which we used to hammer in to a "curve" like shape.
I welded a bit of this myself! Turns out, I'm not too bad with a welder. But I promptly gave the welder back as a piece of molten metal burned through my hoodie, set me on fire, and left two nice burns on my arm soooo like, I'm alright thanks. Other than that, I really enjoyed welding and I might keep an eye out for a cheap one to start fabricating things myself


Here you can see the second part of the jigsaw puzzle, and the car's now looking like one solid piece of metal again! Like before, this was tacked in to place, smacked with a hammer until both pieces met together, and once we were both happy with the jigsaw puzzle we created, it was welded in to place to make one solid piece of metal and make the chassis fairly structurally sound again.


Done!
REALLY stoked with how this ended up. It's no way perfect, but it's not an eyesore either and with the welds flattened back it looks really really good imo.
I sprayed the prarrie canoe out of the repair with some Zinc Primer - Not really caring about finish on this as no one's gonna see it really, and it's only there to protect the metal from corroding.


Yeah gurl, strike a pose.
Stooooooked maaaaaaaate.
That's the "worst" bit of my update out the way, which actually turned out to be a huge relief and fecking awesome. IF I MAY SAY SO MYSELFLF.
Anyways - Now that was out the way. Time to concentrate on fun stuff...


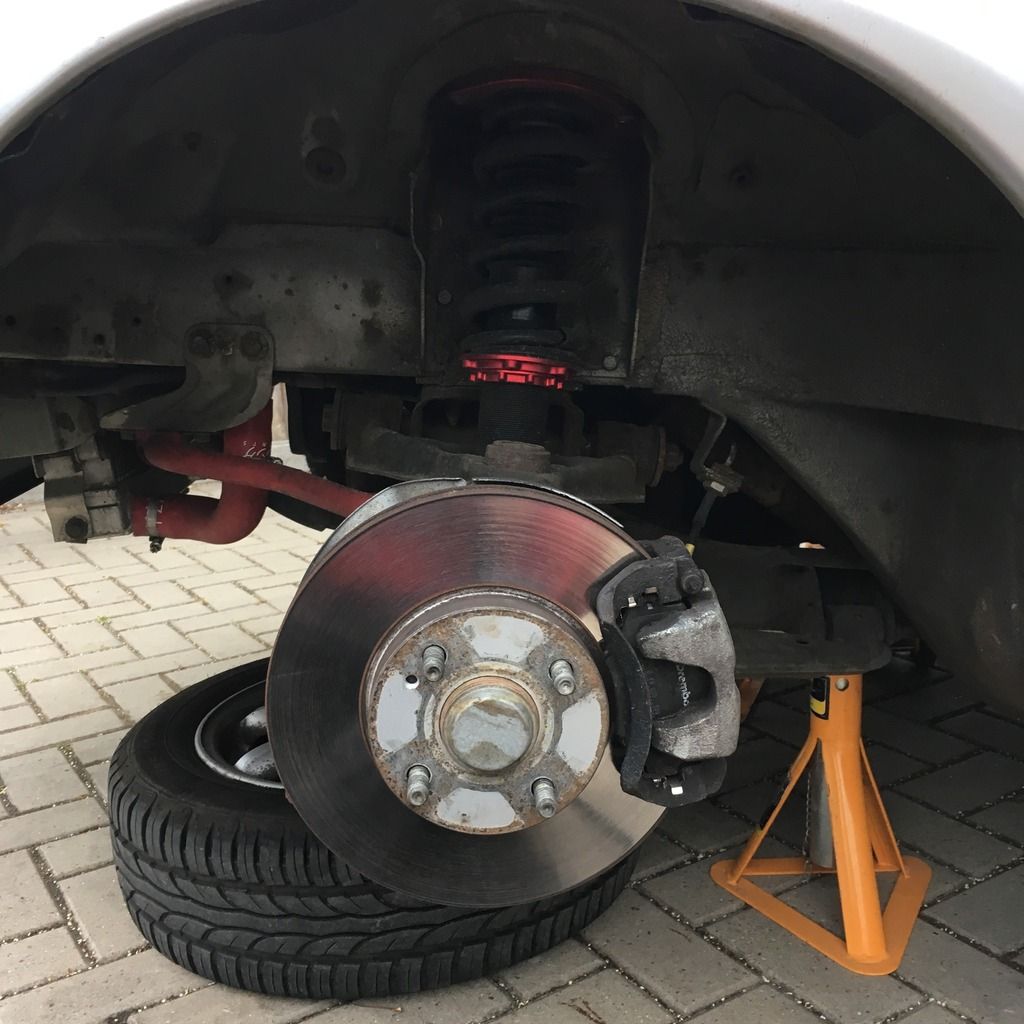
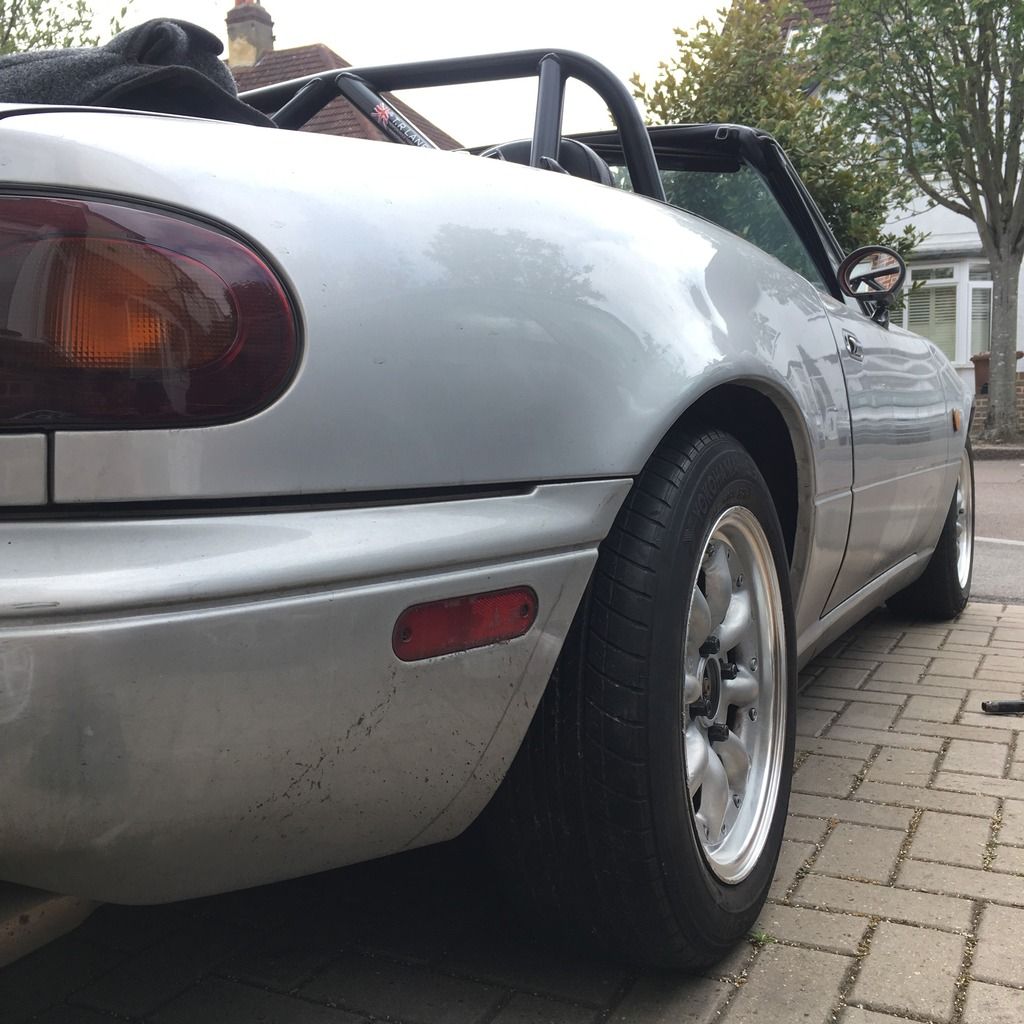
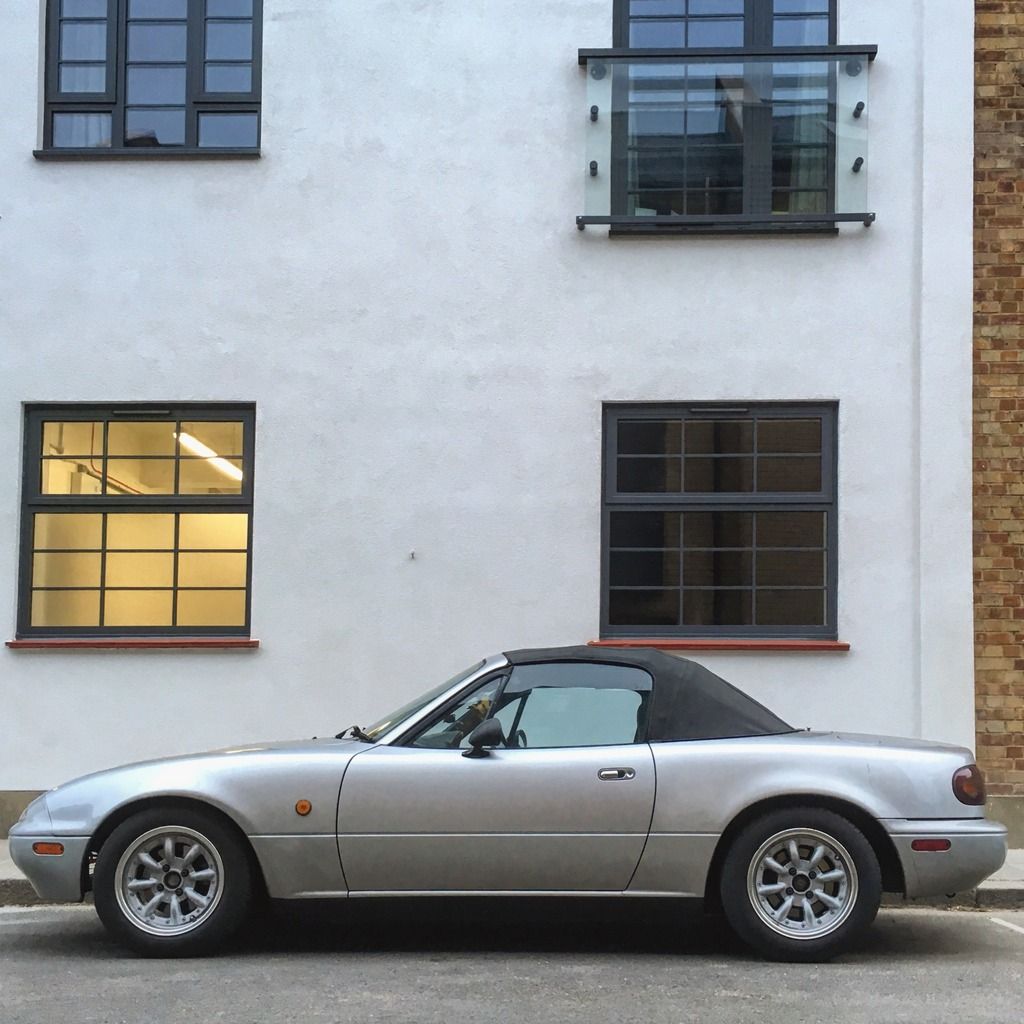
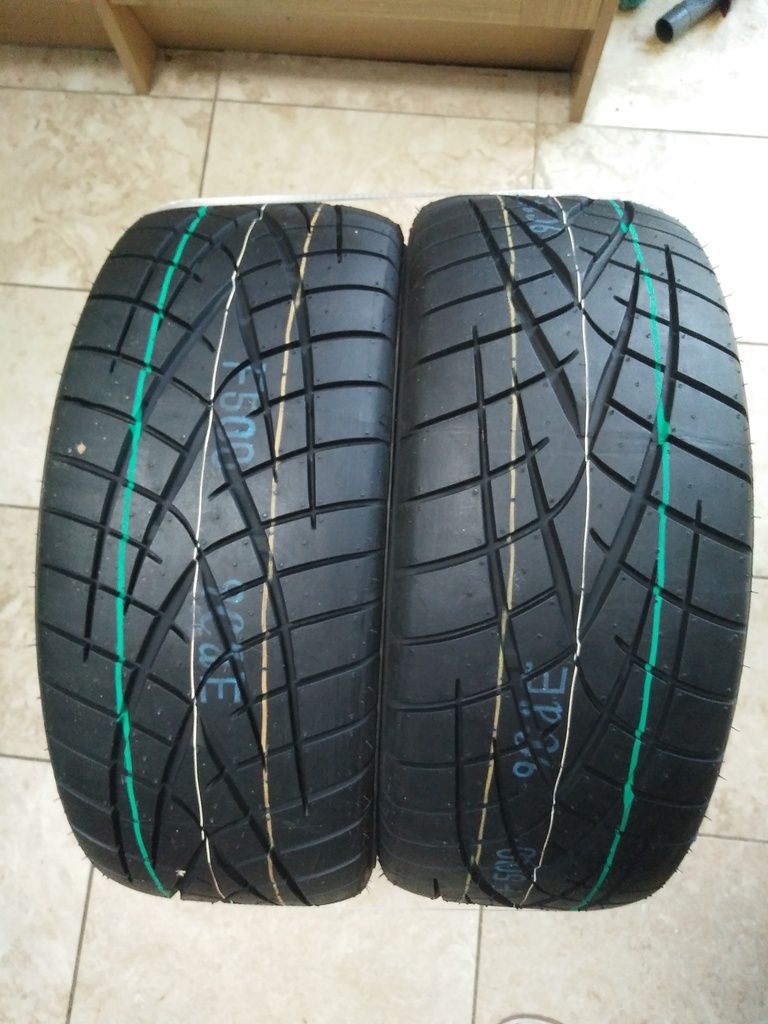
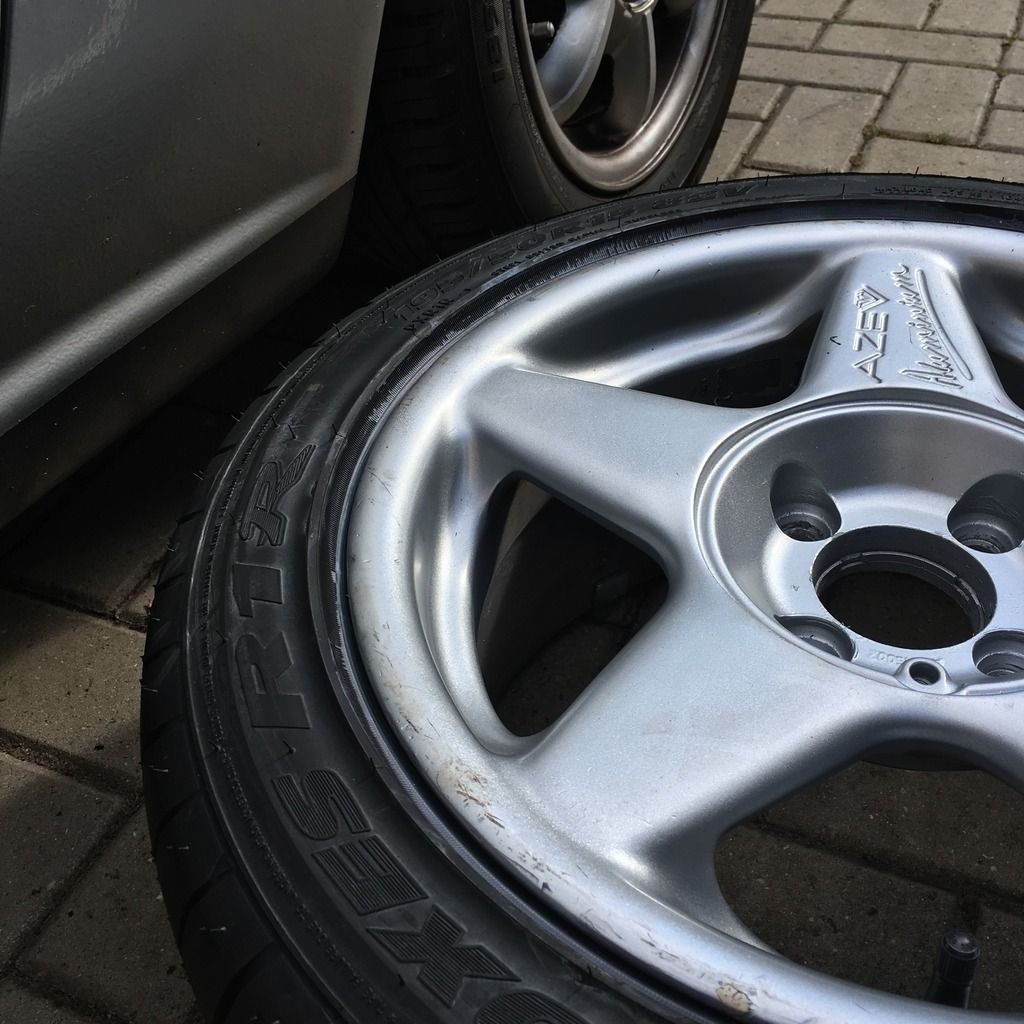
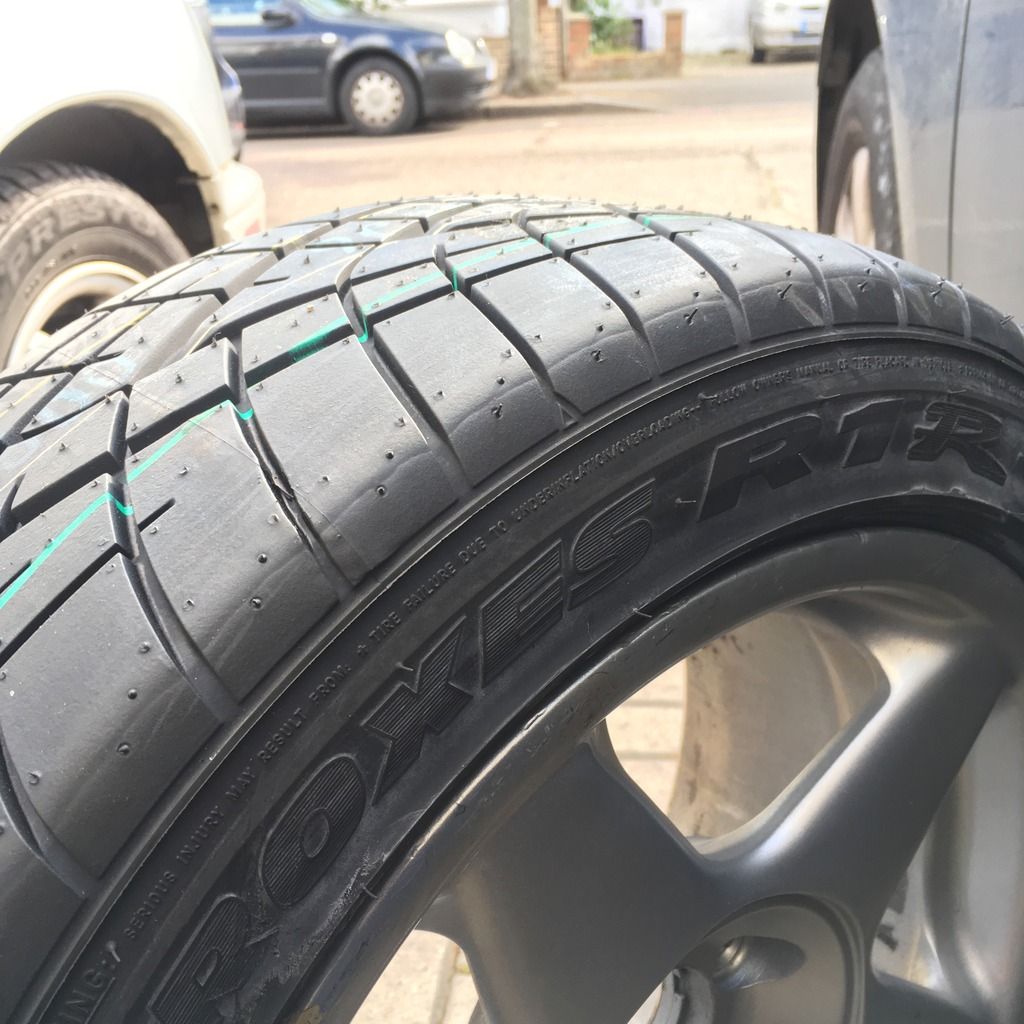
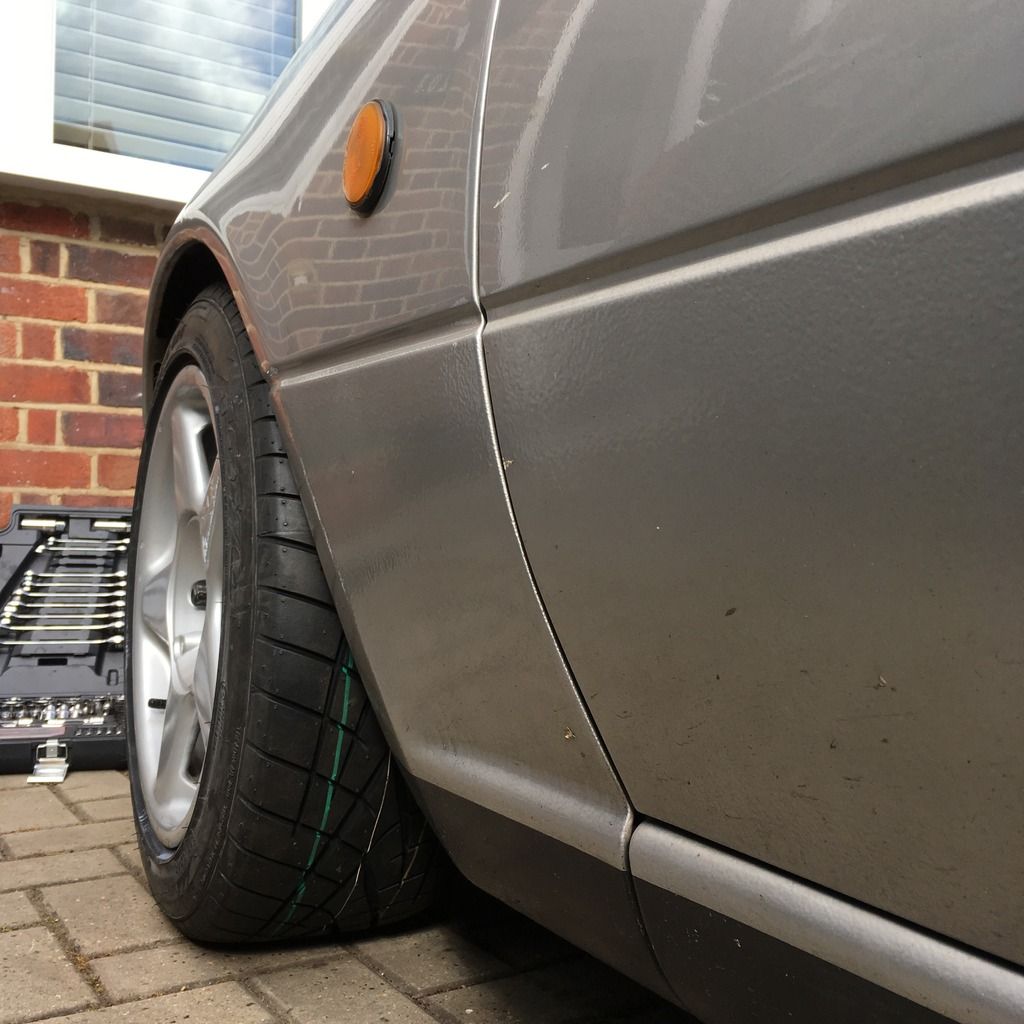
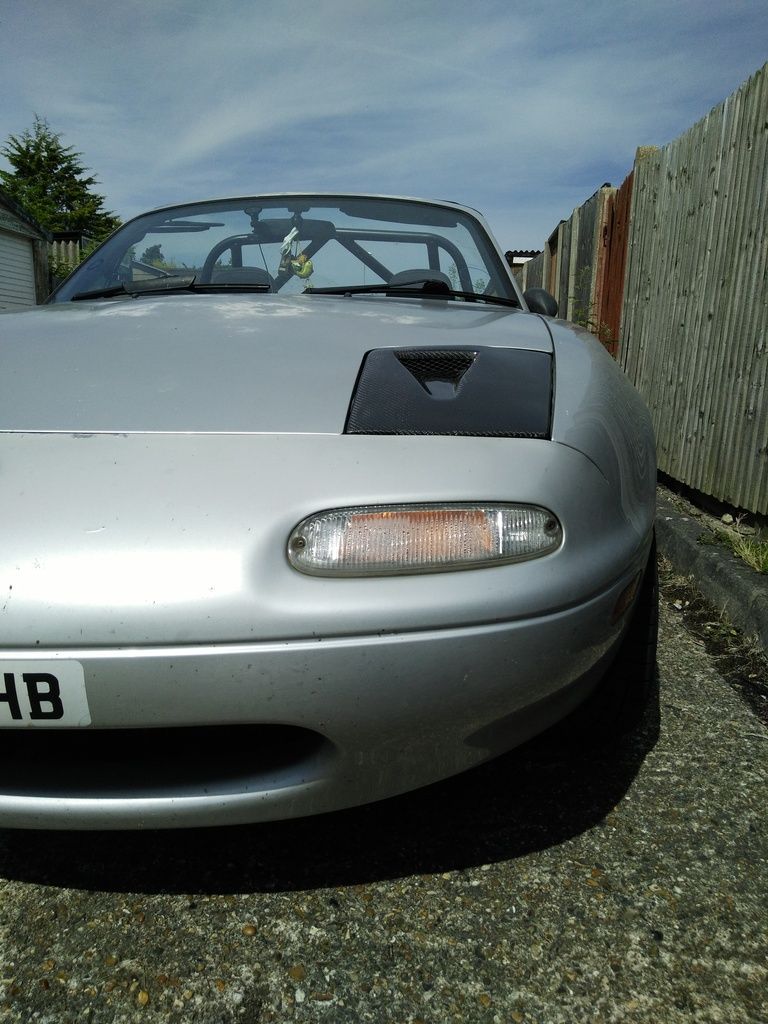
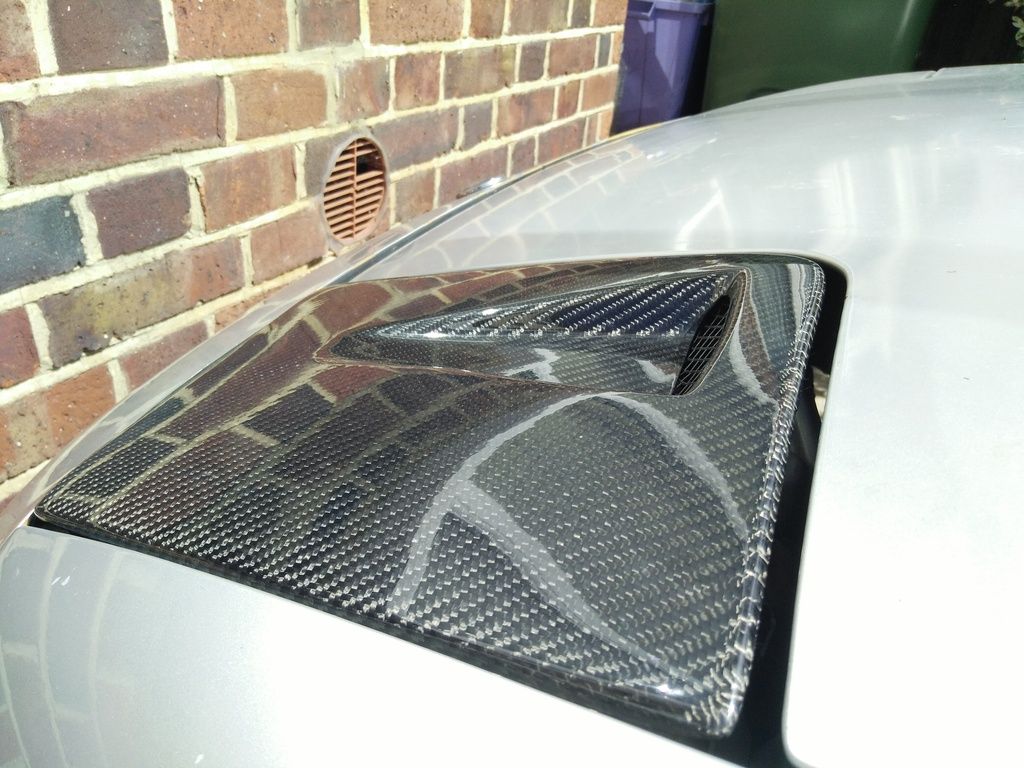
 . SO SO light and JDM as fk).